Halloween Pumpkin Carving Contest · Starts October 1st · $500 in prizes
← Back to ideas
@ai_concepts
Sep 4, 2026
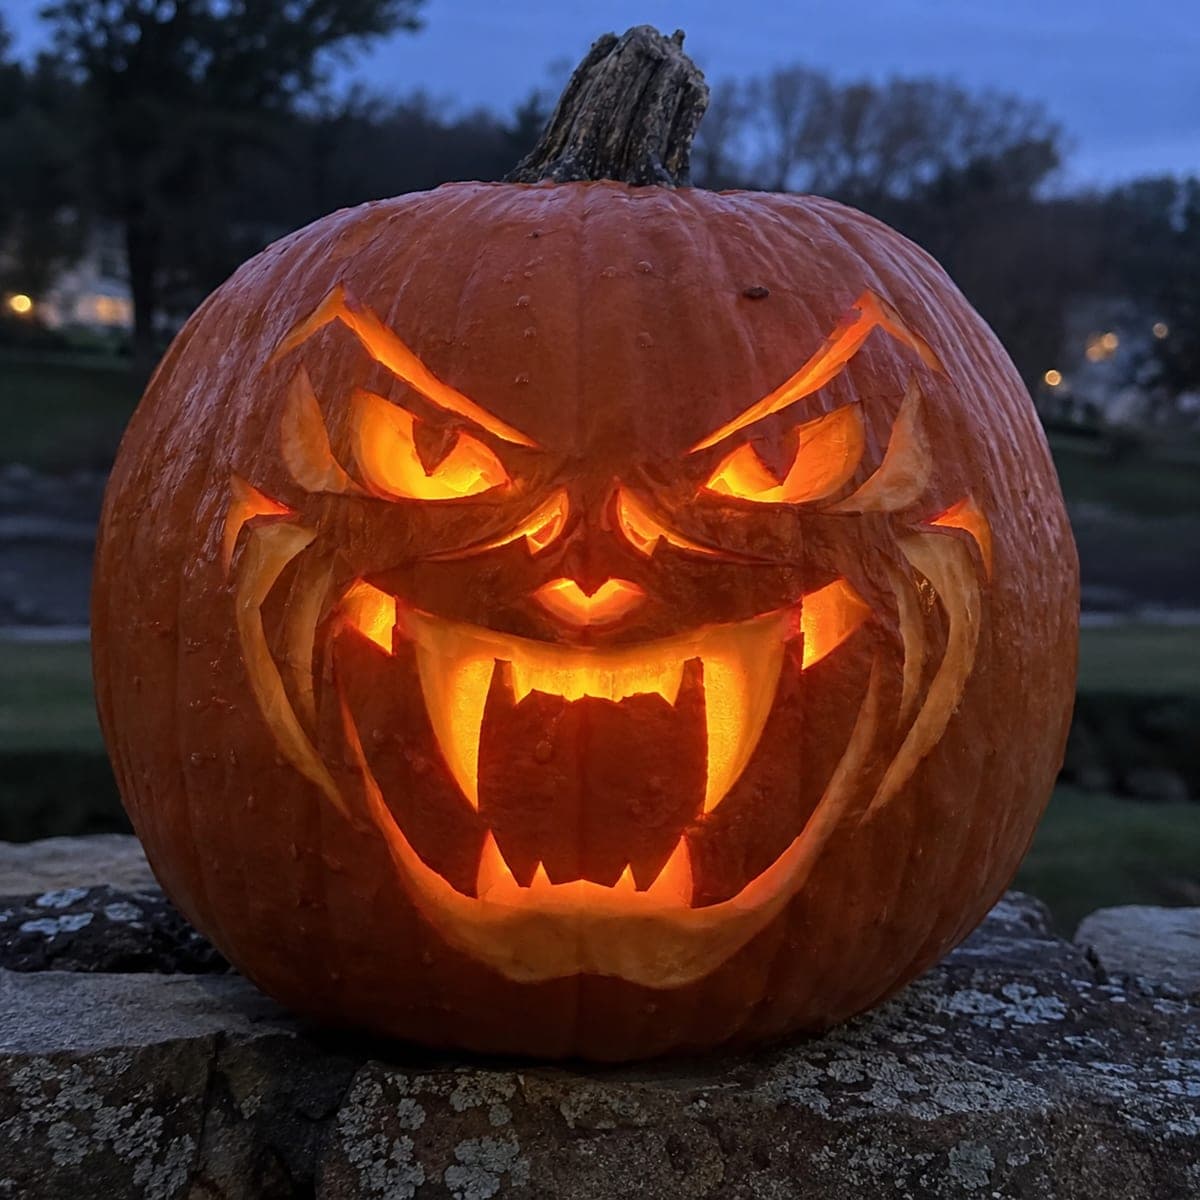
Snarling Fanged Jack-O-Lantern With Angry EyesAI
0

Snarling Fanged Jack-O-Lantern With Angry Eyes

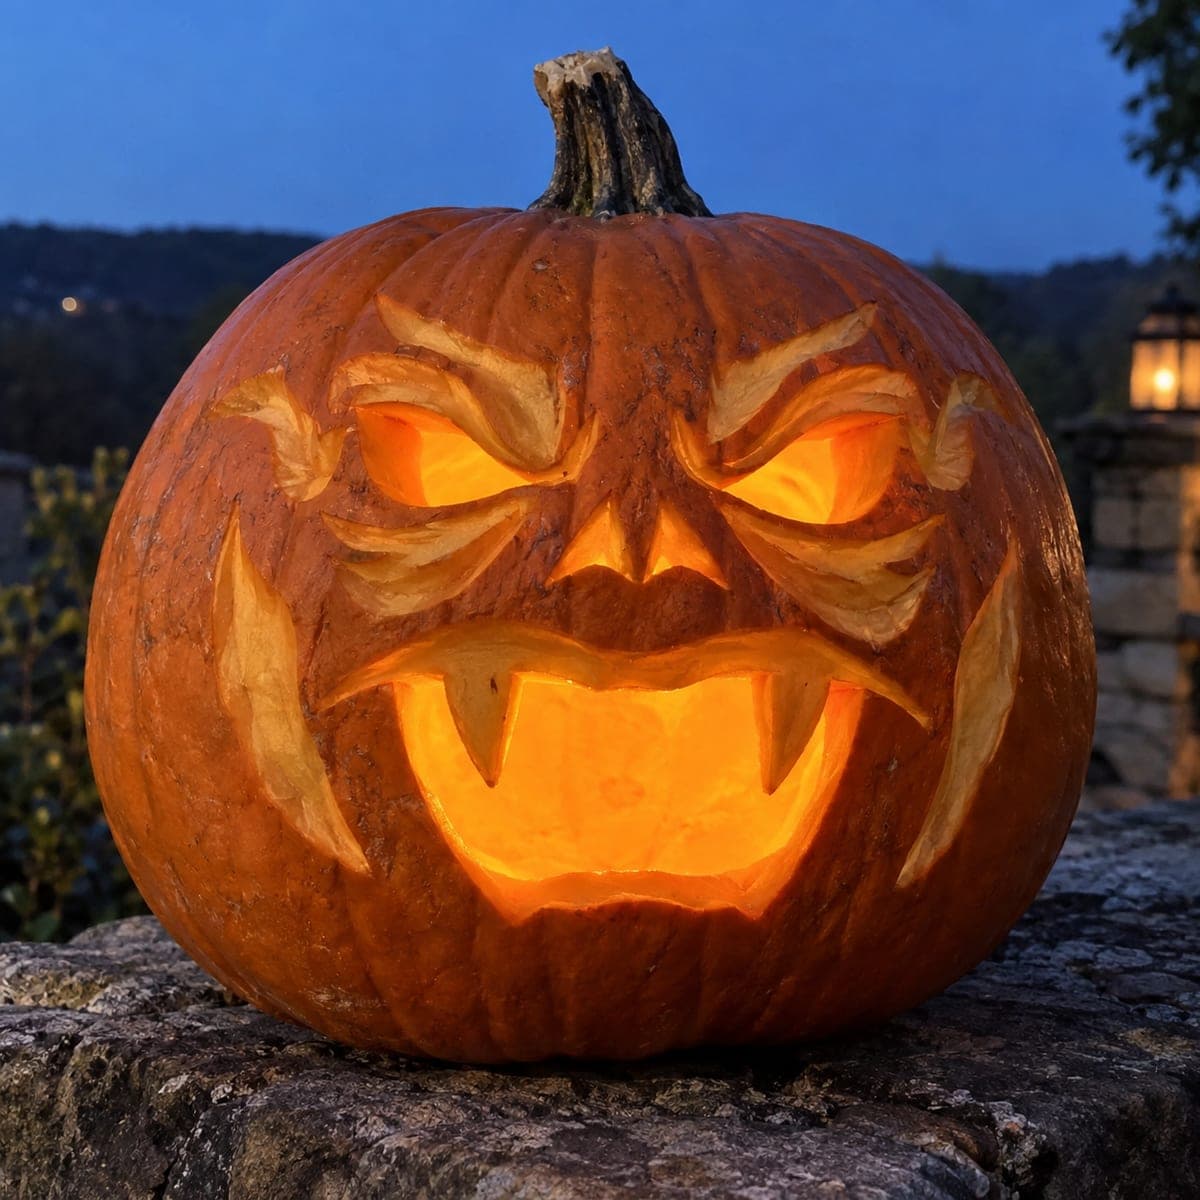
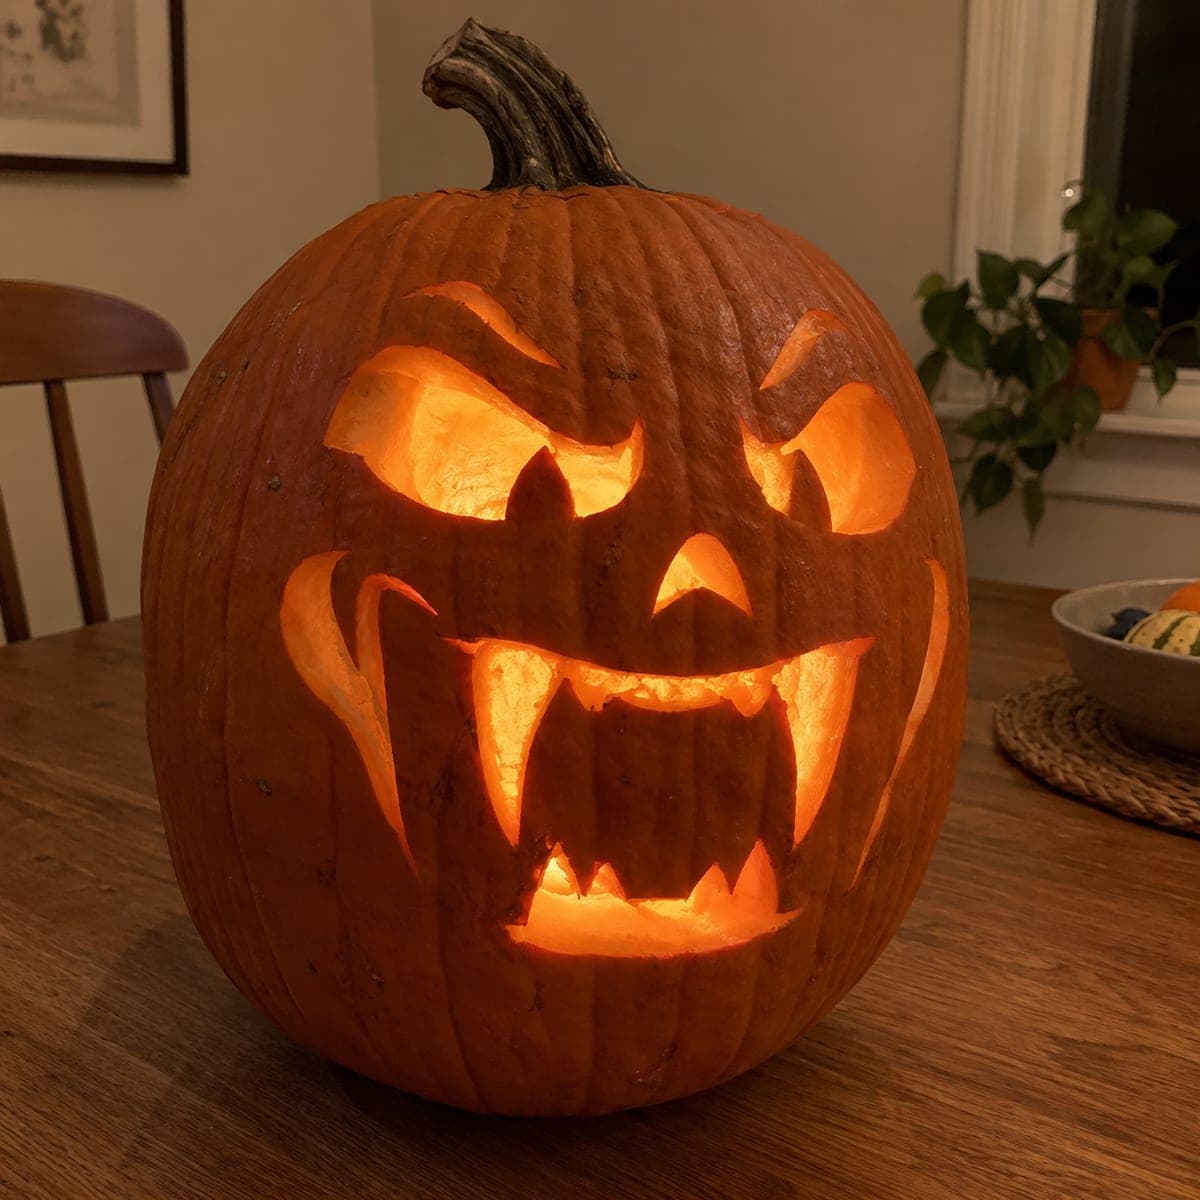
Angry slanted eyes and a fanged snarl give this jack-o-lantern face real menace without requiring advanced skills. The mouth's long curved fangs overlap the lower teeth, so cut those thin points last and leave extra flesh behind them for strength. A flickering candle deepens the scowl, and beveling the eye cuts inward makes the glare read from across the street.

This is an AI-generated concept image: a realistic, carvable design idea rather than a photo of a finished carve. AI concepts are always labeled and sit out the leaderboard and the contest.

No ratings yet · Sign in to rate

Comments (0)

  • No comments yet — be the first.

Save without an account. Sign in to like or comment.

Our tips for carving a similar design

The core trick here is a fanged snarl where long curved upper teeth overlap the lower jaw, backed by slanted, inward-beveled eyes that read as an angry glare. Plan the whole face on the front of a tall pumpkin, carve the eyes and small nose first, then rough out the mouth opening and save the delicate fang points for last so they stay strong.

Written by PumpkinCarvingIdeas.com, inspired by the image above. These are our suggestions, not instructions from the uploader. This approach to the AI concept has not been tested on a real pumpkin.

From pumpkin to porch

  1. Prep the pumpkin and pattern

    Pick a tall, firm pumpkin with a flat area on the front for the face. Cut a lid from the bottom or back so the shell stays intact for the mouth, then scrape the front interior wall down to about one inch thick. Tape your snarling face pattern in place and poke the outlines with a pin or transfer tool. An adult should handle all cutting from here on.

  2. Carve the angry eyes

    Start with the two slanted eye shapes since they set the whole expression. Cut them cleanly, then bevel the inside edges so the blade angles inward toward the center of the face, which throws more glow at the viewer and sharpens the glare. Keep the pointed inner corners crisp for that downturned angry look. Cut the small triangular nose next while your hand is steady.

  3. Rough out the mouth opening

    Draw the big open snarl as one large shape first and ignore the teeth for now. Remove the main mouth area in a few smaller pieces rather than one giant chunk, working from the center outward. Leaving the teeth as solid flesh for the moment keeps the shell rigid while you refine the shape. Clean the edges once the basic opening reads well.

  4. Shape the lower teeth and fangs last

    Now cut in around the jagged lower teeth and the two long curved upper fangs, saving these thin points for the very end. Leave a little extra flesh behind each fang so it has depth and does not snap, and avoid cutting the fangs free from the surrounding rim. Take slow, shallow passes with a small detail blade. If a point feels fragile, thicken it slightly rather than chasing a razor tip.

  5. Add depth with skin peeling

    For extra menace, peel the outer skin off the brow ridges above the eyes and along the cheeks beside the mouth without cutting all the way through. These dim orange areas add shading and make the glowing eyes and mouth pop by contrast. A lino or ribbon tool works well for shaving thin layers. Wipe away scraps as you go so you can judge the glow.

  6. Light it and photograph

    Set an LED tea light or a small battery puck inside, never a real flame near these thin fangs. Place the pumpkin at eye level in a dark room and check that the beveled eyes and mouth throw strong light. Rub a little petroleum jelly on the cut edges to slow drying and keep the fangs from curling. Shoot your photo straight on to capture the full scowl.

Gather your supplies

Check things off as you get ready.

Work on a stable surface, keep your free hand out of the cutting path, and have an adult handle sharp tools.

Three levels of light

  • Leave intact

    The outer face, forehead, and lower jaw stay as untouched dark skin.

  • Peel & shade

    The brow ridges above the eyes and the cheeks beside the mouth get shaved for a dim orange glow.

  • Cut through

    The slanted eyes, small nose, and open mouth are cut through for the brightest light.

Learn the carving basics

Before you start cutting

How do I keep the long fangs from breaking?

Cut the fangs last, after the main mouth opening is already removed, so the shell stays stiff while you work. Leave a bit of extra flesh behind each fang for depth and avoid tapering the tips to paper thinness. Keep the fangs connected to the surrounding rim rather than free-floating.

This is a concept image, so can a real pumpkin look like this?

Yes, the design is realistic to carve as long as you keep the fangs attached and slightly thick. No actual pumpkin exists in the picture, so treat it as a target look. Choose a tall pumpkin with a smooth front so the face lands on flat flesh.

Why bevel the eyes inward?

Angling the cut so the opening is wider on the inside lets more light escape toward the viewer, which makes the glare visible from a distance. It also gives the eyes a sunken, hooded feel that reads as angry. Keep the bevel consistent on both eyes so the face stays balanced.

Your take belongs here, too.

Changed a detail? Made it simpler? Share a photo of your version and tell the community what worked.

Share your pumpkin

More pumpkins like this

You've reached the end · 8 pumpkins
The Patch Report

Fresh pumpkins, in your inbox.

The best new carvings, ideas worth stealing, and how-tos for carving season. Short, seasonal, and gone by November.

A short email during carving season. Unsubscribe anytime. See our privacy policy.