@flickerwick
Sep 7, 2026
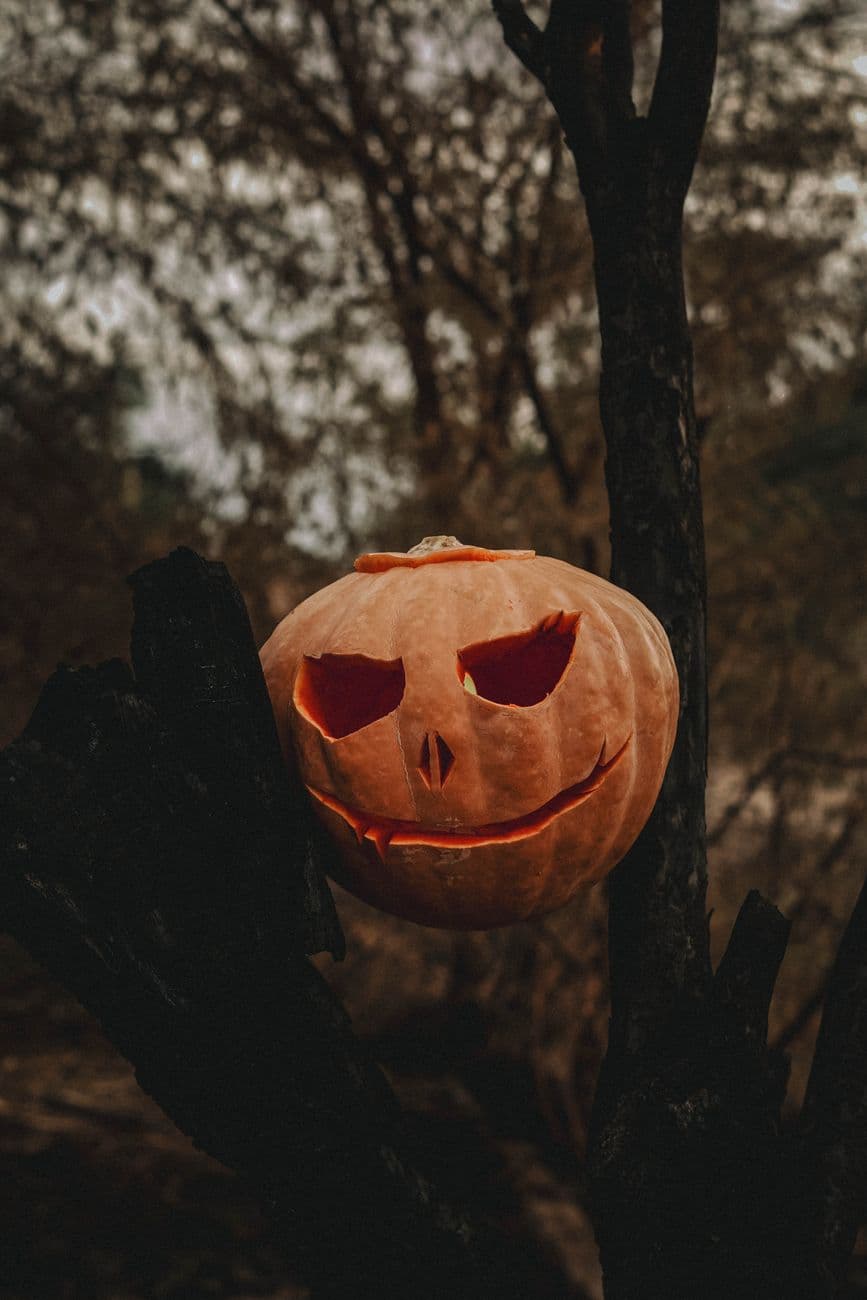
The whole trick here is restraint. A few sharp shapes, angled almond eyes, a slim triangle nose, and a long crooked grin, read as menacing without any fine detail. Keep the openings clean and let the empty spaces do the scaring.
Written by PumpkinCarvingIdeas.com, inspired by @flickerwick's photo above. These are our suggestions, not instructions from the uploader, and this approach hasn't been tested on their exact carve.
Choose a round, medium pumpkin with a smooth face and a sturdy stem. Cut a lid from the top at an angle so it rests without falling in, or open a hole in the back for easier access. Scoop the insides and thin the carving wall to about one inch so your knife moves easily. A thinner wall makes those clean-edged cuts much simpler.
Sketch or tape on a stencil with two angry, upward-slanted eyes, a narrow nose, and a wide grin. Space the features toward the center of the face for that hollow, staring look. Poke along the outlines with a pin or pencil so you have dots to follow. Step back and check the layout is balanced before you cut.
Start with the two angled eye shapes using a small serrated carving saw. Cut slowly and let the blade do the work, keeping the pointed corners crisp. These sharp inner points give the face its scowl, so take your time at the tips. Push the pieces out from inside to avoid tearing the edges.
Carve the slim triangle nose next, then work the long grin last since it is the biggest opening. Cut the mouth in short sections so the pumpkin wall stays supported as you go. Keep the corners of the smile curling up for that unsettling look. If you want teeth, leave a couple of small skin bridges rather than cutting them free and thin.
Trim the cut edges from the inside to smooth them and to let more light through. You can bevel the mouth outward so the grin looks wider when lit. Wipe away loose pulp with a paper towel. Rub a little petroleum jelly on the raw cuts to slow drying.
Drop in a battery LED, warm white or amber, never a candle. Set the pumpkin on a natural perch like a stump or branch, as in the photo, and shoot at dusk for that moody glow. Angle the light so it spills through the eyes and grin. Take a few shots from slightly below to make the face loom.
Check things off as you get ready.
Work on a stable surface, keep your free hand out of the cutting path, and have an adult handle sharp tools.
The broad outer face and body stay as untouched skin, keeping the pumpkin dark and moody
Optional shallow shaving around the mouth or eye edges for a faint dim halo
The two slanted eyes, the triangle nose, and the long grin are cut clean through for the brightest glow
Work with a sharp, thin serrated blade and cut toward the points, not away from them. Make the tight corner cuts last so the surrounding pumpkin still supports the piece. Push the cutout gently from the inside instead of prying from the front.
Either works. A back hole keeps the front face clean and makes it easy to reach the light, which suits this simple design. A top lid is more traditional and lets heat escape, so pick whichever fits how you plan to display it.
Choose a stable fork in a low branch or a flat stump and rest the pumpkin so its weight is centered. Do not wedge it high or wire it in a way that could fall on someone. A small pumpkin is safest for an elevated spot, and keep the LED light cool to the touch.
Changed a detail? Made it simpler? Share a photo of your version and tell the community what worked.
The best new carvings, ideas worth stealing, and how-tos for carving season. Short, seasonal, and gone by November.







Comments (0)