Halloween Pumpkin Carving Contest · Starts October 1st · $500 in prizes
← Back to ideas
@ai_concepts
Aug 4, 2026
Spiral Galaxy Painted Pumpkin Night SkyAI
0

Spiral Galaxy Painted Pumpkin Night Sky

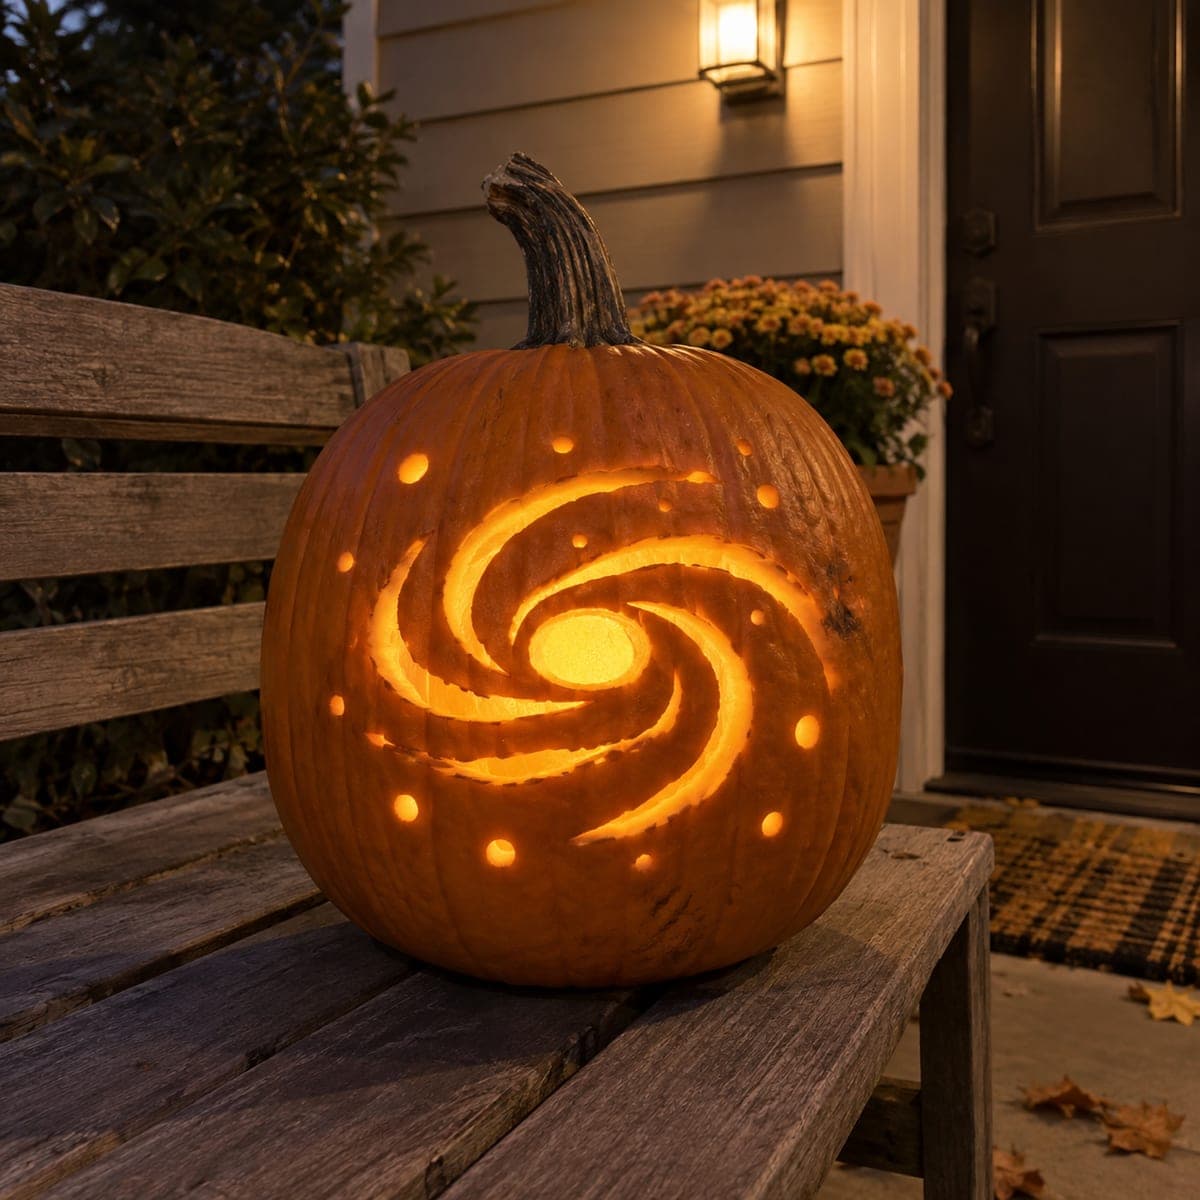
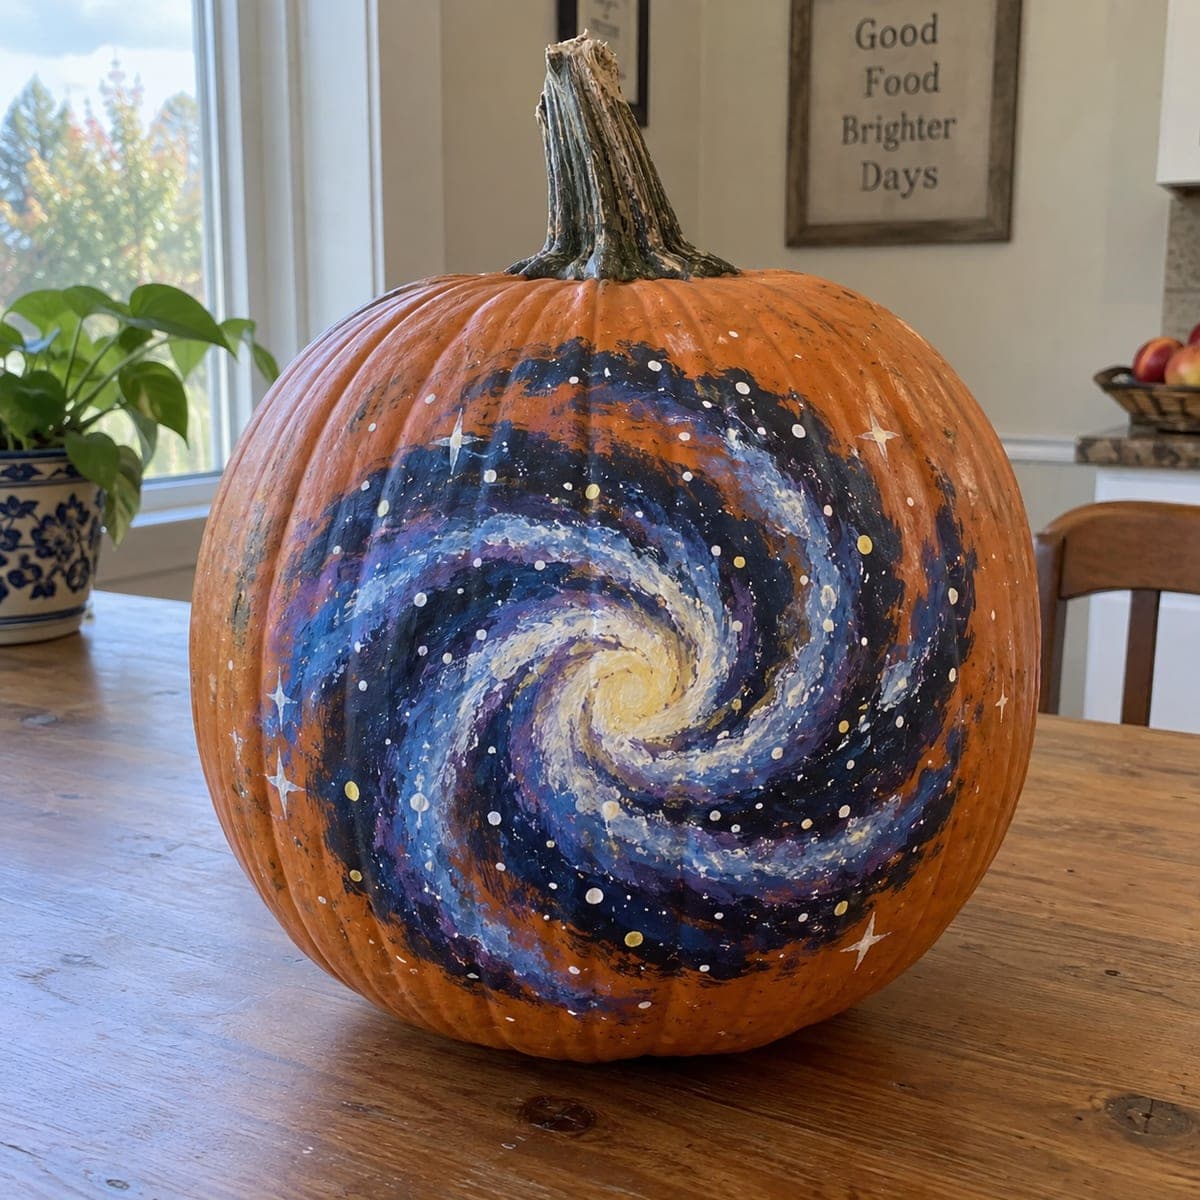
A swirling spiral galaxy in deep blues, purples, and creamy white wraps around this pumpkin, dotted with stars for a night-sky effect that needs no carving at all. Sponge the dark base first, then drag lighter arms outward from a bright painted core, stippling stars with the tip of a brush handle. The contrast between cosmic blues and the orange rind is what makes this celestial pumpkin pop. Seal it with matte spray so dew does not streak the acrylic outdoors.

This is an AI-generated concept image: a realistic, carvable design idea rather than a photo of a finished carve. AI concepts are always labeled and sit out the leaderboard and the contest.

No ratings yet · Sign in to rate
Comments (0)

  • No comments yet — be the first.

Save without an account. Sign in to like or comment.

Our tips for carving a similar design

The core trick here is layering acrylic from dark to light, dragging lighter spiral arms outward from a glowing painted center so the swirl reads as a galaxy. You sponge a deep base first, build the arms in curved strokes, then stipple tiny stars on top. Because this is a painted, no-carve design, the whole plan is about contrast between cosmic blues and the bright orange rind.

Written by PumpkinCarvingIdeas.com, inspired by the image above. These are our suggestions, not instructions from the uploader. This approach to the AI concept has not been tested on a real pumpkin.

From pumpkin to porch

  1. Clean and prep the surface

    Wipe the pumpkin down with a damp cloth and let it dry fully so paint grips the rind. Pick the smoothest, roundest face as your canvas and set the stem toward the back. If you want extra coverage, a thin base coat of black or dark blue craft primer helps the colors pop. Let any base coat dry before moving on.

  2. Sketch the spiral lightly

    Use a pencil or white chalk to mark a small center point, then draw two or three curved arms sweeping outward in a pinwheel. Keep the lines loose since paint will cover them. This map keeps your brush strokes flowing in one direction instead of wandering. Step back and check the swirl looks balanced before you commit.

  3. Sponge the dark base

    Dip a small sponge in deep navy and purple and dab the background between the arms, letting colors blend softly. Work in patchy layers rather than solid fills so the sky looks cloudy and deep. Leave some orange rind peeking at the edges to frame the galaxy. Let this layer set for a few minutes before adding lighter tones.

  4. Build the glowing arms

    Load a flat brush with lighter blue, lavender, and a touch of white, then drag curved strokes along your sketched arms from the center outward. Add creamy white and pale yellow at the very core so it glows brightest. Feather the outer ends so the arms fade into the dark sky. Keep every stroke following the same spiral direction for a convincing swirl.

  5. Stipple the stars

    Dip the tip of a brush handle or a toothpick in white and press tiny dots across the dark areas, varying the size. Add a few larger four-point sparkles with two crossed brush strokes for accent. Scatter a handful of pale yellow dots so the field feels warm and deep. Do not overcrowd it, a little empty space reads as distance.

  6. Seal and display

    Let the acrylic cure for several hours, then spray two light coats of matte clear sealer so dew does not streak the paint outdoors. Set the finished pumpkin on a dark surface or shelf where the swirl catches the light. Snap your photo in soft indoor light to keep the colors true. If you display it outside, keep it under cover on damp nights.

Gather your supplies

Check things off as you get ready.

Work on a stable surface, keep your free hand out of the cutting path, and have an adult handle sharp tools.

Three levels of light

  • Leave intact

    The orange rind around the edges stays bare, framing the galaxy against the natural pumpkin color.

  • Peel & shade

    There is nothing to peel on a painted design, though you could lightly scuff a thin white ring for a soft halo around the core.

  • Cut through

    No cutting is needed here, but if you want real glow you could punch a few tiny star holes at the swirl's edge and drop an LED inside.

Learn the carving basics

Before you start cutting

Do I need to carve anything at all for this look?

No, this is a fully painted, no-carve design, so your blade can stay in the drawer. The galaxy is built entirely with sponged and brushed acrylic. If you crave a little glow, you can add a handful of tiny drilled star holes with an LED inside, but it is optional.

How do I keep the spiral from looking messy?

Sketch the arms first and make every brush stroke follow the same curved direction outward from the center. Work dark to light so mistakes are easy to cover with another layer. Keep the brightest creamy tones only at the core and let the arms fade as they reach the edge.

Will the paint survive being displayed outside?

Acrylic holds up well once it is fully cured and sealed with two light coats of matte clear spray. Dew and rain can still streak unsealed paint, so keep it covered on wet nights. A foam craft pumpkin will let you reuse the design for years.

Your take belongs here, too.

Changed a detail? Made it simpler? Share a photo of your version and tell the community what worked.

Share your pumpkin

More pumpkins like this

You've reached the end · 8 pumpkins
The Patch Report

Fresh pumpkins, in your inbox.

The best new carvings, ideas worth stealing, and how-tos for carving season. Short, seasonal, and gone by November.

A short email during carving season. Unsubscribe anytime. See our privacy policy.