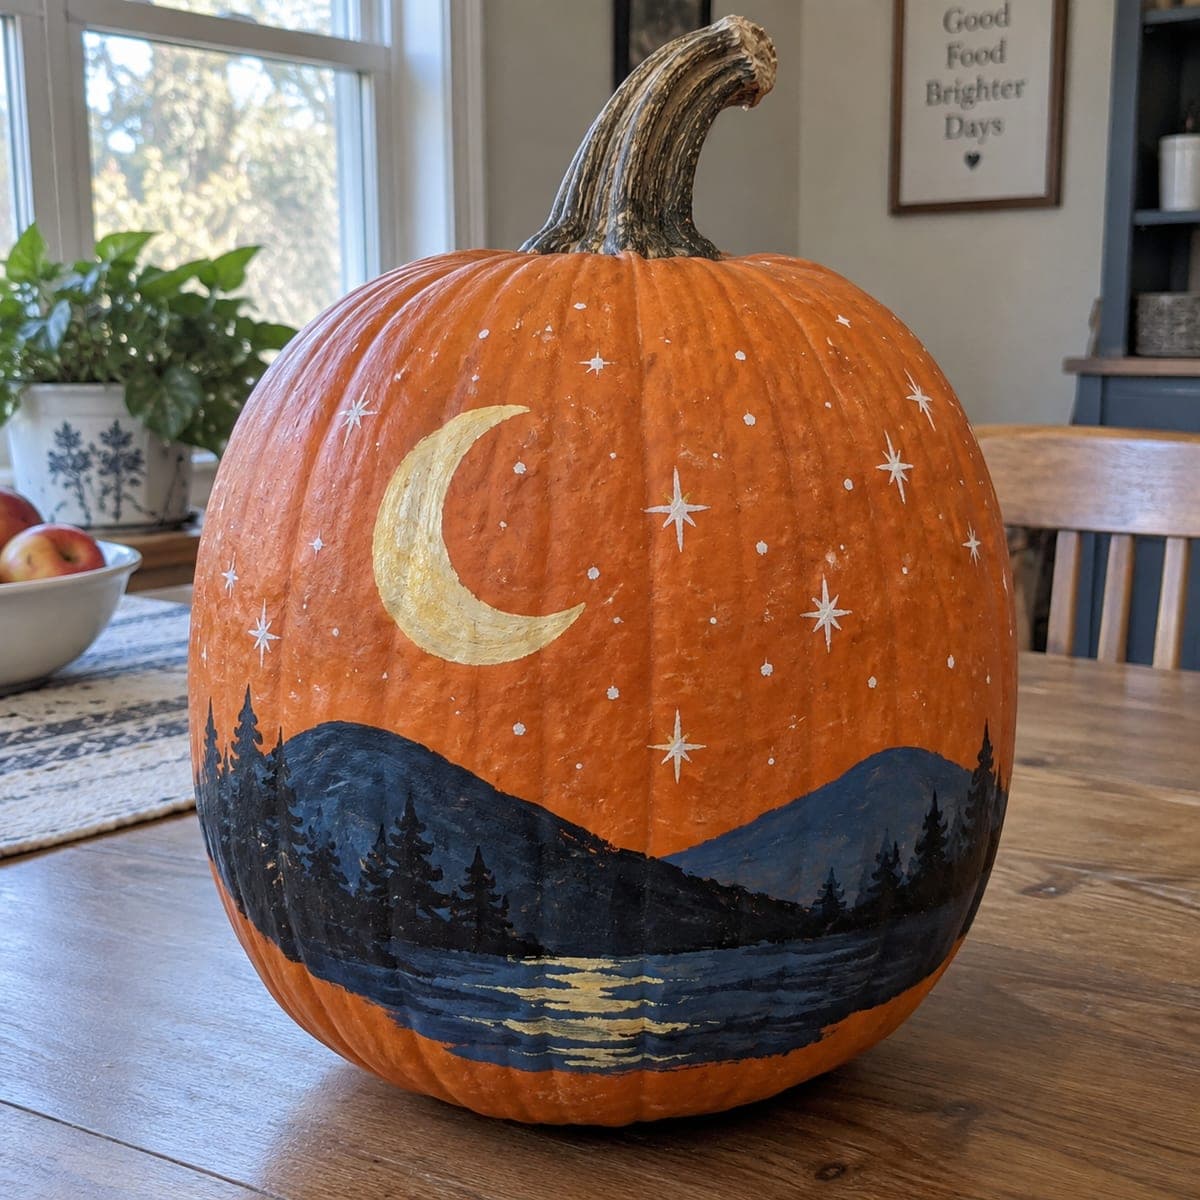
A golden crescent moon hangs over painted navy mountains and a starlit lake on this no-carve pumpkin, with a shimmer of moonlight reflected across the water. The orange skin stands in for the sky, so you only paint the moon, stars, evergreens, and the dark landscape band around the base. Use the pumpkin's ribs as natural vertical guides for the tree placement, and drag a nearly dry brush of pale gold across the water for the reflection.
This is an AI-generated concept image: a realistic, carvable design idea rather than a photo of a finished carve. AI concepts are always labeled and sit out the leaderboard and the contest.
The core trick here is letting the pumpkin's orange skin play the role of the twilight sky, so you only paint the moon, stars, dark mountains, evergreens, and the lake band near the base. Work from the top down, blocking in the big shapes first and saving the delicate gold reflection and starlight for last. Because this is a no-carve concept, there is no cutting involved, just paint layered over the natural surface.
Written by PumpkinCarvingIdeas.com, inspired by the image above. These are our suggestions, not instructions from the uploader. This approach to the AI concept has not been tested on a real pumpkin.
From pumpkin to porch
1
Clean and dry the surface
Wipe the whole pumpkin with a damp cloth to remove dust and field grime, then dry it completely. Acrylic grips much better on a clean, dry skin. If the surface is very glossy, a quick pass with a dry paper towel helps knock down the shine. Set the pumpkin on a towel so it does not roll while you work.
2
Sketch your horizon and moon
Use a washable marker or a light pencil to draw the wavy mountain line about a third of the way up from the base, then add a second lower line for the water's edge. Place the crescent moon off to one side in the upper area so the star field has room to spread. Use the pumpkin's natural ribs as vertical guides for where the tall evergreens will stand. Step back and check the layout before you commit to paint.
3
Block in the dark landscape band
Mix a deep navy and paint the mountain shapes and the lake band in flat, solid color, keeping the top edge crisp along your sketched horizon. Let this base coat dry fully, then add a slightly lighter blue on the far mountain to push it back and create depth. Keep the nearest hills darkest so the layers read from front to back. Two thin coats look better than one thick, streaky one.
4
Add the evergreens and moon
With a small round brush and near-black paint, tap in the pointed evergreen silhouettes along the shoreline, working down each rib so they line up naturally. Paint the crescent moon in pale gold, then add a lighter highlight along its inner curve so it looks rounded. Let every layer dry before adding the next to avoid muddy colors. Keep the tree tips thin and slightly irregular so they feel real.
5
Dry-brush the reflection and scatter stars
Load a flat brush with pale gold, wipe most of it off on a paper towel, then drag the nearly dry bristles in short horizontal strokes below the moon to suggest shimmering water. Build the reflection gradually so it stays soft and broken, not a solid stripe. Dip the tip of a fine brush or a toothpick in white to dot small stars across the orange sky, adding a few four-point sparkles near the moon. Vary the star sizes so the field feels natural.
6
Seal and stage your photo
Once everything is bone dry, brush on a thin coat of clear matte sealer to protect the paint from smudges and moisture. Set the finished pumpkin on a table or shelf where side light rakes across it, which makes the gold moon and reflection glow. If you want a nighttime effect, tuck a small battery LED nearby rather than inside, since this design is not cut open. Snap your photo in soft, warm light to keep the colors true.
Gather your supplies
Check things off as you get ready.
Work on a stable surface, keep your free hand out of the cutting path, and have an adult handle sharp tools.
Three levels of light
Leave intact
The bare orange skin across the upper two-thirds, left unpainted to stand in for the glowing twilight sky.
Peel & shade
The soft dry-brushed gold reflection on the water, built up in thin broken strokes for a gentle shimmer rather than solid color.
Cut through
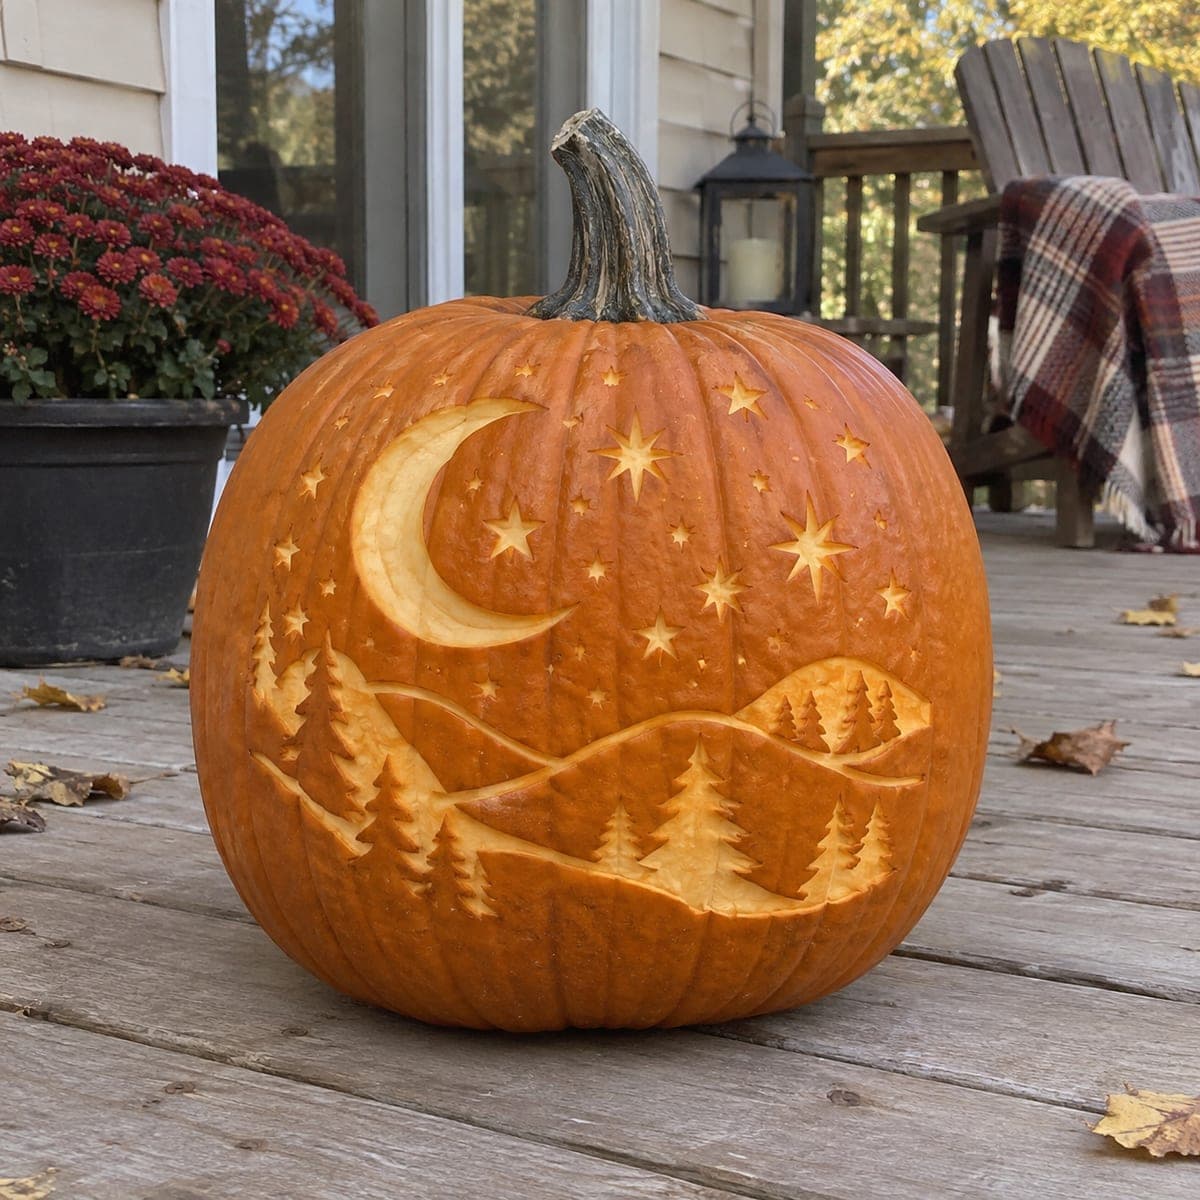
Nothing is cut on this no-carve design, so the brightest accents are the painted gold moon and white stars that catch the most light.
No, this is a fully painted no-carve pumpkin, so there is no scooping or blade work required. That makes it a good pick if you want to skip the mess or keep the pumpkin lasting longer. The only tools you really need are brushes and paint.
How do I keep the moonlight reflection from looking like a solid stripe?
Load your flat brush with pale gold, then wipe almost all of it off on a paper towel before touching the pumpkin. Drag the nearly dry bristles in short, broken horizontal strokes directly below the moon. Build it up in light passes so gaps of dark water show through, which reads as shimmer.
What is the easiest way to line up the evergreen trees?
Use the pumpkin's natural vertical ribs as spacing guides and stand a tree along several of them. Keep the tips thin and slightly uneven so no two look identical. Painting them last, over the dry navy band, keeps the silhouettes crisp.
Your take belongs here, too.
Changed a detail? Made it simpler? Share a photo of your version and tell the community what worked.
 AI
AI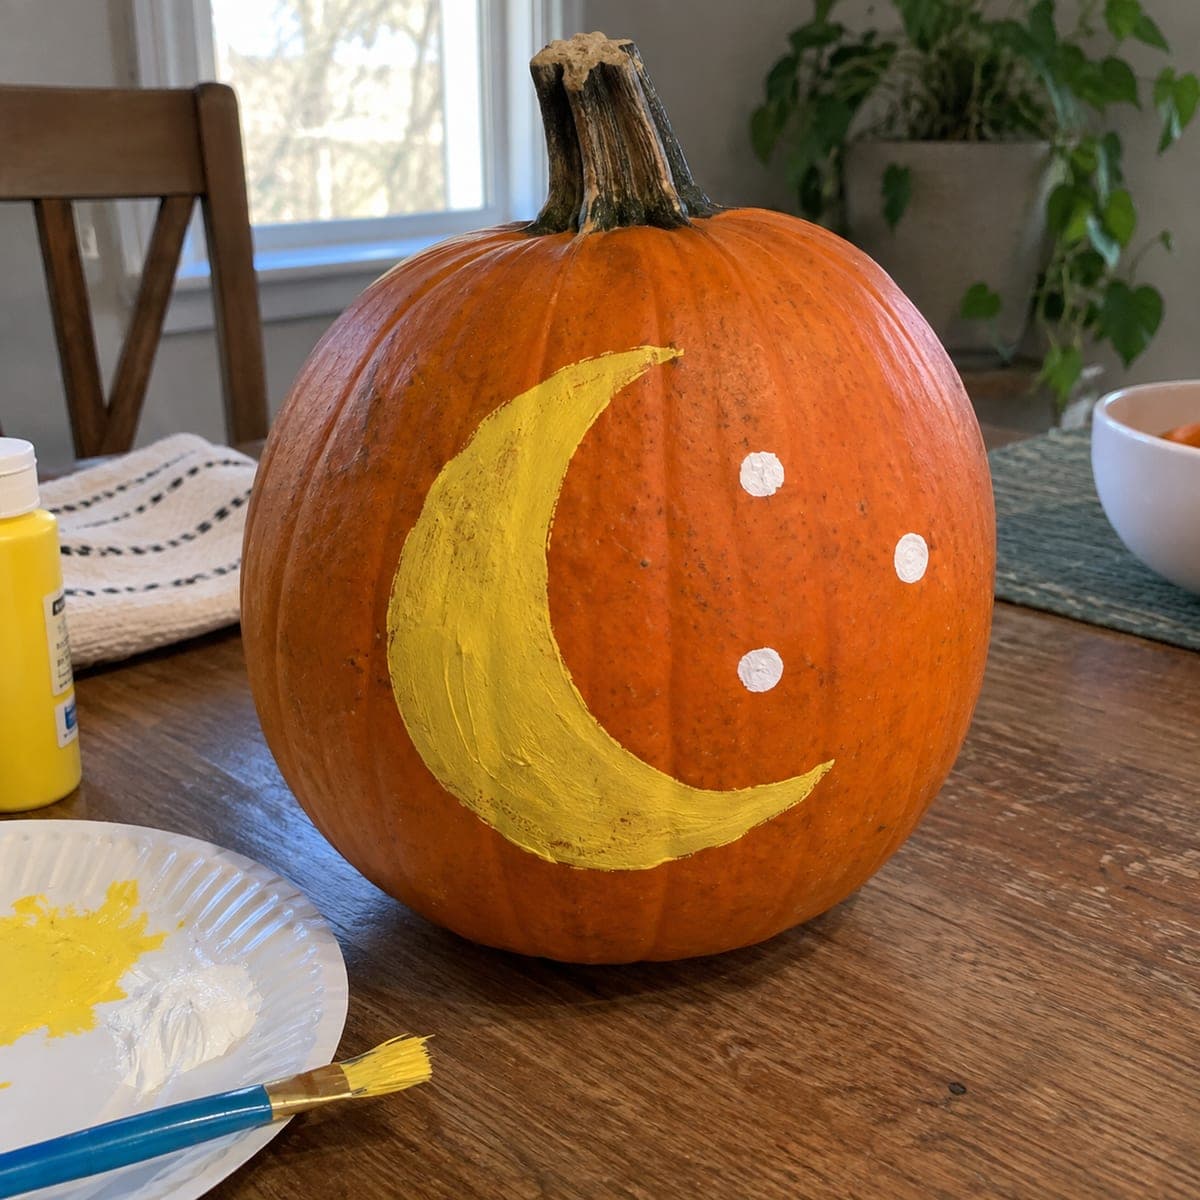
Comments (0)