@flickerwick
Sep 7, 2026
Steps of October
No ratings yet · Sign in to rate
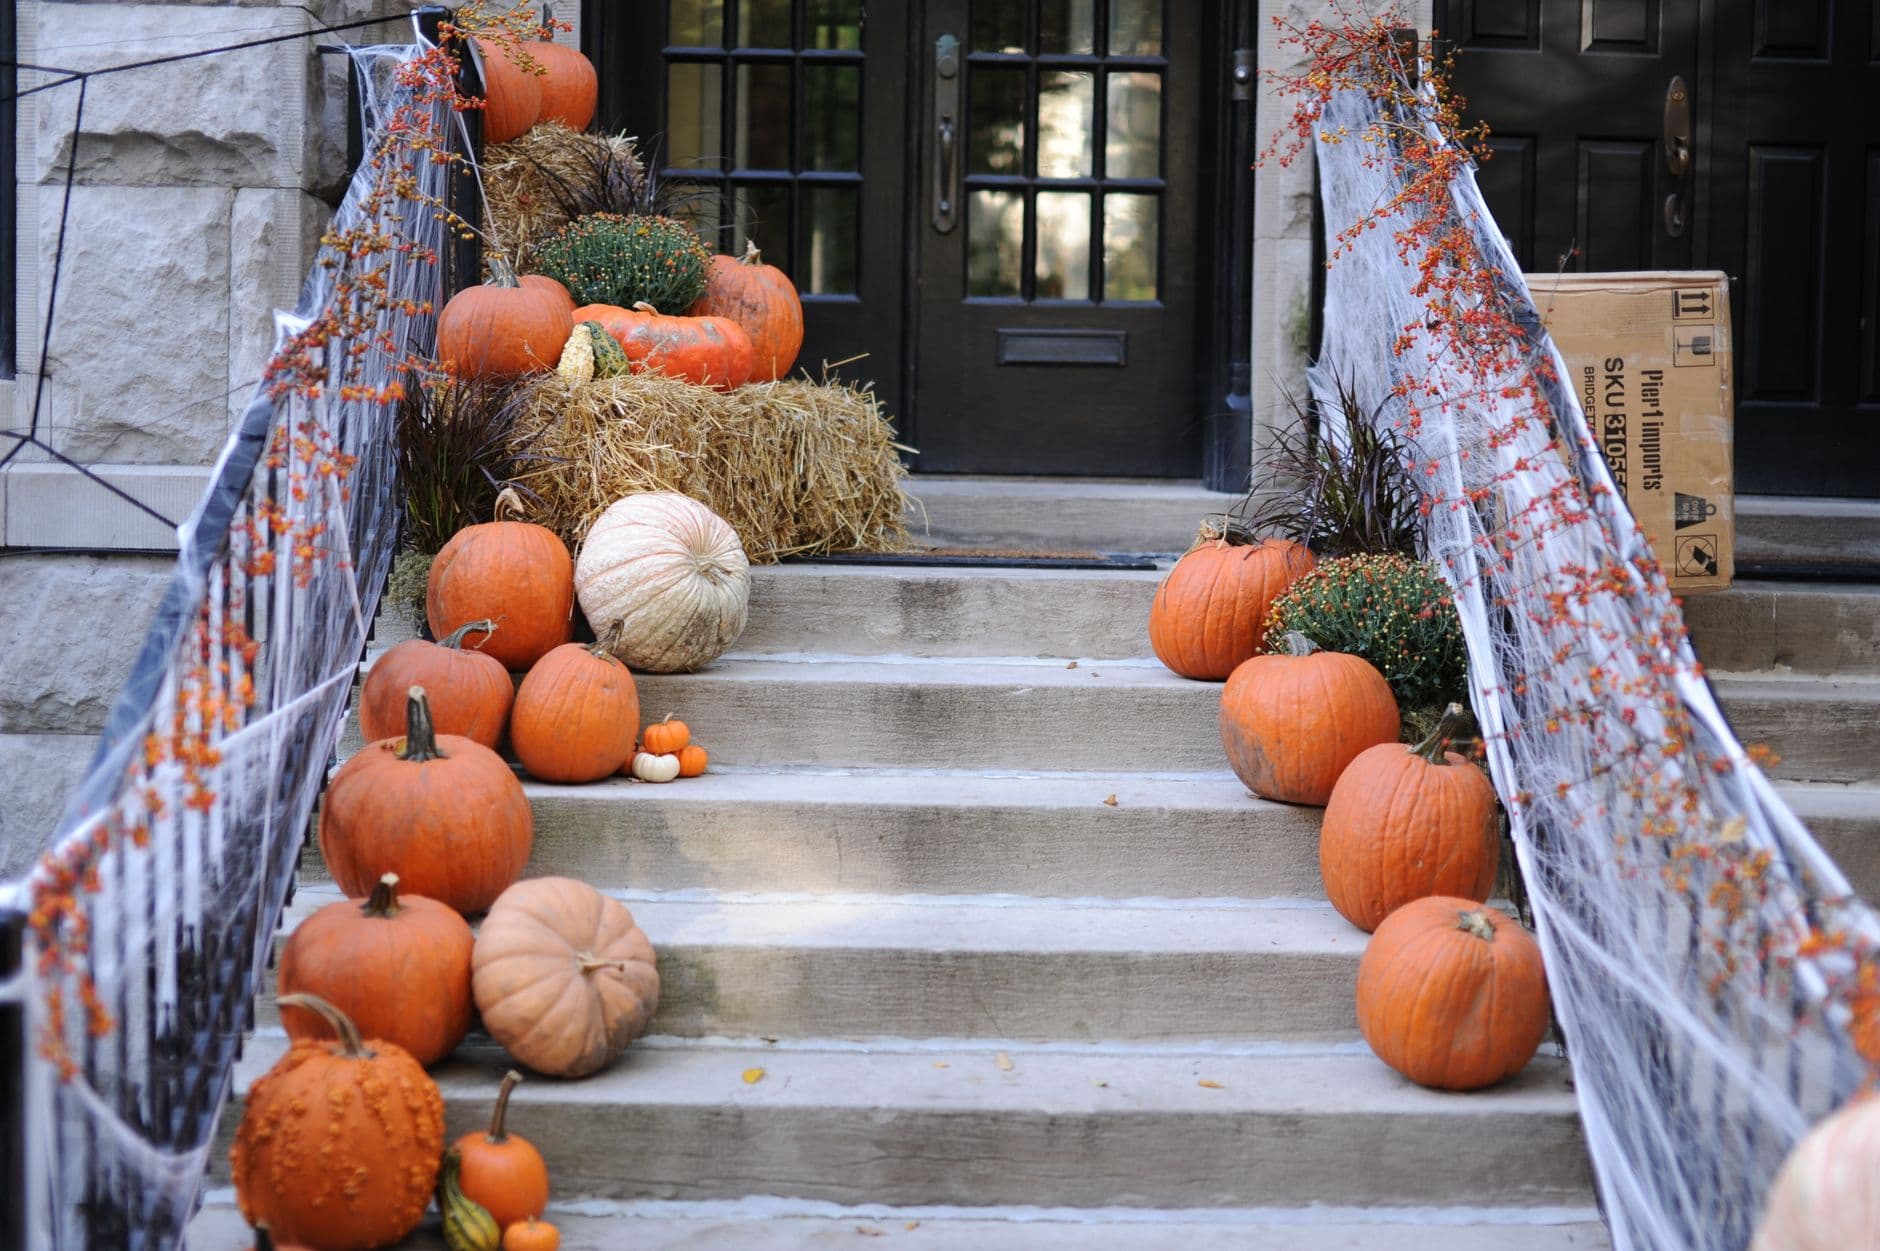
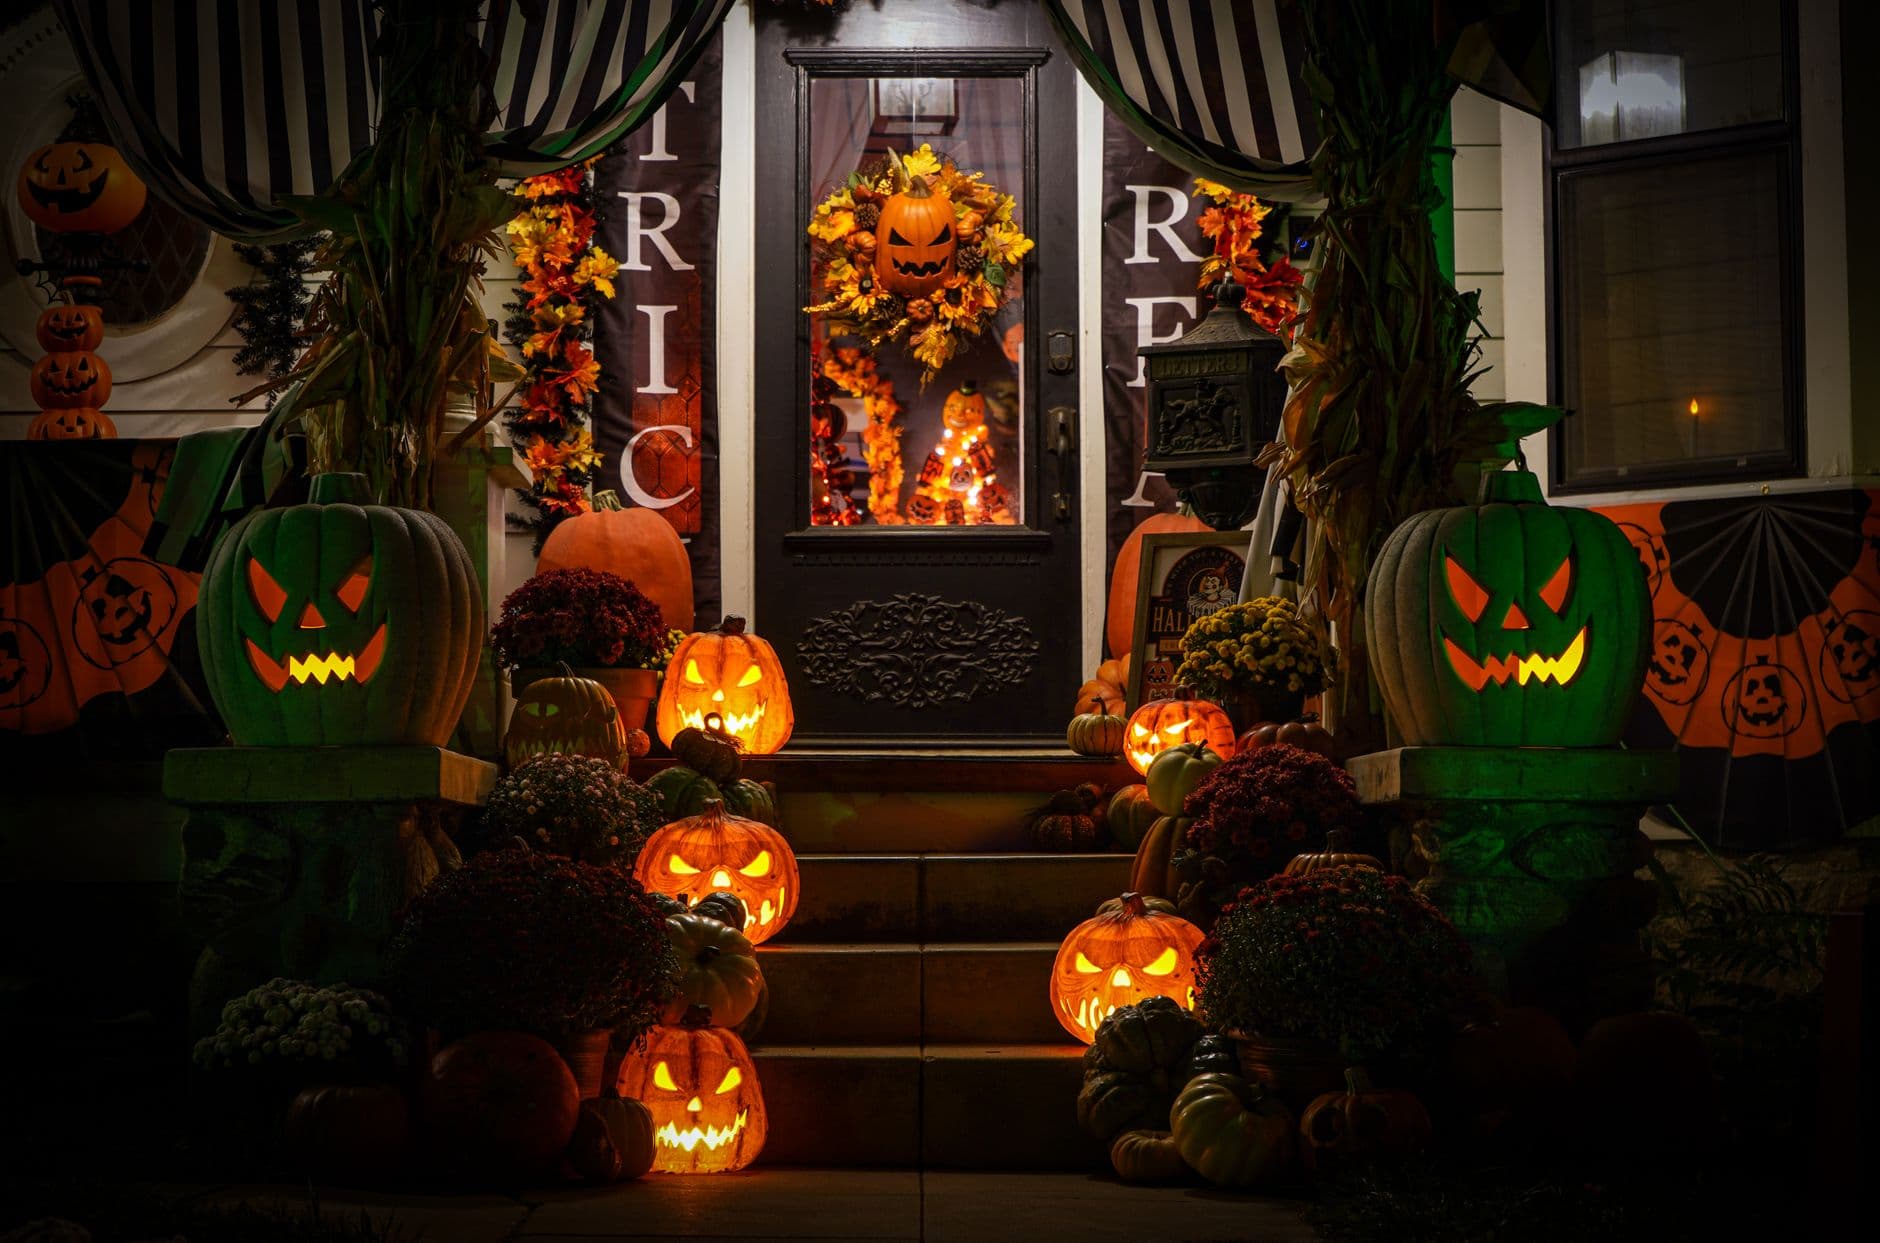
The core trick here is not a single carving but a layered display that mixes uncarved pumpkins of many sizes with straw bales, mums, and stretched spider web along the railings. Pick two or three pumpkins to carve with classic cutout faces so they glow at night, and leave the rest whole for daytime color and bulk. Build in tiers from the top step down so every pumpkin reads clearly from the sidewalk.
Written by PumpkinCarvingIdeas.com, inspired by @flickerwick's photo above. These are our suggestions, not instructions from the uploader, and this approach hasn't been tested on their exact carve.
Set all your whole pumpkins, gourds, and mums on the steps first and shuffle them until the grouping feels balanced. Put the biggest pumpkins near the door and let sizes taper down toward the sidewalk. Leave a clear walking path up the center so trick-or-treaters have a safe route. Mark which two or three pumpkins you want to carve, choosing ones with flat, stable bottoms.
For each pumpkin you plan to light, cut a hole in the bottom rather than the top so it sits flat and drops neatly over an LED. Have an adult make the cut with a serrated carving saw, angling the blade inward so the disc does not fall through. Scoop out the seeds and scrape the front wall down to about one inch thick where you will carve. A thinner wall makes cutting cleaner and lets more light through.
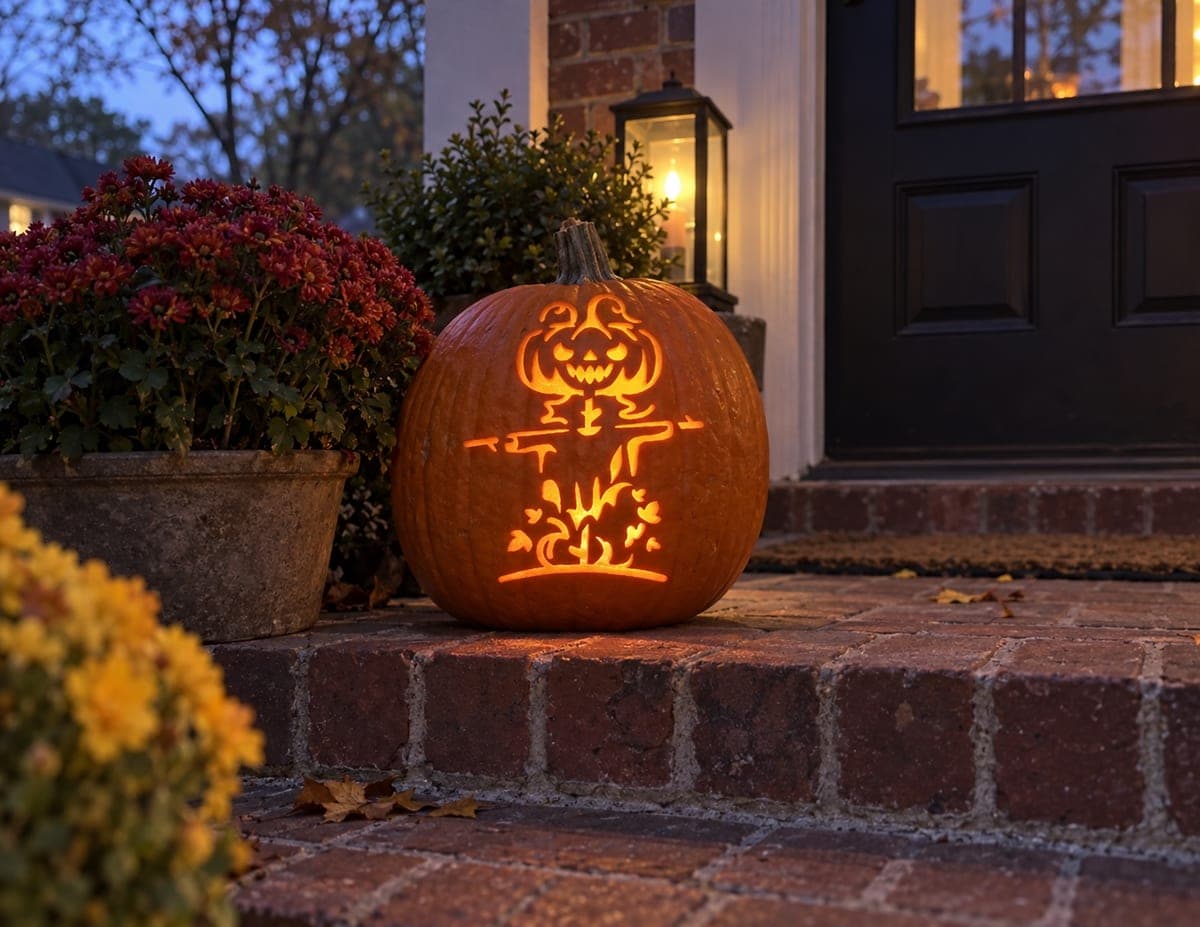
Tape a classic jack-o-lantern or spider web stencil to the smoothest side of each carving pumpkin. Poke along the lines with a pin or a dull pencil to dot the pattern onto the skin, then peel the paper away. Keep any web strands and spider legs connected to a surrounding border so thin pieces stay supported. Draw small bridges by hand anywhere a shape looks like it might snap free.
Start with the smallest interior cuts, like eyes or web gaps, using a fine carving saw and gentle pressure. Push the loosened pieces out from the inside with your thumb rather than pulling from the front. Save the largest opening, such as a wide mouth, for last so the pumpkin keeps its strength while you work. Go slow around any narrow strand and let the saw do the work instead of forcing it.
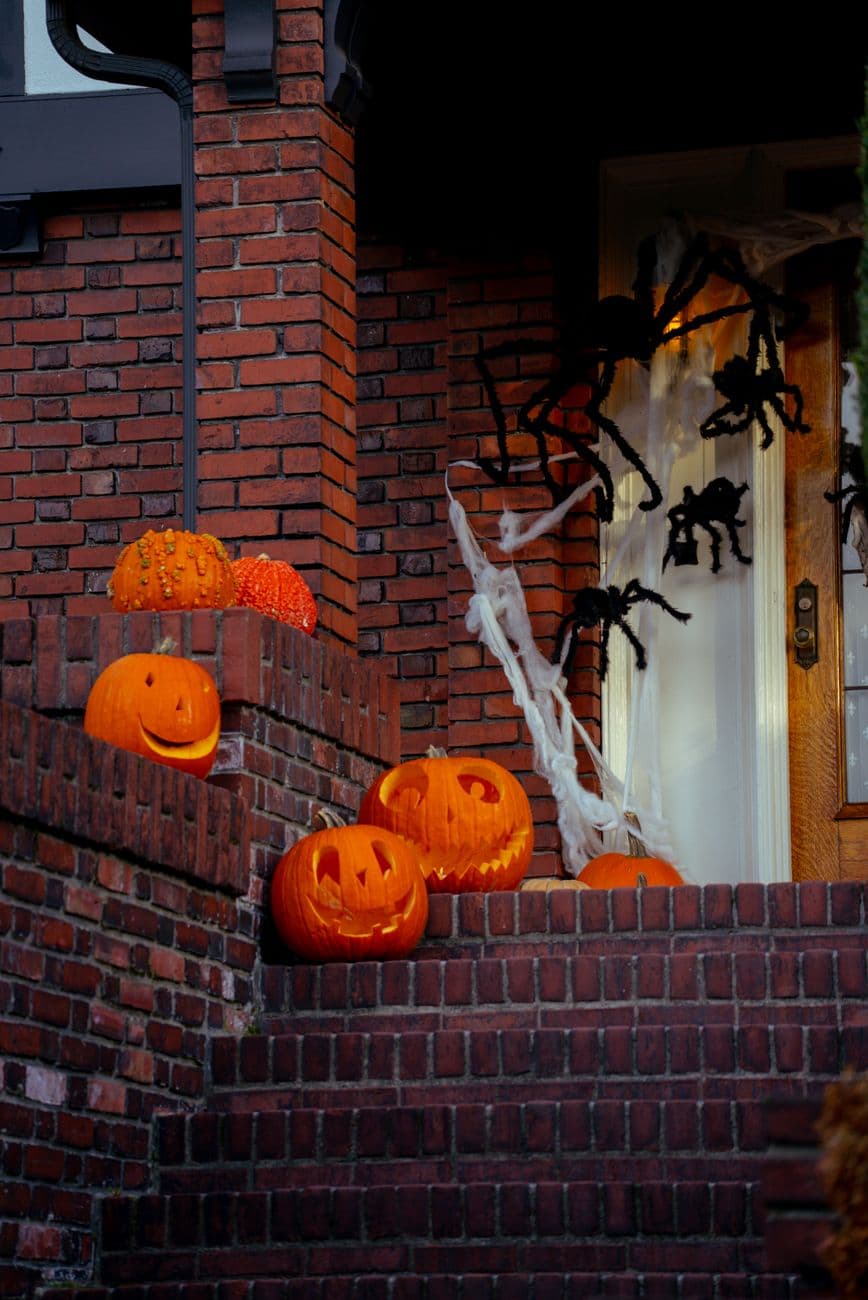
Stretch cotton spider web thin along the railings and anchor it to the metal so it will not blow into the path. Tuck straw bales, potted mums, mini gourds, and branches of bittersweet around the pumpkins to fill gaps and add texture. Nestle your carved pumpkins where their faces point toward the sidewalk. Keep all webbing and dry straw well away from any light source or outlet.
Drop a battery LED puck or a string of warm LED lights under each carved pumpkin, never a real candle near the straw. Wait until dusk, then walk to the sidewalk to see how the glow reads and adjust angles as needed. Refresh cut edges with a wipe if they start to curl over the next few days. Snap your photo at that blue hour moment when the cutouts glow but the whole pumpkins still show their color.
Check things off as you get ready.
Work on a stable surface, keep your free hand out of the cutting path, and have an adult handle sharp tools.
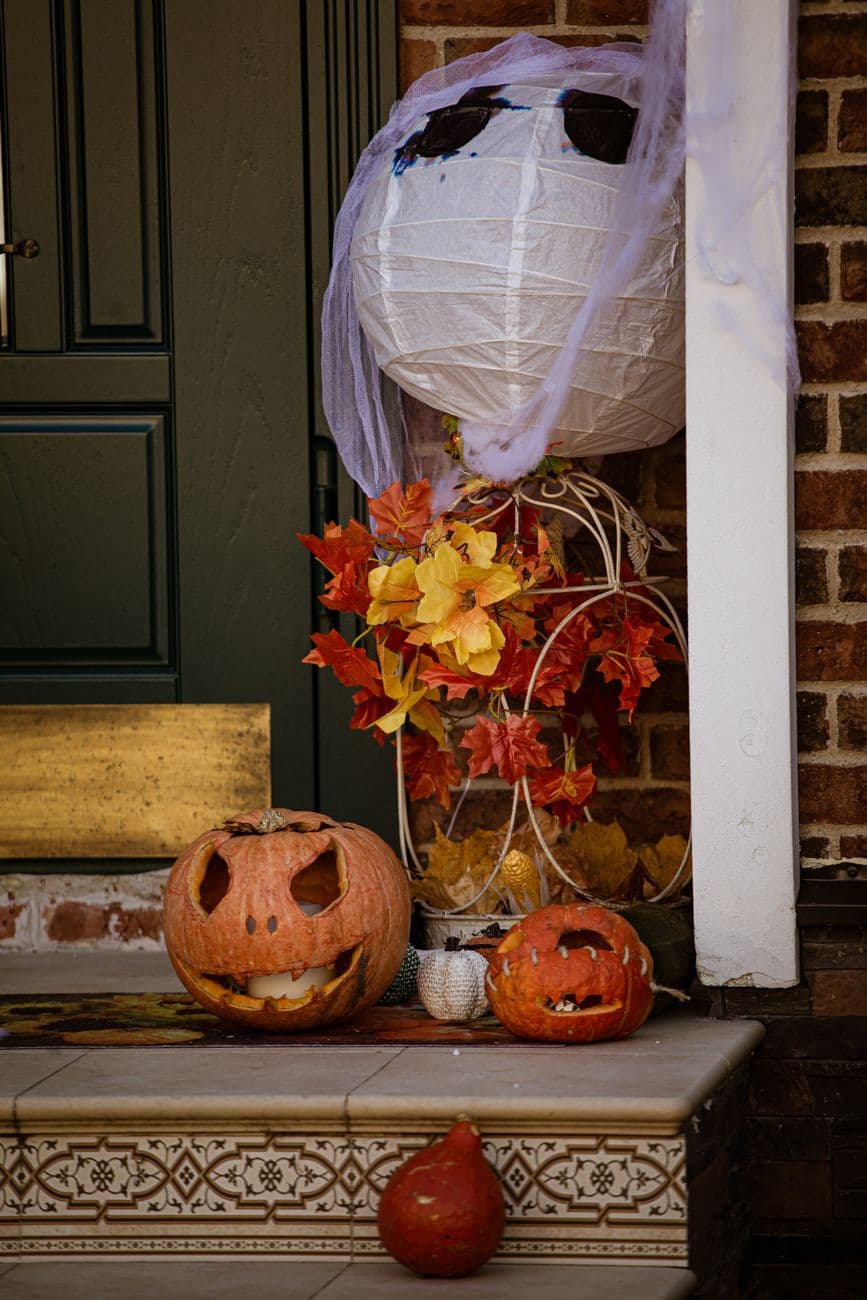
The many whole uncarved pumpkins, gourds, and the pale ghost pumpkin stay dark and show off their natural color and ridges.
Skin-peel shallow web rings or a thin border on a carving pumpkin for a soft dim halo around the cut shapes.
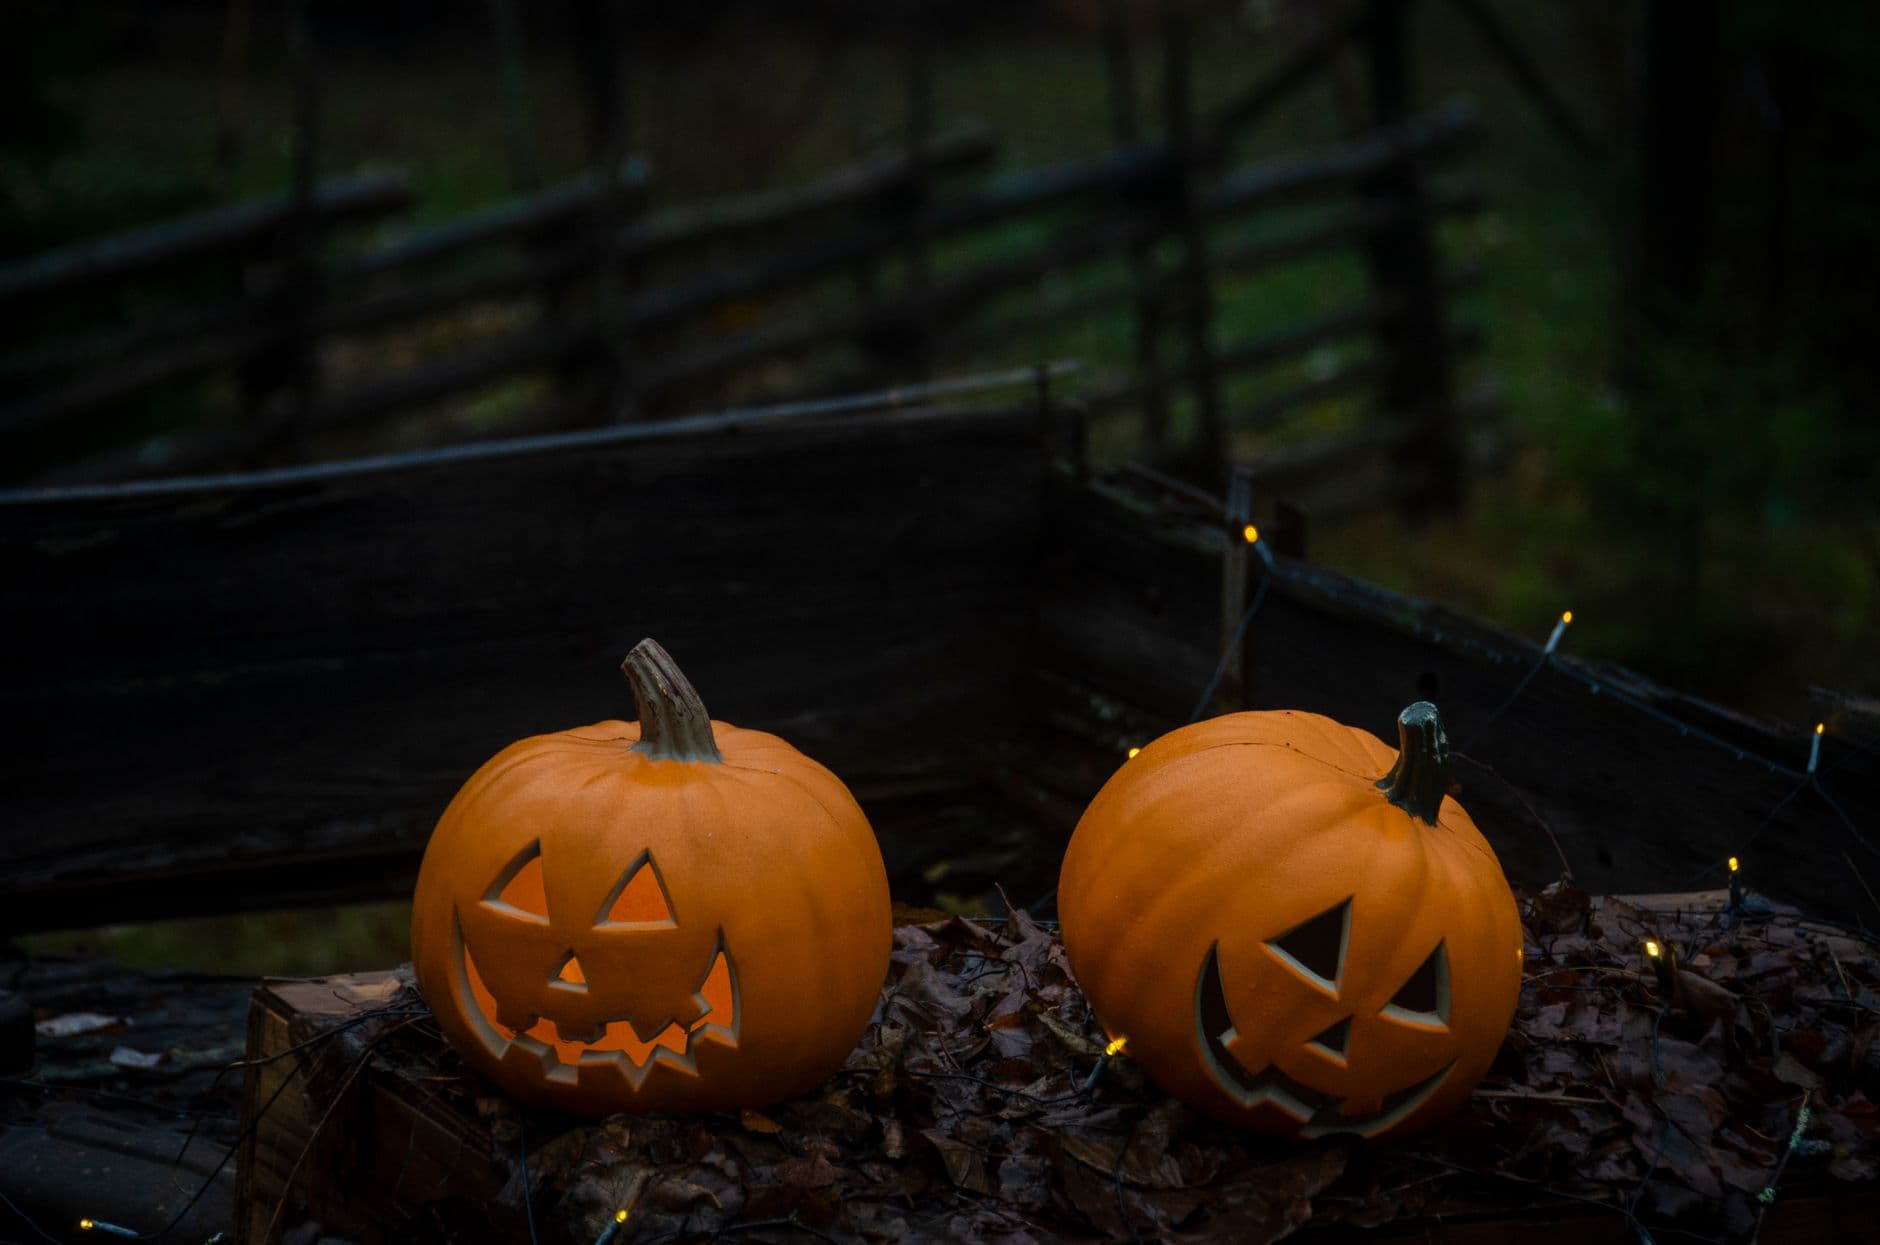
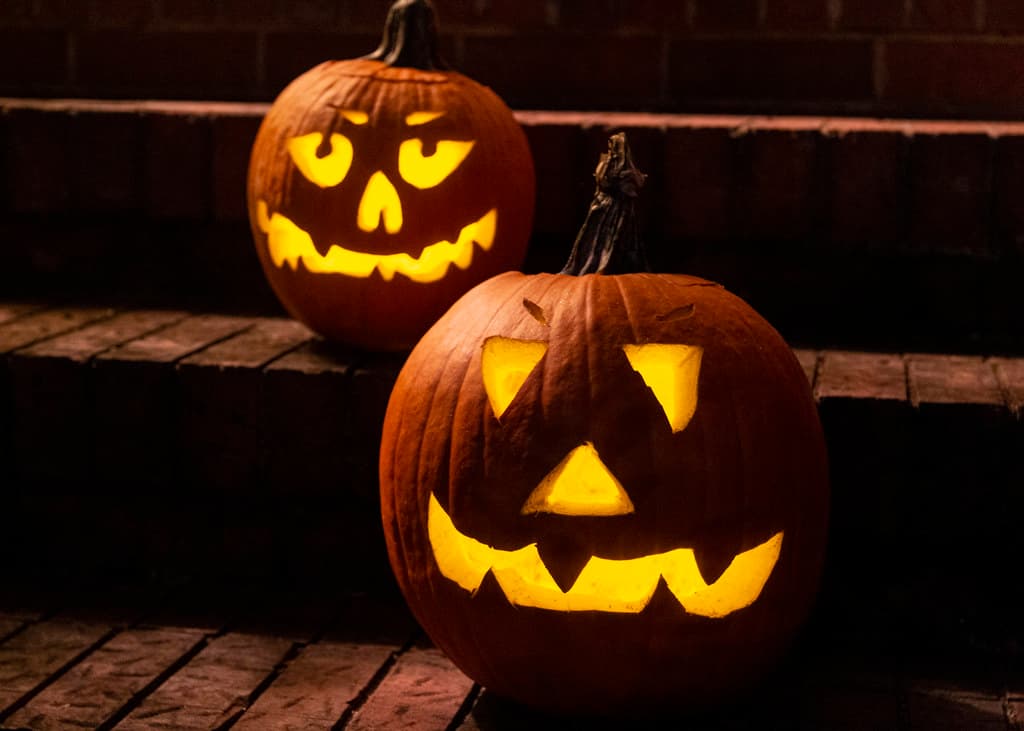
Full cutouts like the eyes, mouth, or open web gaps on your two or three lit pumpkins throw the brightest glow at night.
No, and you should not. The look here comes from lots of whole pumpkins with only a few carved ones mixed in. Carving just two or three keeps the work manageable and lets the uncarved pumpkins add color and volume during the day.
Stretch the webbing thin and anchor it only to metal railings, keeping it clear of the walking path. Use battery LED lights, never candles, and keep every light source away from the dry straw bales. Cotton web and hay are both flammable, so treat open flame as off limits for this whole scene.
Cluster pumpkins tightly along the edges and railings and leave the center clear for foot traffic. Stack smaller gourds on straw bales to build height without spreading wide. A single strong tier on each side reads just as full as a sprawling pile.
Changed a detail? Made it simpler? Share a photo of your version and tell the community what worked.
The best new carvings, ideas worth stealing, and how-tos for carving season. Short, seasonal, and gone by November.

Comments (0)