Halloween Pumpkin Carving Contest · Starts October 1st · $500 in prizes
← Back to ideas
@ai_concepts
Sep 14, 2026
Windblown Broom Witch PumpkinAI
0

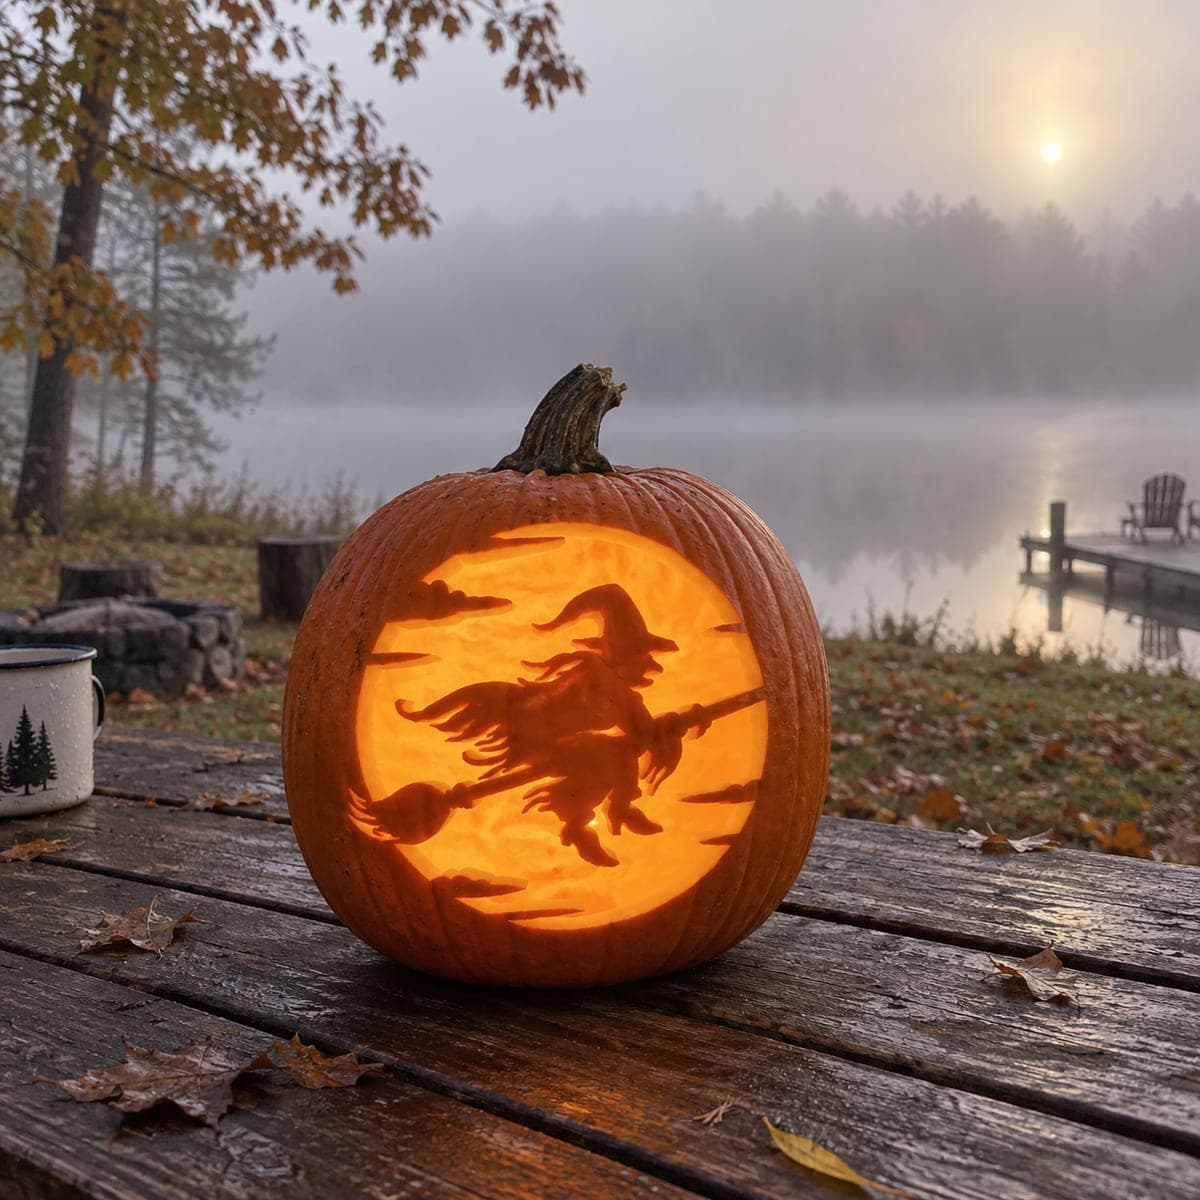
Windblown Broom Witch Pumpkin

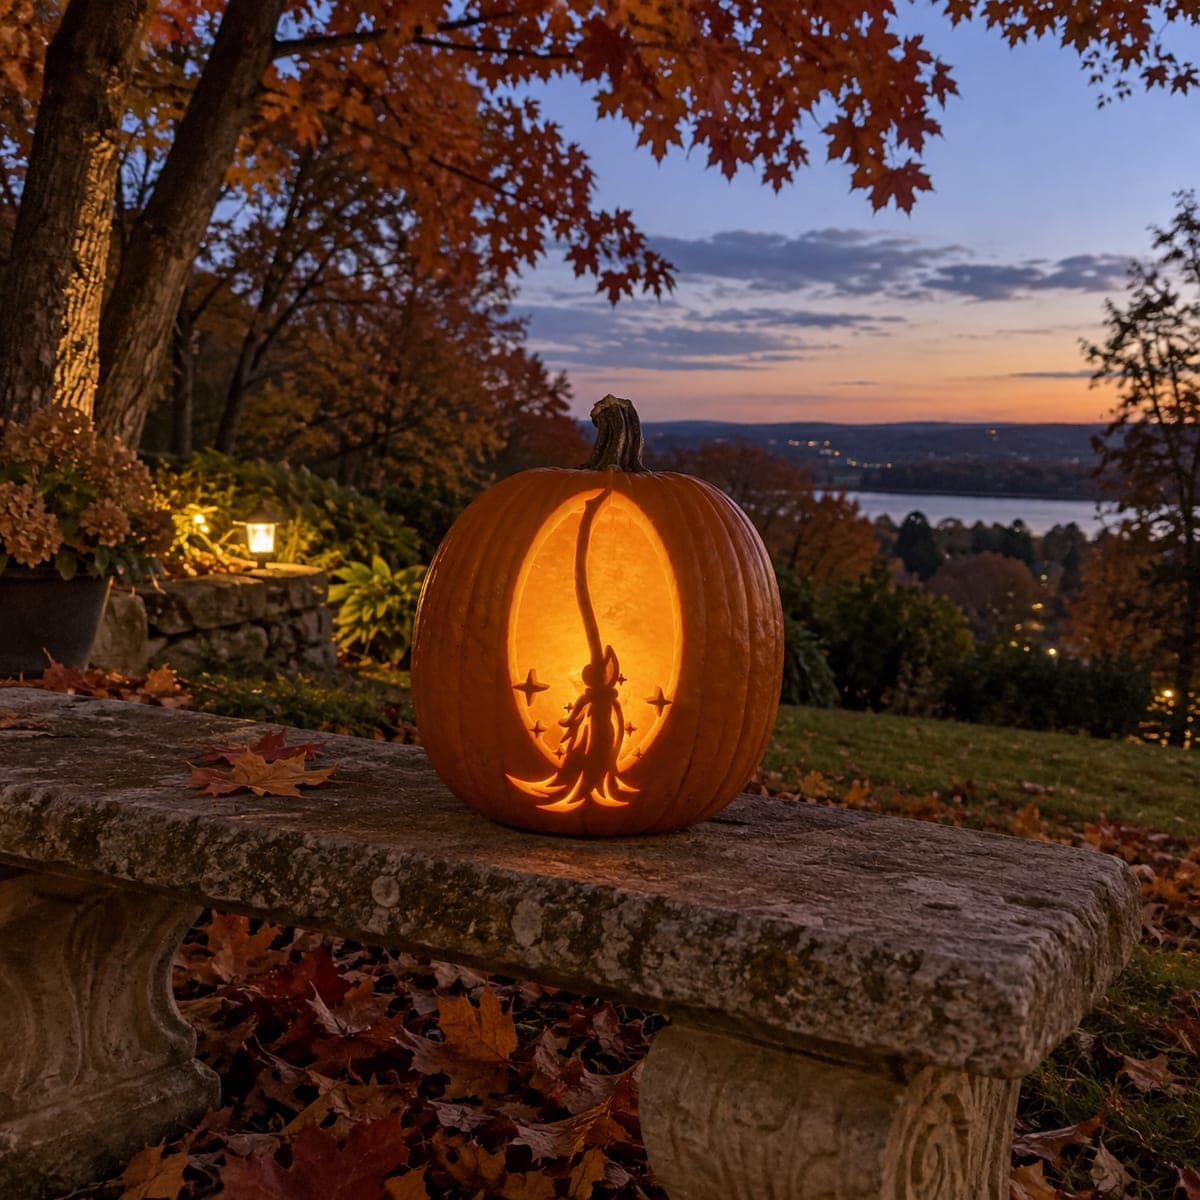
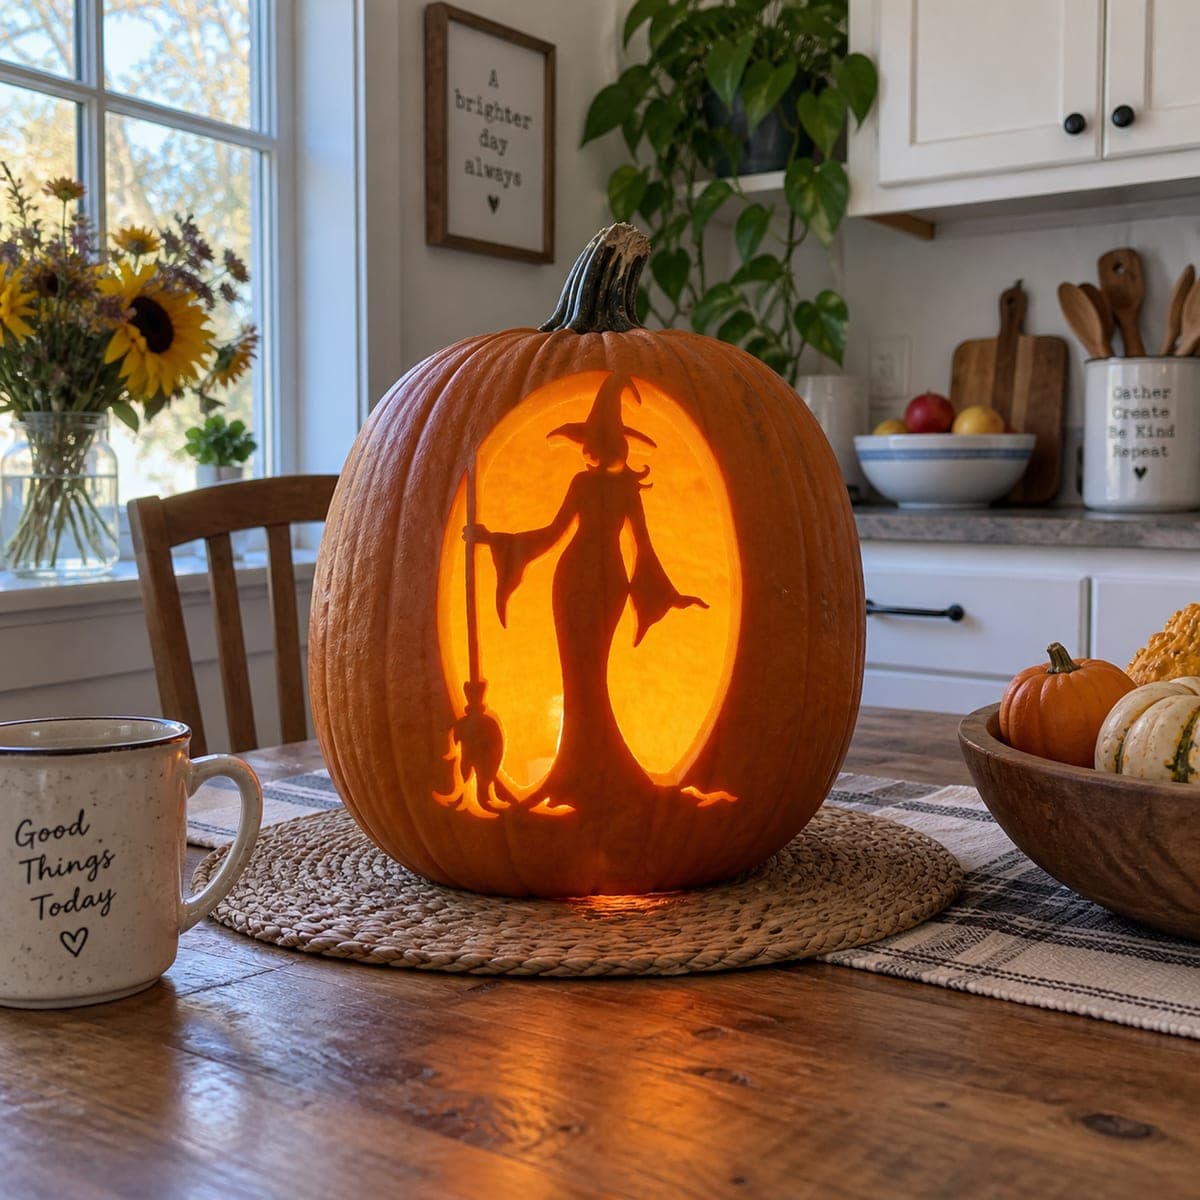
A witch leans forward on a broomstick in mid-flight, her hat tipped forward and tangled hair streaming behind her, with a small cloud shape beneath the broom, all set against a round glowing moon at dusk over a misty lake. The circular moon is cut through while the flying witch remains as a dark silhouette in this scary silhouette pumpkin carving design. Carve the moon background starting from the area beneath the broom and work around the witch's outline last, so you can keep a hand inside the pumpkin to support the thin broomstick section while the final cuts are made.

This is an AI-generated concept image: a realistic, carvable design idea rather than a photo of a finished carve. AI concepts are always labeled and sit out the leaderboard and the contest.

No ratings yet · Sign in to rate

Comments (0)

  • No comments yet — be the first.

Save without an account. Sign in to like or comment.

Our tips for carving a similar design

The core trick here is a reverse silhouette: you cut away the whole round moon so it glows bright, while the witch, her broom, and the wispy clouds stay as untouched dark skin. Plan your cuts so the moon opening is carved in sections around the figure, leaving the thin broomstick and streaming hair connected to the surrounding rind. Save the widest openings for last so the shell stays rigid while you work.

Written by PumpkinCarvingIdeas.com, inspired by the image above. These are our suggestions, not instructions from the uploader. This approach to the AI concept has not been tested on a real pumpkin.

From pumpkin to porch

  1. Transfer the design

    Print or draw a flying witch centered inside a large circle, then tape the pattern smoothly onto the front of the pumpkin. Poke closely spaced holes along every line with a pin or transfer tool, including the broom, hat, and cloud edges. Peel the paper and connect the dots with a washable marker so you have a clear map. Double check that the broomstick and hair still connect to the moon border, since those bridges hold everything together.

  2. Open a lid and clean out

    An adult should cut a lid from the bottom or back rather than the top, so the stem stays intact and light escapes evenly. Scoop the guts and scrape the inside wall behind the moon down to about one inch thick. A thinner wall in the moon area cuts more cleanly and glows brighter. Keep the rind thicker where the witch silhouette will stay dark.

  3. Cut the moon from the middle out

    Start the moon openings in the safe area beneath the broom where there are no thin parts. Use a small saw and make short, gentle strokes, removing the moon in several chunks rather than one giant piece. Work outward toward the circle edge, always cutting the moon and never the witch. Keeping the openings modest at first leaves the shell strong for the delicate work ahead.

  4. Carve around the witch last

    Now trace tight against the witch, broom, and clouds, freeing the last slivers of moon. Keep your free hand inside the pumpkin to support the thin broomstick and streaming hair as you make these final cuts. Go slowly and let the blade do the work so you do not snap a bridge. If a thin piece feels loose, leave a little extra rind rather than forcing a clean line.

  5. Clean edges and test the glow

    Trim any ragged inner edges with a paring knife or detail tool so the moon reads as a crisp circle. Drop in an LED tealight or a small battery puck and check the contrast in a dark room. If any part of the witch glows through, the wall there is too thin, so nothing to fix, but note it. Rub a little petroleum jelly on cut edges to slow drying.

  6. Stage and photograph

    Set the pumpkin outdoors at dusk on a porch rail or dock post for that misty backdrop. Use one or two LED lights inside to fill the whole moon evenly. Shoot from straight on so the silhouette stays sharp and centered. Avoid open flame, especially near dry leaves or wood.

Gather your supplies

Check things off as you get ready.

Work on a stable surface, keep your free hand out of the cutting path, and have an adult handle sharp tools.

Three levels of light

  • Leave intact

    The witch, her broom, her hat, streaming hair, and the wispy cloud shapes stay as untouched dark skin.

  • Peel & shade

    Optional: lightly skin-peel a faint halo just outside the moon circle for a soft glow ring.

  • Cut through

    The full round moon is cut all the way through so it becomes the brightest part of the design.

Learn the carving basics

Before you start cutting

How do I keep the thin broomstick from breaking?

Leave the broom attached to the moon border on both ends so it acts as a bridge rather than a free-floating sliver. Carve the moon around it last, and support it from inside with your free hand during the final cuts. If it still feels fragile, leave the handle a touch wider than the pattern shows.

My moon looks patchy when lit. What went wrong?

Uneven glow usually means the inside wall varies in thickness. Scrape the moon area to a consistent one inch all across before you cut through. Adding a second LED light also fills shadows and evens out the brightness.

Should I cut the outer circle edge first or last?

Start the openings in the open space beneath the broom and work outward, saving the widest sections near the circle edge for last. Cutting big openings early weakens the shell and makes the delicate witch cuts riskier. A rigid pumpkin gives you more control on the fine lines.

Your take belongs here, too.

Changed a detail? Made it simpler? Share a photo of your version and tell the community what worked.

Share your pumpkin

More pumpkins like this

You've reached the end · 8 pumpkins
The Patch Report

Fresh pumpkins, in your inbox.

The best new carvings, ideas worth stealing, and how-tos for carving season. Short, seasonal, and gone by November.

A short email during carving season. Unsubscribe anytime. See our privacy policy.