@grinninggreta
Sep 7, 2026

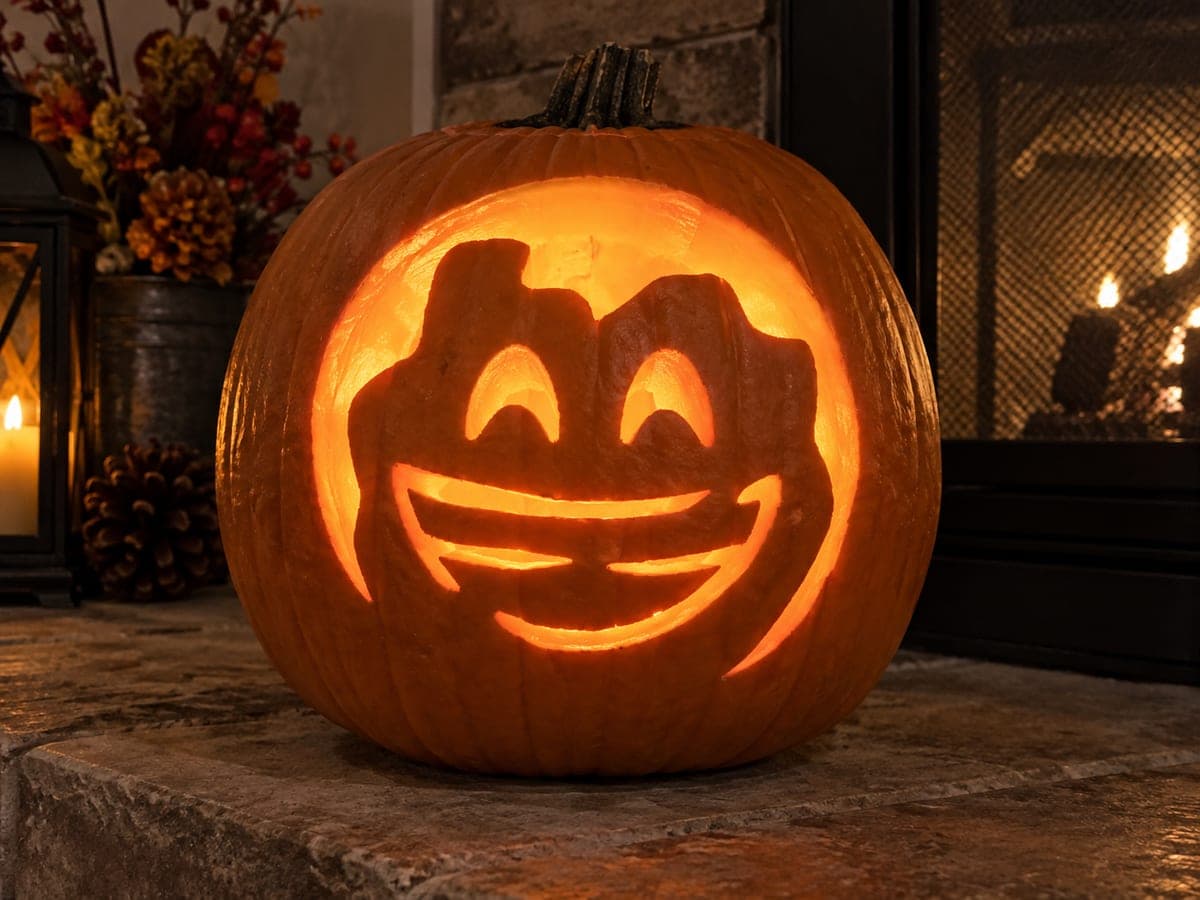
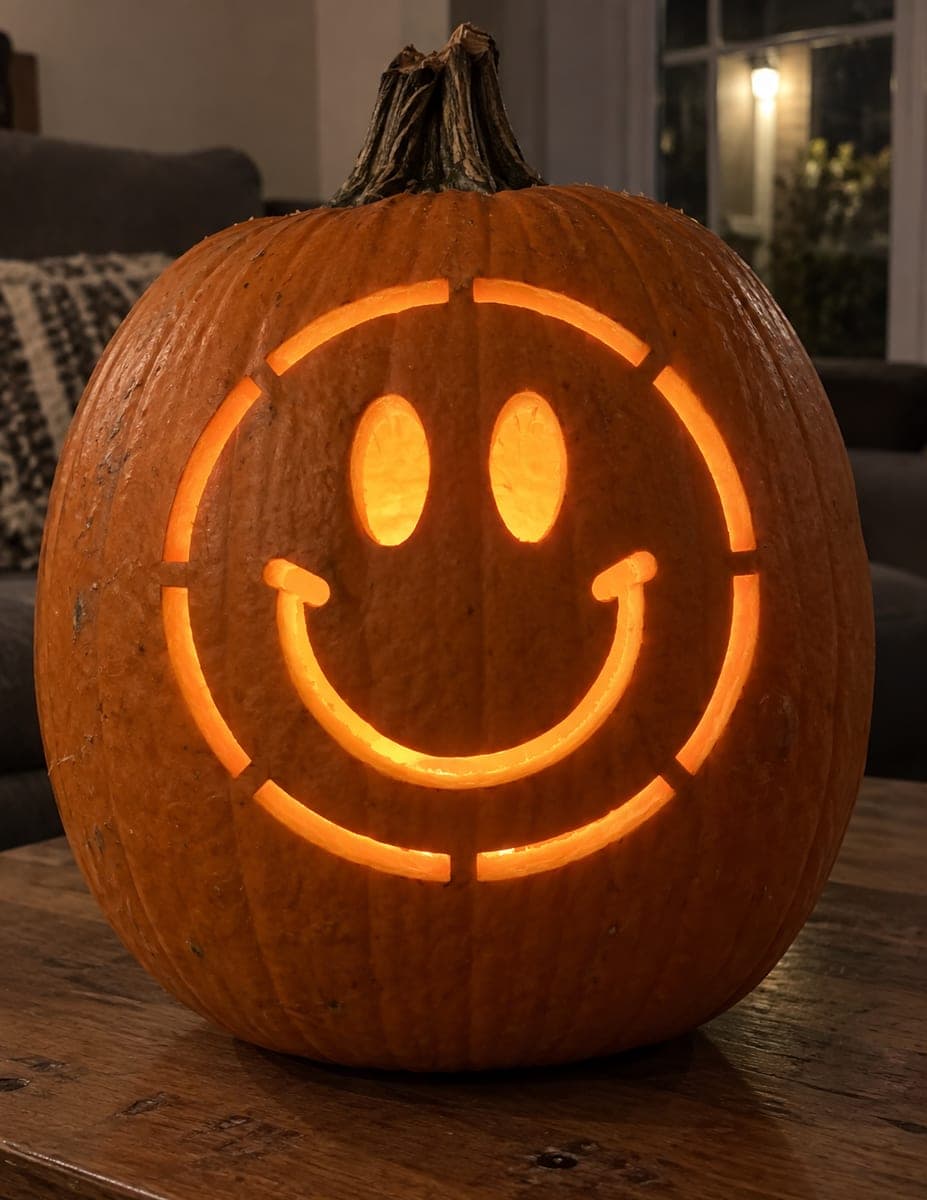
The whole charm here is a classic happy jack-o-lantern face on a small pumpkin: two triangle eyes, a triangle nose, and a wide zigzag grin. The trick is keeping every shape simple and clean so the little face reads clearly at a small size. Freckle dots on the cheeks add personality without much extra work.
Written by PumpkinCarvingIdeas.com, inspired by @grinninggreta's photo above. These are our suggestions, not instructions from the uploader, and this approach hasn't been tested on their exact carve.
Choose a mini or small pumpkin that sits flat and has one smooth face panel. Wipe it down and check for soft spots. A firm, even surface makes the small triangle cuts much easier to control. Pat it dry before you draw.
For a piece this small, cutting a hole in the bottom is easier than a top lid and lets you set it right over an LED. Have an adult cut the opening at an angle so the removed plug does not fall inward. Scoop out the seeds and pulp with a spoon. Thin the inside of the face wall to about one inch so your cuts go through cleanly.
Sketch two triangle eyes, a smaller triangle nose, and a zigzag mouth with a marker or a poked stencil. Keep the eyes level and space the mouth evenly so the grin looks friendly. Add a few small dots on each cheek for freckles. Step back and check the layout before you cut anything.
Start with the eyes and nose using a small carving saw or a craft knife handled by an adult. Make short, straight strokes and let the little plugs pop out gently. Cutting the smallest shapes first keeps the pumpkin wall strong while you work. Take your time on the sharp corners.
Save the wide mouth for last since it removes the most material. Cut each zigzag tooth as a clean straight line, leaving the points between teeth intact so the smile holds its shape. Poke the freckle dots through with a small tool or skewer for tiny pinpoints of light. Ease out the mouth piece slowly.
Drop in a battery LED tea light and set the pumpkin over it if you cut the base. Try it against dark leaves or a porch step for that cozy autumn look. Shoot low and close so the little face fills the frame. Keep a spare LED handy since small pumpkins dry out fast.
Check things off as you get ready.
Work on a stable surface, keep your free hand out of the cutting path, and have an adult handle sharp tools.
The pumpkin skin around the face stays dark, keeping the shape of the little face crisp.
Optional: lightly scrape the cheek freckle spots for a soft dim glow instead of full holes.
The triangle eyes, triangle nose, and zigzag grin cut all the way through for the brightest light.
You can do either. The pictured look works painted with black craft paint for a no-carve version, but carving the shapes lets the face glow from an LED inside. If your pumpkin is very small or thin walled, painting may be the safer choice.
Leave the pointed tips between the teeth fully attached to the pumpkin and cut only the open triangles. Use short, controlled strokes rather than sawing fast. On a small pumpkin the wall is thin, so gentle pressure keeps the points intact.
Use a single battery LED tea light, never a flame. Small pumpkins have little airflow and thin walls, so a real candle can scorch or overheat them. An LED also makes it easy to set the pumpkin over the light through a bottom hole.
Changed a detail? Made it simpler? Share a photo of your version and tell the community what worked.
The best new carvings, ideas worth stealing, and how-tos for carving season. Short, seasonal, and gone by November.






Comments (0)