Halloween Pumpkin Carving Contest · Starts October 1st · $500 in prizes
← Back to ideas
@ai_concepts
Jul 8, 2026
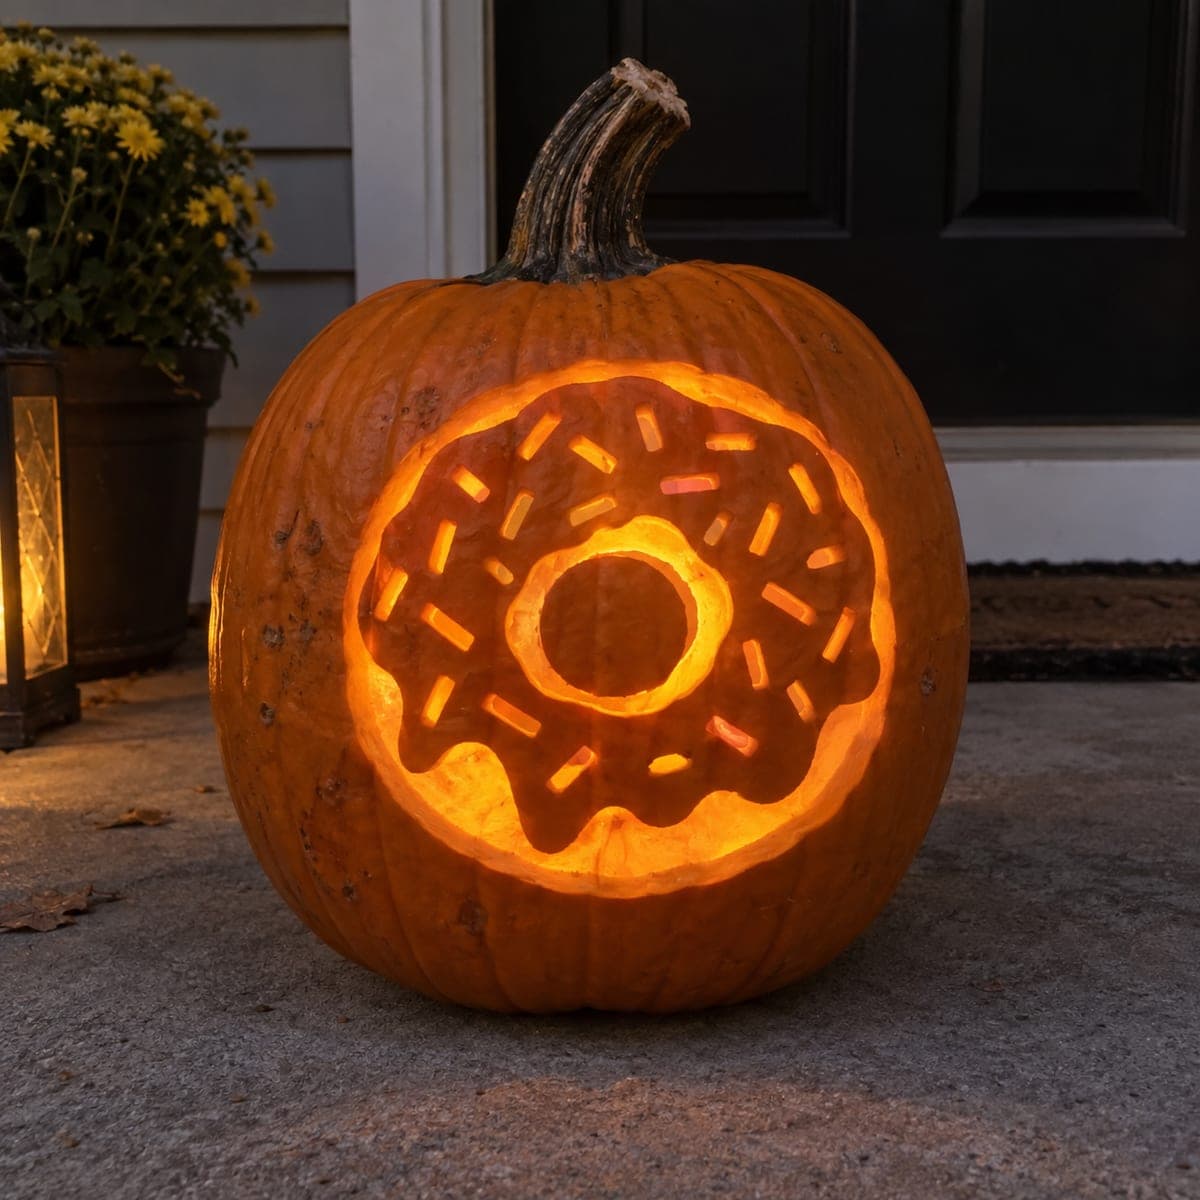
Frosted Donut With Sprinkles Cutout Jack-O-LanternAI
0

Frosted Donut With Sprinkles Cutout Jack-O-Lantern

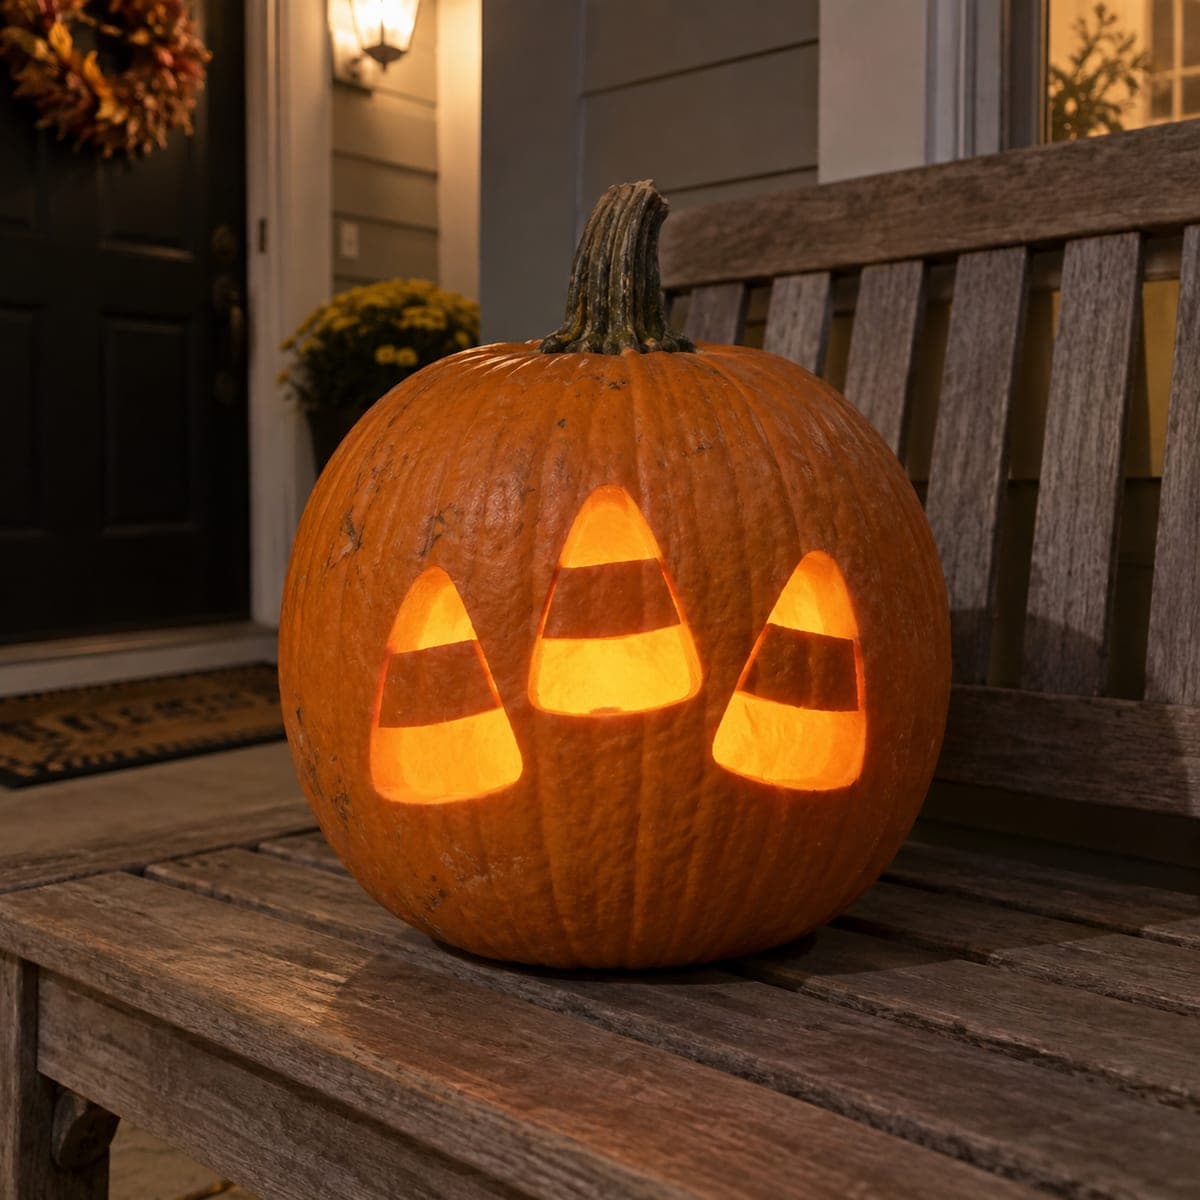
A chocolate-frosted ring donut with colorful sprinkles is cut through a pumpkin so the candle inside illuminates the donut hole and the outline of each sprinkle in a warm, playful glow. The design is cheerful, unexpected, and a great conversation-starter pumpkin carving idea for a neighborhood display that goes beyond traditional Halloween themes. Use a compass or circular object to trace the inner ring of the donut, cut it out first, then carve the outer donut shape and finish with the individual sprinkle cutouts. A bright white LED gives the cleanest look for this design.

This is an AI-generated concept image: a realistic, carvable design idea rather than a photo of a finished carve. AI concepts are always labeled and sit out the leaderboard and the contest.
No ratings yet · Sign in to rate

Comments (0)

  • No comments yet — be the first.

Save without an account. Sign in to like or comment.

Our tips for carving a similar design

The whole trick here is contrast between a few large glowing shapes and a scatter of tiny sprinkle slits, so the eye reads a frosted donut instantly. The plan is to cut the round donut hole first as your anchor, then open the frosting ring around it, and save the small sprinkle cuts for last so the pumpkin wall stays strong while you work. Because this is a concept image, treat it as a design you could recreate rather than a specific pumpkin, and keep every sprinkle small enough that the surrounding skin holds together.

Written by PumpkinCarvingIdeas.com, inspired by the image above. These are our suggestions, not instructions from the uploader. This approach to the AI concept has not been tested on a real pumpkin.

From pumpkin to porch

  1. Prep the pumpkin and pick your face

    Choose a rounded pumpkin with a wide, smooth front panel so the donut has room to breathe. Cut a lid from the bottom or the back rather than the top, which keeps the stem intact and makes it easy to set the pumpkin over an LED. Scrape the inside wall behind your design down to about one inch thick so cutting and peeling go smoothly. An adult should handle all the cutting tools throughout.

  2. Transfer the donut design

    Trace the inner donut hole using a compass or a round cup or jar lid centered on the front. Draw a larger circle around it for the outer edge of the donut, then sketch a wavy frosting line just inside that outer circle. Add short sprinkle marks scattered across the frosting band, spacing them out so no two sit too close together. Tape the pattern in place or poke the lines with a pin so you have dots to follow.

  3. Cut the donut hole first

    Start with the center circle since it is your largest opening and easiest to control. Use a small saw tool and make gentle, repeated strokes rather than forcing the blade. Push the cut piece inward and out to keep the edge clean. This opening will glow the brightest, so take your time keeping the circle even.

  4. Open the donut body

    Cut along the outer edge and the wavy frosting line so the whole ring of the donut becomes one large opening around the hole. Work in short sections and support the pumpkin wall with your free hand away from the blade. Leave a solid band of skin between the hole and the ring so the donut keeps its shape. Clean up the wavy frosting drips with careful angled cuts for that dripped-icing look.

  5. Add the sprinkle cutouts last

    Save the small sprinkle slits for the end, when the big openings are already done and the wall is most fragile. Make each sprinkle a short, narrow cut, angling the blade slightly so a little light spills through. Keep at least a finger-width of skin between neighboring sprinkles so nothing tears out. Scatter them at different angles for a lively, random pattern.

  6. Light it and photograph

    Set a bright white LED puck or a string of LED lights inside for the cleanest, most bakery-like glow. Skip candles, since the many small cuts and thin walls dry out fast and a flame adds heat and risk. Test the pumpkin in the dark and rotate the light until the hole and sprinkles all read clearly. Place it on the porch step for photos, ideally at dusk when the surrounding light is low.

Gather your supplies

Check things off as you get ready.

Work on a stable surface, keep your free hand out of the cutting path, and have an adult handle sharp tools.

Three levels of light

  • Leave intact

    The uncarved pumpkin skin around the donut and the solid band between hole and ring stay dark, framing the shape.

  • Peel & shade

    Shave the skin thin on the frosting band if you want a soft dim glow that suggests glaze without cutting all the way through.

  • Cut through

    The center donut hole, the donut body ring, and each small sprinkle are cut through for the brightest light.

Learn the carving basics

Before you start cutting

How do I keep the sprinkles from tearing out of the pumpkin?

Keep each sprinkle short and narrow, and leave at least a finger-width of solid skin between them. Cut them last, after the big openings are finished, so the wall stays stable while you carve. If a spot feels thin, move the sprinkle over slightly rather than crowding it.

What is the best way to get a clean, even donut hole?

Trace it with a compass or a round object like a cup or jar lid so the circle is truly round before you cut. Use gentle, repeated saw strokes and let the blade do the work instead of forcing it. Push the plug straight in and out to keep the edge crisp.

Can I add color to make it look more like frosting and sprinkles?

Yes, since this is a concept design you can recreate it any way you like. A white LED gives the cleanest base glow, and you can brush a little washable paint or marker around the frosting edge for a hint of color. Keep any color light so the carved openings still do most of the work.

Your take belongs here, too.

Changed a detail? Made it simpler? Share a photo of your version and tell the community what worked.

Share your pumpkin

More pumpkins like this

You've reached the end · 8 pumpkins
The Patch Report

Fresh pumpkins, in your inbox.

The best new carvings, ideas worth stealing, and how-tos for carving season. Short, seasonal, and gone by November.

A short email during carving season. Unsubscribe anytime. See our privacy policy.