Halloween Pumpkin Carving Contest · Starts October 1st · $500 in prizes
← Back to ideas
@ai_concepts
Jul 6, 2026
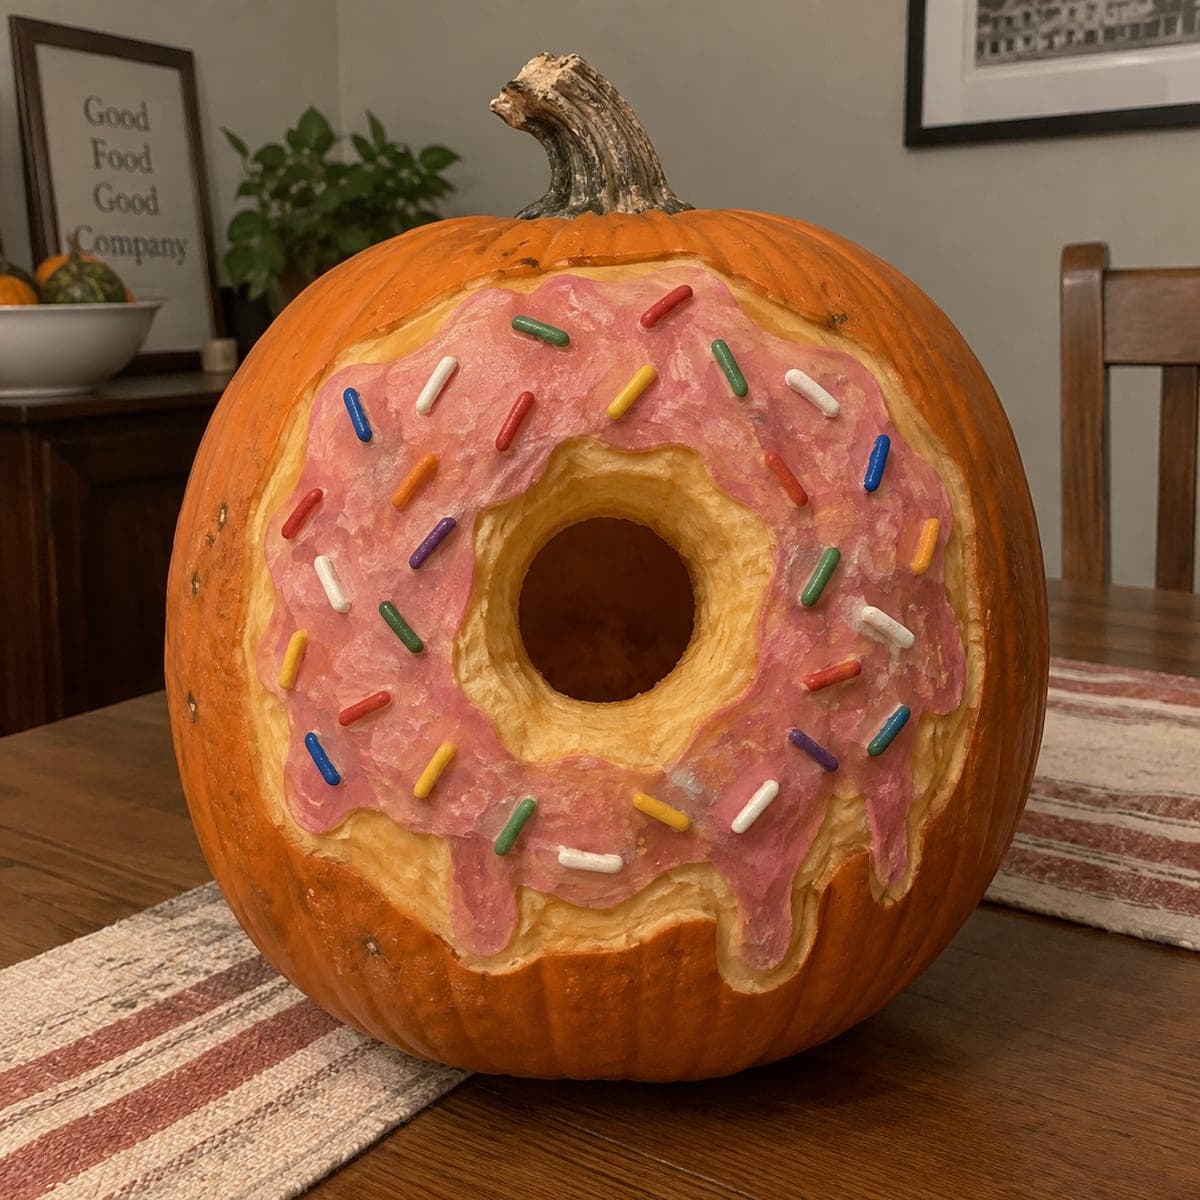
Frosted Donut Pumpkin With Rainbow SprinklesAI
0

Frosted Donut Pumpkin With Rainbow Sprinkles

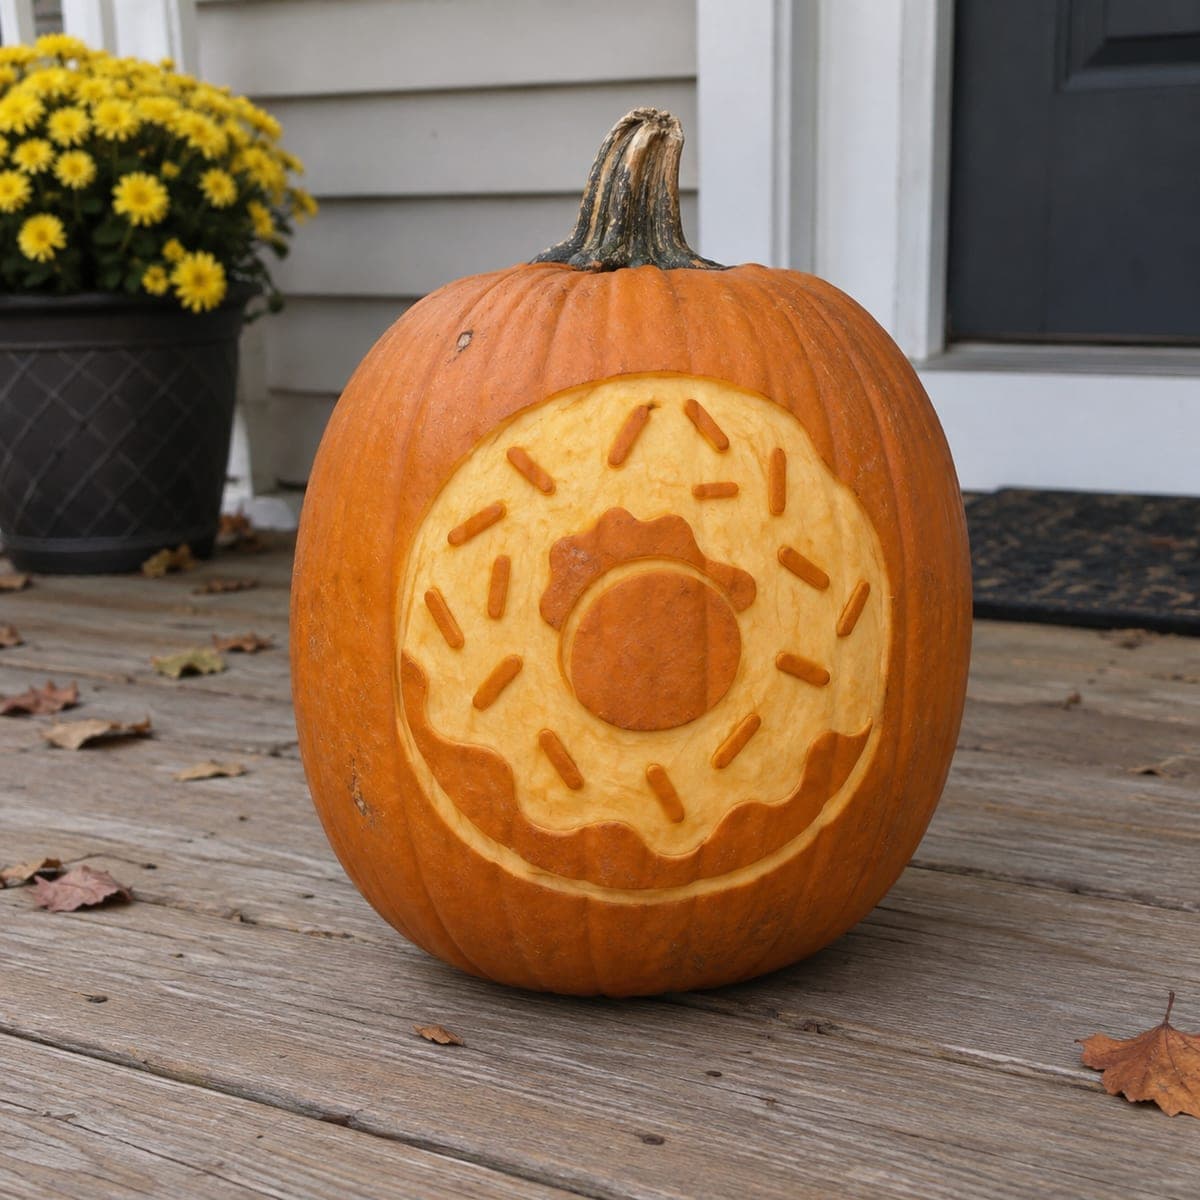
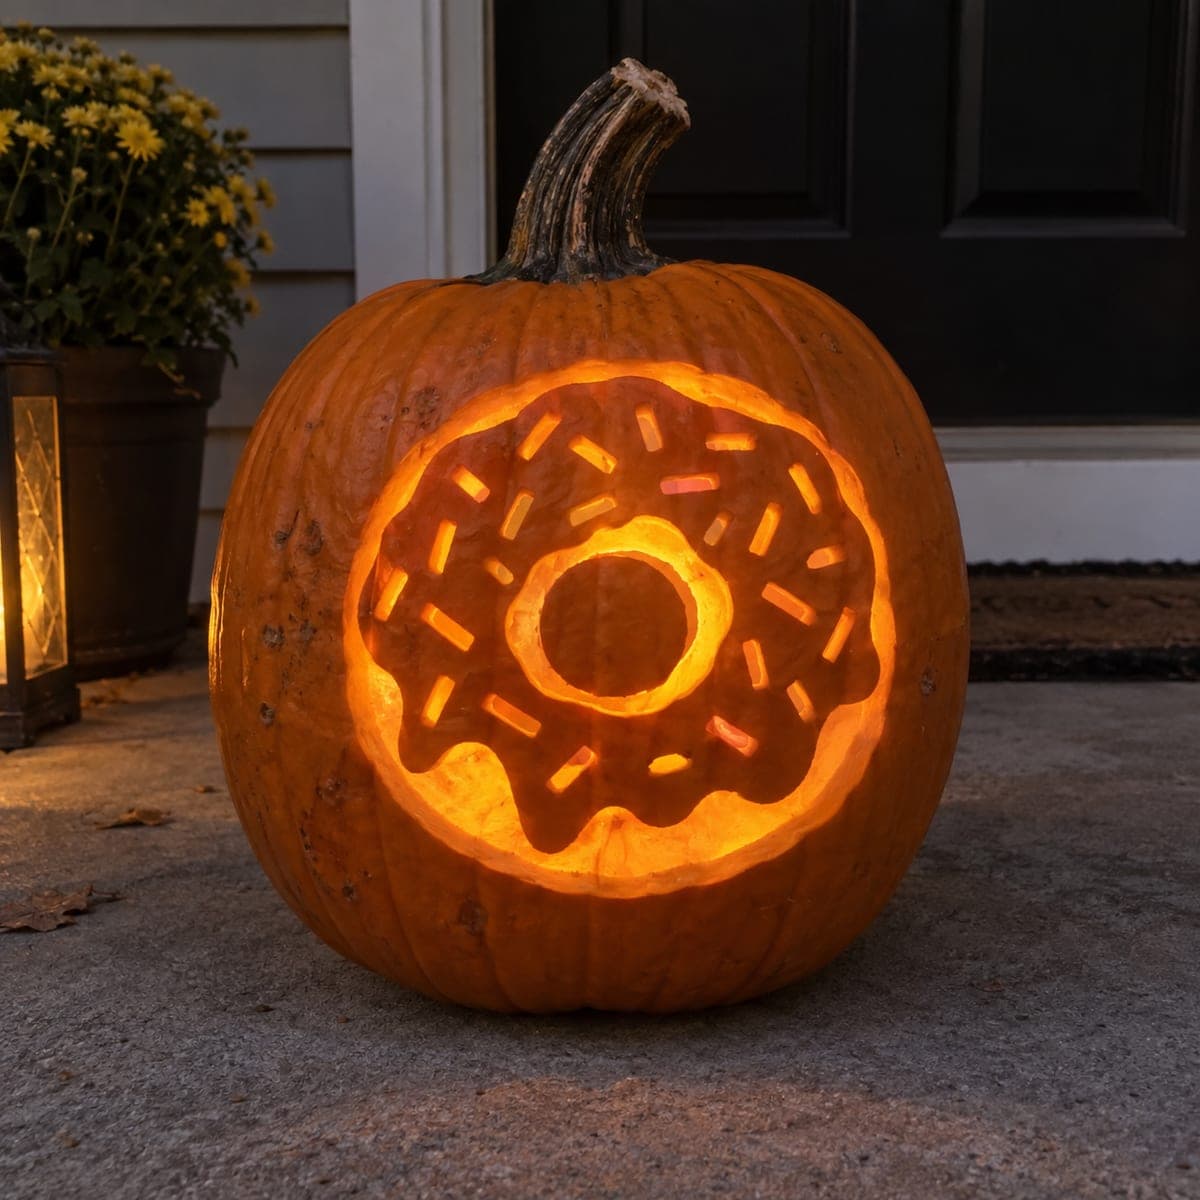
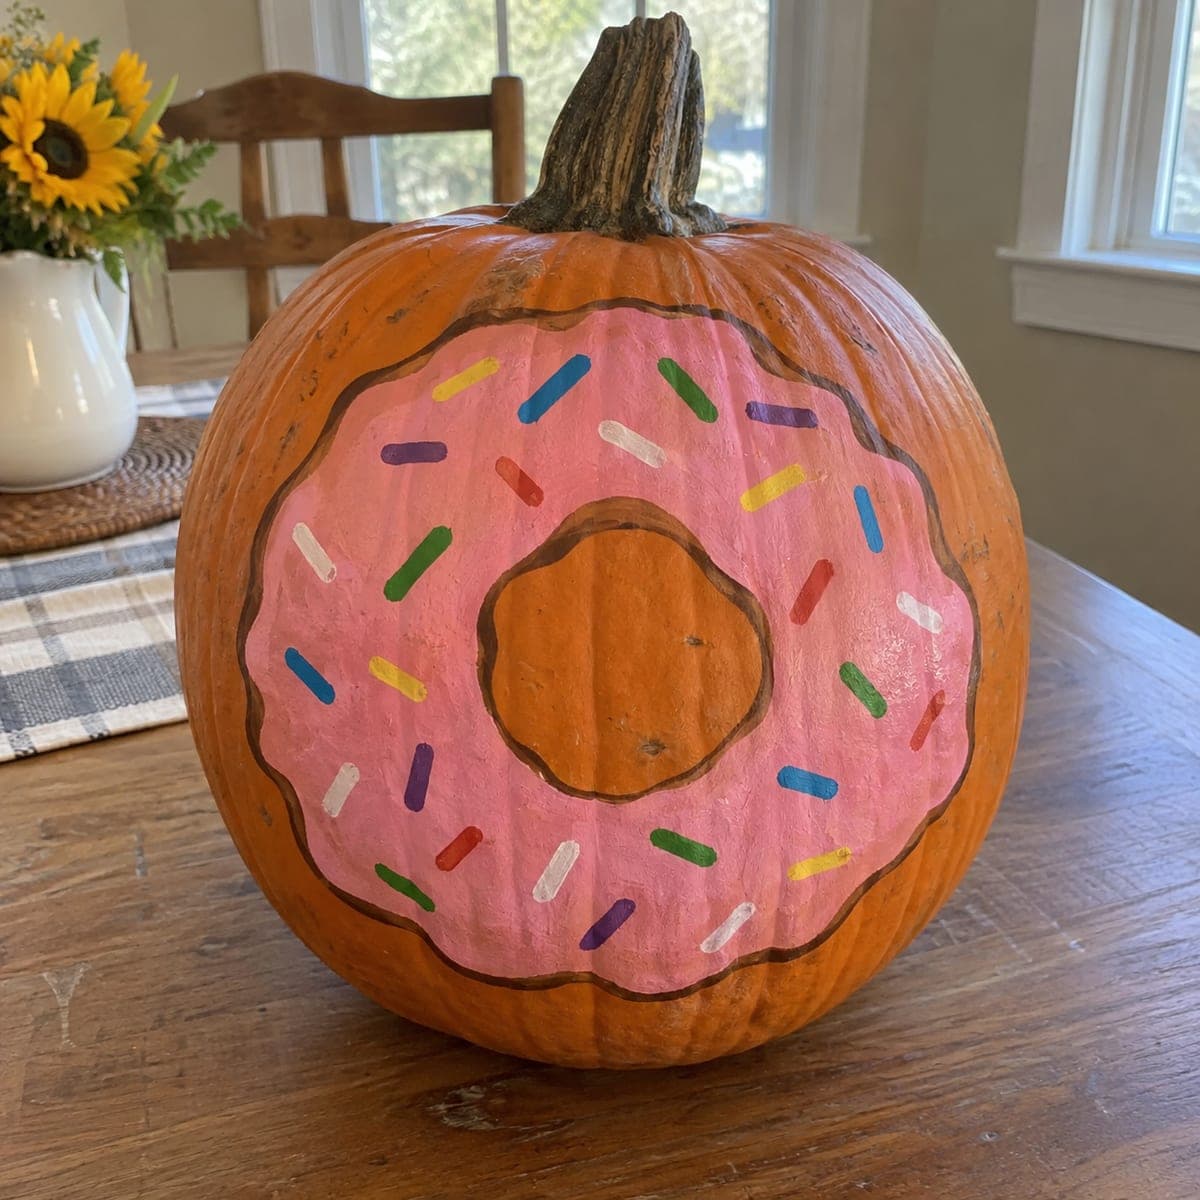
This pumpkin is carved into a giant frosted donut, with a hollowed center hole, sculpted pink icing drips, and real candy sprinkles pressed into the frosting. Carve the ring and center hole first, shave the donut band down to the pale flesh, then paint the icing area and glue on sprinkles while the paint is tacky. It is a fun statement piece for a fall bake sale table or a kitchen counter, no candle required.

This is an AI-generated concept image: a realistic, carvable design idea rather than a photo of a finished carve. AI concepts are always labeled and sit out the leaderboard and the contest.

No ratings yet · Sign in to rate
Comments (0)

  • No comments yet — be the first.

Save without an account. Sign in to like or comment.

Our tips for carving a similar design

The core trick here is treating the pumpkin skin like layers of a donut: the orange rind stays as the toasty crust, a shaved band becomes the pale dough, and a painted patch reads as pink icing. You sculpt a ring shape, punch a hole through the center, then finish with paint and real candy sprinkles instead of relying on cut light. Since this is a display piece, no candle or LED is needed at all.

Written by PumpkinCarvingIdeas.com, inspired by the image above. These are our suggestions, not instructions from the uploader. This approach to the AI concept has not been tested on a real pumpkin.

From pumpkin to porch

  1. Plan the donut ring on a round pumpkin

    Choose a squat, evenly round pumpkin and set it stem up so the flattest face points at you. With a washable marker, draw a large circle for the outer donut edge and a smaller circle in the middle for the hole. Keep the ring band a few inches wide so it looks like a real donut. Step back and check the shape is centered before you cut anything.

  2. Open the pumpkin and clean it out

    Have an adult cut a lid from the bottom rather than the top so the stem stays as a display detail. Scoop out the seeds and pulp, then thin the front wall of the donut band to about one inch so it is easier to sculpt. A dry, well cleaned wall holds paint far better than a wet one. Pat the inside dry with paper towels.

  3. Cut the center hole

    Using your inner circle line, cut straight through the wall to make the donut hole. Go slow with a small serrated carving saw and let the blade do the work, keeping your free hand clear of the cutting path. Clean up the edge so it is smooth and round. This is your one full cutout, so take your time and keep it neat.

  4. Shave the dough band to pale flesh

    With a ribbon or loop tool, gently scrape the entire donut band down through the orange skin to the pale flesh underneath. Round the outer and inner edges so the band looks puffy like baked dough, leaving a thin rim of orange skin as the crust. Work in shallow passes so you do not gouge too deep. This shading step is what sells the shape, so keep the surface even.

  5. Paint the icing and add drips

    Mix a pink acrylic and brush it over the top of the band as a puddle of frosting, letting a few rounded drips run down toward the crust. Keep the drip edges soft and irregular so they look like real icing. Two thin coats look better than one thick one. Let each coat set until just tacky before the next.

  6. Press on sprinkles and stage it

    While the top coat is still tacky, scatter real rainbow sprinkles or small painted craft pieces across the icing, or dab on a spot of craft glue for each one. Vary the colors and angles so it looks fun and random, not lined up. Once dry, set the donut on a cake stand or a bake-sale table for the photo. No candle required, since the charm here is the sculpted color, not backlight.

Gather your supplies

Check things off as you get ready.

Work on a stable surface, keep your free hand out of the cutting path, and have an adult handle sharp tools.

Three levels of light

  • Leave intact

    The thin outer rim of orange skin, kept as the toasted donut crust.

  • Peel & shade

    The shaved dough band scraped to pale flesh for that soft baked look.

  • Cut through

    The single round center hole punched all the way through the wall.

Learn the carving basics

Before you start cutting

Do I need a light inside this pumpkin?

No. This is a painted, sculpted display piece, so the color and texture carry the design instead of backlight. If you want a little glow, tuck a battery LED inside so it peeks through the center hole, but skip open flames near paint and sprinkles.

Will the pink icing area really show up on an orange pumpkin?

Yes, as long as you scrape that band down to the pale flesh first. The lighter base lets pink acrylic read as true frosting instead of muddy orange. Two thin coats give the most even, believable color.

How do I keep real sprinkles from falling off?

Press them into the paint while it is still tacky, or add a tiny dot of craft glue behind each one. Work in small sections so the surface does not dry before you finish. A light clear sealer over the top can lock everything in for display.

Your take belongs here, too.

Changed a detail? Made it simpler? Share a photo of your version and tell the community what worked.

Share your pumpkin

More pumpkins like this

You've reached the end · 8 pumpkins
The Patch Report

Fresh pumpkins, in your inbox.

The best new carvings, ideas worth stealing, and how-tos for carving season. Short, seasonal, and gone by November.

A short email during carving season. Unsubscribe anytime. See our privacy policy.