Halloween Pumpkin Carving Contest · Starts October 1st · $500 in prizes
← Back to ideas
@ai_concepts
Jul 8, 2026
Sprinkle Donut Etched Pumpkin CarvingAI
0

Sprinkle Donut Etched Pumpkin Carving

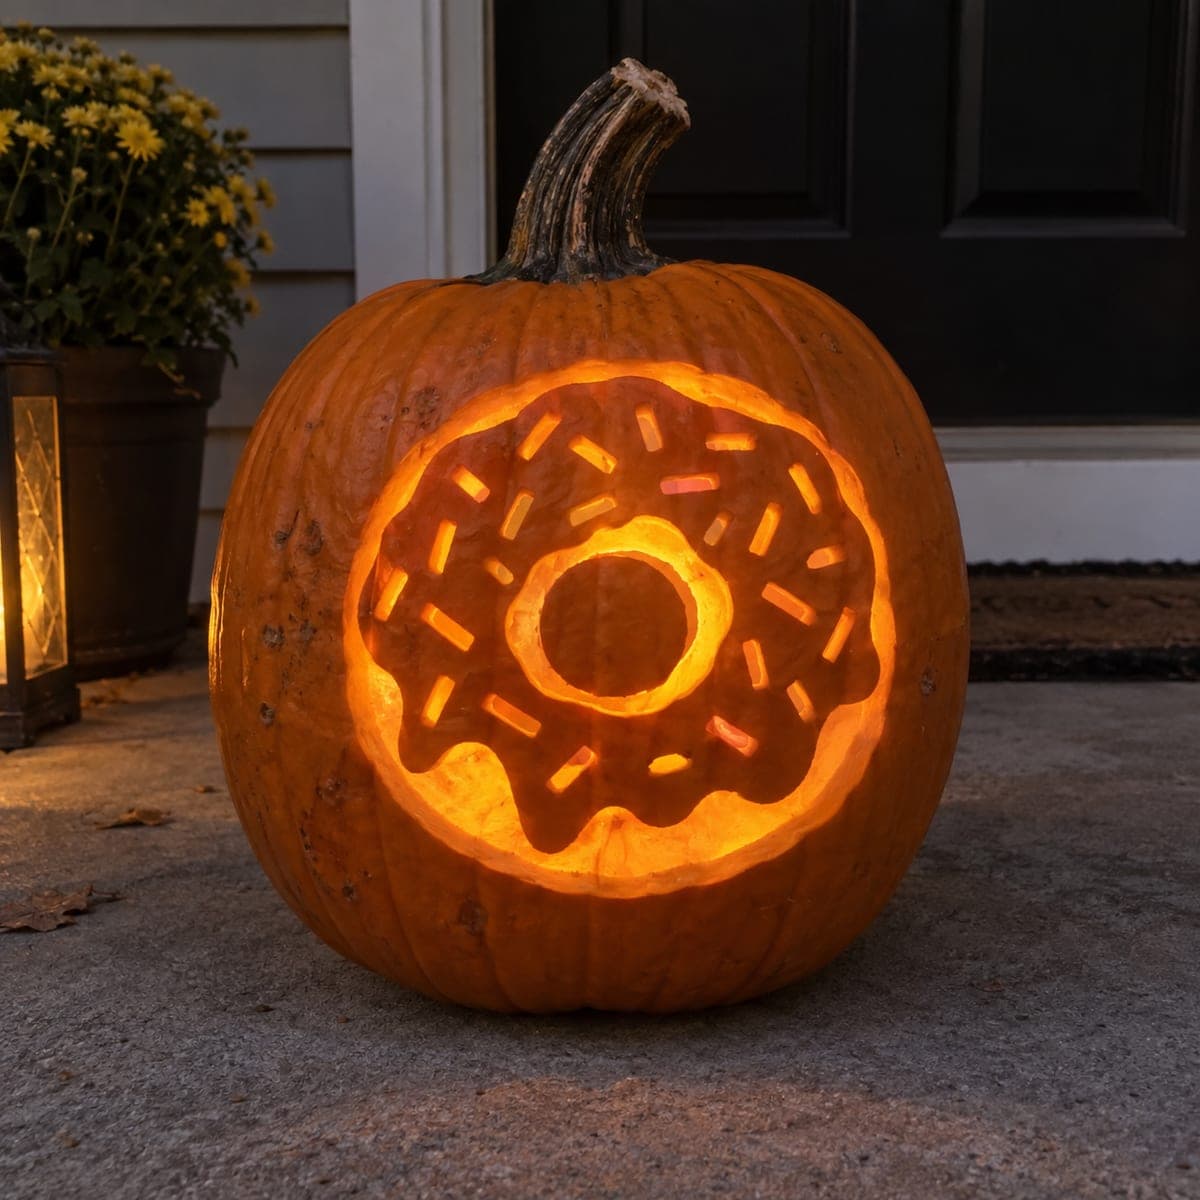
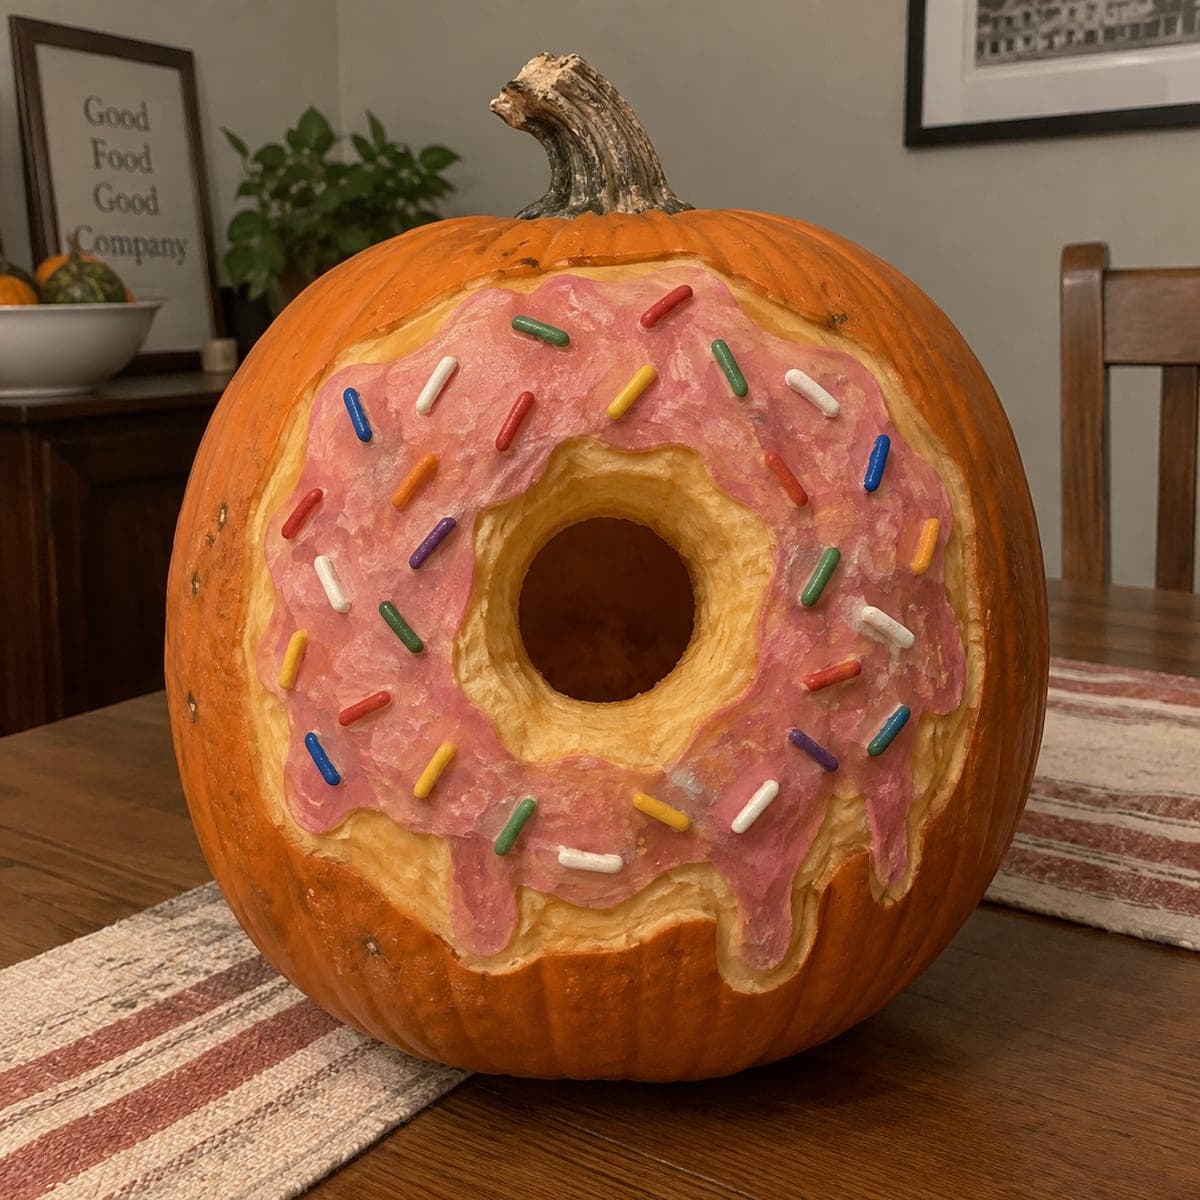
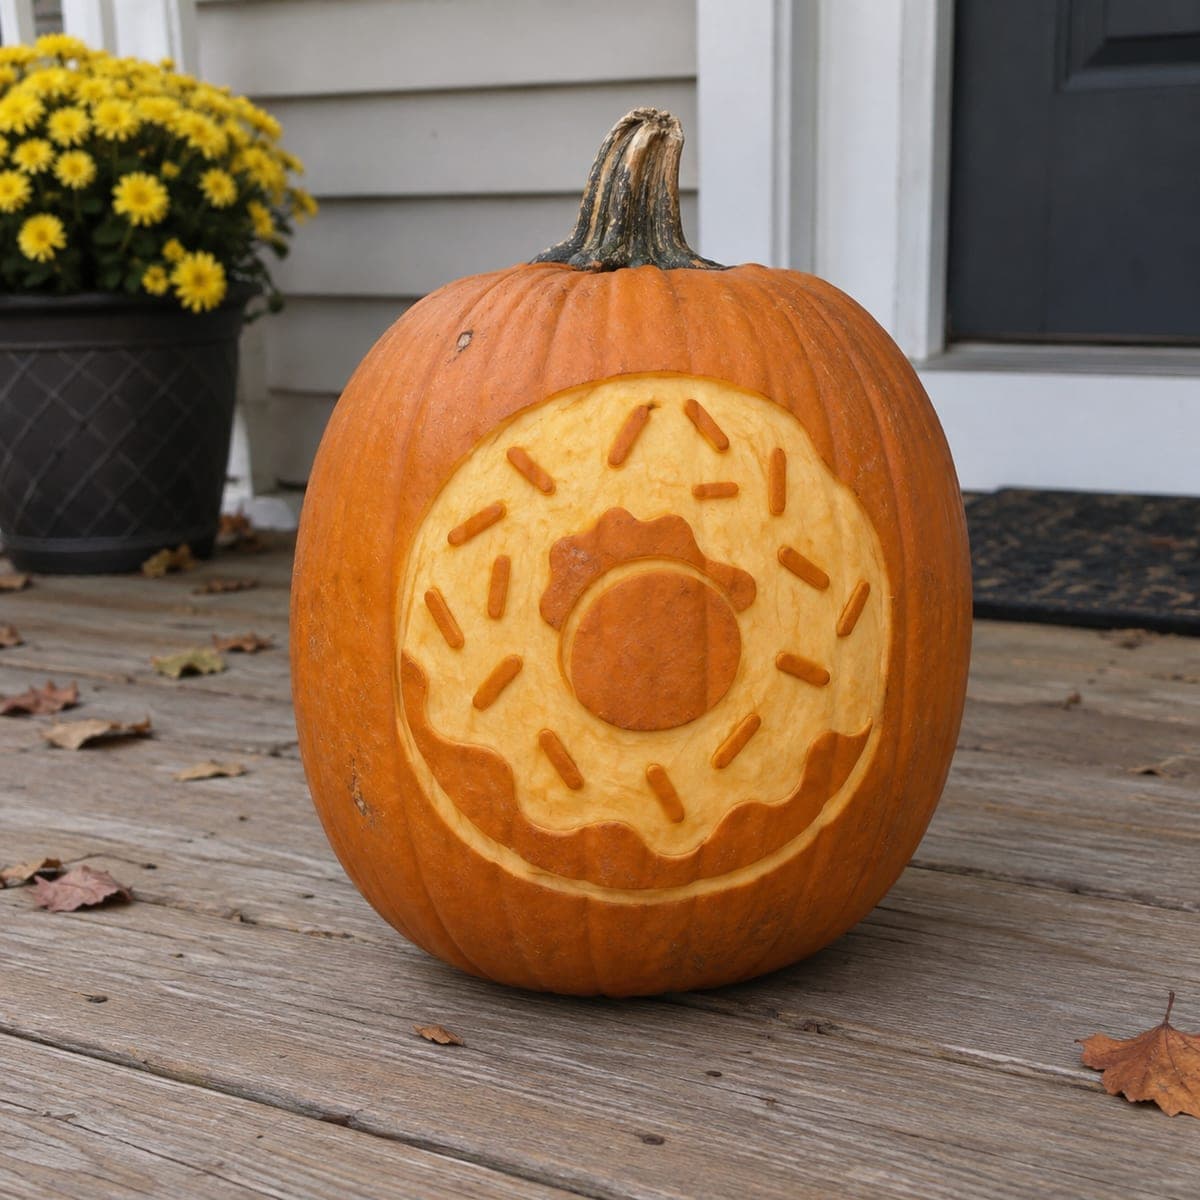
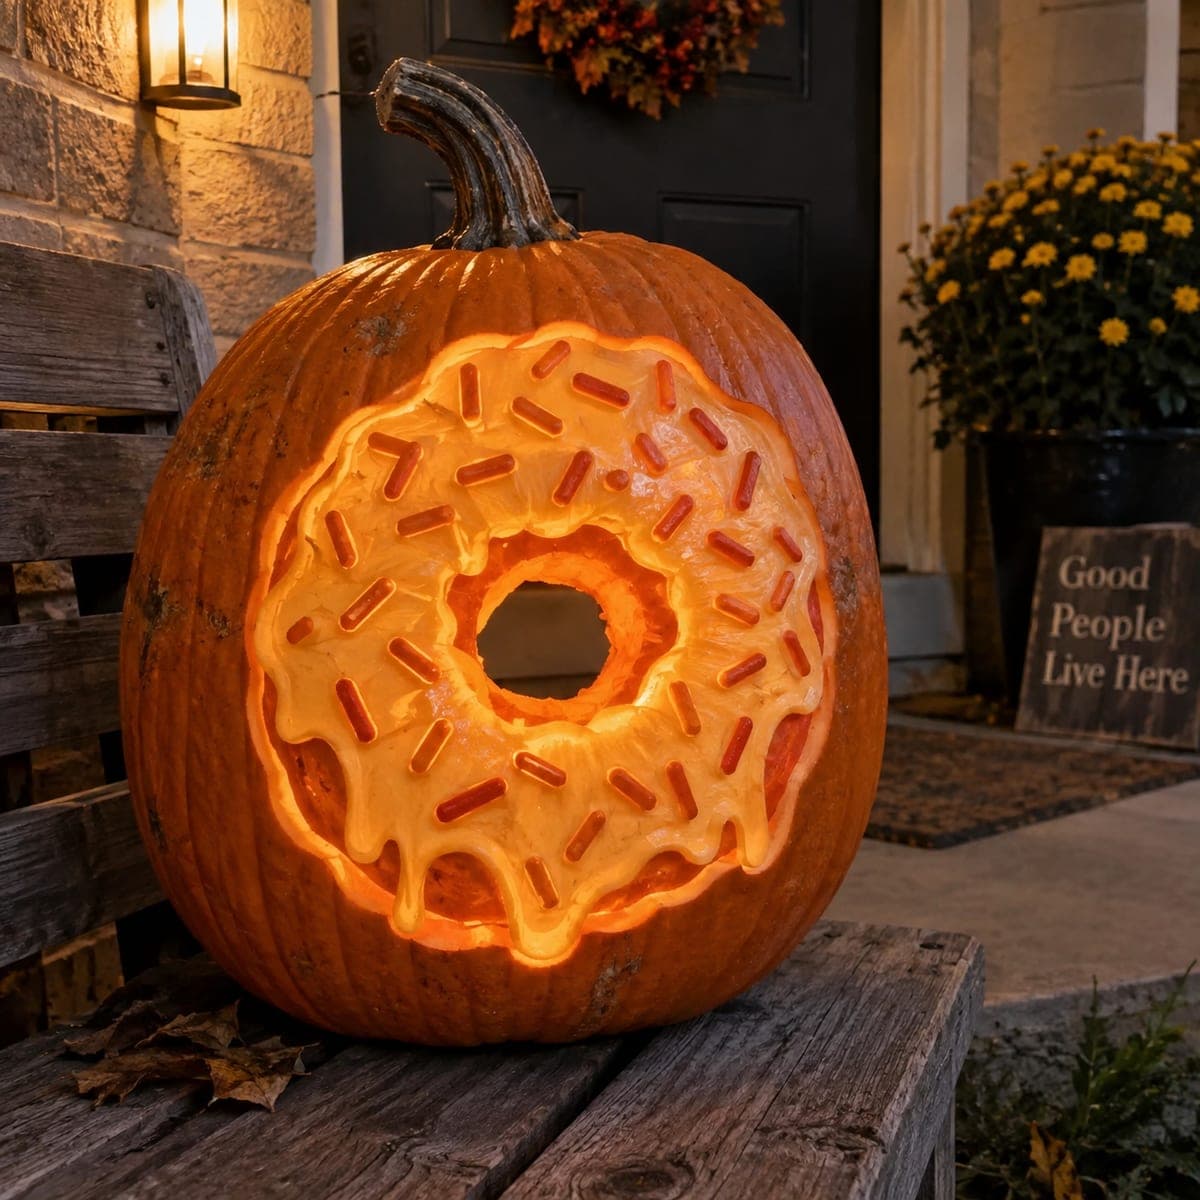
A giant frosted donut with scattered sprinkles is peeled into this pumpkin, the drippy icing edge carved as a wavy border around the ring. Everything sits at two shallow depths, pale flesh for the frosting and untouched skin for each sprinkle, so mask the sprinkles with tape before you start peeling. No light is needed, making it a fun daytime porch piece for bakers and donut lovers.

This is an AI-generated concept image: a realistic, carvable design idea rather than a photo of a finished carve. AI concepts are always labeled and sit out the leaderboard and the contest.

No ratings yet · Sign in to rate
Comments (0)

  • No comments yet — be the first.

Save without an account. Sign in to like or comment.

Our tips for carving a similar design

This design lives entirely on the pumpkin's surface, so the trick is working at just two shallow depths instead of cutting all the way through. The pale flesh becomes the frosting ring, the untouched orange skin stays as the drippy icing outline and every little sprinkle, and a shallower scoop shades the center hole. Mask your sprinkles and outlines first, then peel the big areas around them.

Written by PumpkinCarvingIdeas.com, inspired by the image above. These are our suggestions, not instructions from the uploader. This approach to the AI concept has not been tested on a real pumpkin.

From pumpkin to porch

  1. Transfer the donut and mask the sprinkles

    Wipe the pumpkin dry and tape your stencil to the smooth front face. Poke the outline of the ring, the wavy icing edge, the center hole, and each sprinkle with a poker tool. Before you carve anything, cover each sprinkle mark and the icing outline with small strips of painter's tape so you remember to leave that skin untouched. This masking step is what keeps the sprinkles orange against the pale frosting.

  2. Score all the boundaries

    With a small detail saw or a sharp craft knife, lightly score along the outer ring, the wavy drip border, and the center hole. Keep these as shallow guide lines, no more than a few millimeters deep. Clean, confident lines here make the frosting read clearly once you start peeling. Do not cut through the wall, since this is an etched piece and needs no opening.

  3. Peel the frosting ring

    Using a ribbon loop tool, shave away the skin inside the donut ring down to the pale flesh, working carefully around every taped sprinkle. Keep the depth even so the whole frosting area glows the same soft color in daylight. Go slow near the wavy border so the icing drips stay crisp. Peel in small strokes rather than digging, which gives a smooth, appetizing surface.

  4. Shade the center and dough edges

    For the donut hole and the outer dough ring, scoop just a hair deeper than the frosting to create a slightly darker tone. This gentle depth change is the shading trick that separates the frosting from the dough. Round the edges softly so nothing looks sharp or machine cut. Step back often to check that the two depths read as different shades.

  5. Reveal the sprinkles and outline

    Now peel the tape off the sprinkles and icing outline. Those spots stay as raised orange skin, popping against the pale frosting around them. Tidy any ragged edges with the tip of your knife. If a sprinkle looks too faint, lightly scrape the flesh right beside it to boost the contrast.

  6. Seal, set, and photograph

    Rub all the peeled areas with a thin coat of petroleum jelly or a spritz of lemon water to slow browning. Since this is a no-light daytime piece, set it on the porch where sun rakes across the surface and shows off the shading. It will look freshest in the first day or two, so snap your photo early. Bring it inside overnight to make it last longer.

Gather your supplies

Check things off as you get ready.

Work on a stable surface, keep your free hand out of the cutting path, and have an adult handle sharp tools.

Three levels of light

  • Leave intact

    The icing outline, the wavy drip border, and every sprinkle stay as untouched orange skin.

  • Peel & shade

    The frosting ring is peeled to pale flesh for a soft light tone in daylight.

  • Cut through

    Nothing is cut through on this etched design, though the center hole and dough edge are scooped slightly deeper for shade.

Learn the carving basics

Before you start cutting

Do I need to hollow out the pumpkin?

Not for the carving itself, since this is a surface etch with no opening. You can leave the pumpkin whole, which actually keeps the wall firm and easier to shave. If you want it to last a little longer, you can still cut a bottom lid and scrape the inner wall thinner behind the design.

How do I keep the sprinkles from disappearing?

Mask each sprinkle with a small piece of painter's tape before you peel the frosting, so you never accidentally shave over them. The sprinkles are simply untouched orange skin surrounded by pale flesh. If contrast looks weak once you remove the tape, scrape a little deeper right around each sprinkle to make it stand out.

Since there is no light, how do I make the design show up?

The whole effect comes from the two depths of etching, so aim for a clear difference between the pale frosting and the untouched skin. Sealing the peeled areas keeps them bright and appetizing for a couple of days. Display it in daylight or under a nearby porch light where side lighting reveals the texture.

Your take belongs here, too.

Changed a detail? Made it simpler? Share a photo of your version and tell the community what worked.

Share your pumpkin

More pumpkins like this

You've reached the end · 8 pumpkins
The Patch Report

Fresh pumpkins, in your inbox.

The best new carvings, ideas worth stealing, and how-tos for carving season. Short, seasonal, and gone by November.

A short email during carving season. Unsubscribe anytime. See our privacy policy.