@grinninggreta
Sep 5, 2026

The witch’s lantern
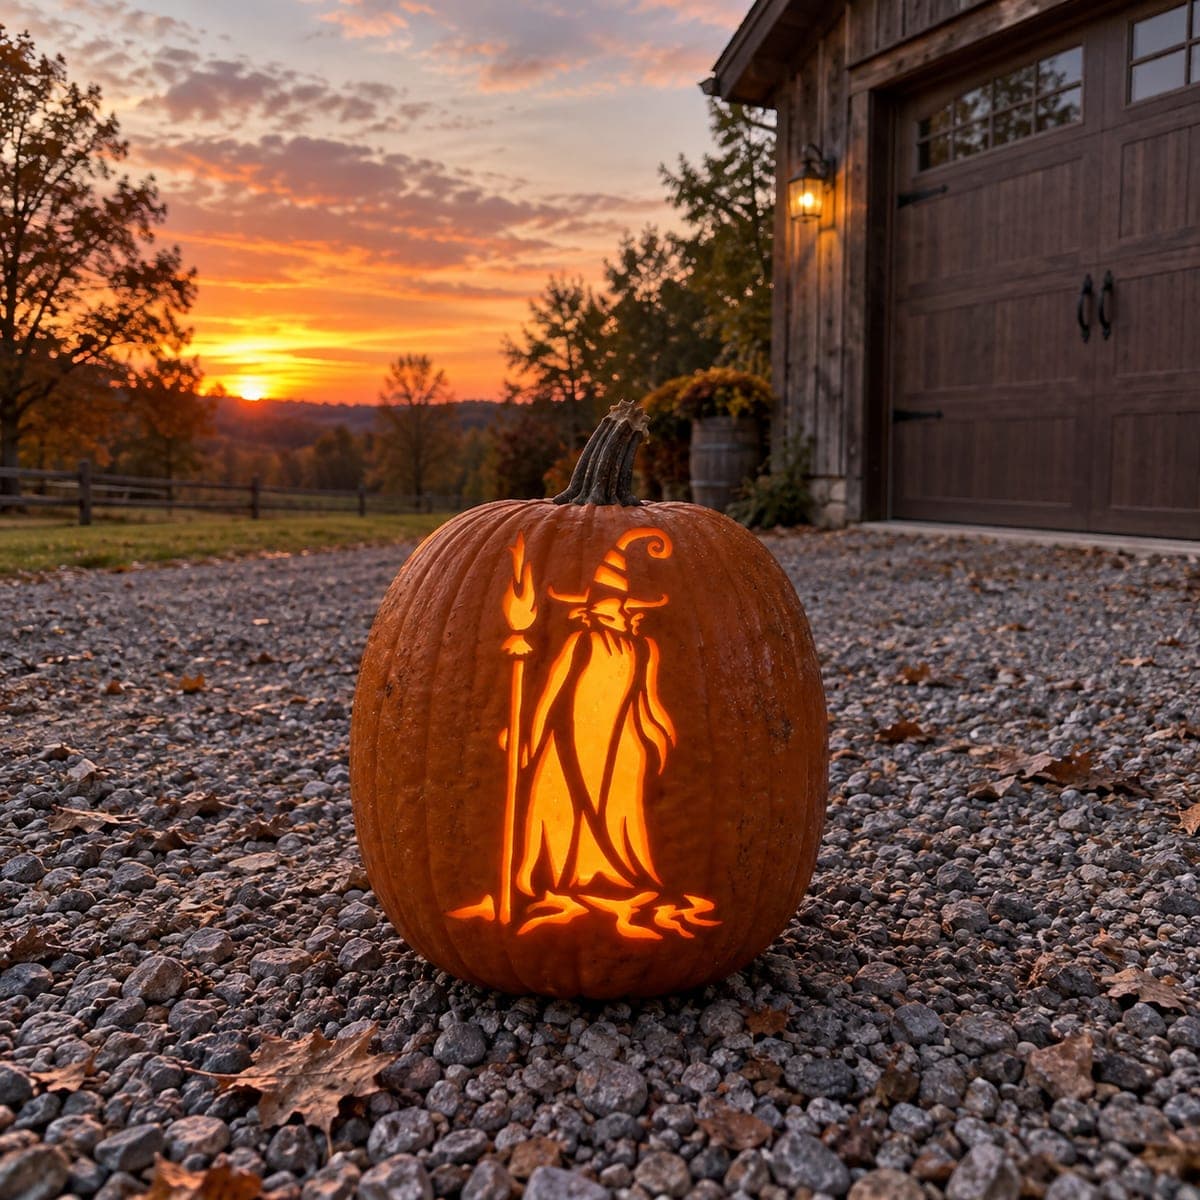
A zigzag-mouthed jack glowing in a witch’s lap while dry-ice fog rolls over the porch boards.
No ratings yet · Sign in to rate
A zigzag-mouthed jack glowing in a witch’s lap while dry-ice fog rolls over the porch boards.
The whole charm here is a traditional jack-o'-lantern face built from just a few clean cutouts: two triangle eyes, a small triangle nose, and a wide zigzag mouth. The trick is keeping the zigzag teeth even and leaving small skin bridges so the mouth stays strong. Everything else stays as untouched orange skin, so a warm LED inside does all the work.
Written by PumpkinCarvingIdeas.com, inspired by @grinninggreta's photo above. These are our suggestions, not instructions from the uploader, and this approach hasn't been tested on their exact carve.
Choose a round pumpkin with a flat-ish front and a sturdy stem. Wipe it down and decide which side faces out. Cut a lid from the top or, for a cleaner look, cut a round hatch in the back. Scrape the inside wall behind the face down to about an inch thick so your blade passes through easily.
Sketch or tape on a stencil with two upward triangle eyes, a small triangle nose, and a long zigzag mouth. Keep the eyes level with each other and center the nose between them. Mark the mouth so the peaks and valleys are evenly spaced. Poke through the outline with a pin or awl so you have dots to follow.
Start with the smallest shapes first. Use a fine carving saw and cut each triangle with slow, straight strokes, letting the tool do the work. Push the cut pieces inward and pop them out. Adults should handle all the sharp tools.
Save the biggest opening for last so the face stays firm while you work. Cut along the top zigzag line, then the bottom, working point to point. Leave the tiny triangle teeth attached at their base so they act as bridges and do not snap. Ease each waste piece out gently.
Tidy any ragged edges with the tip of your saw or a small knife. Set a battery LED tea light or puck light inside and test the glow in a dark room. Skip real candles, since an LED is safer and burns cooler. If the light leaks around the lid, trim the opening a touch.
For the pictured mood, set the pumpkin low on porch boards or a lap and shoot in dim light. A dry-ice or fog machine rolling low across the ground adds drama, but keep it away from the electric light. Warm up the LED to a flickering orange setting for that cozy classic feel.
Check things off as you get ready.
Work on a stable surface, keep your free hand out of the cutting path, and have an adult handle sharp tools.
The entire pumpkin skin stays untouched and dark, giving the classic orange body.
Optional: lightly shave a thin halo around each cutout if you want a soft glow ring, though this design keeps it minimal.
The two eyes, the nose, and the zigzag mouth are cut all the way through for the brightest light.
Cut the mouth last so the face is still supported while you work the smaller shapes. Leave each little tooth connected at its base rather than trying to free-cut it. Those attachment points act as bridges and keep the row strong.
Both work. A top lid is the classic choice and easy to reach into. A back hatch keeps the front face clean and lets you set the pumpkin against the stem more naturally for photos.
A battery LED tea light or a small puck light set to a warm or flickering orange tone. Avoid real flames, since an LED is safer, cooler, and easy to reposition. Test in a dark room and nudge the light until all four openings glow evenly.
Changed a detail? Made it simpler? Share a photo of your version and tell the community what worked.
The best new carvings, ideas worth stealing, and how-tos for carving season. Short, seasonal, and gone by November.






Comments (0)