@midnightcarver
Sep 5, 2026
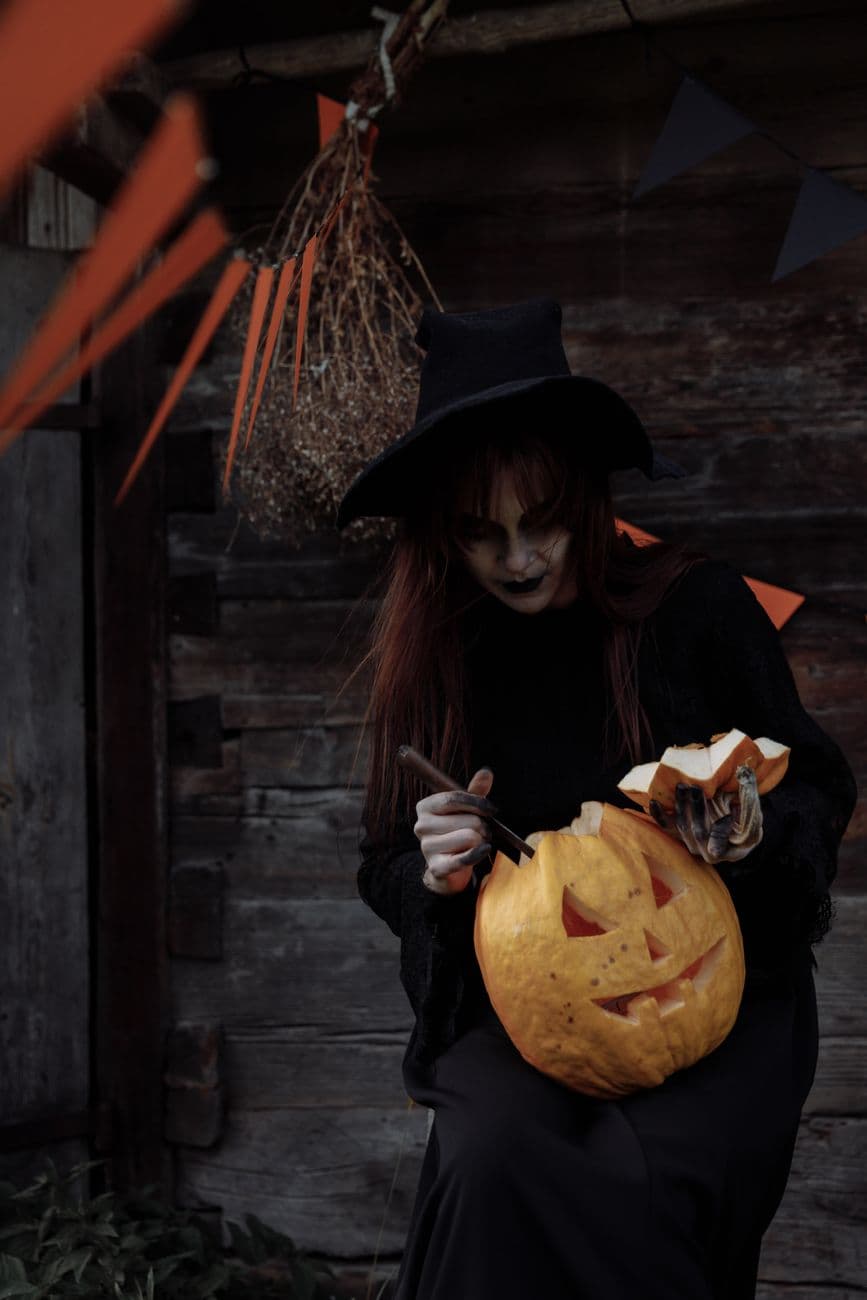
The witch at work
A witch in full costume carving her jack against the barn wall, guts in hand. The classic face is done; the brewing comes later.
No ratings yet · Sign in to rate
A witch in full costume carving her jack against the barn wall, guts in hand. The classic face is done; the brewing comes later.
The core trick here is the traditional jack-o-lantern face built from bold, simple shapes: triangle eyes, a triangle nose, and a wide toothy grin. The plan is to gut the pumpkin fully, transfer or freehand the classic face, then cut clean straight edges so every opening reads clearly once lit. Keep the teeth chunky so they stay strong and glow evenly.
Written by PumpkinCarvingIdeas.com, inspired by @midnightcarver's photo above. These are our suggestions, not instructions from the uploader, and this approach hasn't been tested on their exact carve.
Choose a round pumpkin with a flat-ish bottom so it sits still while you work. Wipe the skin clean and set it on a towel-covered table at a comfortable height. Have an adult handle all the sharp tools if kids are helping. Decide which side has the smoothest face for carving.
Cut a lid at an angle around the stem so it can rest back on top without falling in. Scoop out the seeds and pull the stringy pulp with a sturdy spoon or scraper. Thin the front carving wall down to about one inch so your blade passes through easily. This is the guts-in-hand stage, so keep a bowl nearby for the pulp.
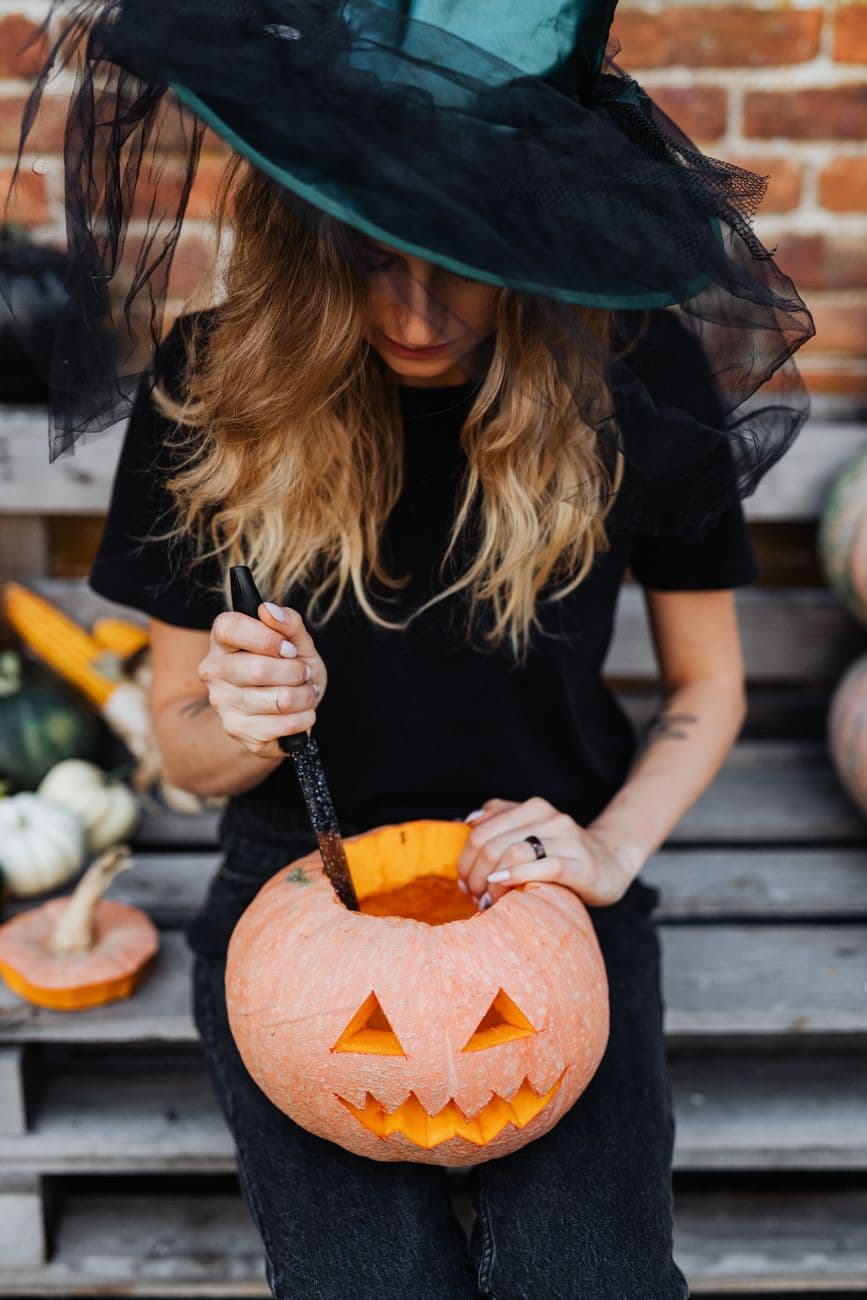
Sketch or trace two triangle eyes, a smaller triangle nose, and a wide crescent mouth with a couple of square teeth. Keep the shapes large and evenly spaced for that timeless grin. Use a washable marker so you can wipe and adjust before any cutting. Leave solid gaps of skin between the teeth so they do not snap.
Start with the eyes and nose using a small serrated carving saw, cutting slowly and letting the tool do the work. Push the cut pieces out gently from the inside with a fingertip. Save the mouth for last since it is the biggest opening and weakens the wall. Cut the teeth notches carefully so each one keeps a flat, clean edge.
Trim any ragged bits so the triangle edges look crisp and the grin reads from a distance. Drop in a battery LED light rather than a candle for a safe, steady glow. Rest the lid back on top and check the face in a dark room. Touch up any tooth or eye that looks uneven.
Set the finished jack against rustic wood or by a doorway for that barn-wall mood. Shoot in low light so the cutouts pop, and add costume props if you want the witch-at-work story. Take one photo lit and one unlit to show off the carving. Share it with the community when you are done.
Check things off as you get ready.
Work on a stable surface, keep your free hand out of the cutting path, and have an adult handle sharp tools.
The broad orange face and body stay untouched so the pumpkin reads dark between features.
You could skin-peel a thin outline around the eyes or grin for a soft halo of dim light.
The triangle eyes, nose, and toothy mouth are cut fully through for the brightest glow.
Draw the teeth as chunky squares rather than thin points, and leave solid skin between each one. Cut slowly and push pieces out from the inside instead of prying from the front. Thicker teeth hold up better and still glow well when lit.
No, save the mouth for last. It is the largest opening and removes the most support from the carving wall. Cutting the small eyes and nose first keeps the pumpkin sturdy while you do the detailed work.
Uneven triangles are the usual cause. Mark both eyes at the same height and roughly the same size before cutting, and step back to check symmetry with the marker still washable. A quick edge trim after cutting also cleans up any wobble.
Changed a detail? Made it simpler? Share a photo of your version and tell the community what worked.
The best new carvings, ideas worth stealing, and how-tos for carving season. Short, seasonal, and gone by November.



Comments (0)