Halloween Pumpkin Carving Contest · Starts October 1st · $500 in prizes
← Back to ideas
@ai_concepts
Sep 25, 2026
Three Painted Witch Hats No-Carve Pumpkin DecorationAI
0

Report this carving

Tell us what is wrong. Reports are private.

Three Painted Witch Hats No-Carve Pumpkin Decoration

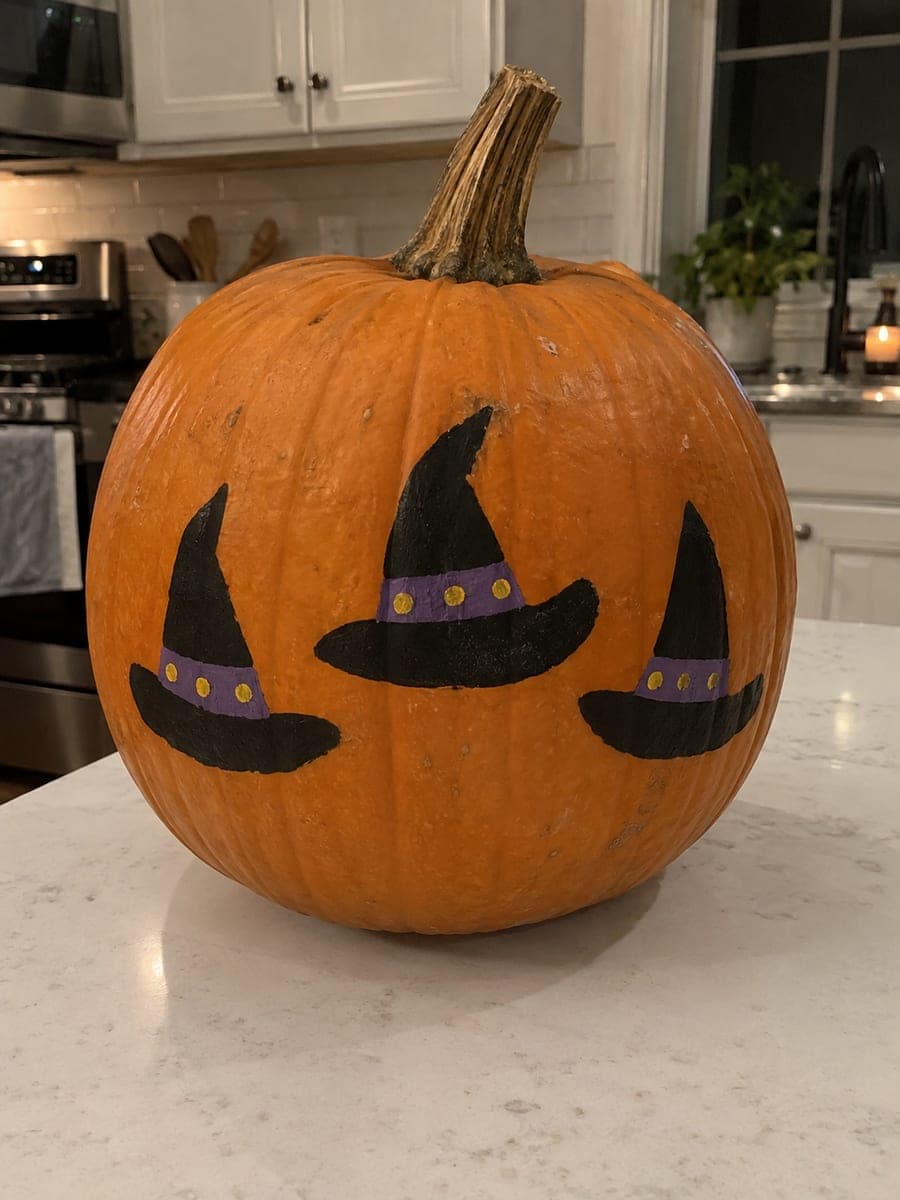
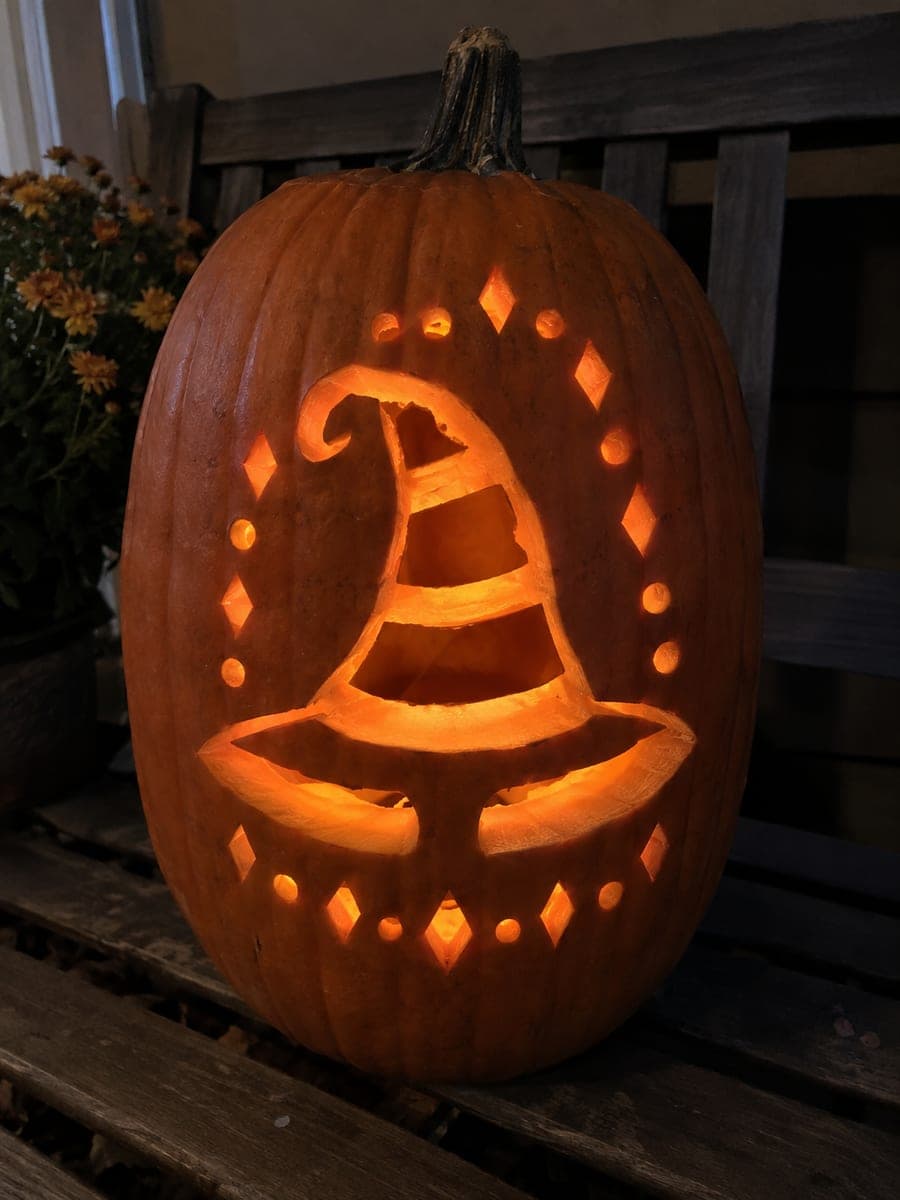
Three black witch hats with broad purple bands and mustard dot accents, painted with flat triangle crowns and gently curved brims, are arranged across an orange pumpkin for a graphic no-carve witch hat pumpkin carving idea. Paint the black hat shapes first as bold flat silhouettes, then add the purple band as a horizontal stripe across each crown before finishing with a few mustard dots at the band. On a bright kitchen counter the three hats create a punchy, repeating pattern.

No ratings yet · Sign in to rate
Comments (0)

  • No comments yet — be the first.

Save without an account. Sign in to like or comment.

Our tips for carving a similar design

Three evenly spaced witch hats across the front of the pumpkin form a graphic repeating pattern that looks designed rather than improvised. Painting the black hat silhouettes first as bold flat shapes, then layering the purple band and mustard dot accents on top, keeps the color sequence logical and prevents muddying. The result is a cheerful daytime decoration that requires no sharp tools.

From pumpkin to porch

  1. Clean and prepare the surface

    Wipe the pumpkin with a damp cloth and let it dry fully. If the rind has any waxy coating, lightly sand the front face panel with fine-grit sandpaper to give the paint something to grip.

  2. Sketch the three hat positions

    Use a soft pencil to lightly mark the position of each hat crown and brim. Space the three hats evenly across the widest part of the pumpkin, with similar gaps between them. Keep the brims at roughly the same height.

  3. Paint the black hat silhouettes

    Load a flat brush with undiluted black craft acrylic and paint each hat as a bold flat silhouette: a triangular crown and a gently curved wide brim. Apply a second coat once the first is dry for solid, opaque coverage.

  4. Add the purple bands

    Once the black is fully dry, paint a horizontal purple stripe across each crown just above where the brim meets the crown. Keep the band a consistent width on all three hats for a tidy repeating pattern.

  5. Add mustard dot accents

    Dip the tip of a pencil eraser or a small round brush into mustard yellow paint and press a few dots at the hatband on each hat. Three to five dots per hat is sufficient. Let everything dry completely.

  6. Seal and display

    Apply a clear matte sealer spray and let cure for an hour before displaying. The three-hat pattern looks best on a bright kitchen counter or table where overhead light hits it directly.

Written with AI to match this design

Gather your supplies

Check things off as you get ready.

Work on a stable surface, keep your free hand out of the cutting path, and have an adult handle sharp tools.

Three levels of light

  • Leave intact

    All bare orange rind areas between and around the three painted hats

  • Peel & shade

    None, the shell is fully intact

  • Cut through

    None, illuminate with ambient room light or a spotlight aimed at the front

Learn the carving basics

Before you start cutting

How do I get all three hat brims to look consistent without a stencil?

Cut a simple hat shape from a piece of cardboard and trace around it with pencil for each position before painting. This gives you a repeatable outline for all three hats with minimal effort.

The black paint looks slightly orange through thin areas. How do I fix it?

Apply a third coat of black once the previous coats are dry. Thinning paint with too much water is the most common cause of translucency; use paint at full consistency straight from the bottle for maximum opacity.

Can I add a face to any of the hats?

Yes. A simple dot eye or crescent smile painted below any of the hats converts it into a witch character. Keep the face features in the same flat graphic style as the hats so the design stays cohesive.

Your take belongs here, too.

Changed a detail? Made it simpler? Share a photo of your version and tell the community what worked.

Share your pumpkin

More pumpkins like this

You've reached the end · 8 pumpkins
The Patch Report

Fresh pumpkins, in your inbox.

The best new carvings, ideas worth stealing, and how-tos for carving season. Short, seasonal, and gone by November.

A short email during carving season. Unsubscribe anytime. See our privacy policy.