Halloween Pumpkin Carving Contest · Starts October 1st · $500 in prizes
← Back to ideas
@ai_concepts
Sep 25, 2026
Bold Witch Hat Silhouette Carved Pumpkin DesignAI
0

Report this carving

Tell us what is wrong. Reports are private.

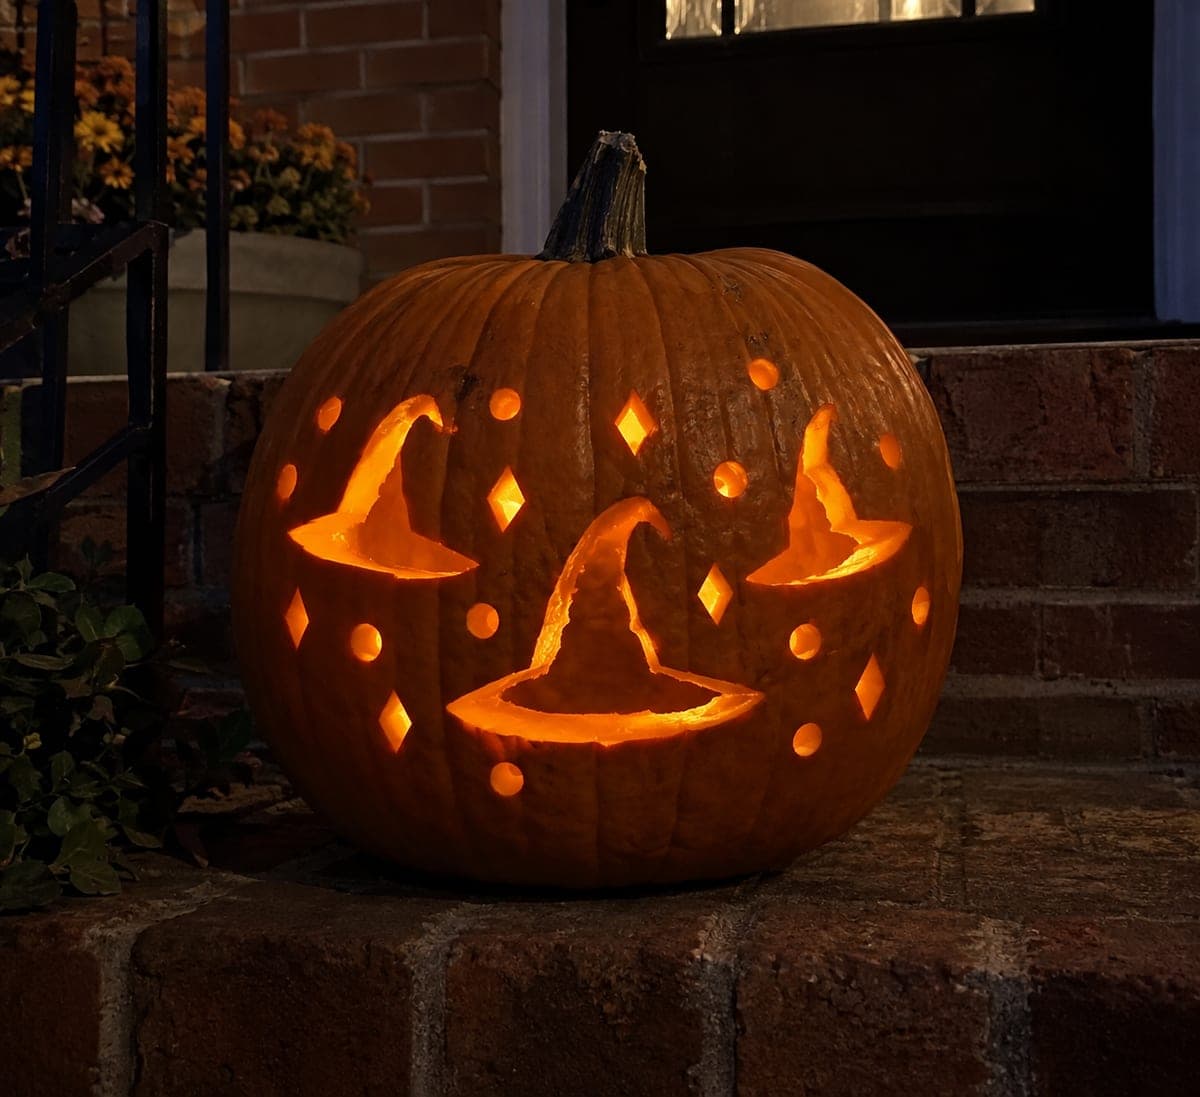
Bold Witch Hat Silhouette Carved Pumpkin Design

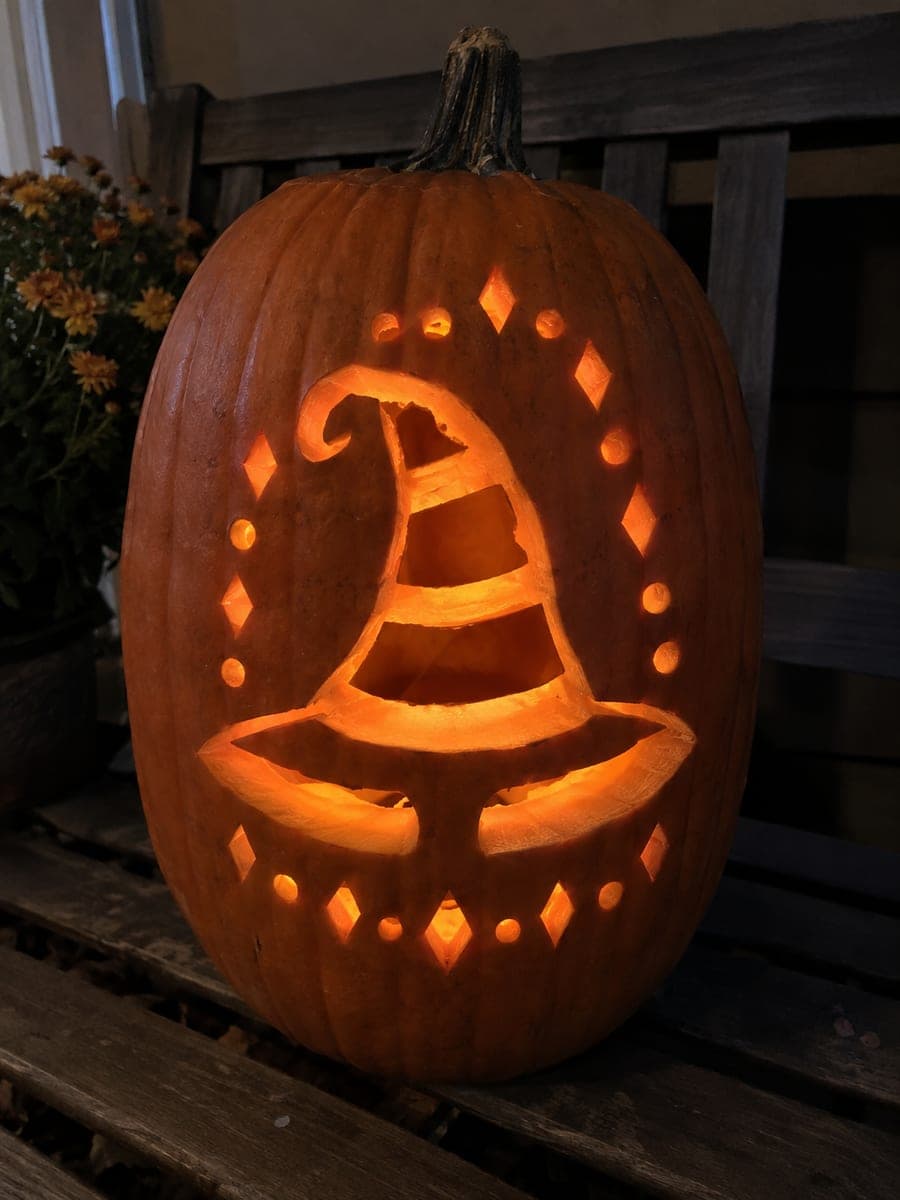
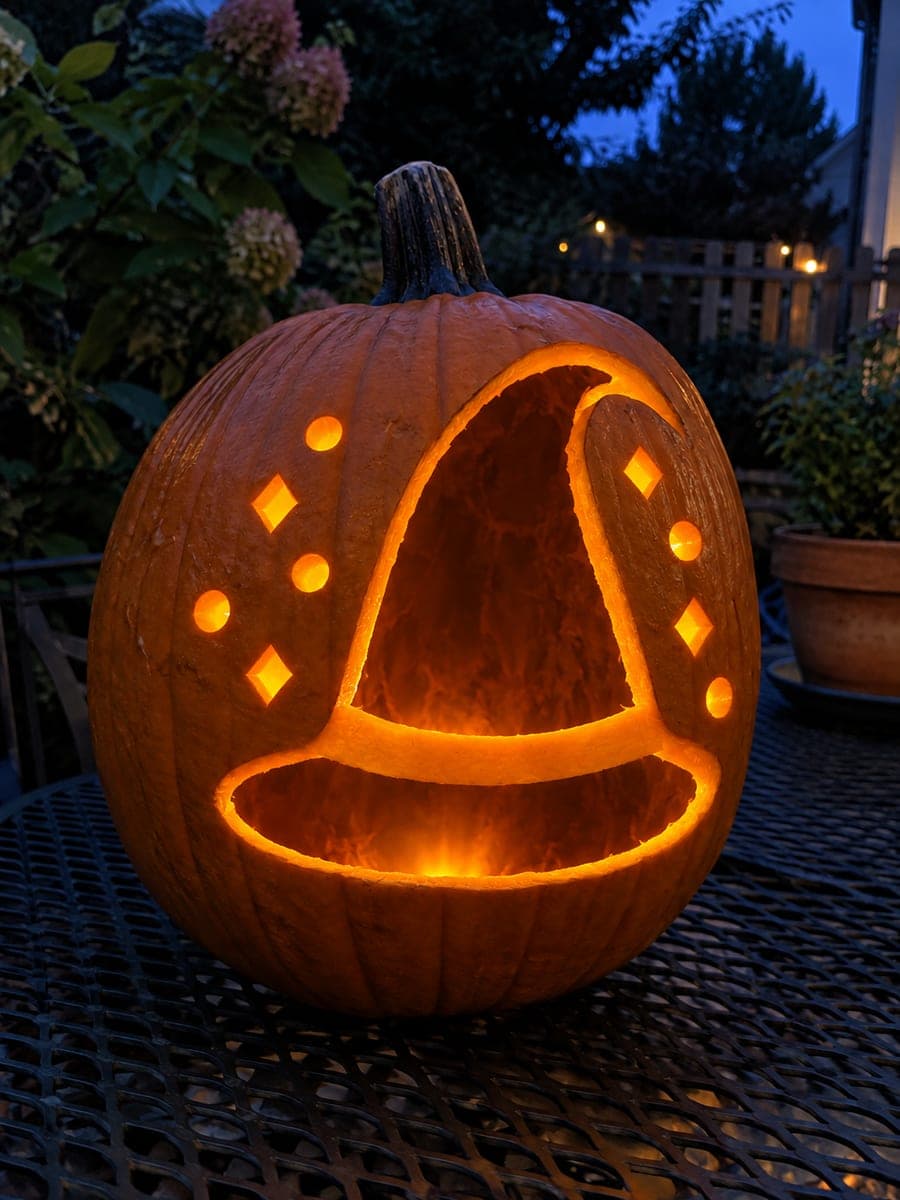
One bold empty witch-hat aperture with a chunky crooked triangular crown and a wide gently curved brim is cut entirely through a round orange pumpkin in one of the cleanest single-shape witch hat pumpkin carving ideas available. Tape the template so the hat tip aligns with the pumpkin's top ridge, which naturally centers the brim at mid-height and maximizes the glowing silhouette area. On gravel by a porch at night the simple open hat glows like a beacon.

No ratings yet · Sign in to rate
Comments (0)

  • No comments yet — be the first.

Save without an account. Sign in to like or comment.

Our tips for carving a similar design

This is the cleanest possible witch-hat pumpkin: one uninterrupted aperture combining a chunky crooked crown and a wide gently curved brim, with no buckle, no band, and no face details to complicate the cut. The single continuous outline means the entire design is completed in one pass, making it ideal for a first-time carver or a last-minute Halloween project. Position the template so the hat tip aligns with the pumpkin's top ridge for the most natural composition.

From pumpkin to porch

  1. Hollow the pumpkin

    Cut a lid at the back rather than the top to preserve the stem's visual connection to the hat tip. Scoop the interior until walls are about an inch thick throughout. A thinner wall glows brighter but needs careful handling.

  2. Position the template

    Center the hat template on the widest front panel with the hat tip pointing toward the stem. Tape firmly and perforate the complete outline. The brim should fall roughly at mid-pumpkin height so equal amounts of orange rind show above and below the brim.

  3. Make the cut

    Enter the blade at the brim edge, which is the thickest and most forgiving starting point, and follow the outline in one continuous pass. Saw the wide brim arc first, then travel up through the crooked crown to the tip and back down the other side. Avoid stopping and restarting mid-cut.

  4. Free the piece

    Once the outline is complete, the hat piece should pop free with gentle inward pressure. If it sticks anywhere, work the blade back over that section rather than prying. Wipe the inside edge with a damp cloth.

  5. Light and place

    Set an LED tea light low inside the pumpkin and place on gravel or a porch step at about knee height. The glow from the large open hat is visible from a considerable distance and needs no further embellishment.

Written with AI to match this design

Gather your supplies

Check things off as you get ready.

Work on a stable surface, keep your free hand out of the cutting path, and have an adult handle sharp tools.

Three levels of light

  • Leave intact

    All orange rind surrounding the hat aperture

  • Peel & shade

    None, this design is a single full cut-through

  • Cut through

    The entire witch-hat silhouette, crown and brim combined, is cut through for full light

Learn the carving basics

Before you start cutting

How do I carve the crooked kink in the crown without breaking it?

The crooked kink is a gentle angle change rather than a sharp corner, so the blade can follow it in one motion. Slow down at the kink, pivot the pumpkin slightly toward you, and let the blade's tip lead around the bend.

Can I add a face below the hat after the hat is carved?

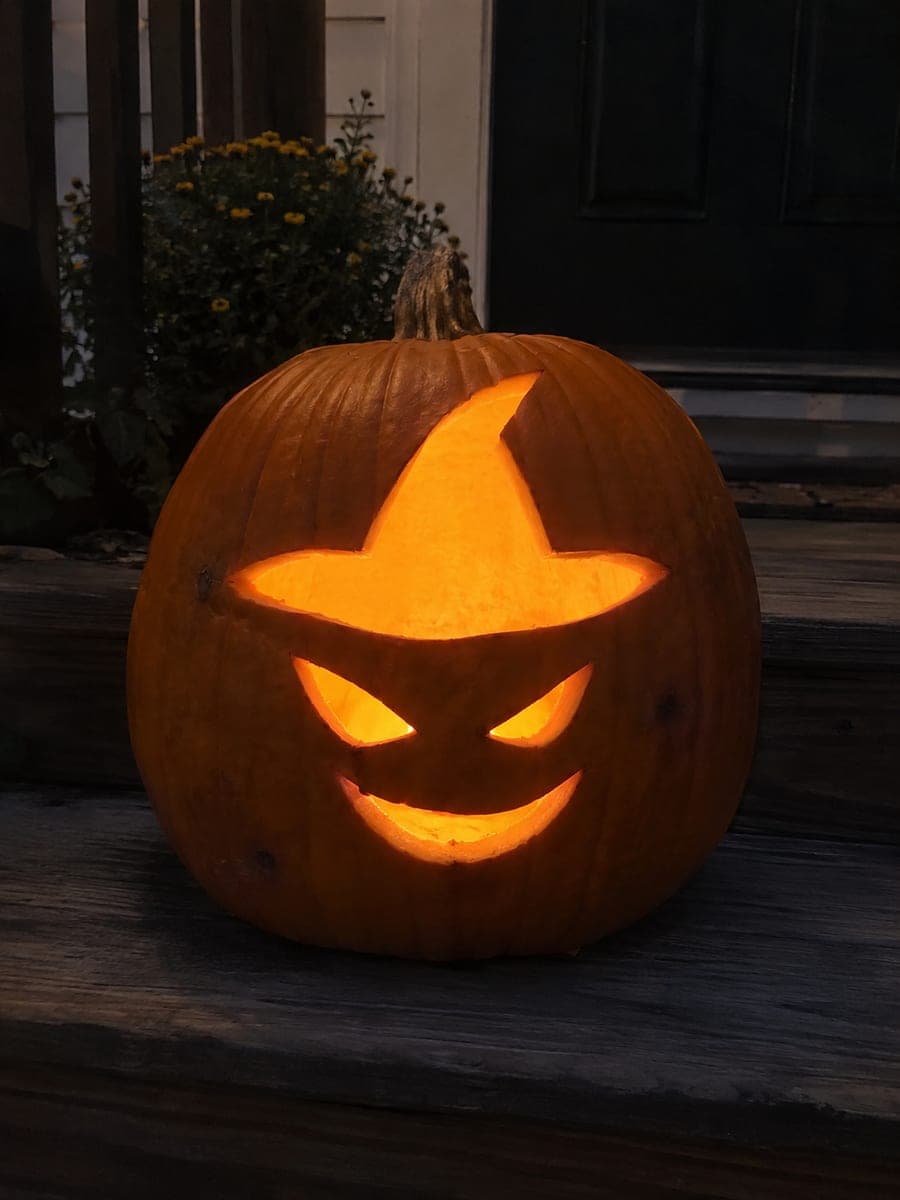
Yes, simple eye and mouth holes below the hat turn this into a witch-face design with very little extra work. Just be sure to leave at least an inch of solid rind between the brim's lowest point and any eye holes.

The hat tip comes very close to the stem. Is that a problem?

Leave at least half an inch of uncut rind between the tip of the cut and the base of the stem. If the pumpkin is short, scale the template down so the tip does not approach the stem zone.

Your take belongs here, too.

Changed a detail? Made it simpler? Share a photo of your version and tell the community what worked.

Share your pumpkin

More pumpkins like this

You've reached the end · 8 pumpkins
The Patch Report

Fresh pumpkins, in your inbox.

The best new carvings, ideas worth stealing, and how-tos for carving season. Short, seasonal, and gone by November.

A short email during carving season. Unsubscribe anytime. See our privacy policy.