Halloween Pumpkin Carving Contest · Starts October 1st · $500 in prizes
← Back to ideas
@ai_concepts
Sep 14, 2026
Tilted UFO With a Wide Light Beam PumpkinAI
0

Tilted UFO With a Wide Light Beam Pumpkin

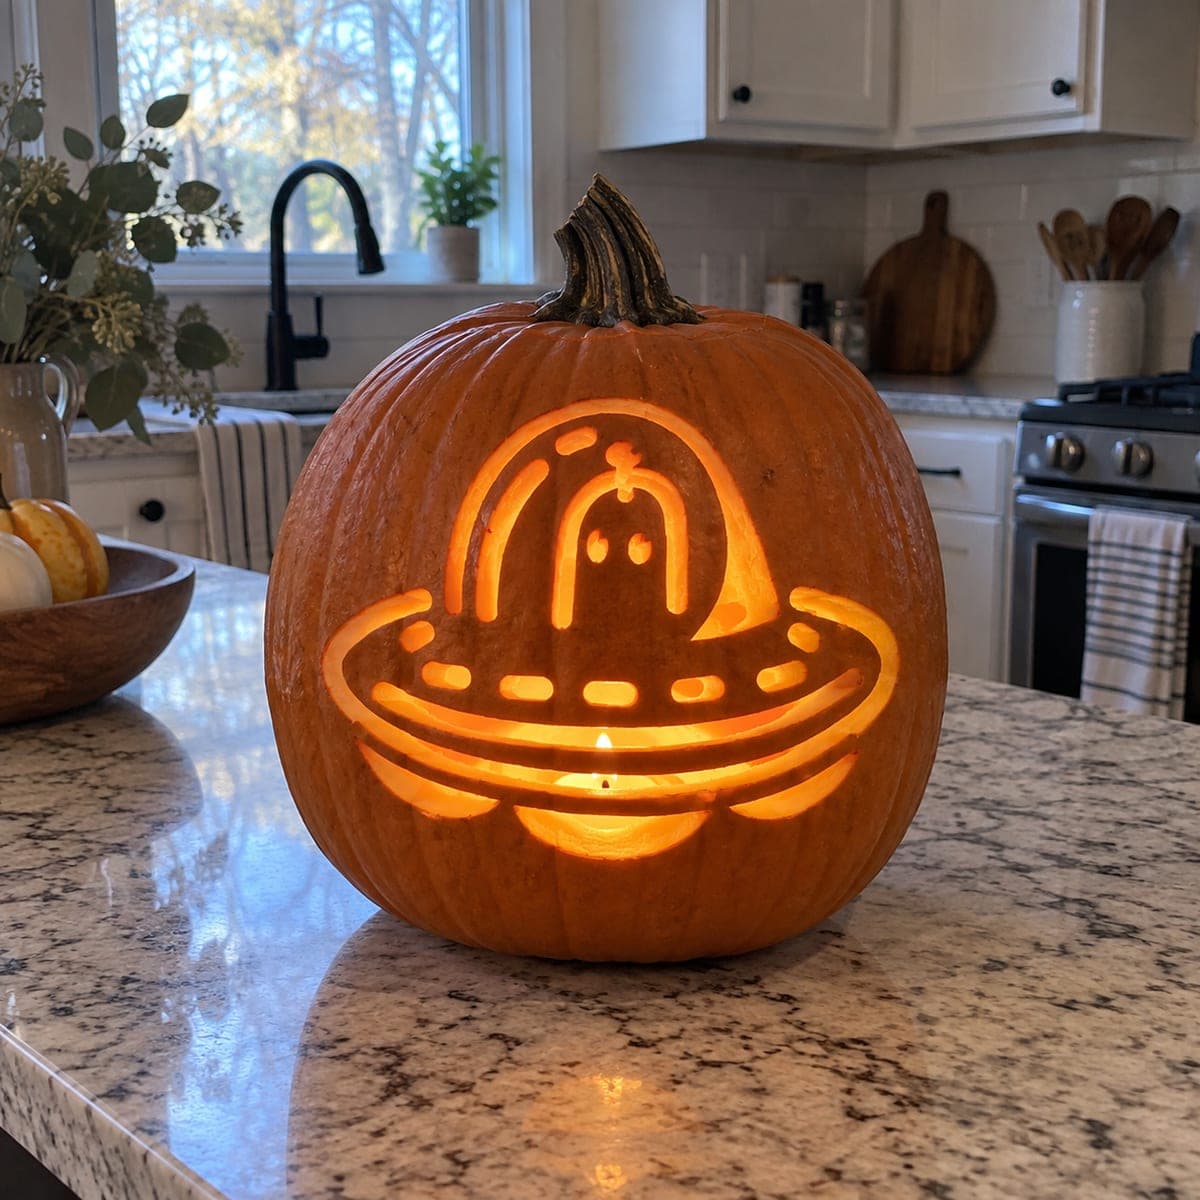
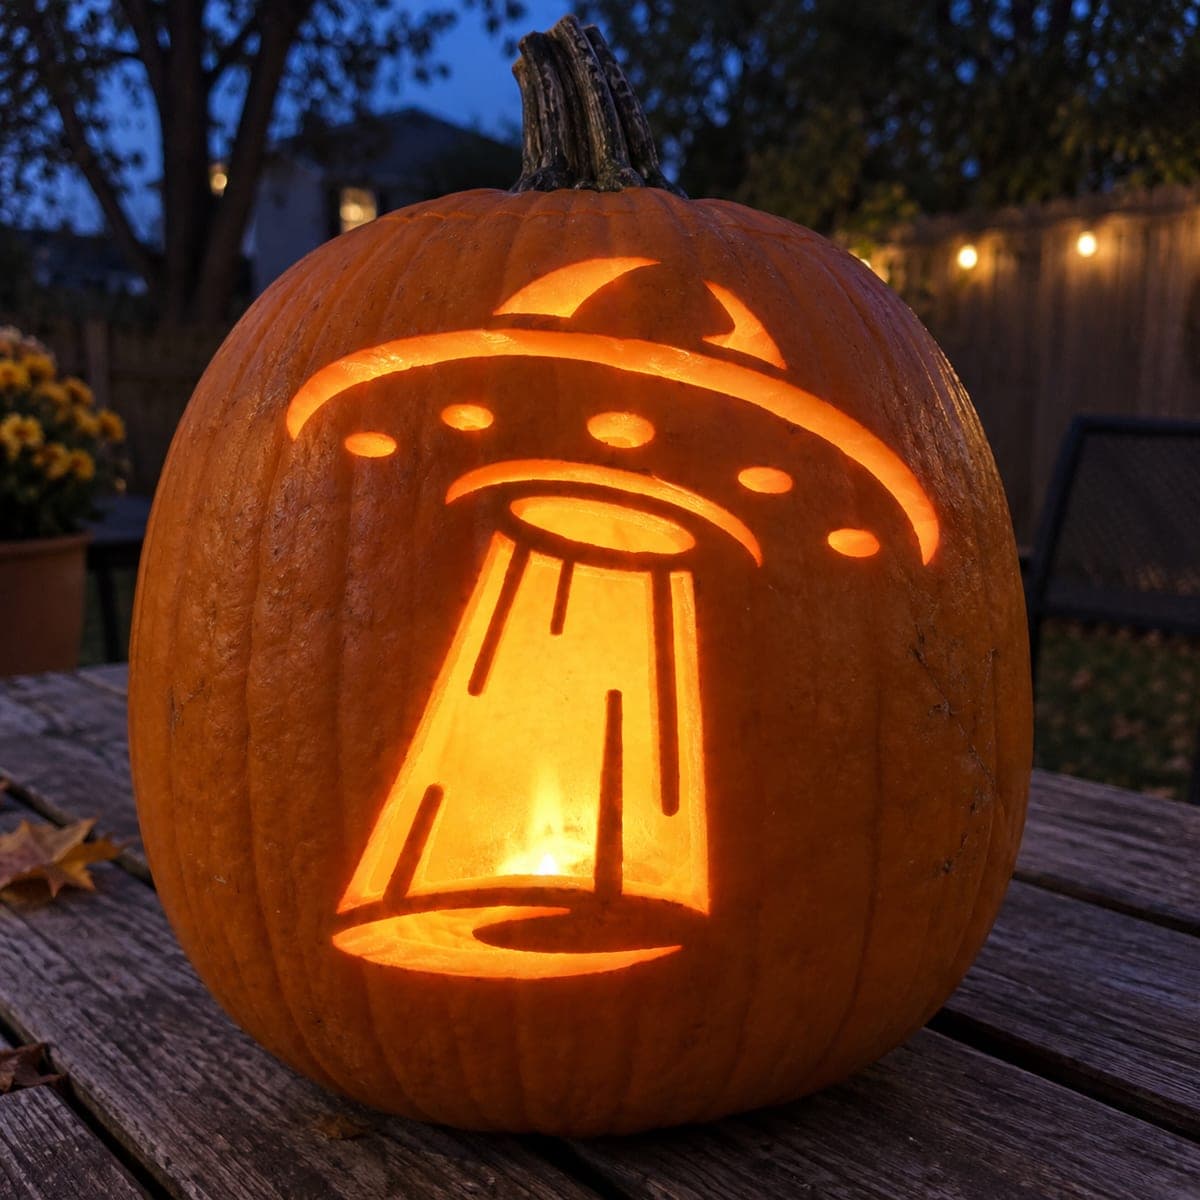
A tilted flying saucer with a domed cockpit, a row of circular port lights along its rim, and a wide V-shaped tractor beam pointing down toward an oval ground marking fills most of the pumpkin face. Each section of this cutout jack-o-lantern is pierced through, with dark rind lines acting as the outline between the glowing beam panels and the port holes. Cut the circular port lights individually with a small drill or detail blade before opening the large beam sections, so the rind around them stays supported. Angling this UFO pumpkin carving idea slightly forward on the porch gives trick-or-treaters a better view of the beam.

This is an AI-generated concept image: a realistic, carvable design idea rather than a photo of a finished carve. AI concepts are always labeled and sit out the leaderboard and the contest.
No ratings yet · Sign in to rate

Comments (0)

  • No comments yet — be the first.

Save without an account. Sign in to like or comment.

Our tips for carving a similar design

The core trick here is using thin bands of untouched rind to separate the glowing panels of the saucer, its port lights, and the wide beam below. You plan the piece as a set of shapes divided by dark outline lines, cutting the small round ports first while the surface is still fully supported, then opening the large beam sections last. Because this is a concept image, treat it as a design you could build with careful bridge planning.

Written by PumpkinCarvingIdeas.com, inspired by the image above. These are our suggestions, not instructions from the uploader. This approach to the AI concept has not been tested on a real pumpkin.

From pumpkin to porch

  1. Prep the pumpkin and cut the lid

    Choose a tall pumpkin with a smooth front for the flattest carving area. Cut the lid from the back at an angle so it drops in and rests, or cut a base hole in the bottom instead so the pumpkin sits flat. Scoop the inside and thin the front wall to about one inch so light passes cleanly. A thinner wall makes the beam glow brighter without weakening the whole face.

  2. Transfer the UFO stencil

    Print the tilted saucer design and tape it snugly over the front, smoothing out wrinkles as you go. Poke through the outline with a transfer tool or pushpin, marking the saucer rim, the dome, each port hole, the V beam edges, and the oval ground marking. Space the dots close together on tight curves like the dome and the round ports. Peel the paper and connect any faint spots with a marker so the plan is easy to read.

  3. Drill the round port lights first

    Start with the small circular ports along the saucer rim while the rind is still solid and supported. A small drill bit or a rounded detail blade gives clean circles better than a straight saw. Keep each port separated from its neighbors by leaving the rind between them uncut. Doing these before the big openings means the surface will not flex or tear around them.

  4. Cut the beam panels and saucer sections

    Move to the wide V beam, cutting each panel between the thin outline lines you left standing. Keep those dividing strips of rind intact so they read as dark lines between the glowing sections. Cut the domed cockpit and the saucer body openings, again respecting the narrow bridges. Save the largest openings for last so the face stays rigid while you do the finer cuts.

  5. Open the ground oval and clean edges

    Cut the oval ground marking at the base of the beam last, since it is a large low opening. Gently bevel the inside back edge of each cut so more light escapes toward the viewer. Check every bridge and thin outline strip for cracks, and trim any ragged edges with a paring knife. If a bridge feels loose, do not force it, just support it and avoid widening nearby cuts.

  6. Light it and photograph the beam

    Set one or two battery LED lights inside, placing one low so it lights the beam brightly. Avoid candles, since the thin front wall and narrow bridges dry out and can scorch. Tilt the pumpkin slightly forward on the porch so trick-or-treaters look straight into the beam. Shoot photos at dusk while there is still a little blue in the sky for the best contrast.

Gather your supplies

Check things off as you get ready.

Work on a stable surface, keep your free hand out of the cutting path, and have an adult handle sharp tools.

Three levels of light

  • Leave intact

    The saucer body outline, the thin strips between beam panels, and the dividers between port holes stay as untouched dark rind.

  • Peel & shade

    Skin-peel the dome and the wide beam field if you want a softer mid glow instead of a full pierced opening.

  • Cut through

    Cut fully through the round port lights, the beam panels, and the oval ground marking for the brightest light.

Learn the carving basics

Before you start cutting

How do I keep the thin lines between the beam panels from breaking?

Leave those strips at least a quarter inch wide and cut the panels on either side gently, without prying. Work from the center of each panel outward so pressure pulls away from the bridge. If a strip starts to flex, stop and cut smaller sections at a time.

Should I really cut the little port holes before the big openings?

Yes. The rind stays firm and supported when the large beam sections are still closed, so your round ports come out clean and evenly spaced. If you open the big beam first, the surface flexes and the small circles tear or run together.

Can I make the tractor beam look brighter than the saucer?

Place a second LED low inside the pumpkin, aimed toward the beam and ground oval. Bevel the inside edges of the beam cuts so more light spills forward. The saucer ports will read as smaller sharp points while the beam becomes the glowing centerpiece.

Your take belongs here, too.

Changed a detail? Made it simpler? Share a photo of your version and tell the community what worked.

Share your pumpkin

More pumpkins like this

You've reached the end · 8 pumpkins
The Patch Report

Fresh pumpkins, in your inbox.

The best new carvings, ideas worth stealing, and how-tos for carving season. Short, seasonal, and gone by November.

A short email during carving season. Unsubscribe anytime. See our privacy policy.