Halloween Pumpkin Carving Contest · Starts October 1st · $500 in prizes
← Back to ideas
@ai_concepts
Jul 9, 2026
Trick or Treat Candy Carved Jack-O-LanternAI
0

Trick or Treat Candy Carved Jack-O-Lantern

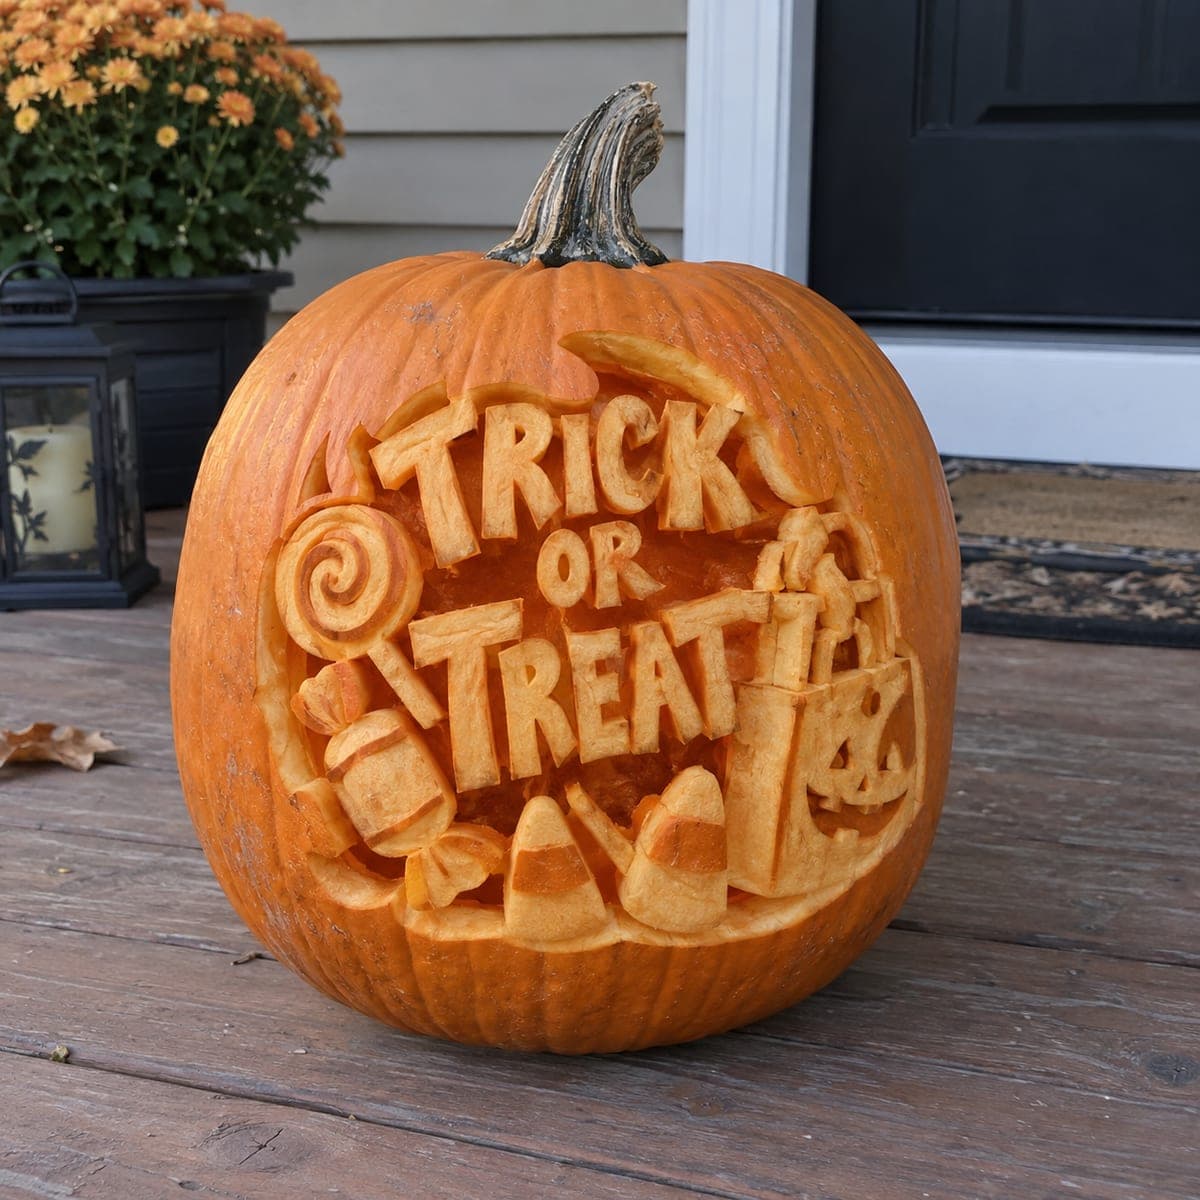
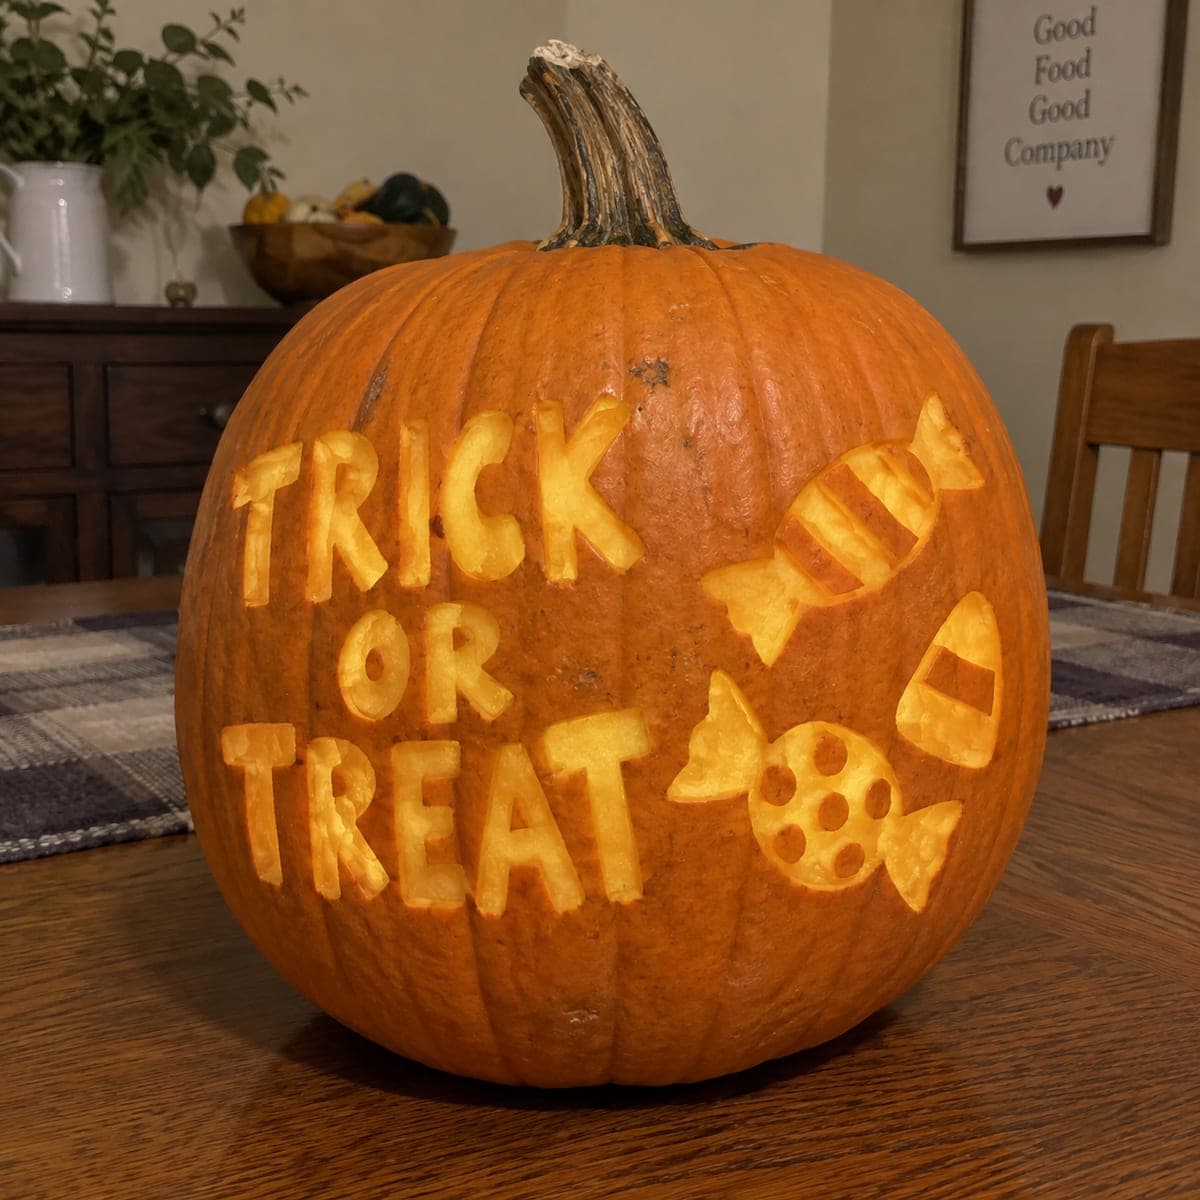
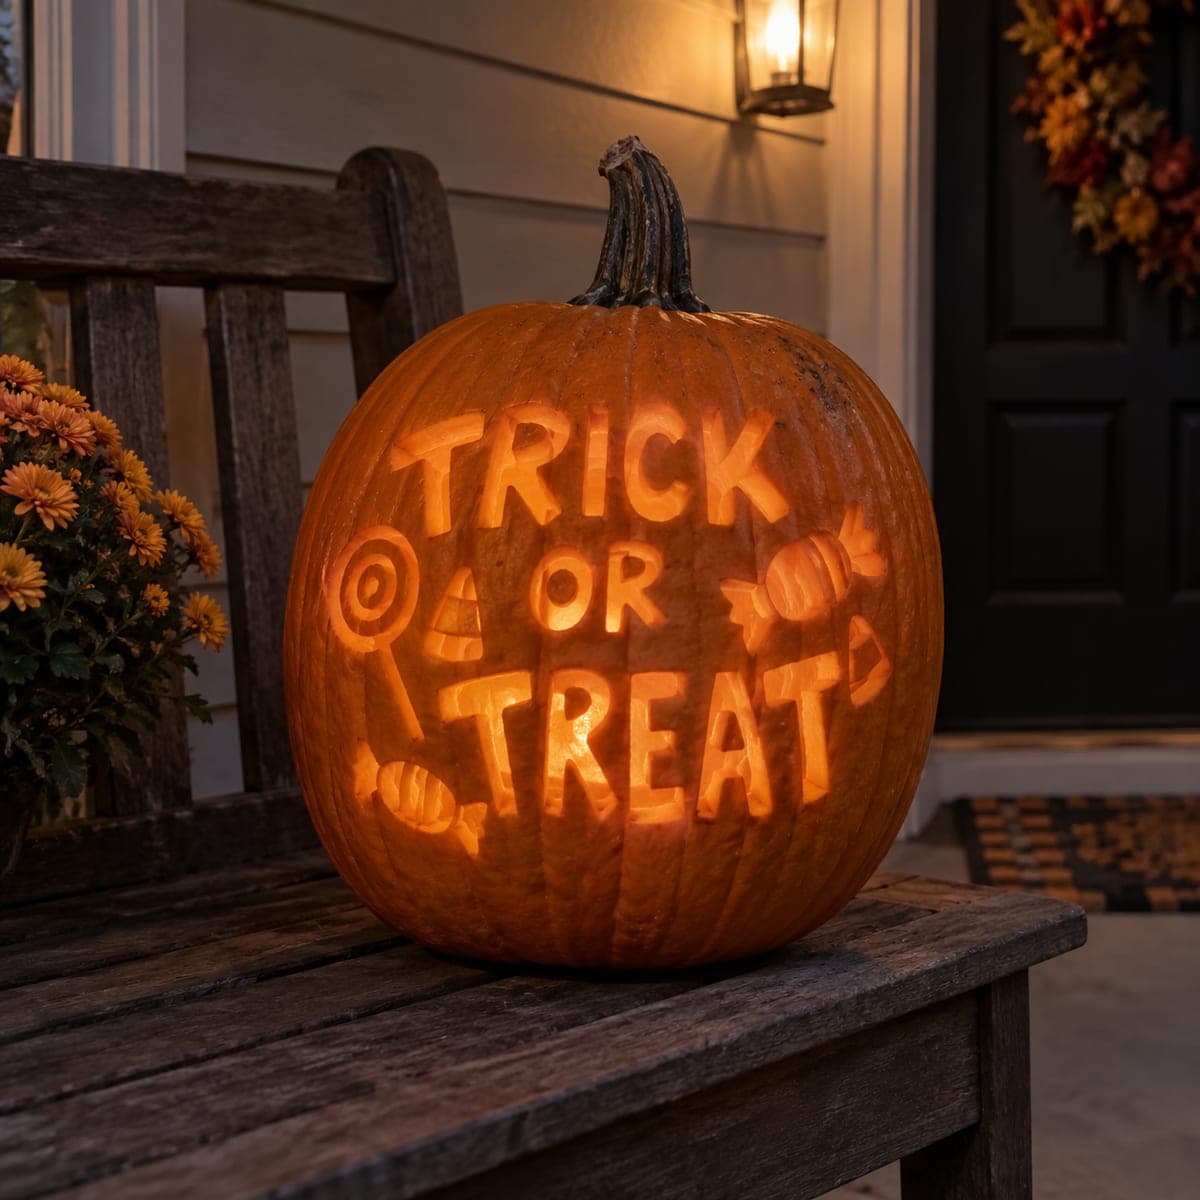
Chunky glowing letters spell TRICK OR TREAT across this pumpkin, framed by a lollipop, wrapped candies, and candy corn that light up with the words. The letters are etched through the skin at partial depth, which keeps their centers attached and makes lettering far more forgiving than full cutouts. Print the phrase in a bold rounded font, tape it on as a transfer, and carve the candy shapes last. An LED puck light keeps the glow even edge to edge.

This is an AI-generated concept image: a realistic, carvable design idea rather than a photo of a finished carve. AI concepts are always labeled and sit out the leaderboard and the contest.

No ratings yet · Sign in to rate
Comments (0)

  • No comments yet — be the first.

Save without an account. Sign in to like or comment.

Our tips for carving a similar design

The core trick here is etching the letters at partial depth so their centers stay attached, which is far more forgiving than cutting each letter clean through. Peel the skin off the letter faces for a soft even glow, then save the small candy shapes as true cutouts for pops of bright light. A bold rounded font keeps everything readable from the sidewalk.

Written by PumpkinCarvingIdeas.com, inspired by the image above. These are our suggestions, not instructions from the uploader. This approach to the AI concept has not been tested on a real pumpkin.

From pumpkin to porch

  1. Plan the layout and open the pumpkin

    Pick a tall pumpkin with a wide flat front so all three words fit comfortably. Cut a lid or a bottom access hole with a sturdy serrated tool, angling the cut inward so the piece rests without falling in. Scoop the inside clean and thin the front wall to about one inch so the glow comes through evenly. A thinner wall makes etching much easier later.

  2. Transfer the design

    Print TRICK OR TREAT in a bold rounded font, sized to stack in three rows across the front. Tape the paper smoothly against the pumpkin, then trace the outlines with a poking tool or transfer wheel to dot the shapes onto the skin. Add the lollipop, wrapped candies, and candy corn in the open spaces around the words. Step back and check spacing before you commit to any cuts.

  3. Etch the letters at partial depth

    Score the outline of each letter with a small detail blade, then peel away only the top skin inside each letter to expose the pale flesh underneath. Aim to shave down partway, not all the way through, so the letter faces glow dim orange while staying attached. Keep the depth even from letter to letter for a consistent look. Take your time on curves and let an adult handle all the sharp tools.

  4. Shade for extra glow

    Where you want a letter to read brighter, scrape a little deeper to thin the flesh further without breaking through. This shading trick lets you control how much light passes through each shape. Blend the edges so there are no harsh steps. Test the effect by holding a light behind the wall as you work.

  5. Cut the candy shapes last

    Now cut the lollipop, wrapped candies, and candy corn all the way through for bright accents. Keep any thin details like candy wrappers connected with small uncut bridges so nothing snaps off. Cutting these openings last protects the front wall while you do the delicate etching. Clean up the edges with a fine blade for crisp shapes.

  6. Light it and photograph

    Drop in an LED puck light or two for an even edge to edge glow, and skip open flames. Set the pumpkin on a porch bench or step near the door for the classic greeting look. Shoot photos at dusk when the letters glow against the softer sky. Mist the cut edges with water and store cool to keep it fresh longer.

Gather your supplies

Check things off as you get ready.

Work on a stable surface, keep your free hand out of the cutting path, and have an adult handle sharp tools.

Three levels of light

  • Leave intact

    The background pumpkin skin and the stem stay untouched and dark

  • Peel & shade

    The letter faces of TRICK OR TREAT are skin-peeled for a soft mid glow

  • Cut through

    The lollipop, wrapped candies, and candy corn are cut through for the brightest light

Learn the carving basics

Before you start cutting

How do I keep letters like O and R from falling out?

Because you are etching at partial depth rather than cutting all the way through, the centers stay fully attached to the pumpkin wall. That is the whole advantage of this technique for lettering. If you did want a letter cut clean through, you would leave small bridges to hold the inner islands in place.

What font works best for this greeting?

A bold rounded font with thick strokes reads clearly from the street and gives you plenty of surface to peel and shade. Thin or script fonts are harder to etch evenly and can look muddy when lit. Size the three words to stack neatly across the widest part of the pumpkin.

Since this is a concept image, can a real pumpkin glow this evenly?

Yes, the look is achievable on a real pumpkin. Thin the front wall to about an inch and keep your etching depth consistent so the letters glow uniformly. Two LED puck lights spread the light better than a single point source for that edge to edge effect.

Your take belongs here, too.

Changed a detail? Made it simpler? Share a photo of your version and tell the community what worked.

Share your pumpkin

More pumpkins like this

You've reached the end · 8 pumpkins
The Patch Report

Fresh pumpkins, in your inbox.

The best new carvings, ideas worth stealing, and how-tos for carving season. Short, seasonal, and gone by November.

A short email during carving season. Unsubscribe anytime. See our privacy policy.