Halloween Pumpkin Carving Contest Β· Starts October 1st Β· $500 in prizes
← Back to ideas
@ai_concepts
Sep 25, 2026
Two Rows of Oval Holes Flat PumpkinAI
0

Report this carving

Tell us what is wrong. Reports are private.

Two Rows of Oval Holes Flat Pumpkin

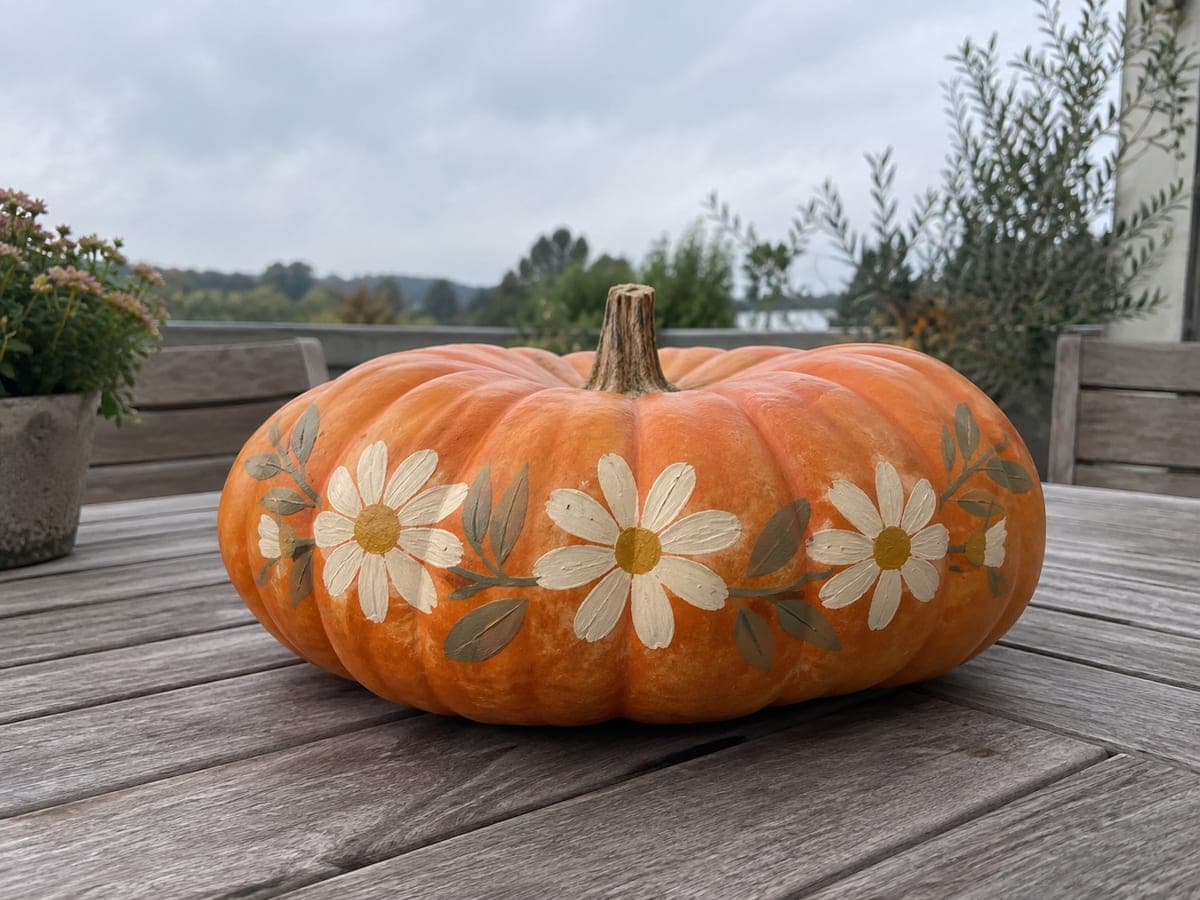
Two rows of separate pointed oval holes and a middle row of drilled round holes span the full width of this flat pumpkin, with broad rind bands above, below, and between each row providing structural continuity across the shallow 17-centimeter profile. Because the height is so limited, the three rows are stacked tightly; confirm the rind band between each row is at least 10mm before committing any cuts. Use a pointed knife for the oval tips and a drill bit for the round holes so all shapes are cleanly finished.

No ratings yet Β· Sign in to rate

Comments (0)

  • No comments yet β€” be the first.

Save without an account. Sign in to like or comment.

Our tips for carving a similar design

Three horizontal rows of openings on a pumpkin only 17 cm tall leaves minimal rind between each band, so confirming a 10 mm gap between every row before cutting is non-negotiable. Pointed ovals require a sharp-tipped knife to start the cut precisely at each tip, and the round holes benefit from a drill bit for clean, consistent results. Work top row to bottom to keep the shell as rigid as possible through most of the process.

From pumpkin to porch

  1. Hollow and measure wall thickness

    Cut a wide lid and hollow to a 2 cm wall. Use a probe or a toothpick marked at 2 cm to check wall depth across the entire face, paying special attention to the ribs if the pumpkin has pronounced vertical indentations.

  2. Lay out all three rows

    Mark the horizontal center line of the face and use it as the middle-row guide for the drilled circles. Space the top oval row 10 mm above the circle row and the bottom oval row 10 mm below it. Within each row, space ovals or circles evenly so there is 8 mm of rind between adjacent shapes.

  3. Drill the middle circle row

    Using a spade bit or a clean hole saw, drill all middle-row circles first while the pumpkin is still structurally complete. Keep the drill perpendicular and use steady moderate pressure.

  4. Cut the top oval row

    Pierce the rind at one tip of the first oval with a narrow jab saw, cut along the long upper arc to the other tip, then trace the lower arc back to the start. Pop the piece inward. Repeat across the row, confirming 8 mm of rind between each oval.

  5. Cut the bottom oval row

    Repeat the same process for the bottom row. The pumpkin is now more fragile with two rows open, so handle it gently and avoid any rocking that stresses the remaining rind bridges.

  6. Clean, light, and display on the stone wall

    Use a paring knife tip to refine any ragged oval points. Insert a bright LED lantern for even illumination, set the lid, and place the pumpkin on a stone wall at dusk where the three-row grid creates a geometric glow pattern.

Written with AI to match this design

Gather your supplies

Check things off as you get ready.

Work on a stable surface, keep your free hand out of the cutting path, and have an adult handle sharp tools.

Three levels of light

  • Leave intact

    The wide rind bands above, below, and between all three rows, plus vertical rind ribs between shapes, stay dark.

  • Peel & shade

    None on this all-cutout design.

  • Cut through

    Every pointed oval in both oval rows and every drilled circle in the middle row glow fully.

Learn the carving basics

Before you start cutting

What is the safest order to cut the three rows on a 17 cm tall pumpkin?

Drill the middle circle row first, cut the top oval row second, and finish with the bottom oval row. This order leaves the most rind intact for as long as possible, reducing the chance of a structural collapse midway through.

How do I make the oval tips sharp rather than blunt?

Pierce the rind at each tip with the very point of a paring knife before introducing the saw. This scores an exact starting point so the saw does not drift sideways on the curved surface. Clean the tips with one light trimming stroke of the paring knife after the oval is removed.

The pumpkin feels slightly soft in one area. Should I continue?

Stop cutting in that area. Soft spots indicate early rot or a pre-existing bruise in the rind, and cuts through softened tissue tend to spread deterioration faster. Work around the soft area by adjusting your oval positions or filling that spot with a small drilled hole instead.

Your take belongs here, too.

Changed a detail? Made it simpler? Share a photo of your version and tell the community what worked.

Share your pumpkin

More pumpkins like this

You've reached the end Β· 8 pumpkins
The Patch Report

Fresh pumpkins, in your inbox.

The best new carvings, ideas worth stealing, and how-tos for carving season. Short, seasonal, and gone by November.

A short email during carving season. Unsubscribe anytime. See our privacy policy.