Halloween Pumpkin Carving Contest · Starts October 1st · $500 in prizes
← Back to ideas
@ai_concepts
Sep 13, 2026
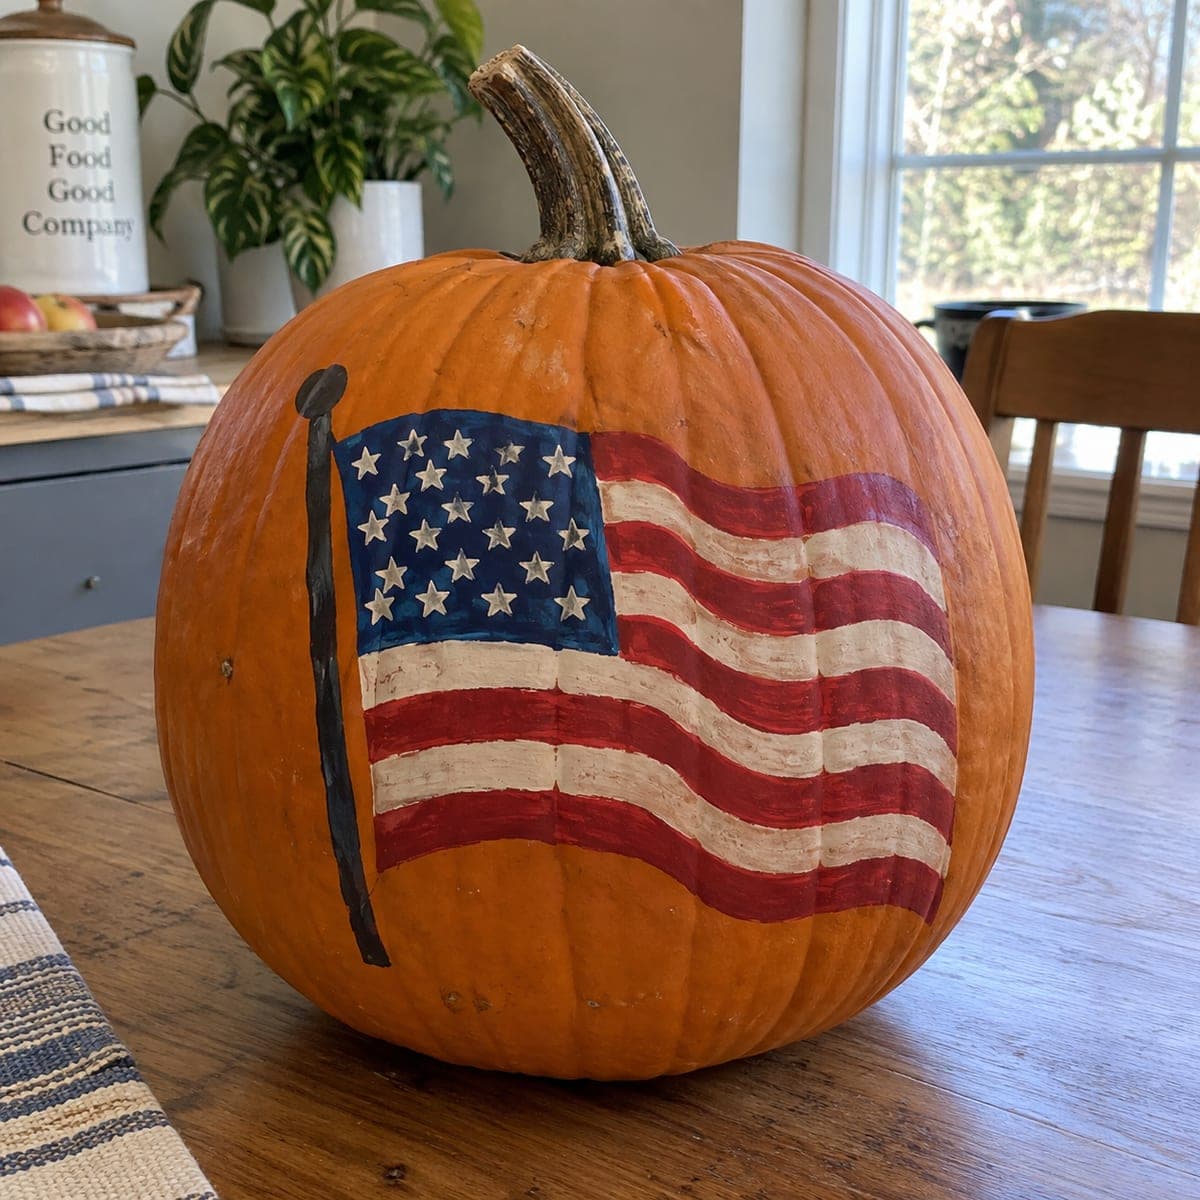
Waving American Flag Painted PumpkinAI
0

Waving American Flag Painted Pumpkin

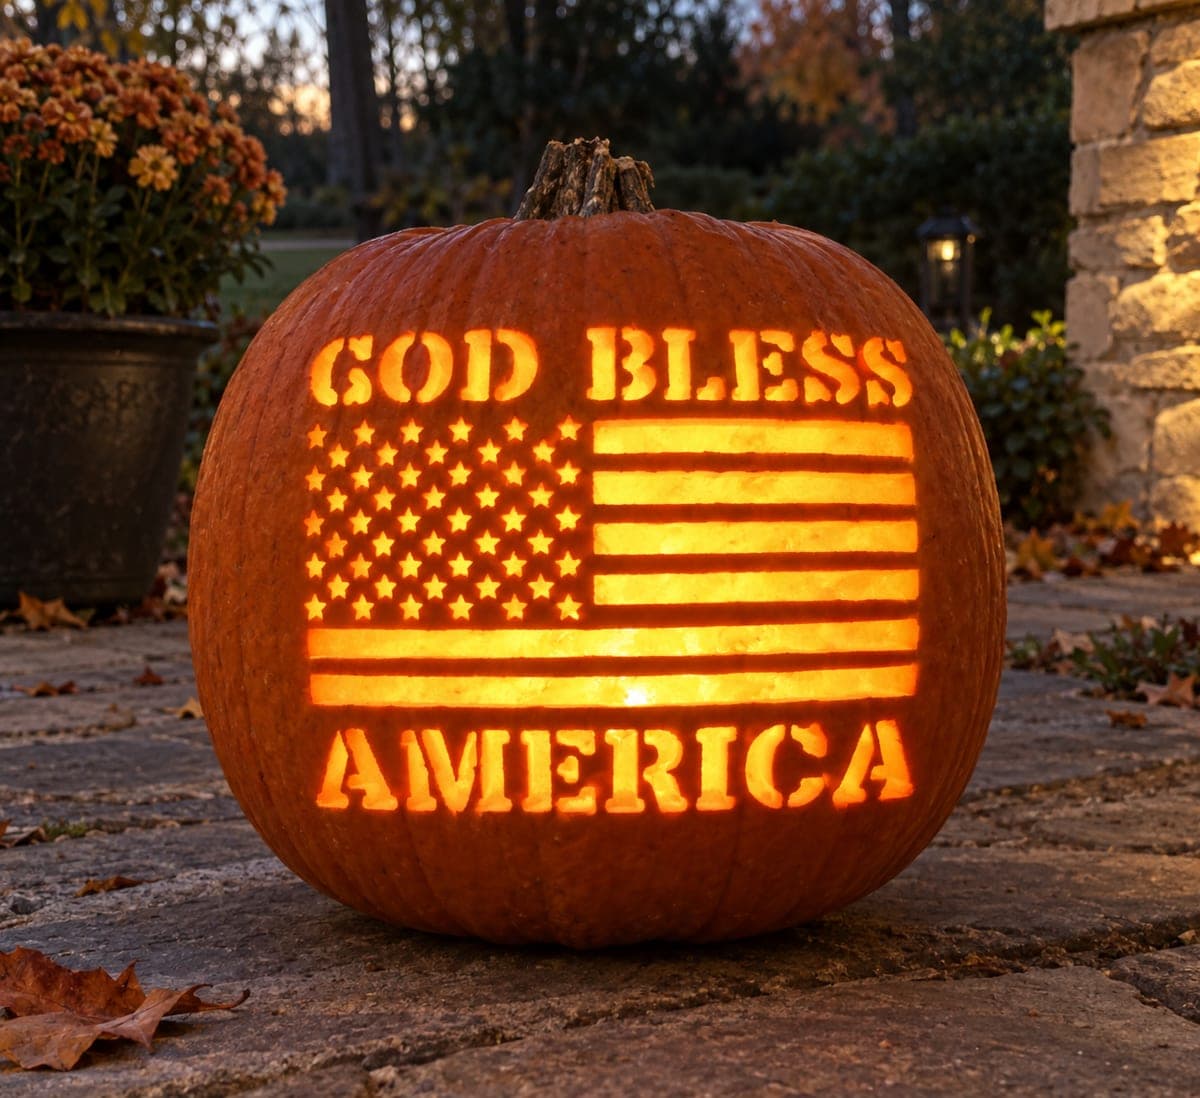
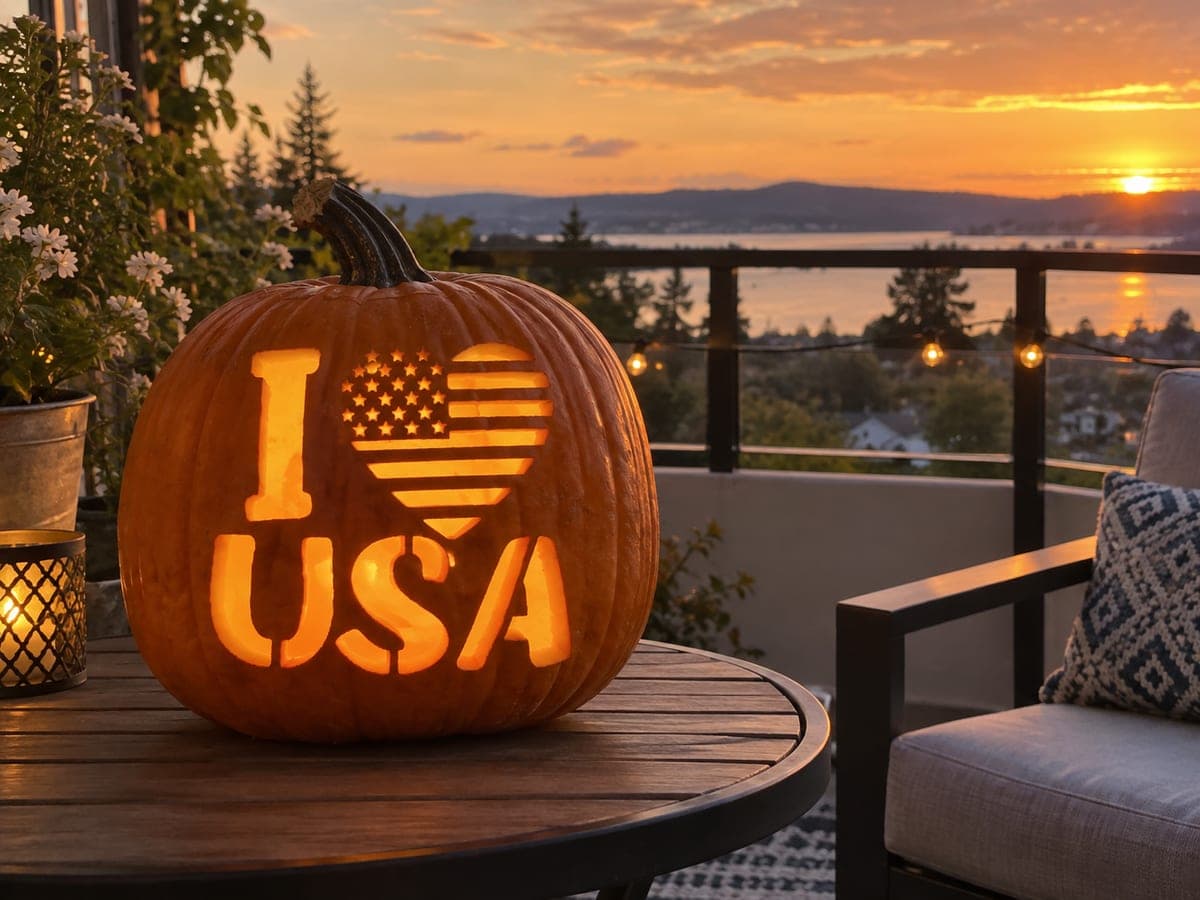
An American flag ripples across this painted pumpkin, its red and white stripes following the pumpkin's natural ribs to create the waving effect. It is a patriotic no-carve pumpkin that works for a veteran's porch, election season, or simple year-round Americana decor. Paint the blue canton and pole first, let the stripes curve with the pumpkin's contours rather than fighting them, and dab the stars on with a small round brush or star stamp.

This is an AI-generated concept image: a realistic, carvable design idea rather than a photo of a finished carve. AI concepts are always labeled and sit out the leaderboard and the contest.

No ratings yet · Sign in to rate
Comments (0)

  • No comments yet — be the first.

Save without an account. Sign in to like or comment.

Our tips for carving a similar design

The core trick here is letting the pumpkin do the waving for you. Instead of fighting the ribs, you paint the red and white stripes so they dip and curve along the natural grooves, which reads as a flag rippling in the wind. Block in the blue canton and the dark pole first, then lay the stripes across the ribs and finish with the stars.

Written by PumpkinCarvingIdeas.com, inspired by the image above. These are our suggestions, not instructions from the uploader. This approach to the AI concept has not been tested on a real pumpkin.

From pumpkin to porch

  1. Clean and sketch the layout

    Wipe the pumpkin down with a damp cloth and let it dry so paint grips well. With a pencil, lightly map the flag: a tall vertical pole on the left, a rectangular blue canton in the upper area, and the horizontal stripe zone flowing to the right. Keep the design on the flattest face so the flag stays readable. Step back and check the proportions before any paint touches the skin.

  2. Paint the pole and blue canton

    Load a small round brush and paint the flagpole as a slightly wavy vertical line so it feels hand drawn, not rigid. Fill the canton rectangle with two coats of navy blue, letting each coat dry before the next so the color stays solid and even. Painters tape along the canton edges helps you keep a crisp border if freehand feels shaky. Let this fully dry before adding stars on top.

  3. Lay in the red stripes along the ribs

    Use the pumpkin's vertical ribs as your guide and let each red stripe rise and fall gently instead of running dead straight. A flat brush gives you clean stripe edges, and a lighter second pass adds a weathered, folk-art look. Leave even gaps of bare pumpkin between the reds where the white stripes will go. Work top to bottom so your hand does not smear wet paint.

  4. Fill the white stripes

    Paint the gaps between the reds with white, following the same curving flow so the whole field looks like one rippling cloth. Two thin coats cover better than one thick one and keep brush strokes soft. Feather the ends where the flag edge waves so it does not look boxed in. Wipe any red that bled into the white while it is still workable.

  5. Dab the stars and add shading

    Once the canton is bone dry, use a small round brush or a star stamp to place rows of white stars, keeping them evenly spaced in offset lines. Do not crowd them; a slightly irregular hand-dabbed look suits this rustic style. For depth, brush a thin shadow of darker red where the flag folds dip into the ribs. Let everything cure fully.

  6. Seal and stage the photo

    Brush or spray a clear matte sealer over the dry paint to protect it from moisture and handling. Set the pumpkin on a wood surface with soft natural window light for that warm kitchen glow shown in the concept. Because this is a no-carve design, you can tuck a small LED puck behind it for a subtle backlight, but never use a candle near painted skin. Snap your photo in daylight for the truest colors.

Gather your supplies

Check things off as you get ready.

Work on a stable surface, keep your free hand out of the cutting path, and have an adult handle sharp tools.

Three levels of light

  • Leave intact

    The bare orange skin around the flag and across the rest of the pumpkin stays untouched as the natural background.

  • Peel & shade

    If you want a hint of glow, lightly peel a thin border just outside the flag so a soft ring of dim orange frames the design.

  • Cut through

    For extra brightness you could cut a few small star openings through the canton, leaving most stars painted so the field stays strong.

Learn the carving basics

Before you start cutting

How do I keep the stripes from looking wobbly and uneven?

Sketch light pencil guidelines first and let each stripe follow one of the pumpkin's ribs so the curves look intentional. Use a flat brush held at a steady angle and pull each stroke in one smooth motion. A gentle wave is the goal, so small variation actually helps the waving effect.

Do I need to seal the paint, and will it last?

Yes, a clear matte sealer protects the acrylic from smudging and light moisture, which helps this last through a season on a covered porch. Let every color coat dry completely before sealing so nothing lifts. Keep the pumpkin out of direct rain and it will hold its look for weeks.

How do I space the stars so they look even?

Paint the blue canton first and let it fully dry, then lightly pencil a grid of offset rows before dabbing. A small star stamp gives the most uniform result, but a fine round brush works if you keep each star about the same size. Slight irregularity reads as charming folk art, so do not stress over perfection.

Your take belongs here, too.

Changed a detail? Made it simpler? Share a photo of your version and tell the community what worked.

Share your pumpkin

More pumpkins like this

You've reached the end · 8 pumpkins
The Patch Report

Fresh pumpkins, in your inbox.

The best new carvings, ideas worth stealing, and how-tos for carving season. Short, seasonal, and gone by November.

A short email during carving season. Unsubscribe anytime. See our privacy policy.