Halloween Pumpkin Carving Contest · Starts October 1st · $500 in prizes
← Back to ideas
@ai_concepts
Jul 15, 2026
American Flag Waving Relief-Carved PumpkinAI
0

American Flag Waving Relief-Carved Pumpkin

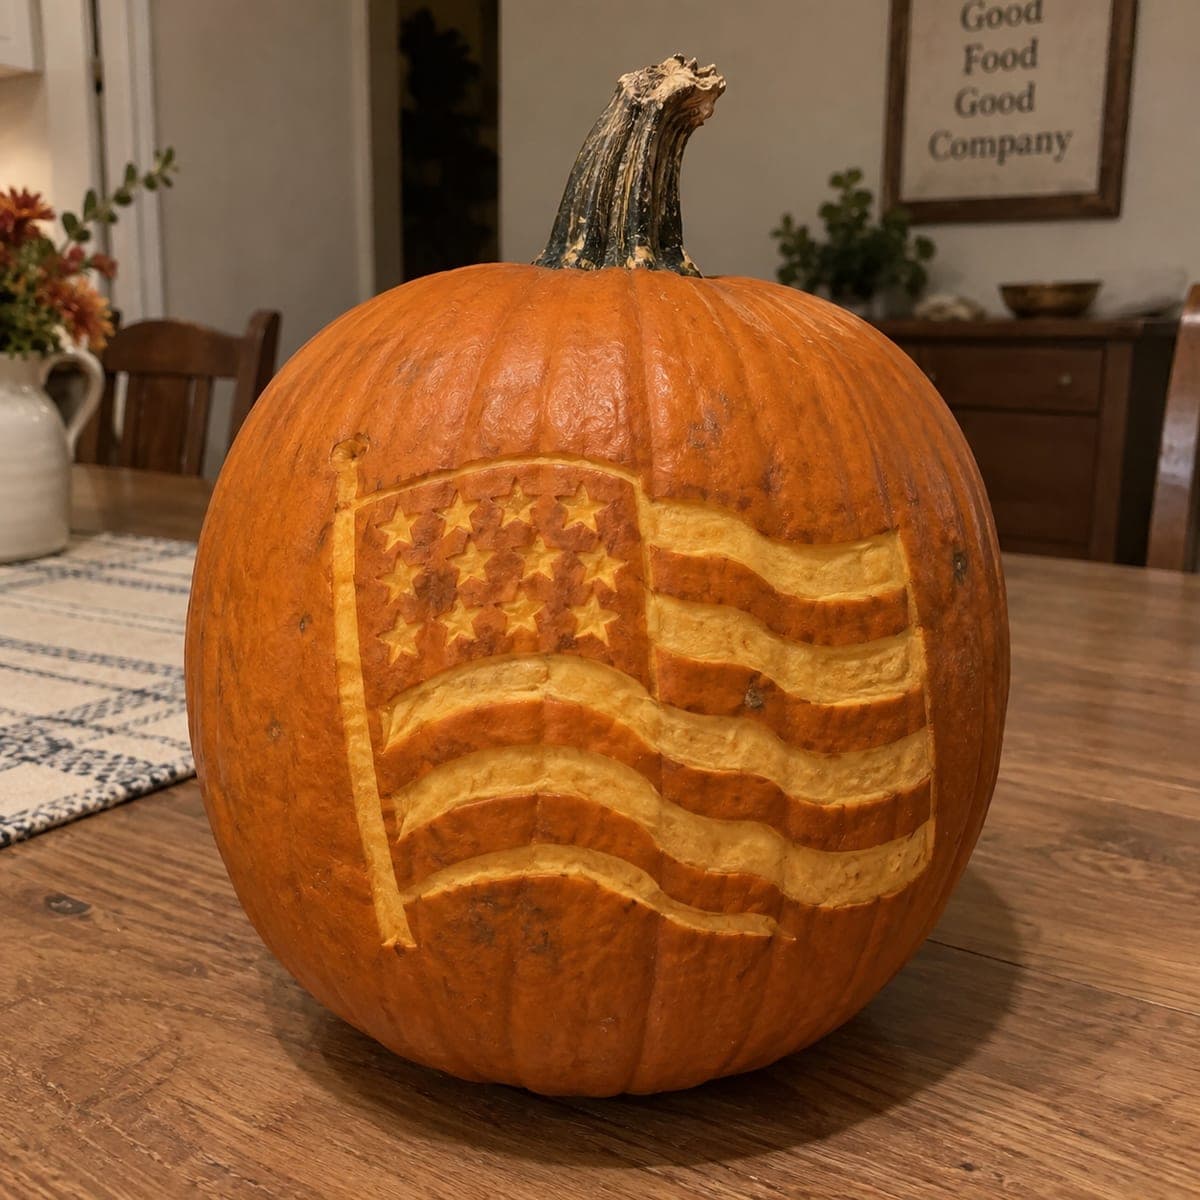
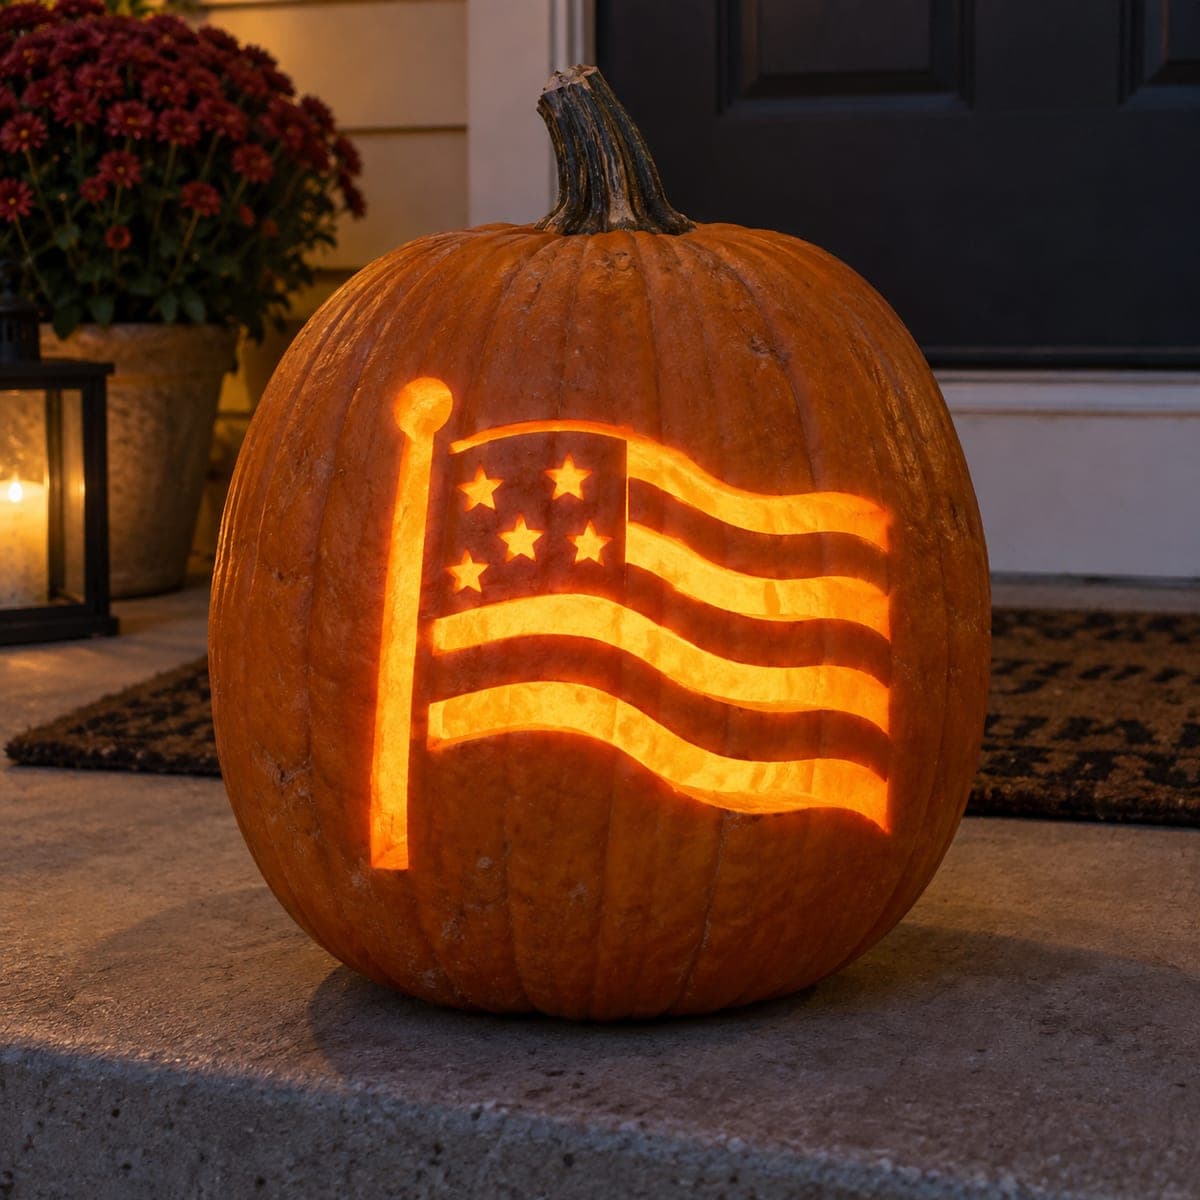
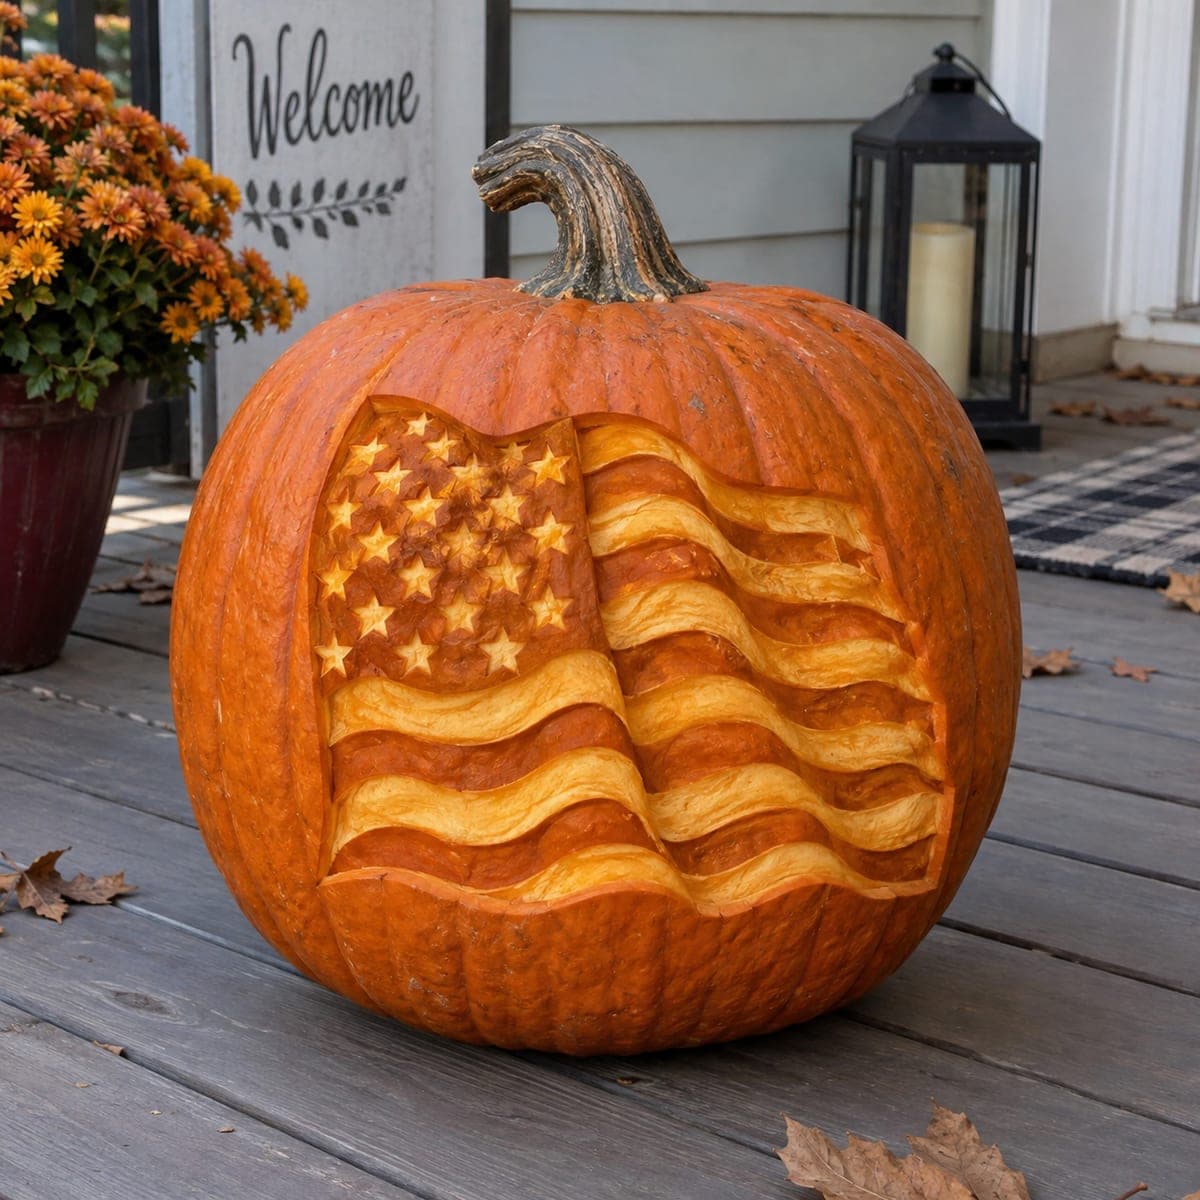
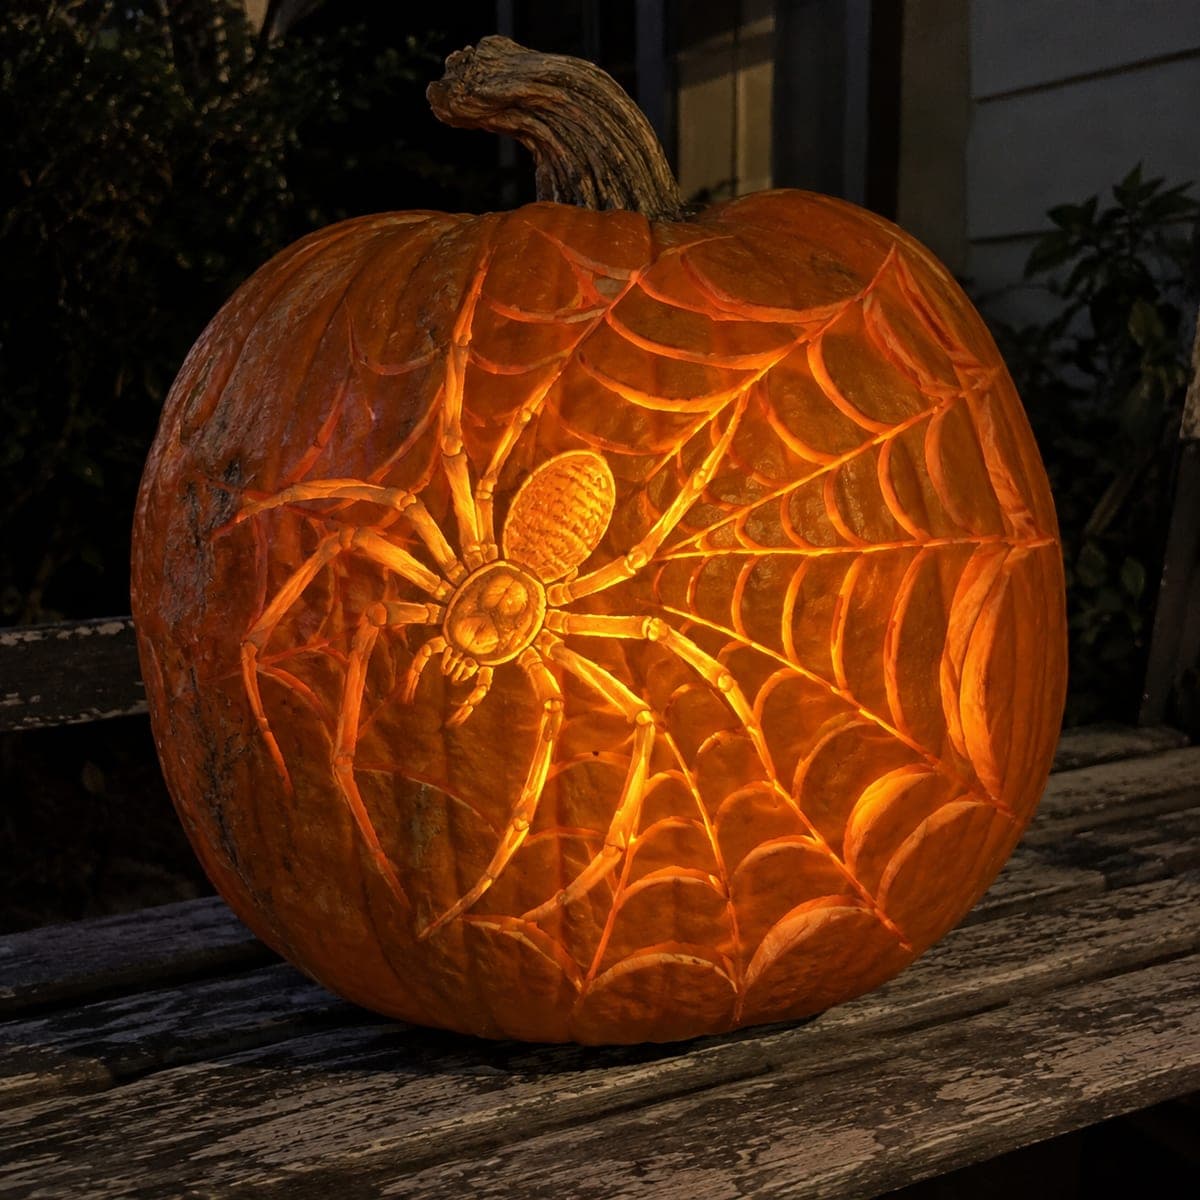
A waving American flag with carved stars and flowing relief-carved stripes spreads across a large pumpkin in a patriotic design that catches warm autumn light on a front porch. The stars are carved in shallow relief while the stripe ridges are sculpted deeply enough to cast shadows that mimic the look of actual fabric in the breeze. Place this pumpkin carving idea beside a lantern on the porch in early fall to bridge the patriotic and harvest seasons. Carve the star field first on a flat pumpkin face, then use a wide flat gouge for the long sweeping stripe ridges.

This is an AI-generated concept image: a realistic, carvable design idea rather than a photo of a finished carve. AI concepts are always labeled and sit out the leaderboard and the contest.
No ratings yet · Sign in to rate

Comments (0)

  • No comments yet — be the first.

Save without an account. Sign in to like or comment.

Our tips for carving a similar design

The core trick here is contrast between two techniques: a shallow star field that lets a little light through, and deeply sculpted stripe ridges that mimic rippling fabric with their own shadows. Plan the design on one flat face of a big pumpkin so the flag reads clearly, and treat the stripes as sculpted ridges rather than full cutouts. Save any true see-through openings, like the stars, for late in the process so the wall stays strong while you sculpt.

Written by PumpkinCarvingIdeas.com, inspired by the image above. These are our suggestions, not instructions from the uploader. This approach to the AI concept has not been tested on a real pumpkin.

From pumpkin to porch

  1. Pick and prep the pumpkin

    Choose a large pumpkin with one broad, flat-ish face and few deep ribs to give the flag room to spread. Cut a lid or, better for relief work, a wide access hole in the back so the front face stays intact. Scoop the inside and thin the carving wall on the front face to about one inch so light passes through peeled areas. Wipe the surface dry and let it sit a few minutes before you transfer the design.

  2. Transfer the flag layout

    Tape your stencil flat against the front face and mark the star field in the upper corner and the sweeping stripe bands across the rest. Use a poking tool to dot the outlines, then connect the dots lightly with a washable marker. Keep the star canton compact so each star has room without crowding. Double check that the stripe waves flow in the same direction before you cut anything.

  3. Carve the star field first

    Work the canton while the face is still flat and firm. Skin-peel the background of the star box to a dim glow, then carefully cut through only the small star shapes so they read as bright points. Keep a little uncarved skin between neighboring stars so the wall does not weaken. Cutting the stars before you sculpt the stripes means the panel stays rigid while you handle fine detail.

  4. Sculpt the stripe ridges

    Switch to a wide flat gouge and carve the long stripes as shallow scooped channels rather than holes. Remove the outer skin and a thin layer of flesh along each stripe so it glows softly, leaving raised ridges between them untouched to cast shadow lines. Follow the wave of each stripe in one smooth sweep for that fabric-in-the-breeze look. Vary the depth slightly along each ridge so the light and shadow ripple naturally.

  5. Refine shading and edges

    Step back and check the flag under a light to find flat spots. Deepen the troughs of the deepest waves for stronger shadow, and feather the edges of peeled areas so the glow fades gradually instead of stopping hard. Clean up any ragged star cuts with a small detail blade. Blot away excess moisture as you go so the surface stays crisp.

  6. Light it and stage the porch

    Drop a battery LED puck or string light inside, never a candle, and aim the brightest glow toward the star field. Set the pumpkin on a porch step beside a lantern and a pot of mums to bridge patriotic and harvest looks. Photograph it at dusk when the peeled stripes and cut stars stand out against the dark skin. Coat cut edges with a little petroleum jelly to slow drying if you want it to last.

Gather your supplies

Check things off as you get ready.

Work on a stable surface, keep your free hand out of the cutting path, and have an adult handle sharp tools.

Three levels of light

  • Leave intact

    The untouched orange skin around the flag and the raised ridges between stripes stay dark for shadow lines.

  • Peel & shade

    The stripe channels and the star-field background are skin-peeled for a soft mid glow.

  • Cut through

    Only the small star shapes are cut through for the brightest points of light.

Learn the carving basics

Before you start cutting

Should the stripes be cut all the way through?

No. The stripes work best as sculpted relief channels, peeled to a glow rather than cut open. Full cutouts that long would weaken the wall and lose the fabric shadow effect. Save true openings for the small stars.

How do I keep the stars from blowing out into one bright blob?

Leave a band of uncarved or lightly peeled skin between each star so they stay separate points. Cut the stars small and clean rather than large. A single interior light aimed at the canton gives even brightness without washing them together.

This is a concept image, so is a waving relief flag actually carveable?

Yes, the pictured pumpkin is an AI concept, but the design is realistic to carve. Relief gouging for stripes and shallow star cutouts are both standard techniques on a thick-walled pumpkin. Keep ridges wide and bridges between stars intact and it will hold up fine.

Your take belongs here, too.

Changed a detail? Made it simpler? Share a photo of your version and tell the community what worked.

Share your pumpkin

More pumpkins like this

You've reached the end · 8 pumpkins
The Patch Report

Fresh pumpkins, in your inbox.

The best new carvings, ideas worth stealing, and how-tos for carving season. Short, seasonal, and gone by November.

A short email during carving season. Unsubscribe anytime. See our privacy policy.