Halloween Pumpkin Carving Contest · Starts October 1st · $500 in prizes
← Back to ideas
@ai_concepts
Aug 19, 2026
Winged Griffin Painted No-Carve PumpkinAI
0

Winged Griffin Painted No-Carve Pumpkin

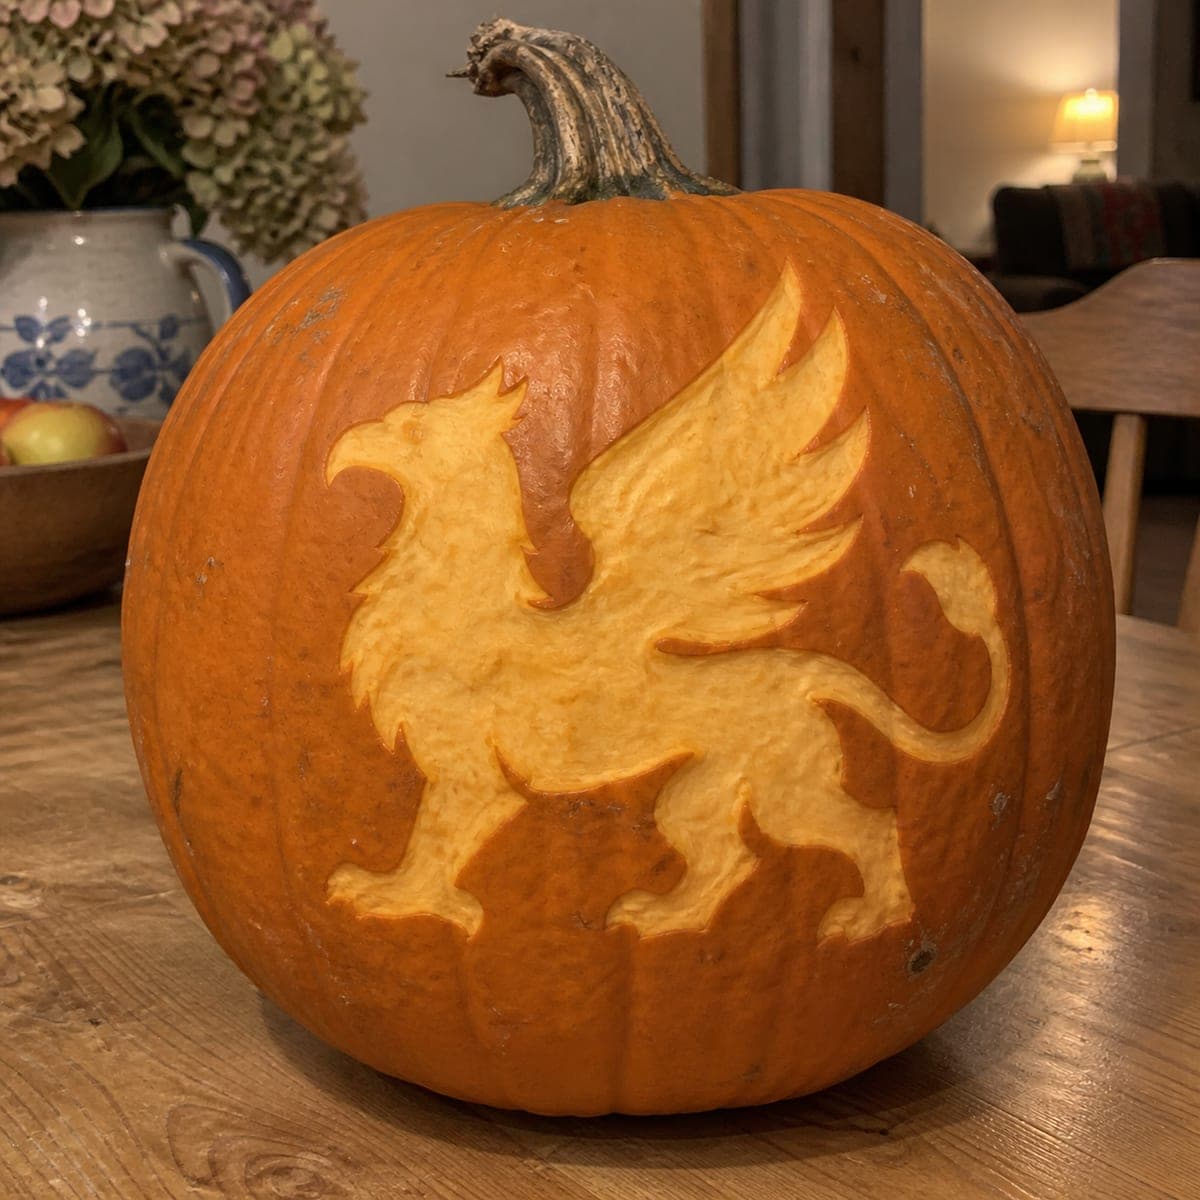
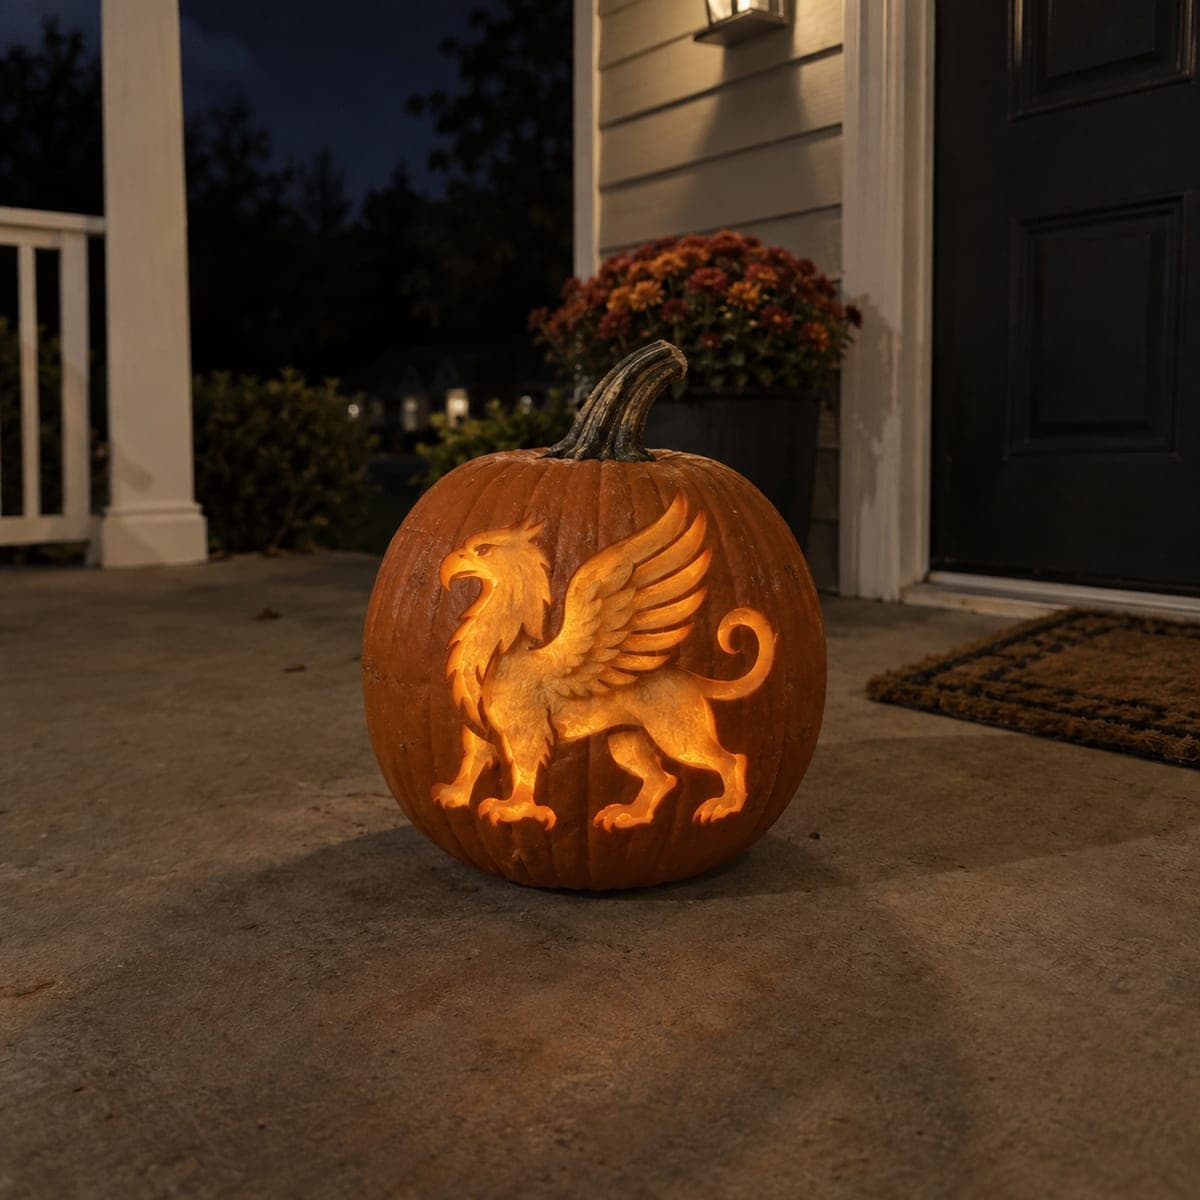
A regal griffin struts across this no-carve pumpkin, painted with a golden eagle head, feathered white wings, and a tufted lion tail. Layer the paint from dark body colors up to the pale wing highlights, letting each coat dry so the feather strokes stay crisp. This mythical-creature pumpkin suits fantasy readers and works indoors all season since nothing is cut. Seal it with clear acrylic spray if it will sit outside.

This is an AI-generated concept image: a realistic, carvable design idea rather than a photo of a finished carve. AI concepts are always labeled and sit out the leaderboard and the contest.

No ratings yet · Sign in to rate
Comments (0)

  • No comments yet — be the first.

Save without an account. Sign in to like or comment.

Our tips for carving a similar design

The core trick here is building the griffin in paint layers, going from the dark lion body up to the pale feathered wings so every stroke reads cleanly. Because nothing is cut, the design stays on the front face of the pumpkin and lasts all season indoors. Plan your figure in pencil first, then paint back to front, letting each coat dry before adding highlights.

Written by PumpkinCarvingIdeas.com, inspired by the image above. These are our suggestions, not instructions from the uploader. This approach to the AI concept has not been tested on a real pumpkin.

From pumpkin to porch

  1. Prep and sketch

    Wipe the pumpkin clean and dry so paint grips well. Pick the smoothest front face and lightly pencil the griffin outline: eagle head and beak on the left, feathered wing rising in the center, lion body and tufted tail across the lower half. Keep the drawing simple and confident, since paint will cover the pencil. Step back to check that the whole creature fits within one flat panel.

  2. Block in the body

    Load a medium round brush with a rich brown and fill the lion body, front legs, haunches, and neck in flat color. Work in the direction the fur would lie so later strokes follow the same flow. Let this base coat dry fully before touching it again, which keeps the edges from smearing. A single even coat now gives you a clean surface for detail.

  3. Paint the wing and head

    Switch to off-white or cream for the raised wing and lay it in with overlapping curved strokes to suggest stacked feathers. Paint the eagle head in a slightly lighter brown, then add the golden-yellow beak with a small brush. Keep the wing separated from the body with a thin gap of unpainted skin so both shapes stay crisp. Let everything dry before the next pass.

  4. Add feathers and fur detail

    With a fine liner brush and a darker brown, draw individual feather lines across the wing and short fur flicks along the lion body and tail tuft. Add a touch of white highlight on the top wing edge and a soft shadow under the belly for depth. Dot in a small black eye with a tiny highlight so the griffin looks alert. Work slowly and reload the brush often so lines stay thin.

  5. Seal and stage

    Once every layer is bone dry, spray a light, even coat of clear acrylic sealer if the pumpkin will sit outside. Set it on a plain surface where the painted face catches good light. A small LED puck placed nearby, never a candle, makes the colors pop for photos. Snap your final shot in soft daylight or warm lamplight to keep the golds and creams true.

Gather your supplies

Check things off as you get ready.

Work on a stable surface, keep your free hand out of the cutting path, and have an adult handle sharp tools.

Three levels of light

  • Leave intact

    Nearly the entire pumpkin stays uncut and dark, since this is a painted design where the orange skin is the backdrop for the griffin.

  • Peel & shade

    If you want a faint glow, you could lightly skin-peel a thin halo around the painted figure so a soft orange ring frames the griffin.

  • Cut through

    For an optional accent, a carver could cut a small shape such as a star or moon well away from the paint to add one bright point of light.

Learn the carving basics

Before you start cutting

Do I really carve anything for this griffin?

No, this is a no-carve painted pumpkin, so the whole design lives on the surface in acrylic paint. That makes it a great choice if you want a piece that lasts weeks indoors without rotting from cut edges. If you crave a little glow, the light-levels notes above show safe optional cuts you could add far from the paint.

What order should I paint the layers?

Work back to front: block in the dark brown lion body first, then the cream wing and the eagle head, and save the fine feather and fur lines for last. Let each coat dry fully so the top strokes stay sharp instead of smearing into wet paint. This layering is what gives the griffin its clean, dimensional look.

Will the paint survive outdoors?

Acrylic paint holds up reasonably well but can dull or peel in rain and frost. Once every layer is dry, mist on a light, even coat of clear acrylic sealer to protect the colors. Even sealed, a shaded porch or covered step will keep it looking its best longer than direct weather.

Your take belongs here, too.

Changed a detail? Made it simpler? Share a photo of your version and tell the community what worked.

Share your pumpkin

More pumpkins like this

You've reached the end · 8 pumpkins
The Patch Report

Fresh pumpkins, in your inbox.

The best new carvings, ideas worth stealing, and how-tos for carving season. Short, seasonal, and gone by November.

A short email during carving season. Unsubscribe anytime. See our privacy policy.