Halloween Pumpkin Carving Contest · Starts October 1st · $500 in prizes
← Back to ideas
@ai_concepts
Aug 30, 2026
Wolverine Etched Pumpkin for Wildlife FansAI
0

Wolverine Etched Pumpkin for Wildlife Fans

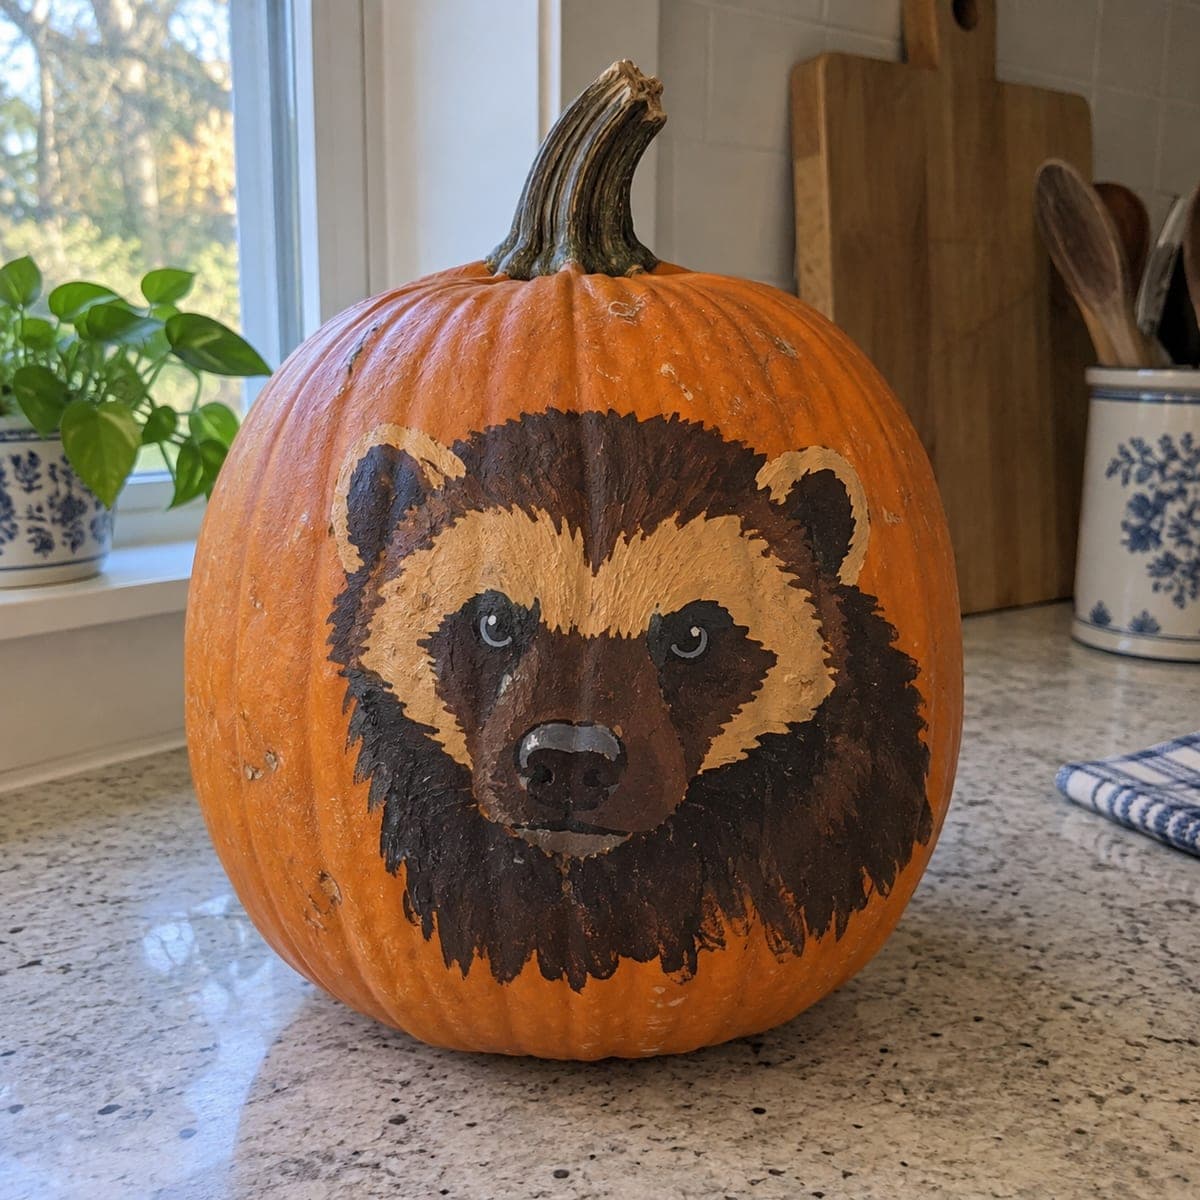
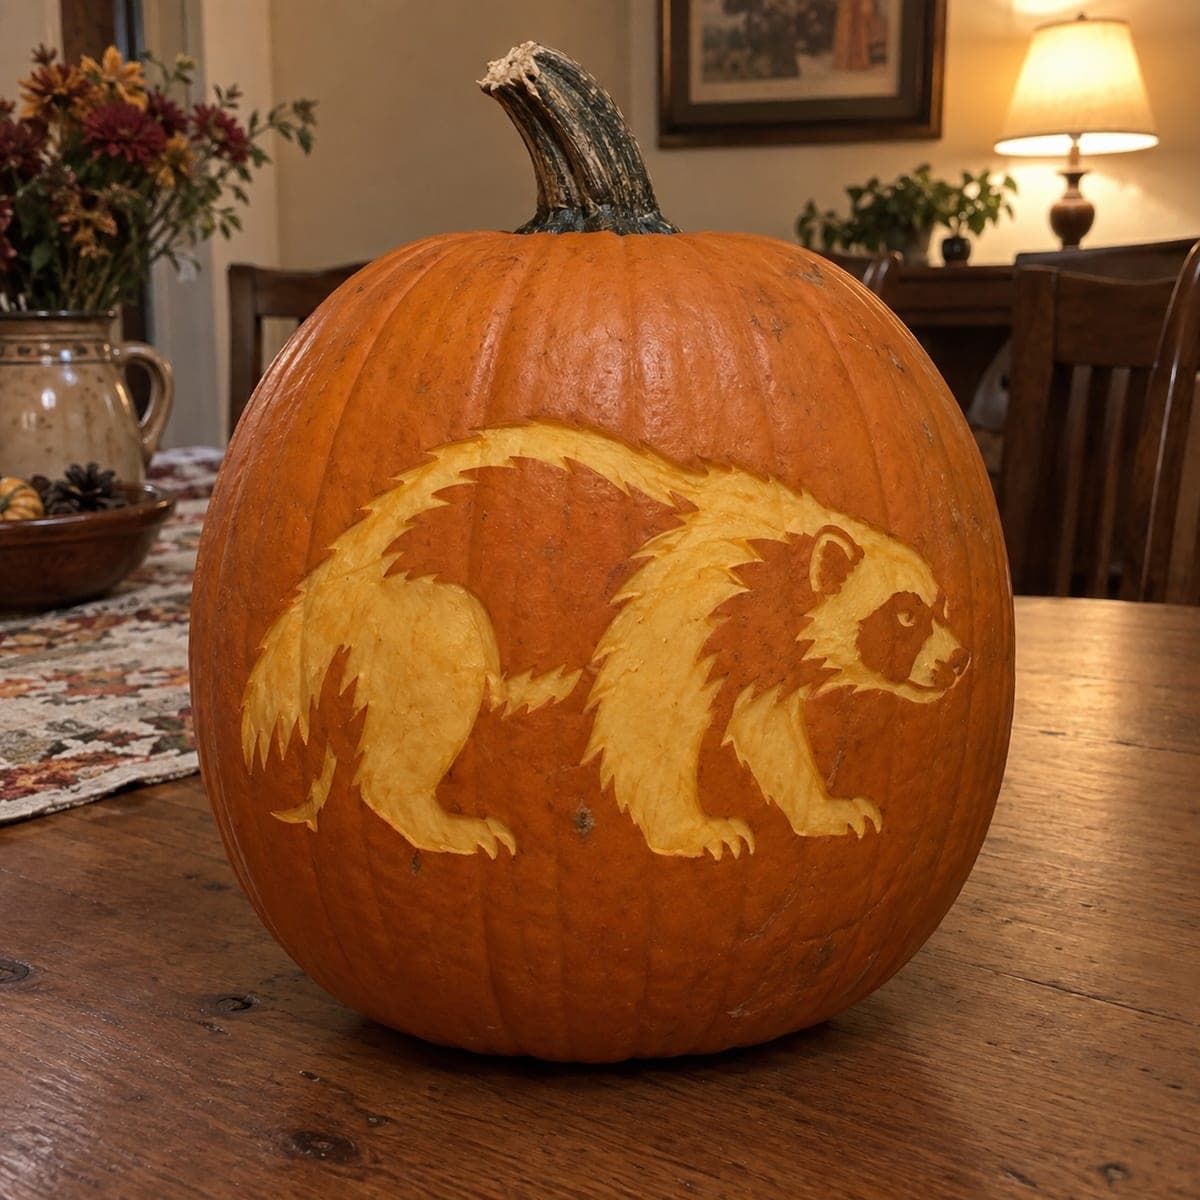
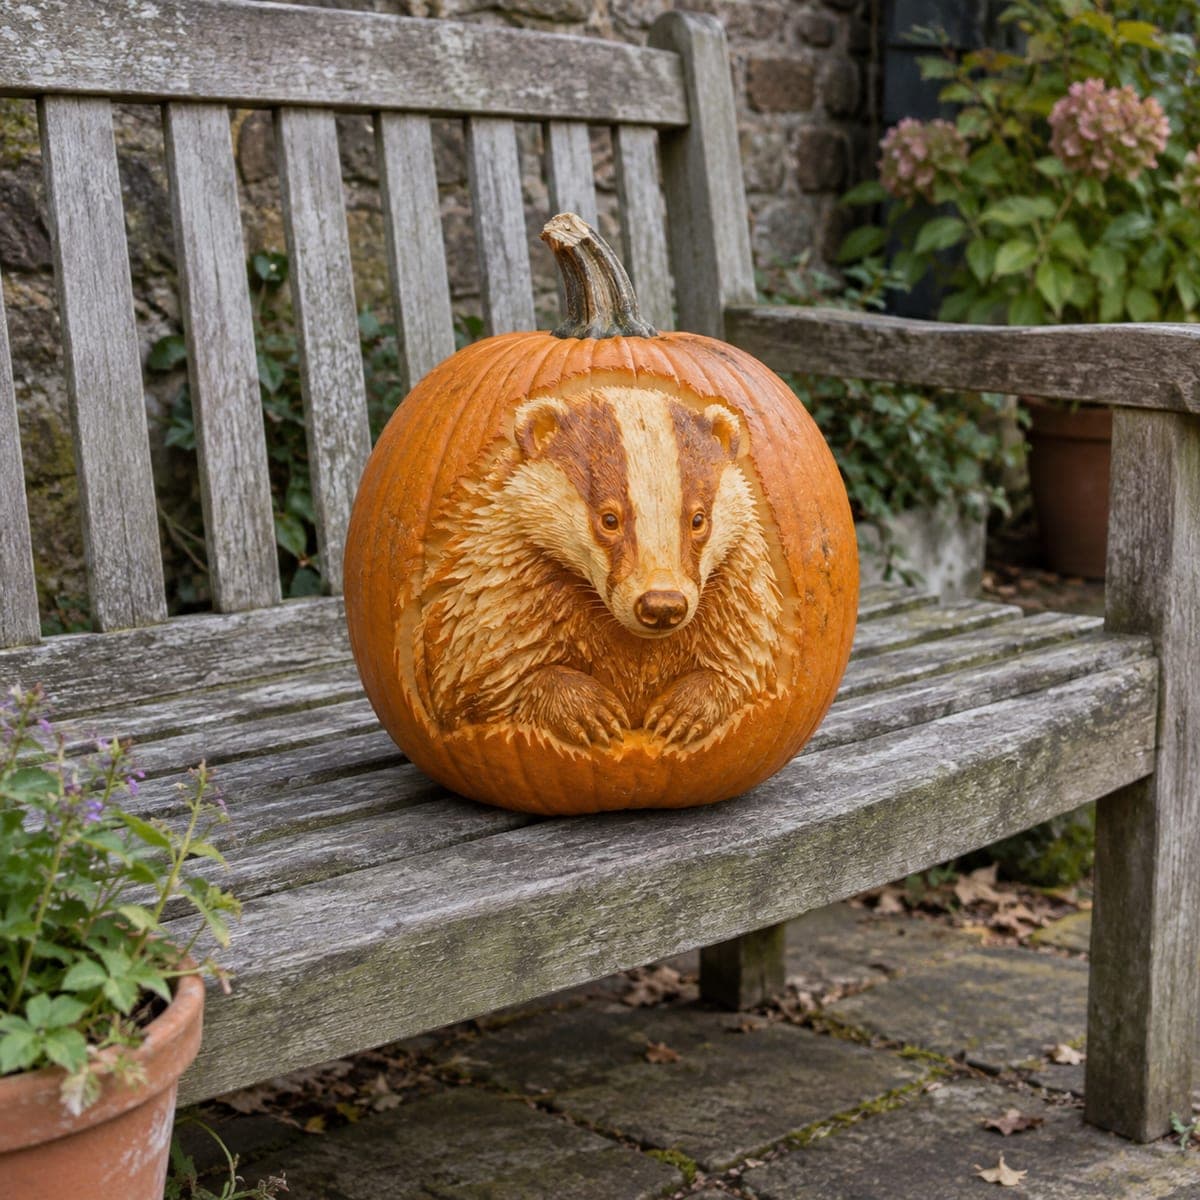
A prowling wolverine crosses this pumpkin with its head low and shaggy coat bristling, every ragged tuft of fur cut as a separate tapering stroke. The dark facial mask is left as uncarved rind, which is exactly how this stocky predator looks in the wild. Work the fur in overlapping rows from the spine downward so the strokes layer like real guard hairs. A distinctive wildlife pumpkin carving idea for cabin or campus displays.

This is an AI-generated concept image: a realistic, carvable design idea rather than a photo of a finished carve. AI concepts are always labeled and sit out the leaderboard and the contest.

No ratings yet · Sign in to rate
Comments (0)

  • No comments yet — be the first.

Save without an account. Sign in to like or comment.

Our tips for carving a similar design

The whole design lives on the surface, so there are no big openings to worry about. The trick is contrast: the shaggy body is skin-peeled so it glows soft orange, while the dark facial mask stays as untouched rind. Build the fur in short overlapping strokes from the spine down so the coat layers like real guard hairs.

Written by PumpkinCarvingIdeas.com, inspired by the image above. These are our suggestions, not instructions from the uploader. This approach to the AI concept has not been tested on a real pumpkin.

From pumpkin to porch

  1. Prep and mount the stencil

    Pick a large pumpkin with a smooth, flat side for the wide profile. Cut a lid or a back access hole later, but start by wiping the front dry and taping your wolverine stencil flat. Poke the main outline of the body, legs, and face with a pin so you have a dotted map to follow. Take your time squaring up the pattern before you commit.

  2. Score the outer edges

    With a fine detail knife, lightly trace the outer silhouette and the border of the dark facial mask. You are only scoring the skin here, not cutting deep. These lines tell you where the glowing fur stops and the dark rind begins. Keep the mask, eye, and background clearly outlined so you never peel into them by accident.

  3. Peel the body coat

    Switch to a ribbon or loop tool and remove just the outer skin inside the body, exposing the pale flesh underneath. Work in overlapping rows starting at the spine and pulling downward toward the belly and legs. Vary how deep you go so some tufts read brighter than others. Leave the facial mask and background completely untouched.

  4. Carve the fur strokes

    Now cut the ragged edge. Along every outline, make short tapering strokes that come to a point, like individual clumps of fur. Angle each stroke and let them overlap so the coat looks bristled rather than smooth. This is slow work, so rotate the pumpkin often and rest your knife hand.

  5. Deepen shading and the eye

    Go back and shave the brightest areas a touch thinner, such as the shoulder hump and the pale side stripe, so they catch more light. Leave the eye and the dark mask as high, dark rind for that intense stare. A small V gouge can add a few crisp fur lines over the peeled areas for extra texture.

  6. Light it and photograph

    Set a battery LED inside, since a shaded pumpkin like this shows best with steady, even light. If the flesh looks too dim, scrape the peeled areas slightly thinner from the inside. Coat the cut surfaces with petroleum jelly to slow drying. Shoot your photo in a dim room so the glowing coat pops against the dark mask.

Gather your supplies

Check things off as you get ready.

Work on a stable surface, keep your free hand out of the cutting path, and have an adult handle sharp tools.

Three levels of light

  • Leave intact

    The dark facial mask, the eye, and the whole background stay as untouched rind for deep shadow.

  • Peel & shade

    The entire shaggy body, legs, and tail are skin-peeled to a soft orange glow.

  • Cut through

    None on this design, or at most a few thin fur lines shaved nearly through for the brightest highlights.

Learn the carving basics

Before you start cutting

There are no cutouts, so how will it glow?

This is an etched design that relies on peeled skin, not open holes. Removing just the outer rind lets the LED shine through the thin flesh as a warm orange. If it looks too dark once lit, shave those peeled areas a little thinner from either side.

How do I keep the fur from looking like a solid blob?

Contrast is everything. Vary the depth of your peeling so some tufts are brighter than others, and cut every edge as separate tapering strokes rather than one smooth line. Working in overlapping rows from the spine downward gives that layered guard-hair look.

Why leave the face dark instead of carving it?

A real wolverine has a dark facial mask, so leaving that skin uncarved is both accurate and dramatic. The untouched rind reads as deep shadow next to the glowing body. Keep the eye dark too, and it will stand out as a sharp, watchful point.

Your take belongs here, too.

Changed a detail? Made it simpler? Share a photo of your version and tell the community what worked.

Share your pumpkin

More pumpkins like this

You've reached the end · 8 pumpkins
The Patch Report

Fresh pumpkins, in your inbox.

The best new carvings, ideas worth stealing, and how-tos for carving season. Short, seasonal, and gone by November.

A short email during carving season. Unsubscribe anytime. See our privacy policy.