15 free printable stencils
Intermediate Pumpkin Stencils
Intermediate pumpkin stencils sit in the sweet spot between a five-minute face and an all-evening project. They add smaller openings, a second layer of detail, and a few curves that need a steadier hand, and in return you get a pumpkin that looks carved by someone who knew what they were doing.
- Free PDF, no watermark
- Prints on letter or A4 at 100%
- Carving guide with every stencil
15 intermediate pumpkin stencils
Free PDF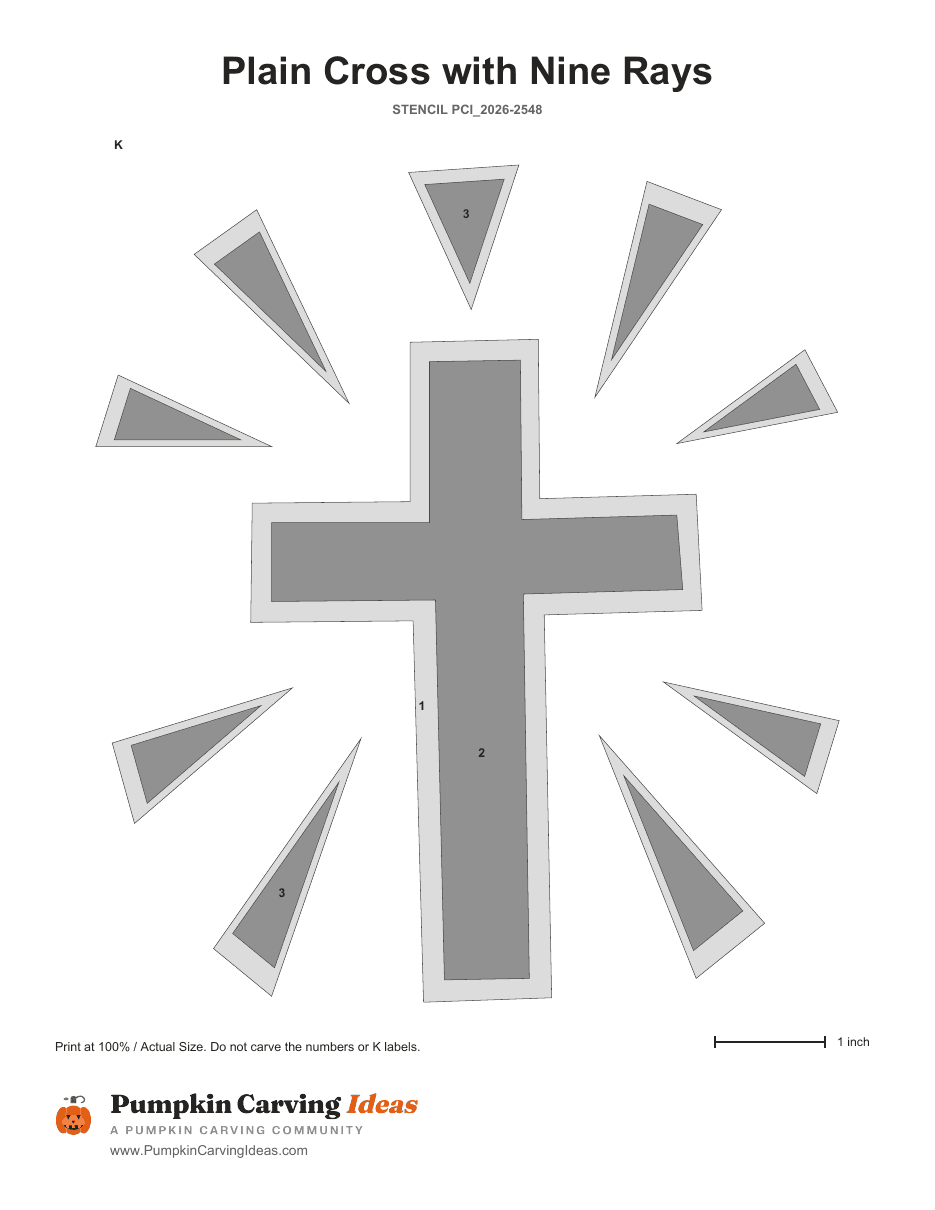
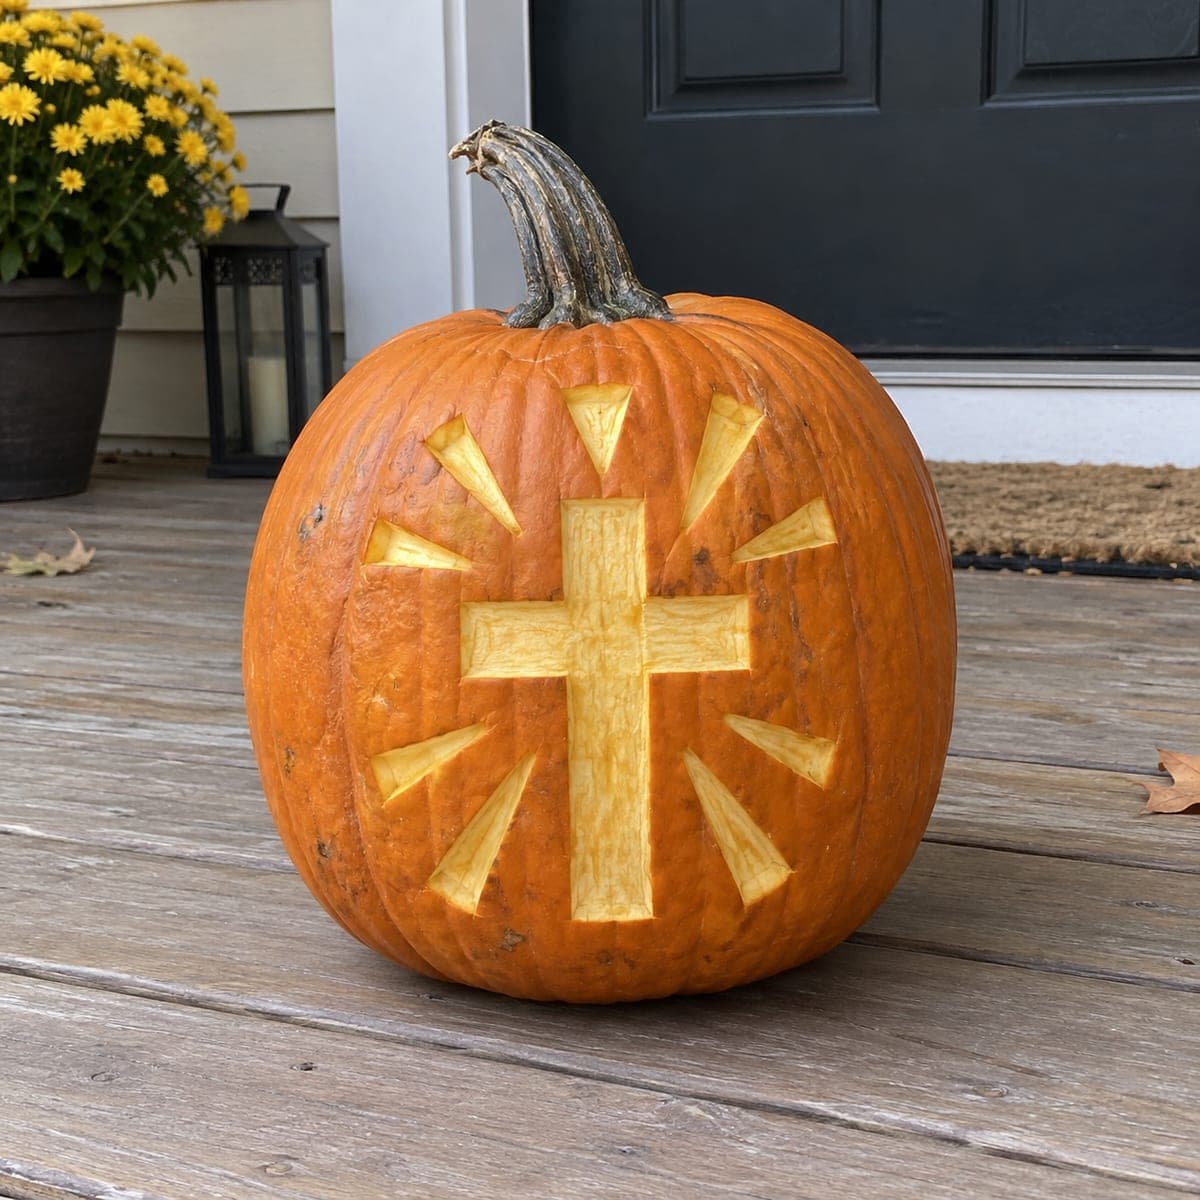
Morning Light Cross
Mixed technique
View stencilFree PDF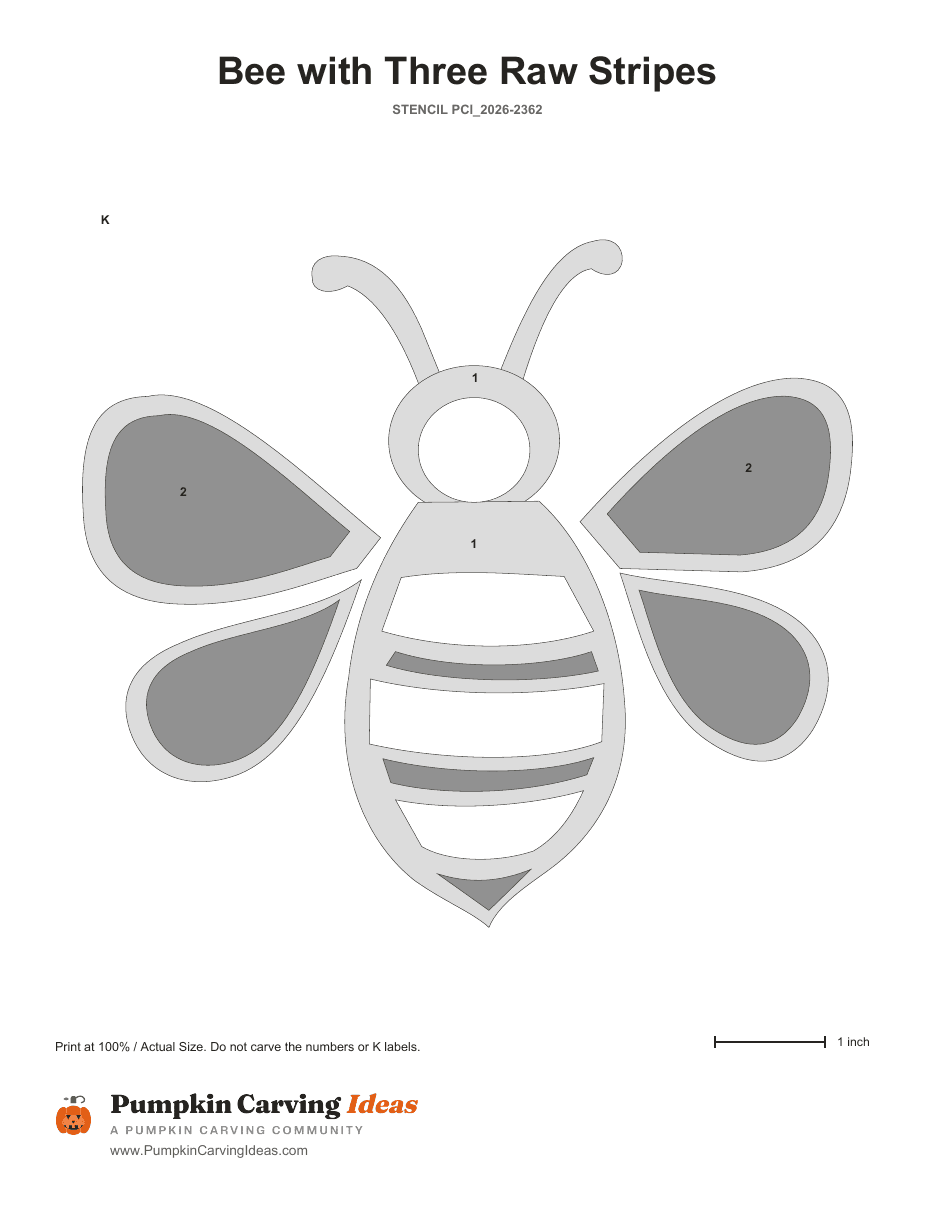
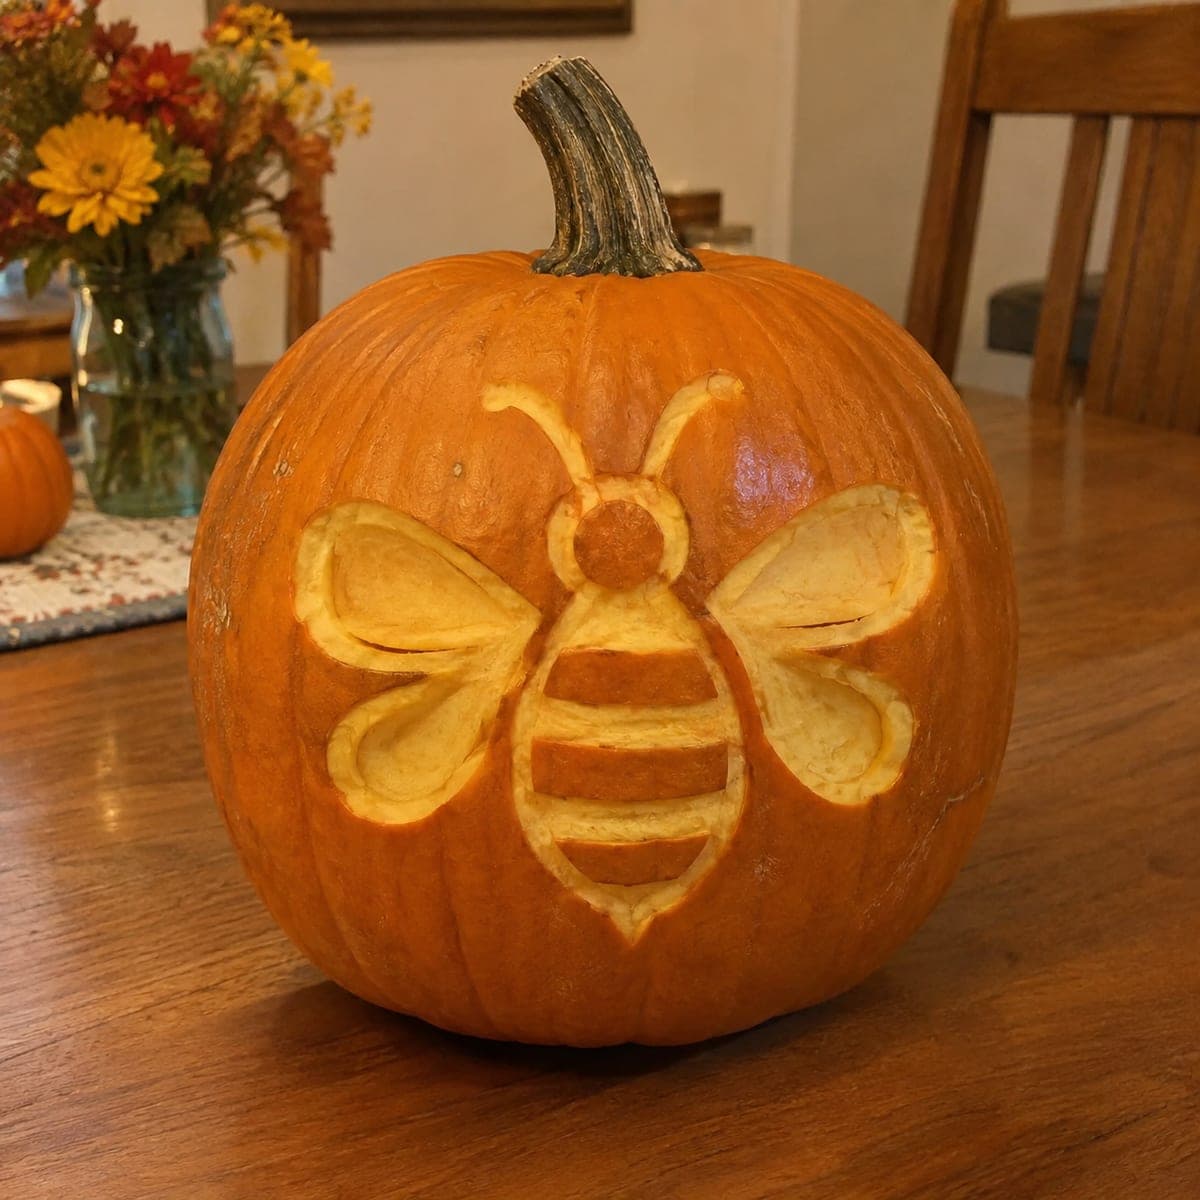
Honey Buzz
Mixed technique
View stencilFree PDF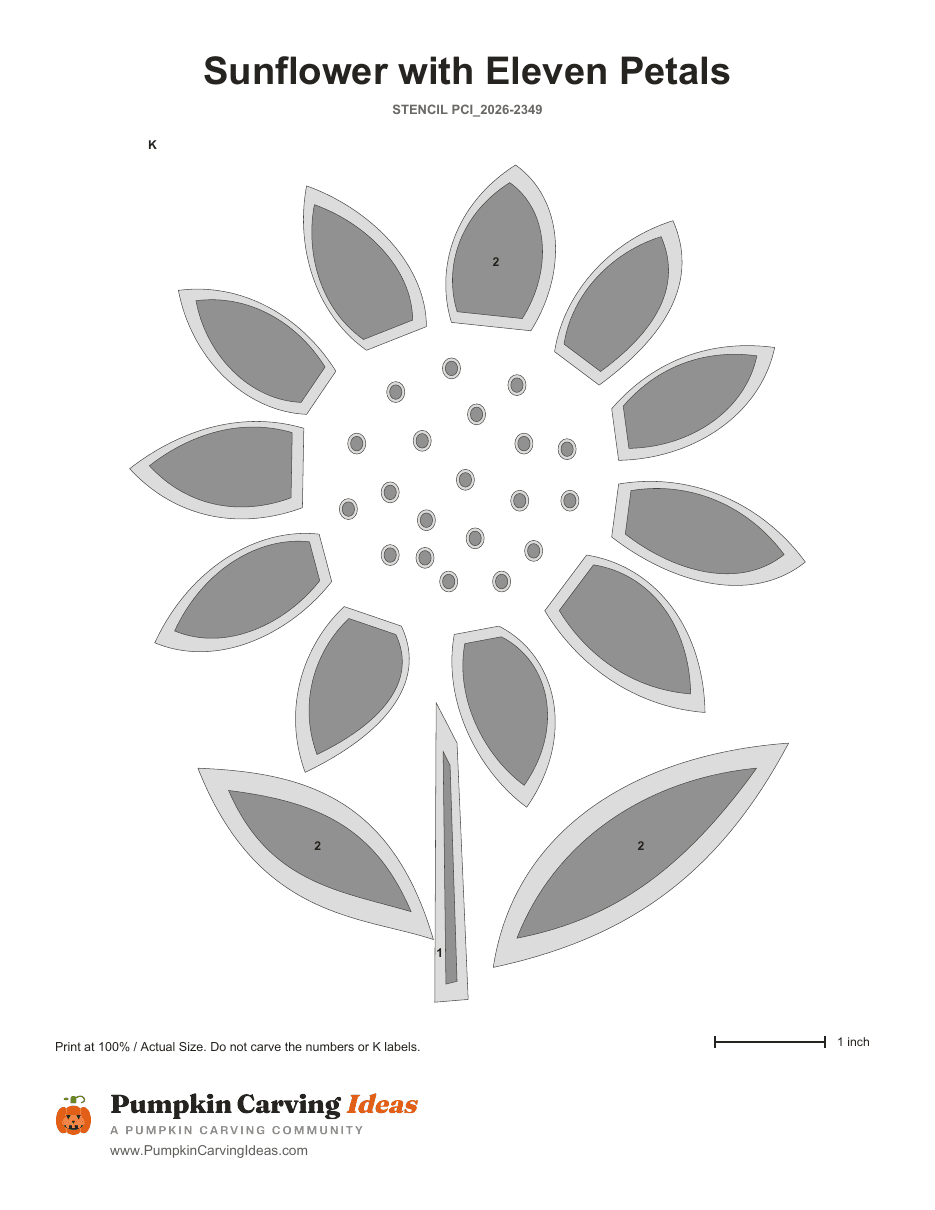
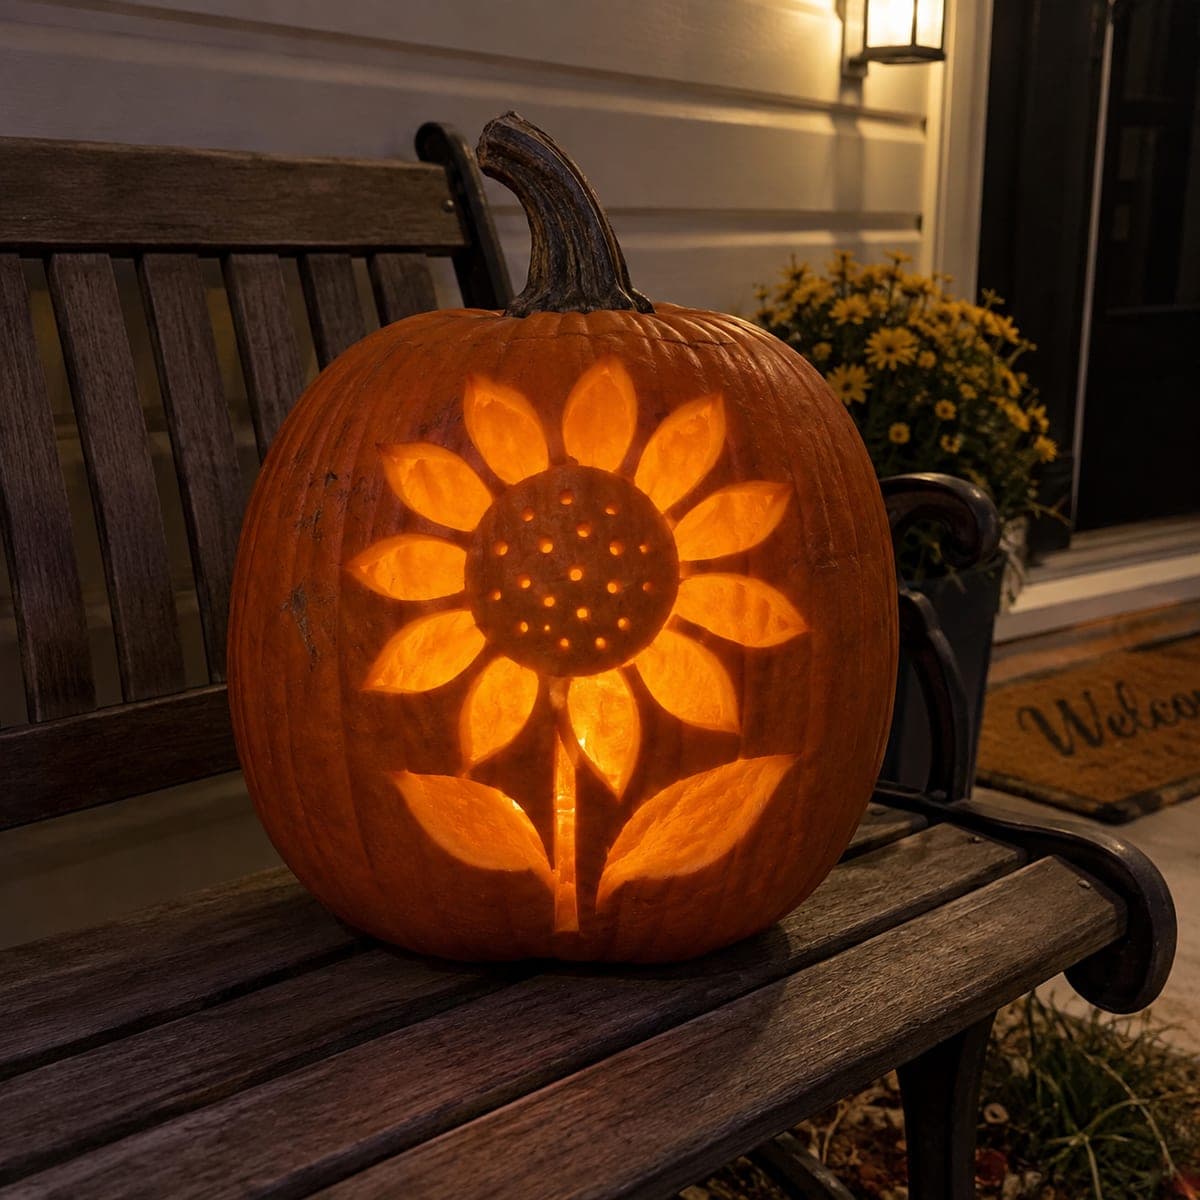
Golden Sunflower
Mixed technique
View stencil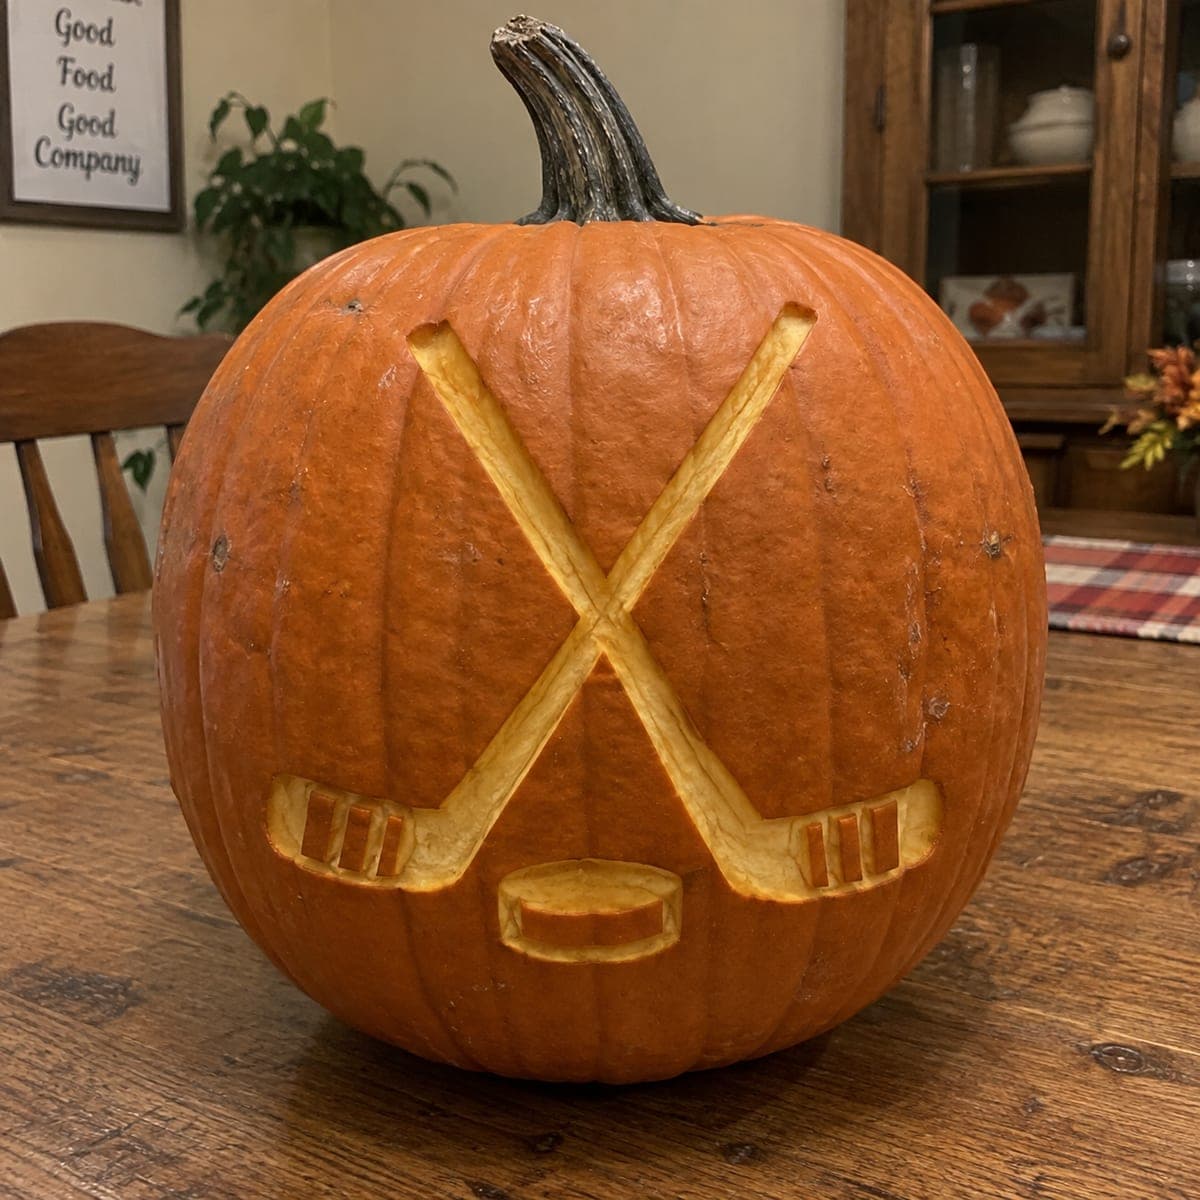 Free PDF
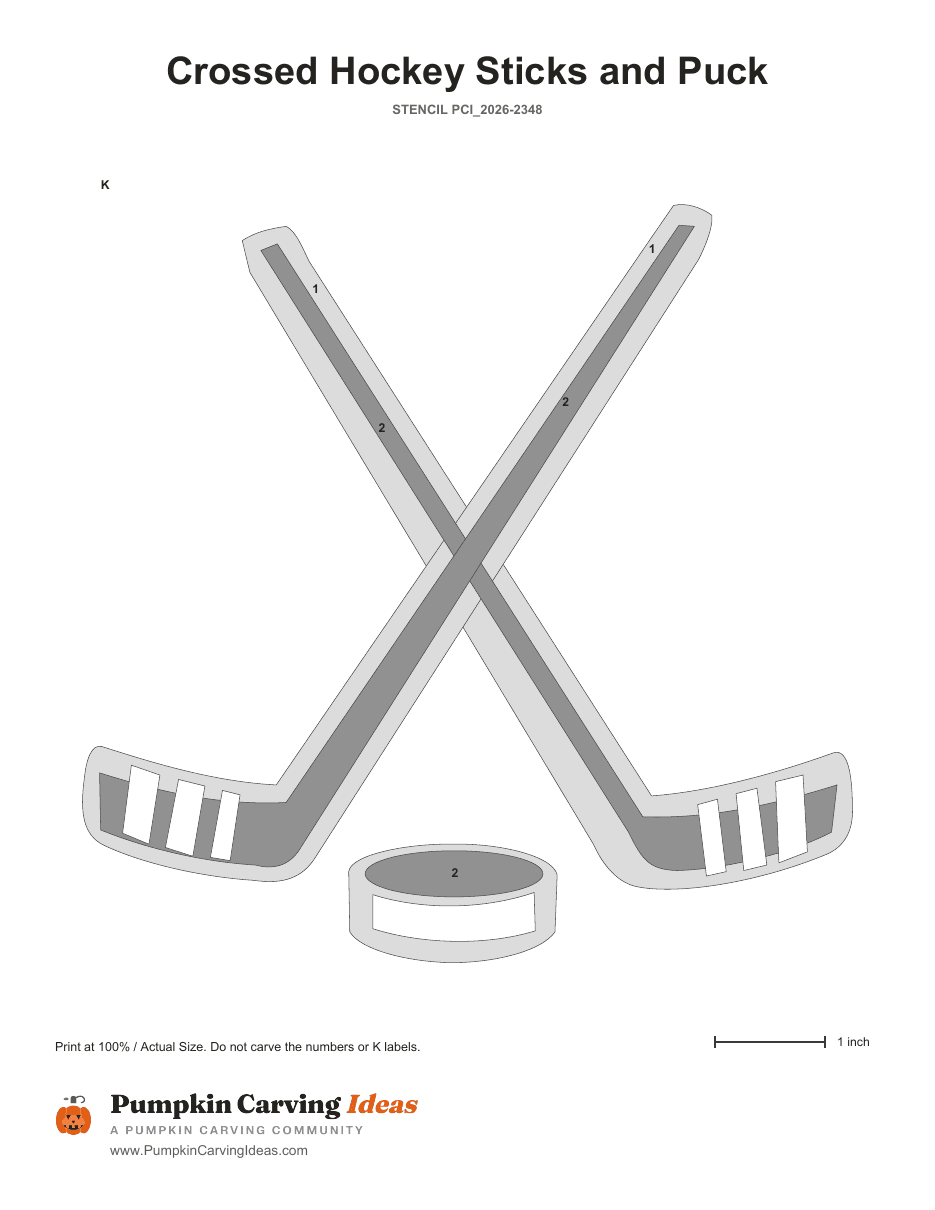
Crossed Hockey Sticks and Puck
Mixed technique
View stencil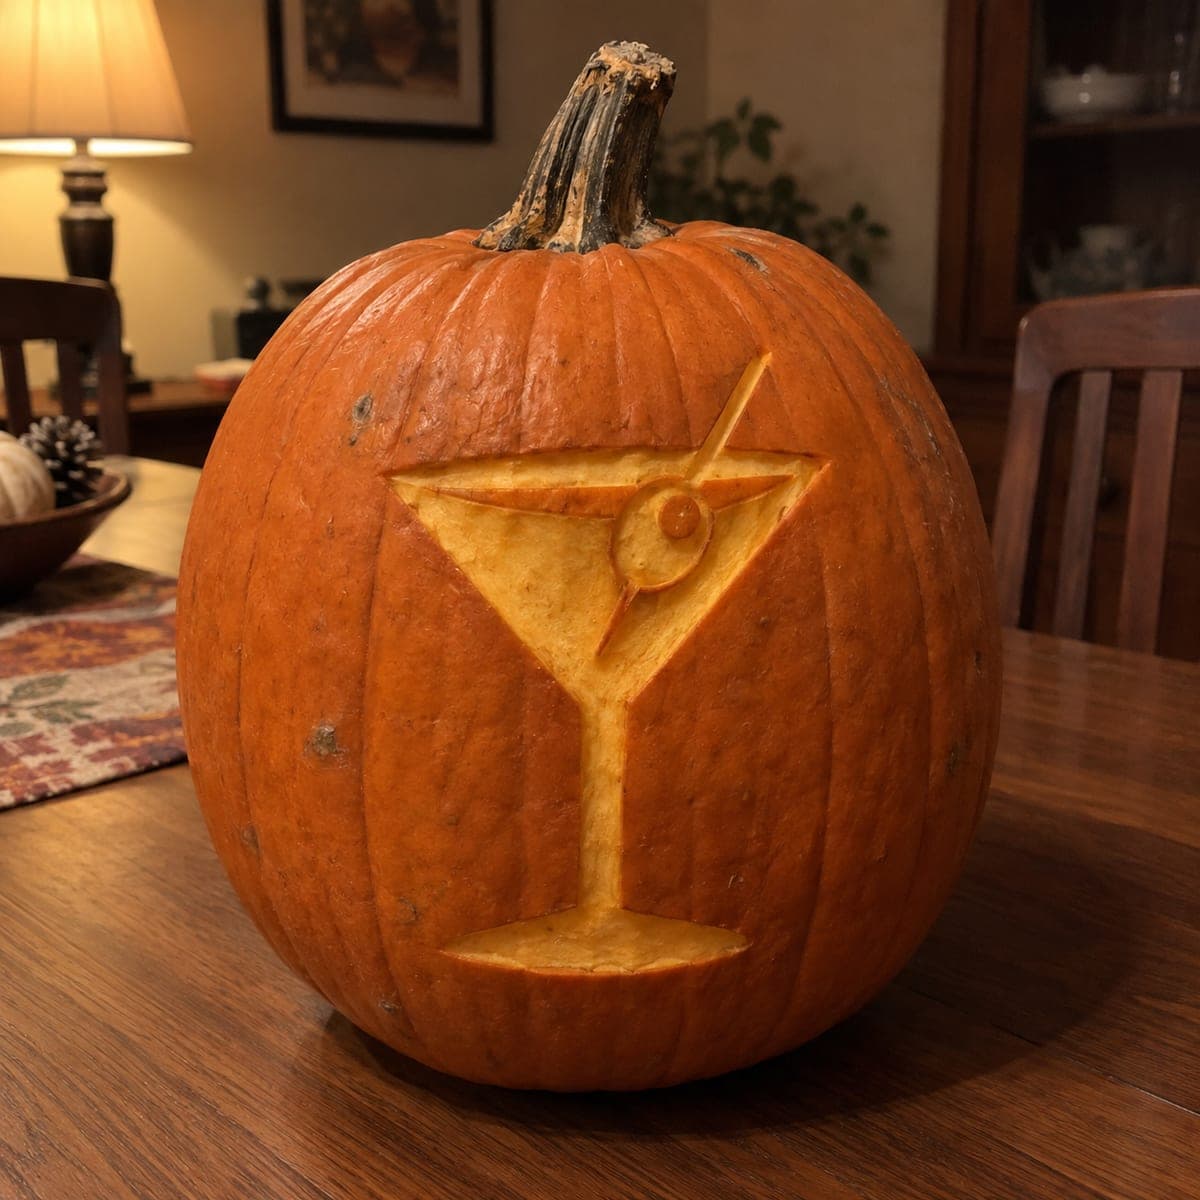 Free PDF
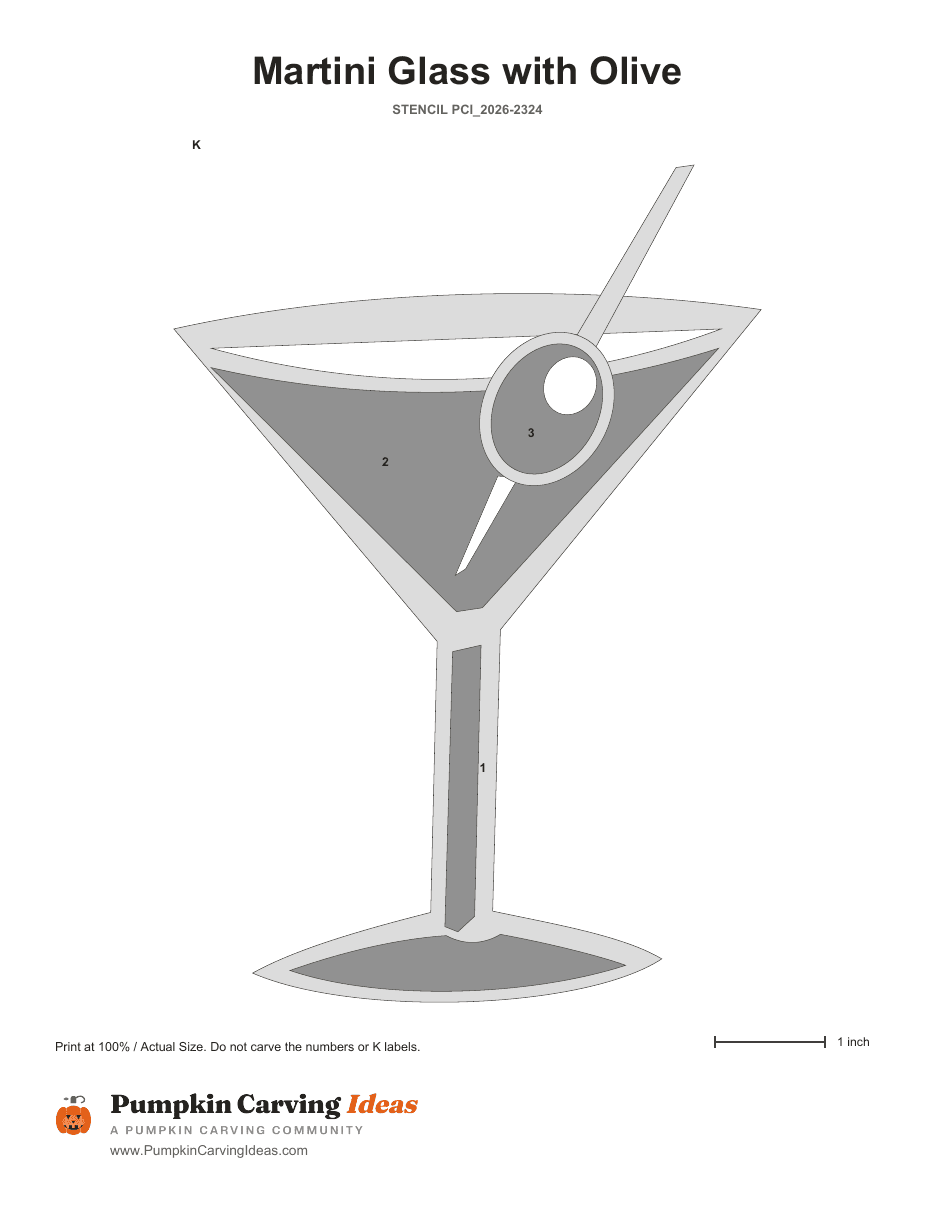
Martini Glass with Olive
Mixed technique
View stencil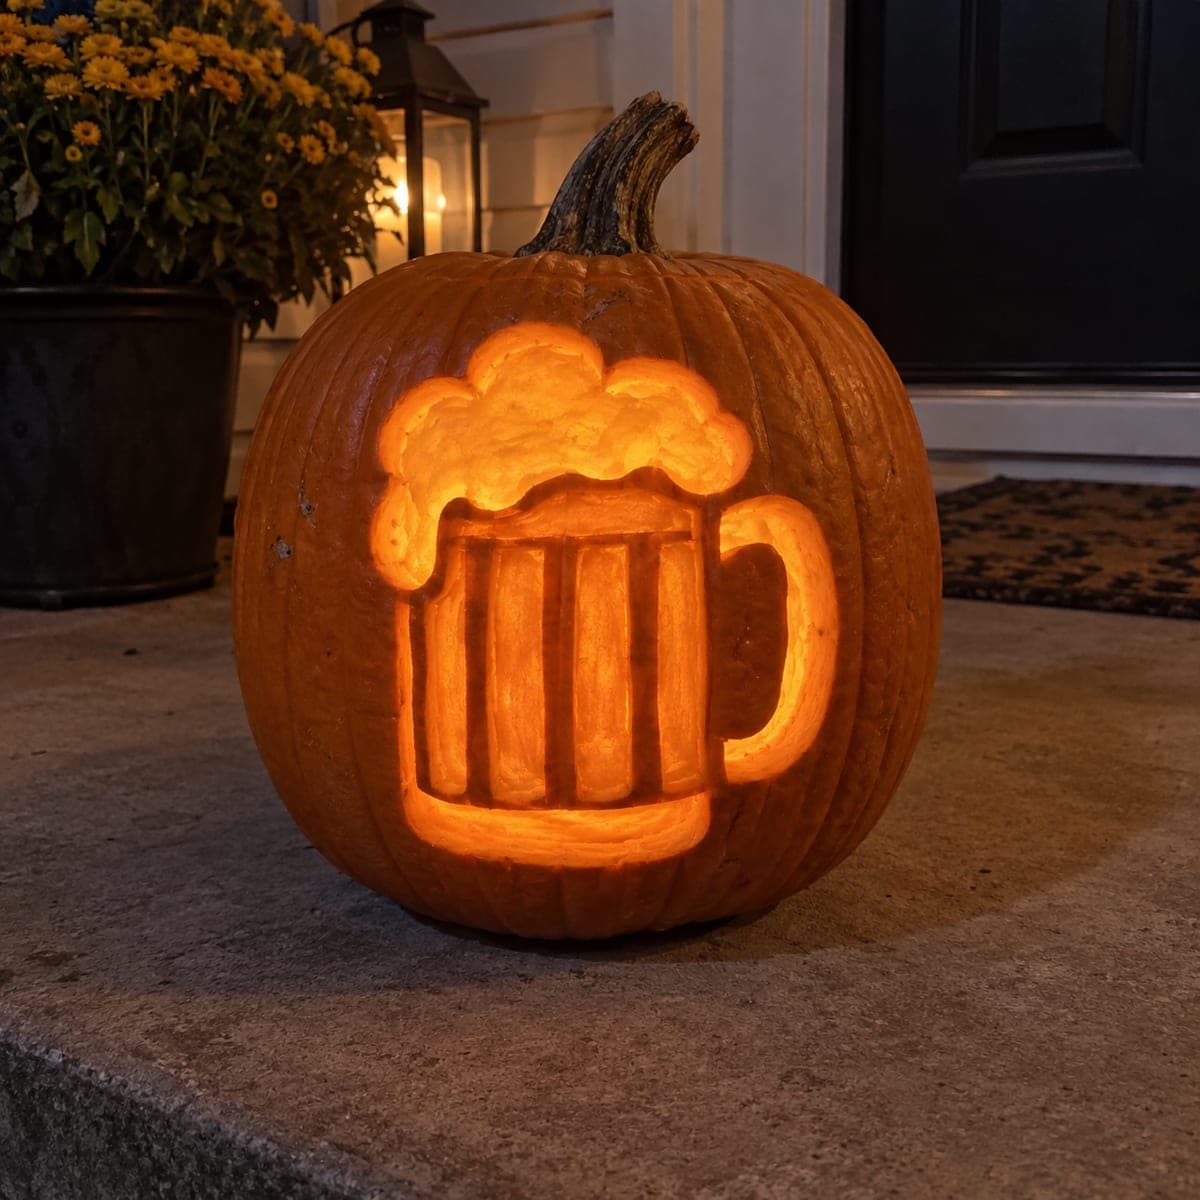 Free PDF
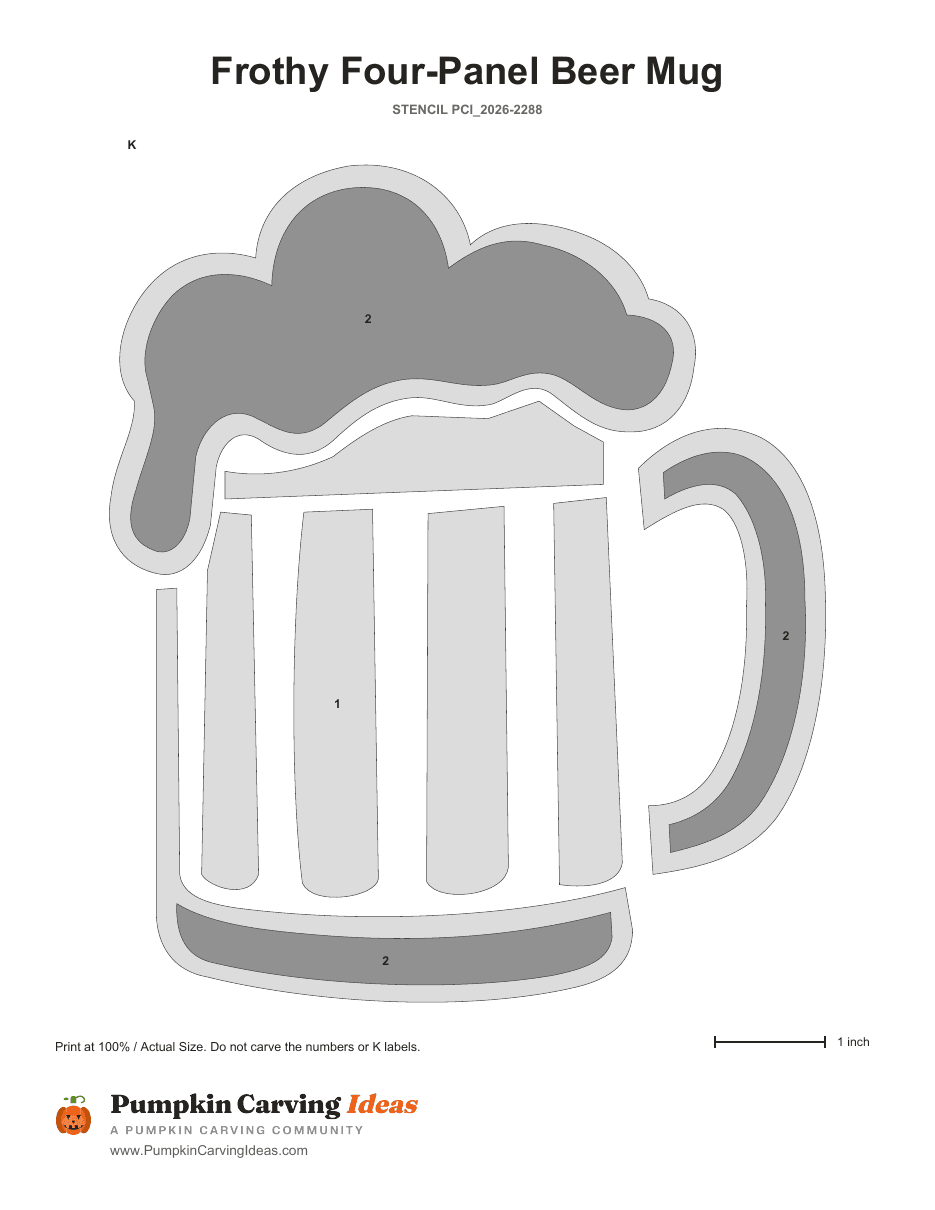
Oktoberfest Cheers
Mixed technique
View stencil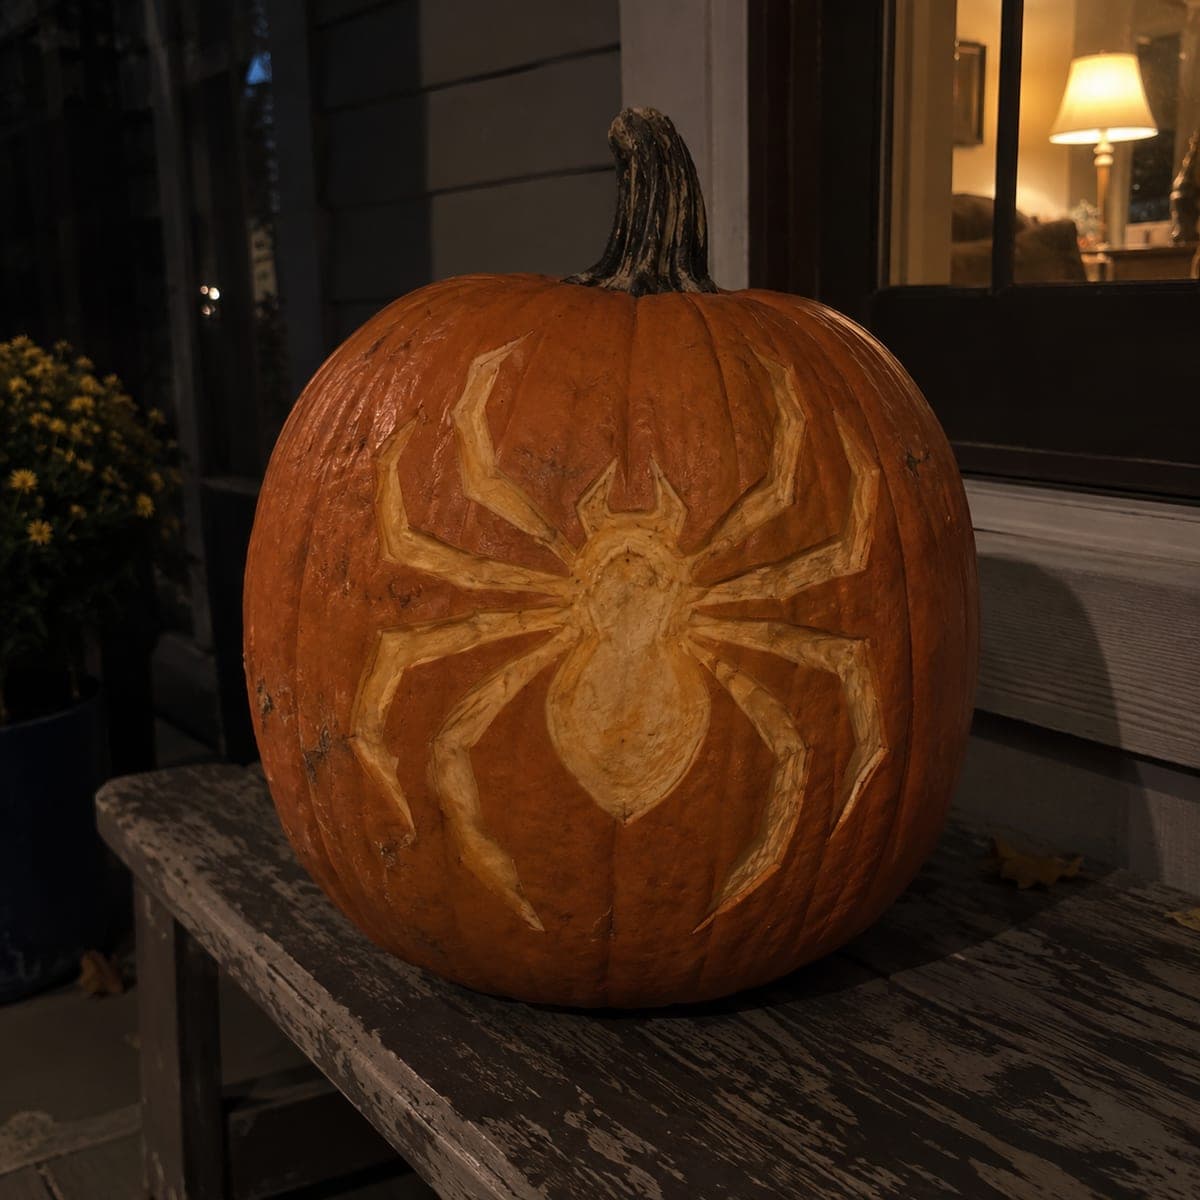 Free PDF
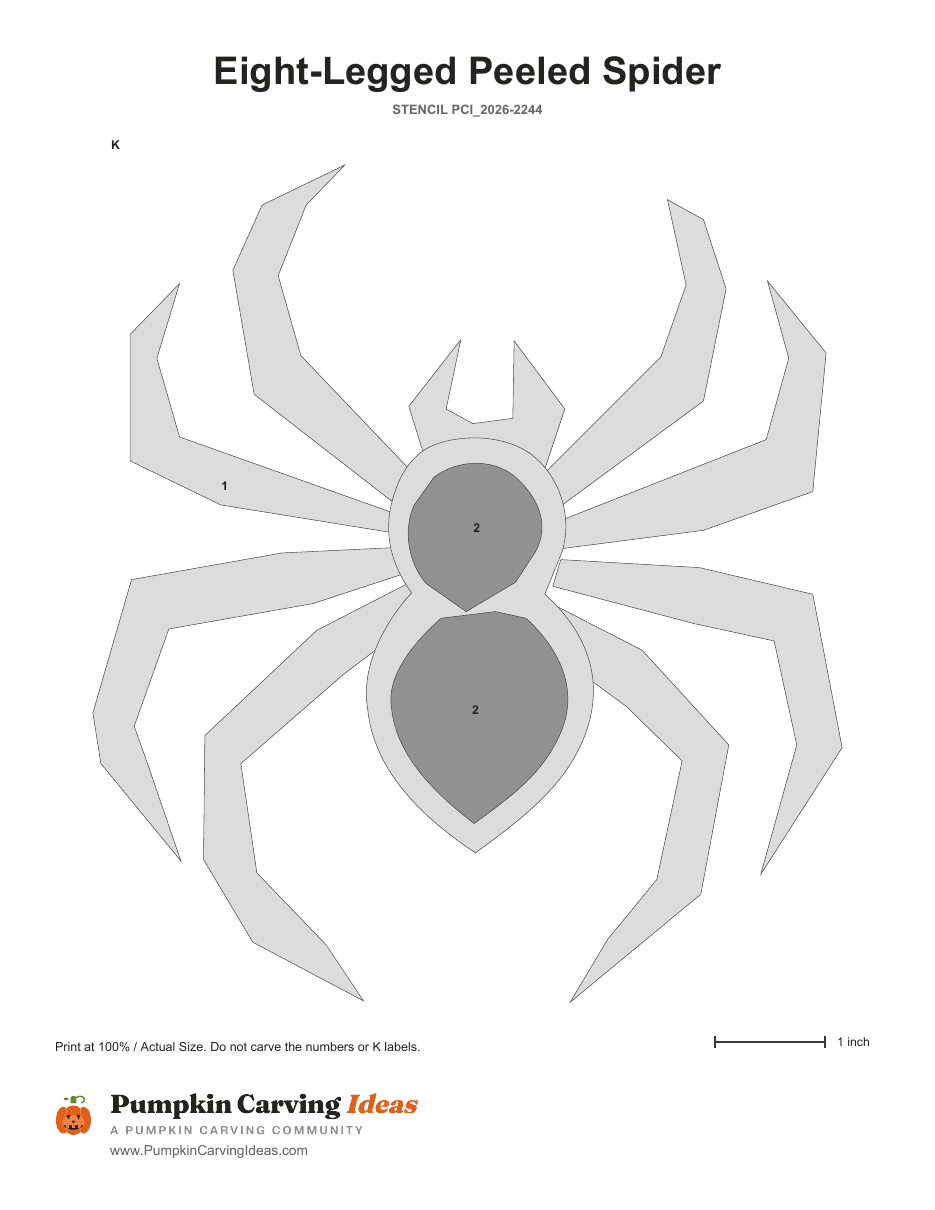
Creepy Crawler
Mixed technique
View stencil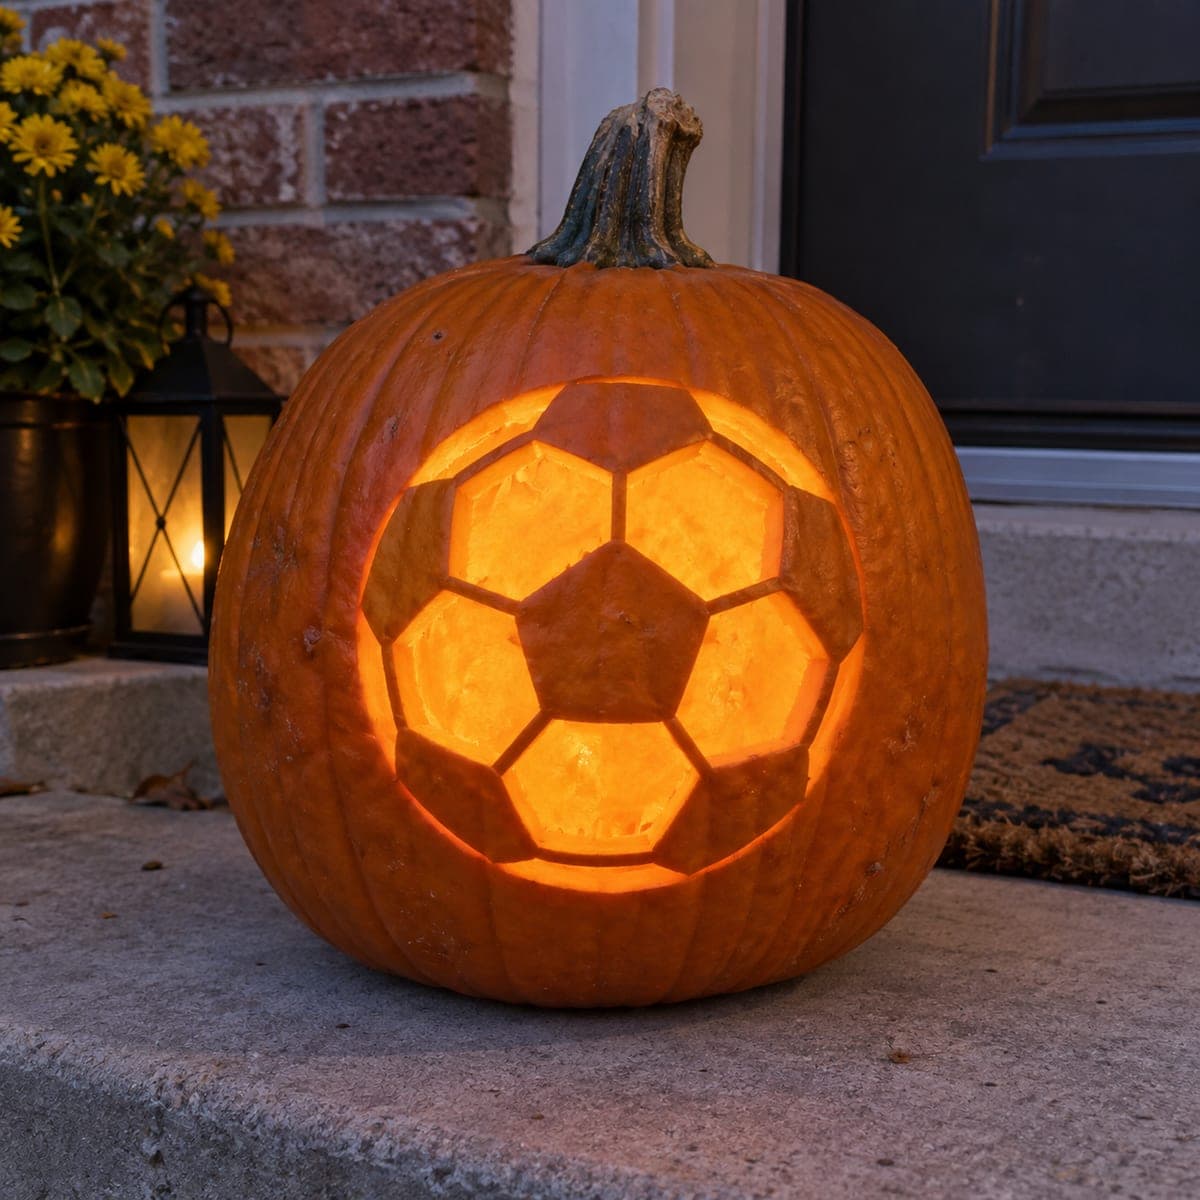 Free PDF
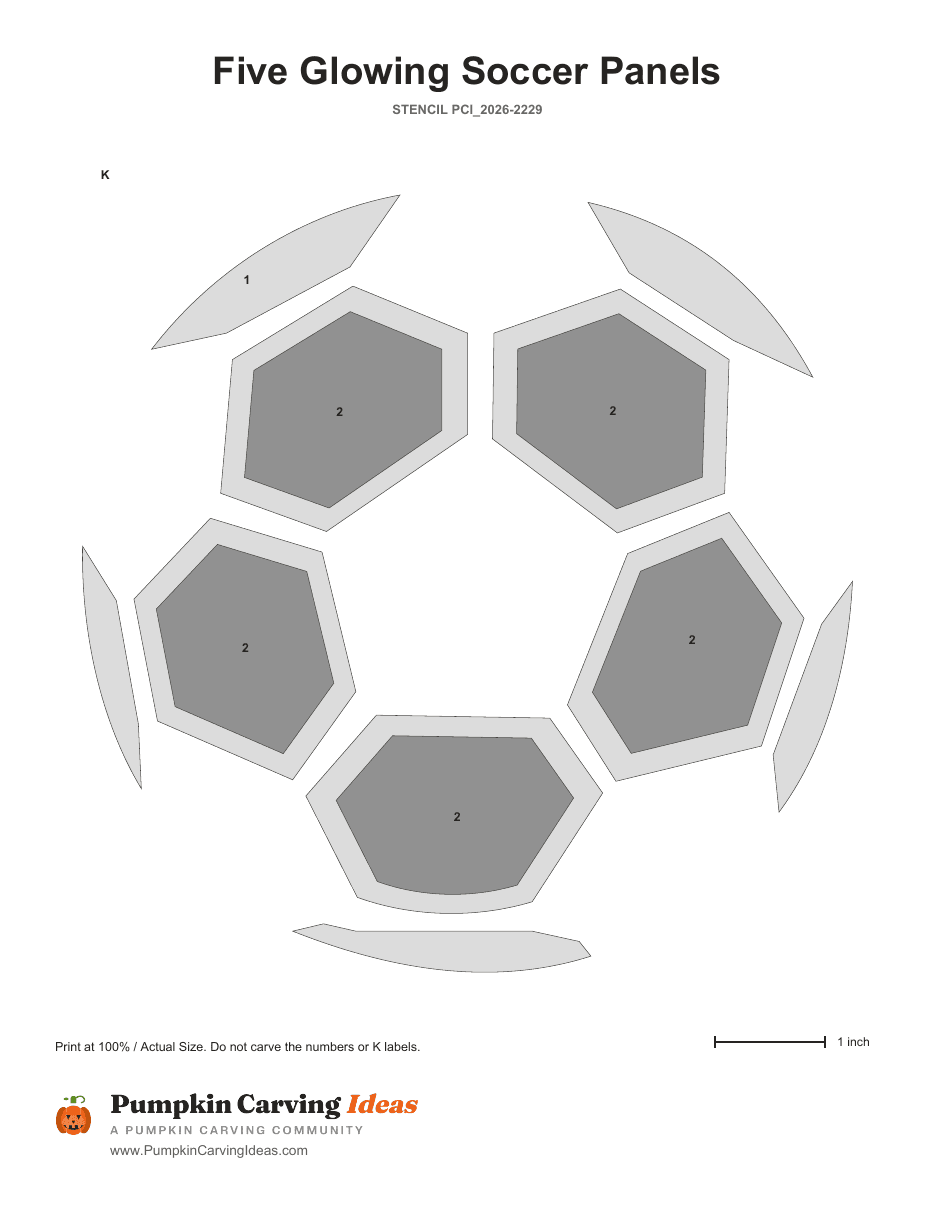
Corner Kick
Mixed technique
View stencil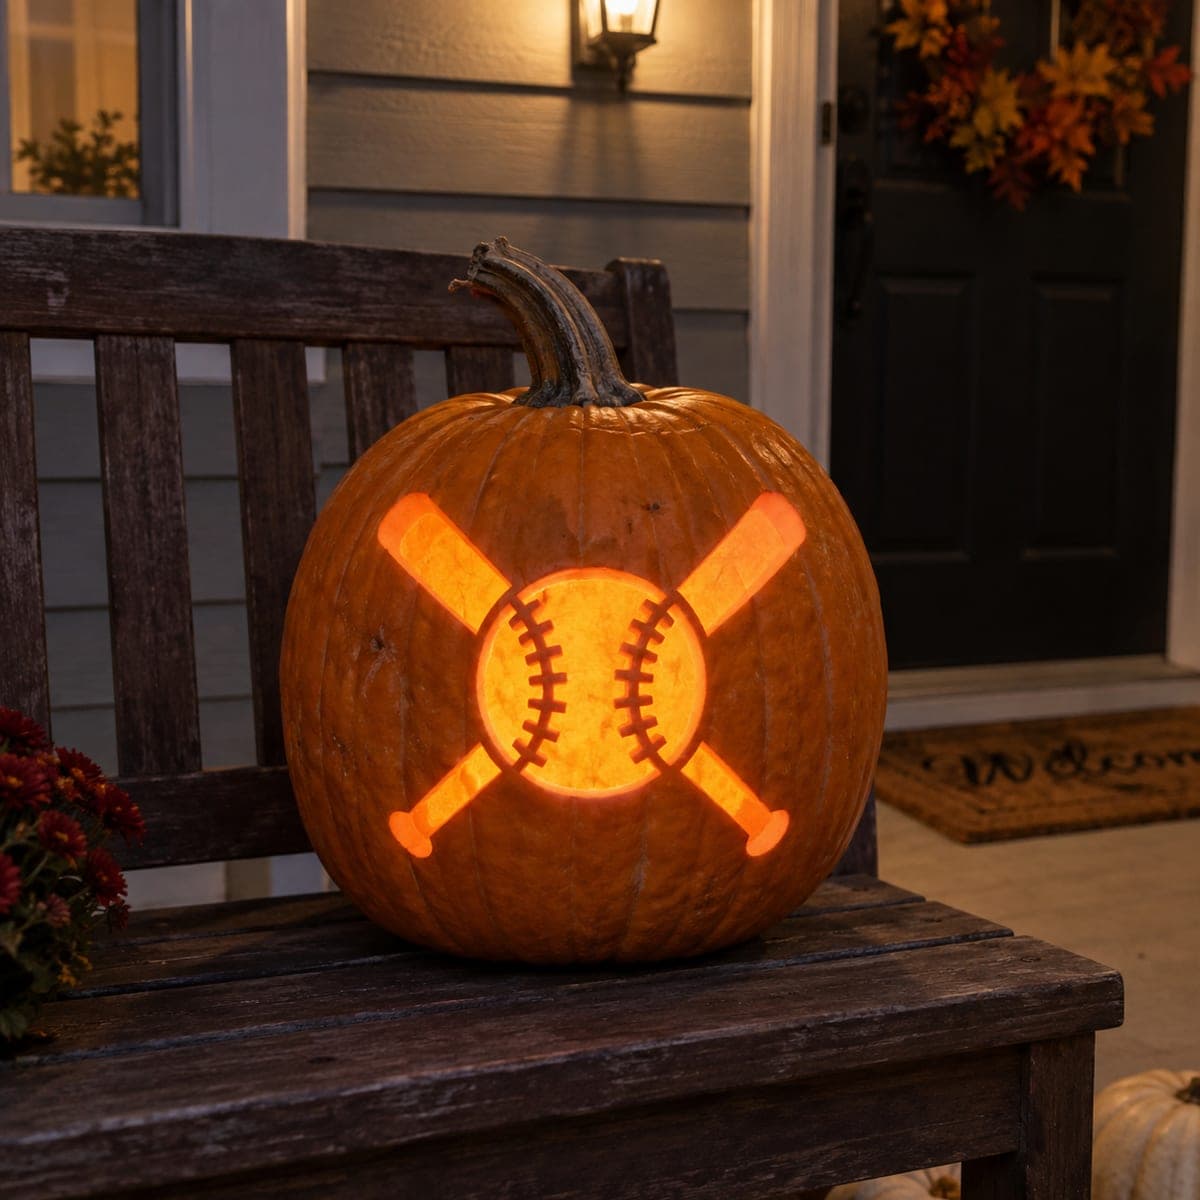 Free PDF
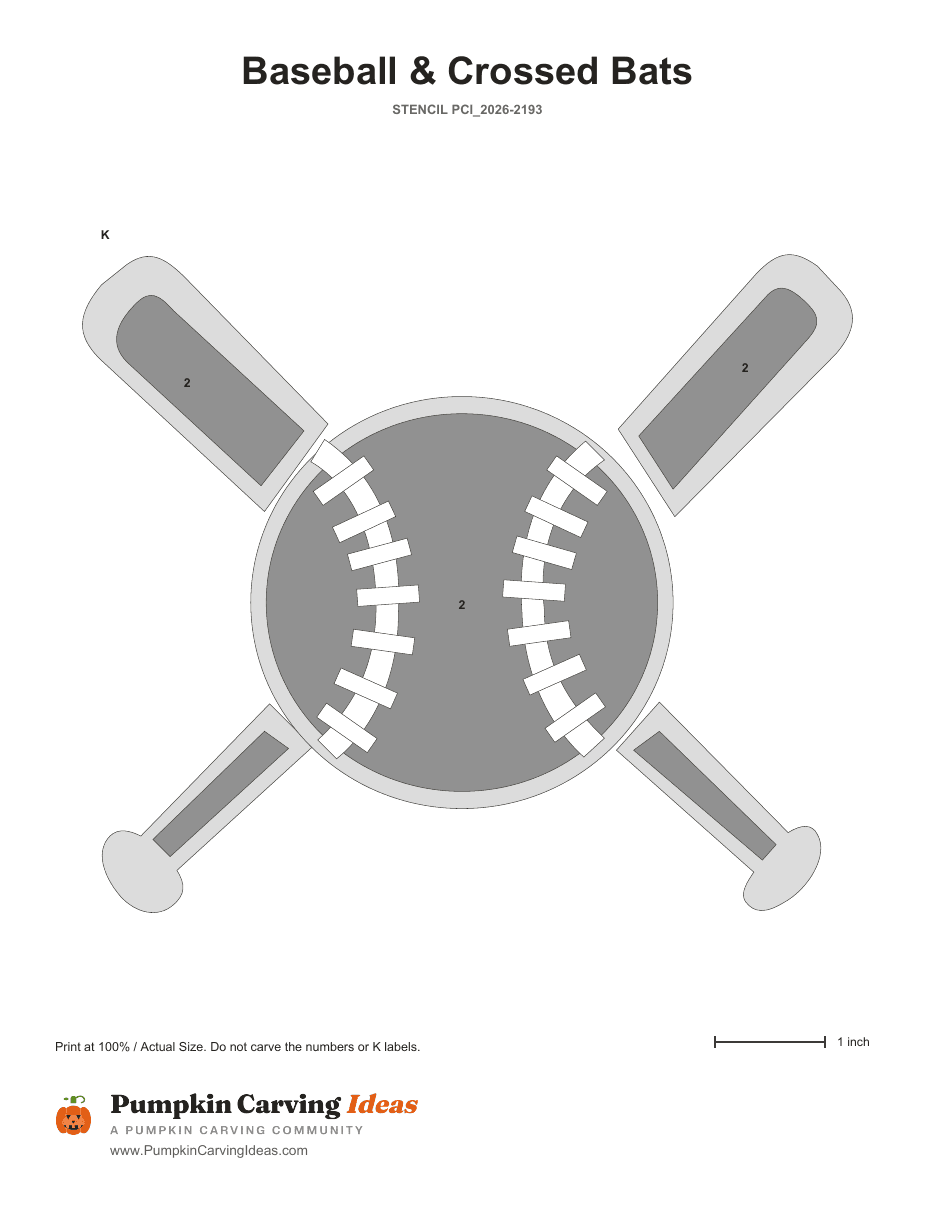
Grand Slam
Mixed technique
View stencil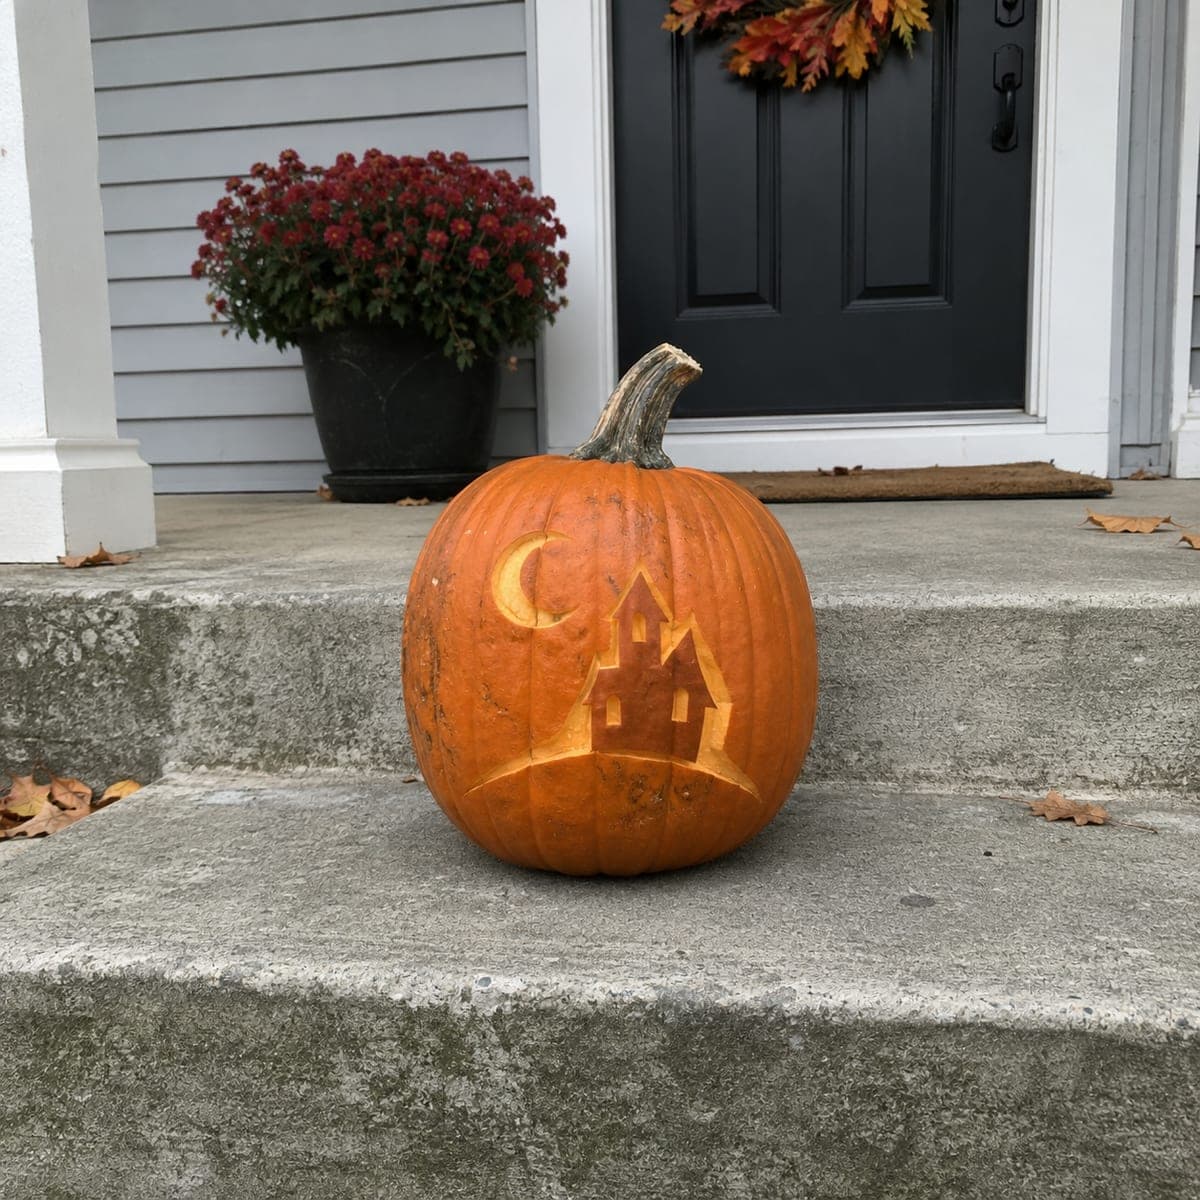 Free PDF
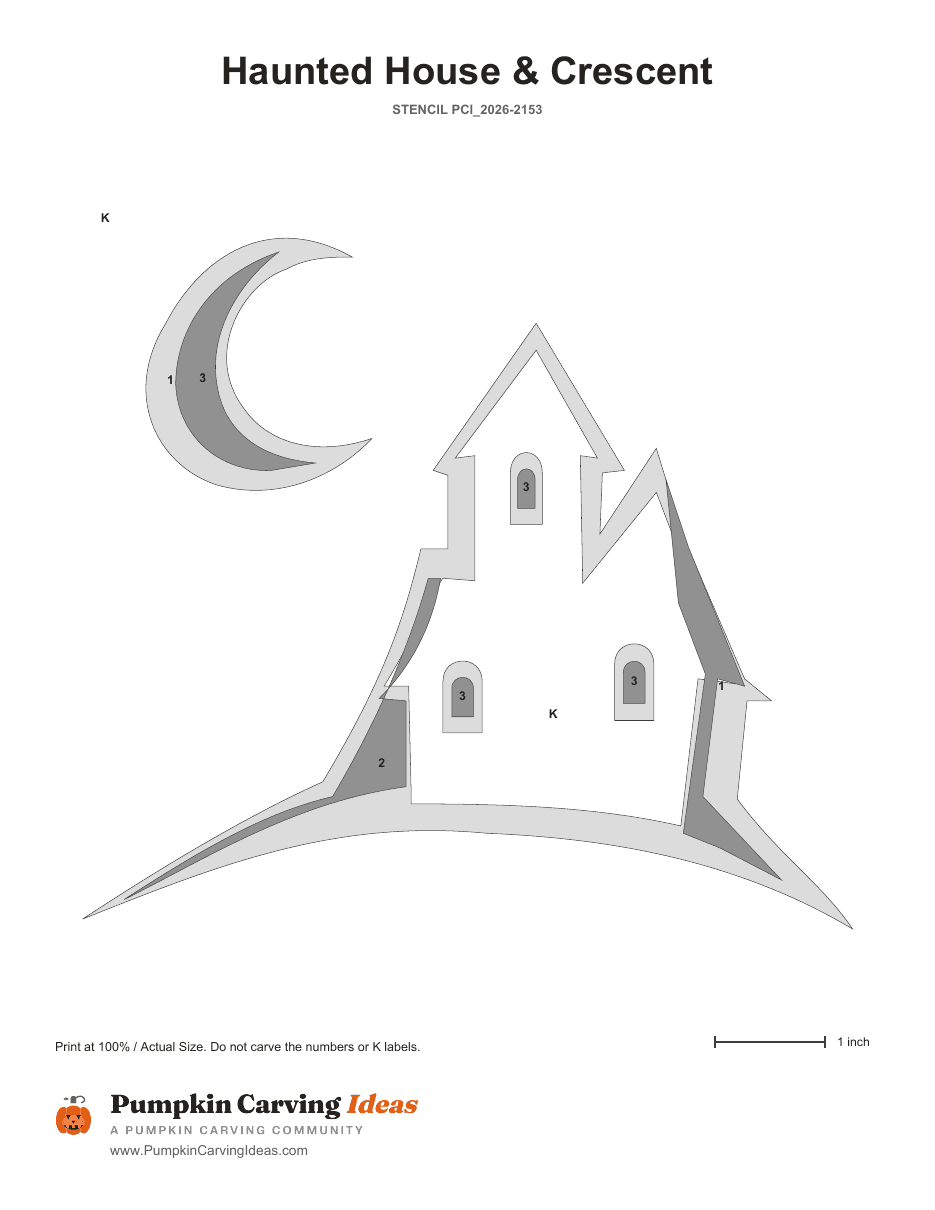
Haunted House & Crescent
Mixed technique
View stencil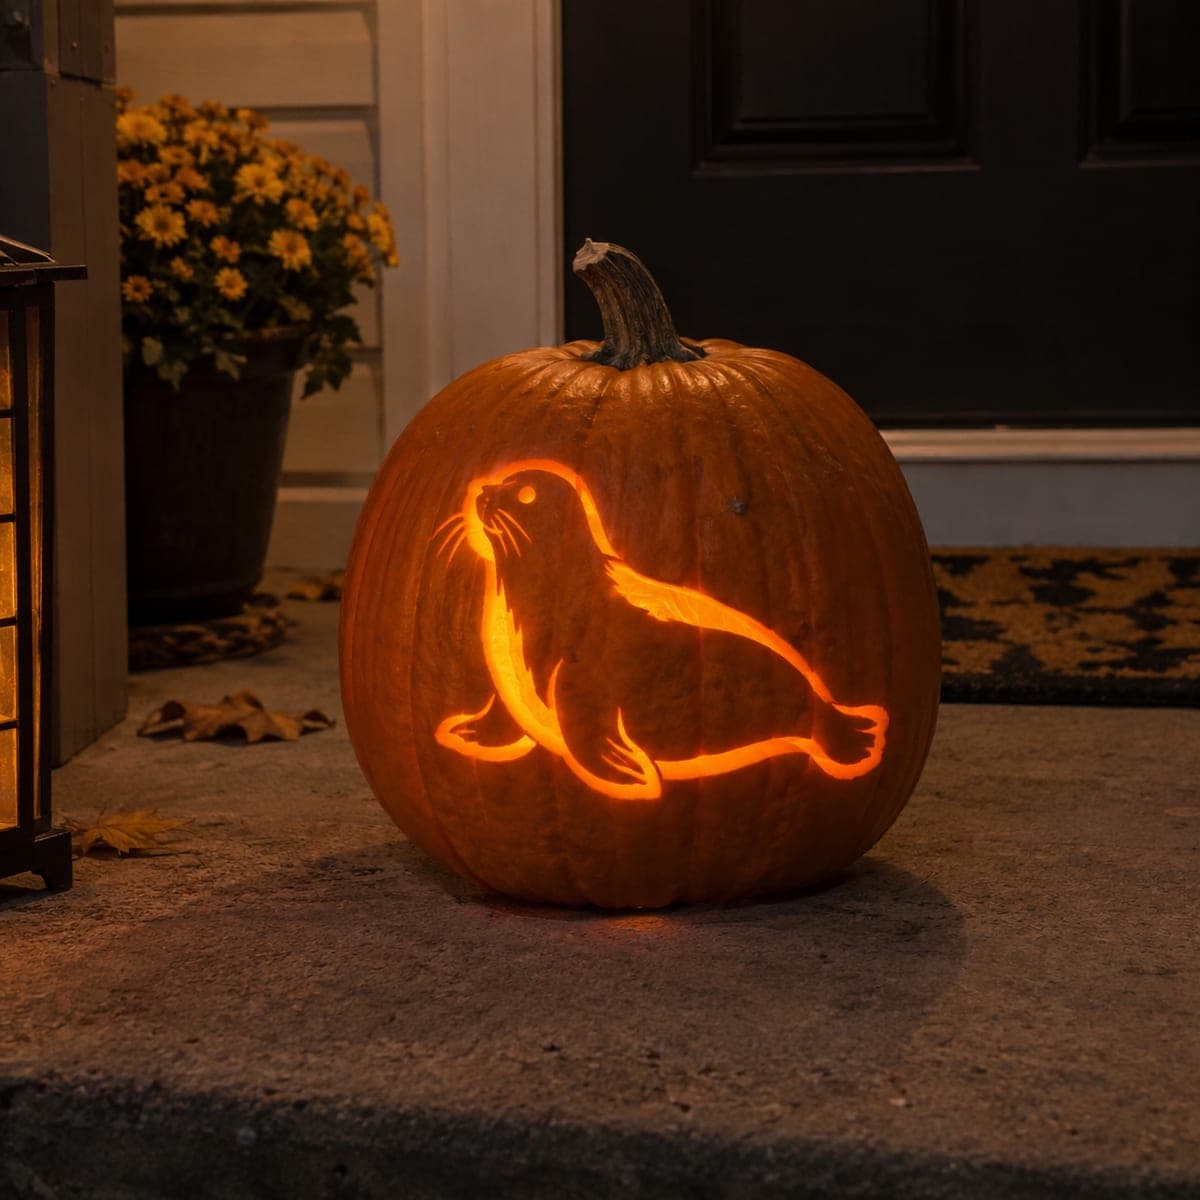 Free PDF
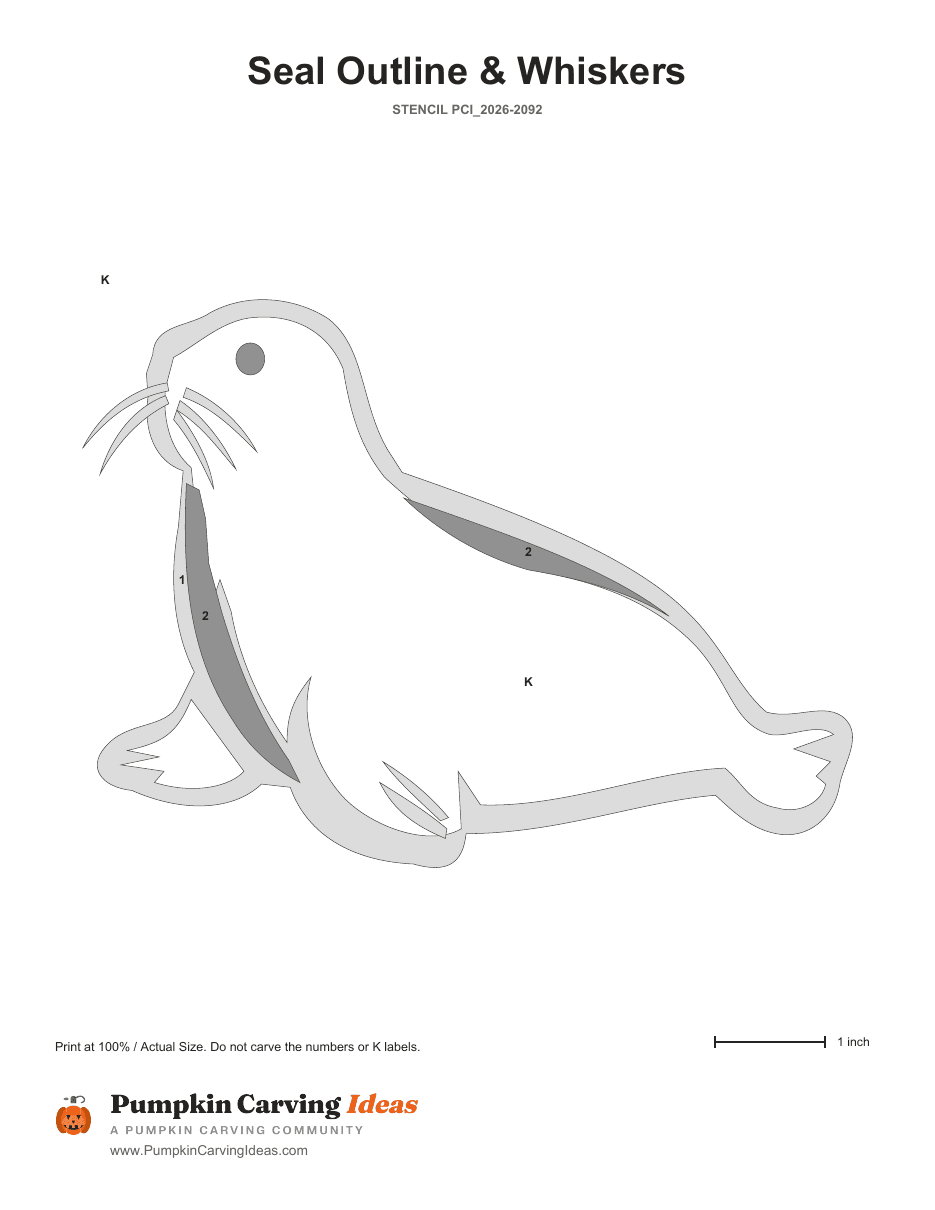
Pebble the Seal
Mixed technique
View stencil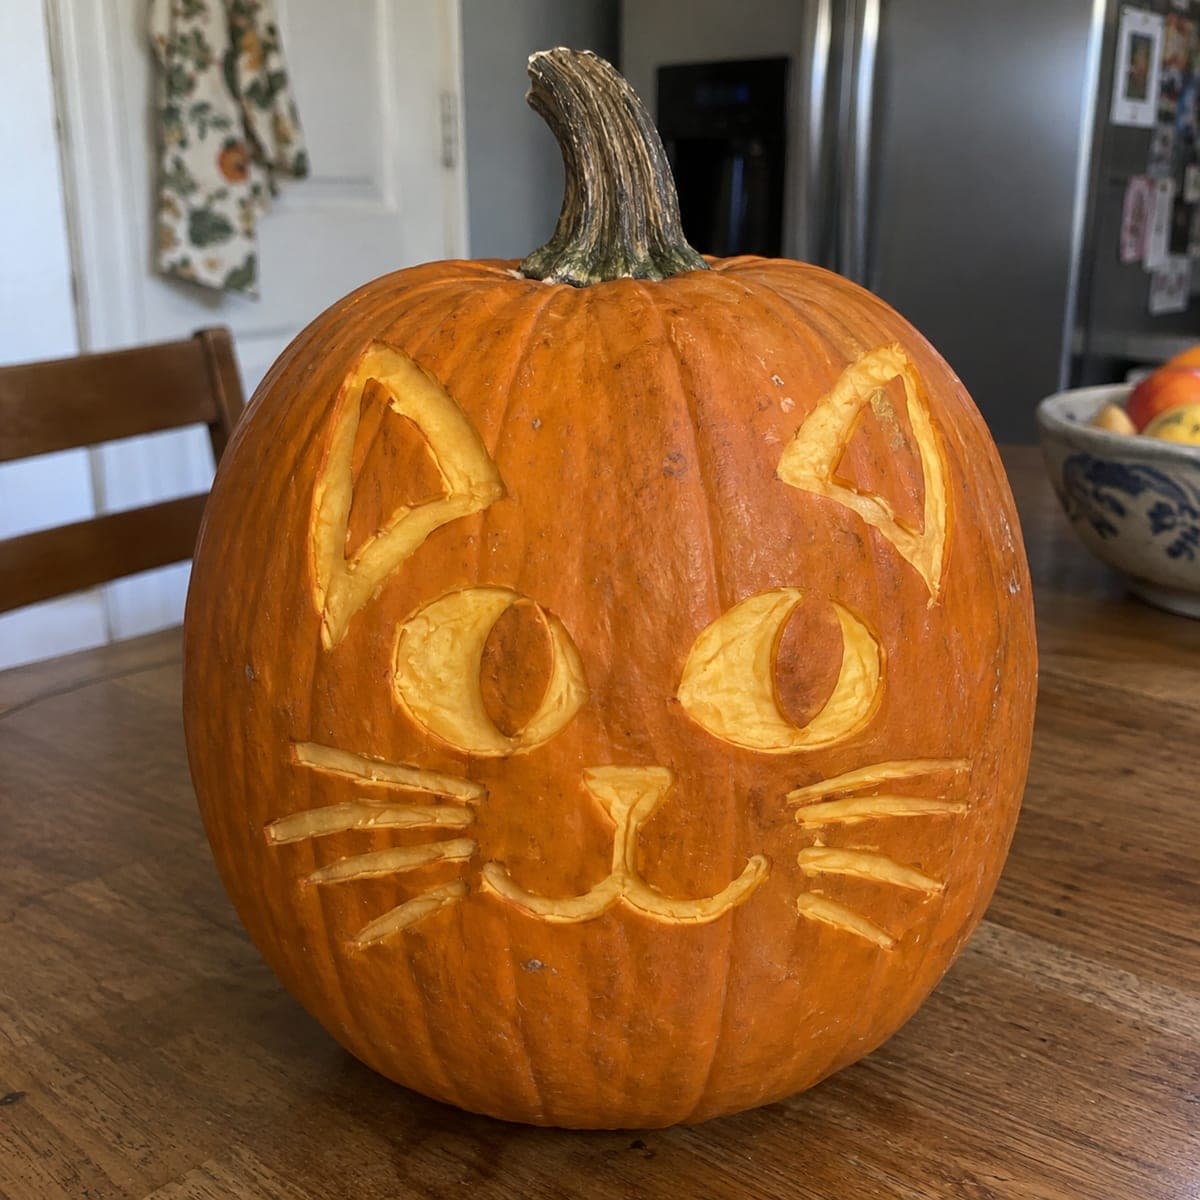 Free PDF
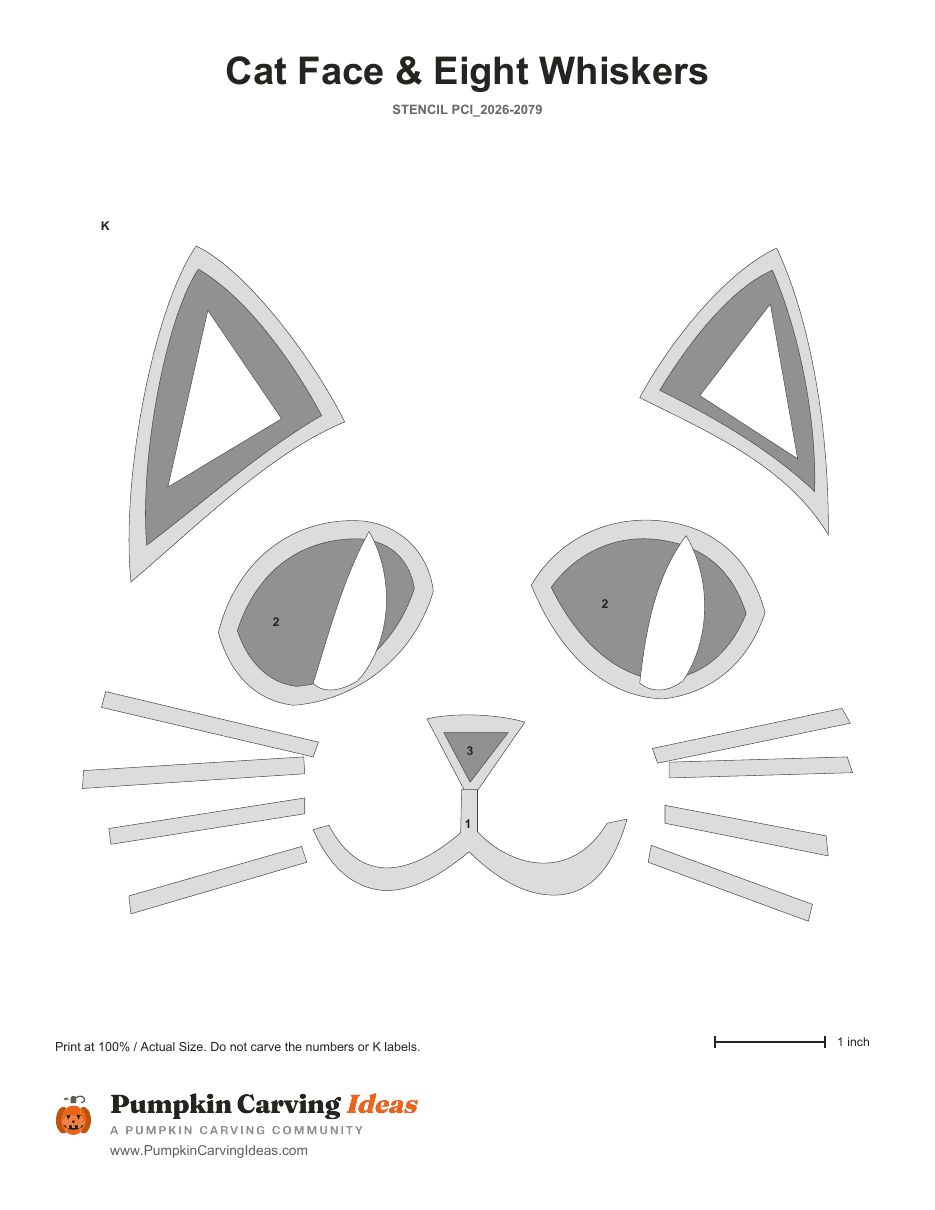
Sweet Whiskers
Mixed technique
View stencil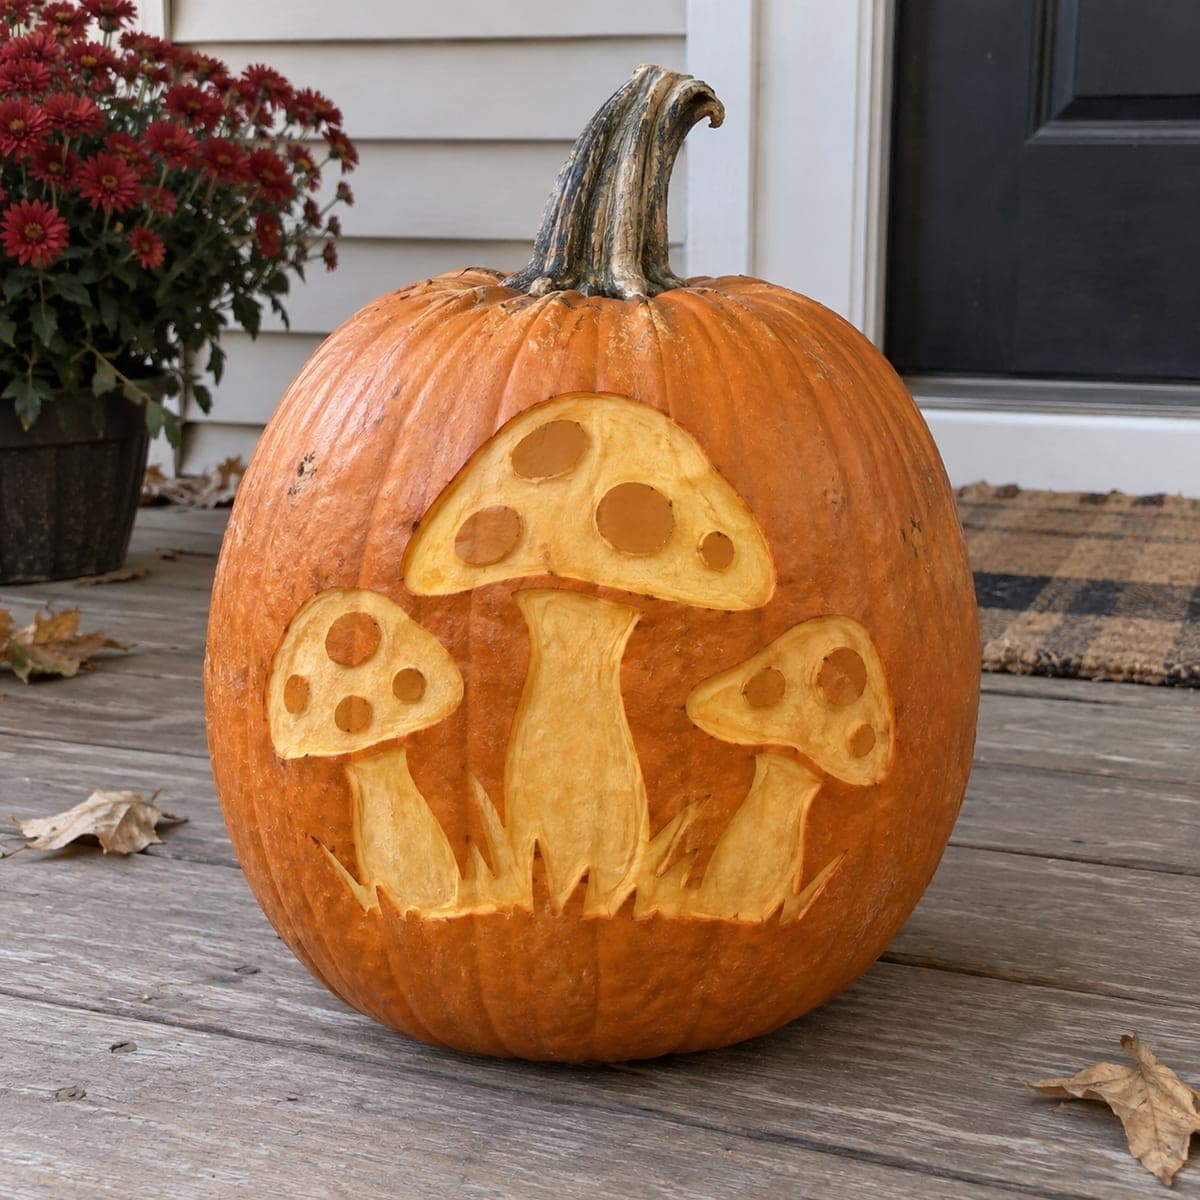 Free PDF
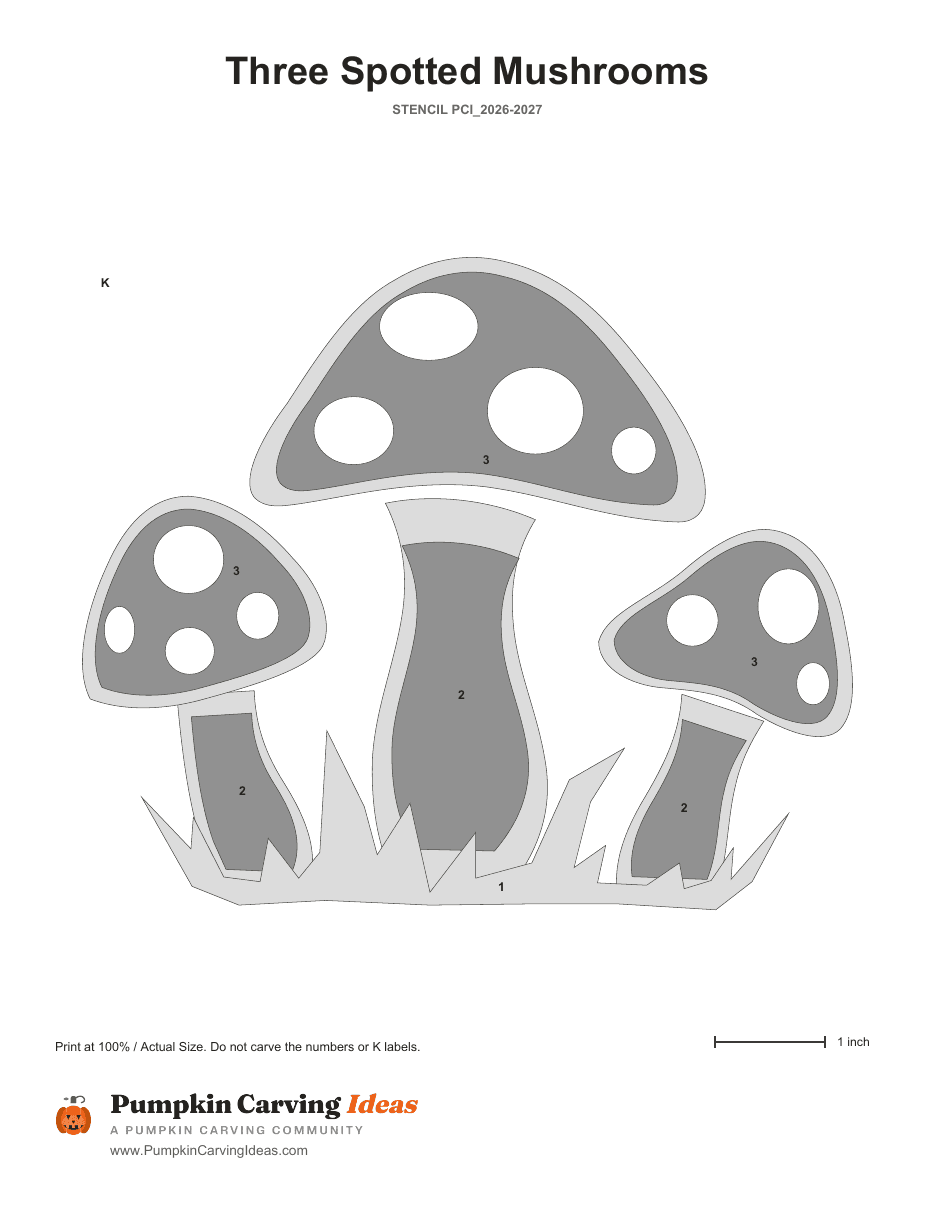
Three Spotted Mushrooms
Mixed technique
View stencil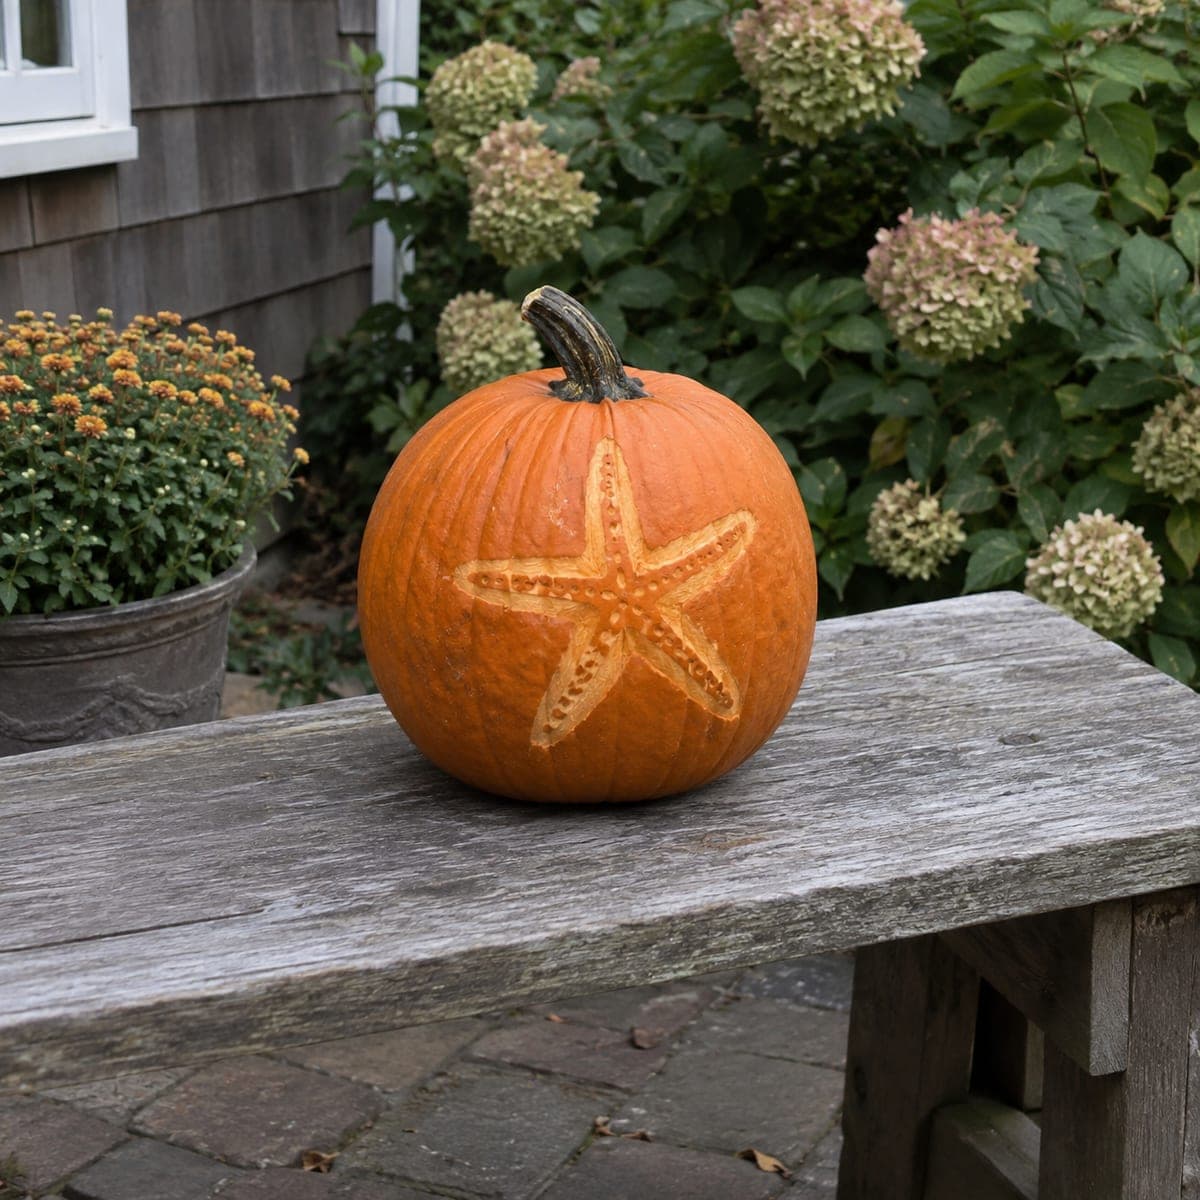 Free PDF
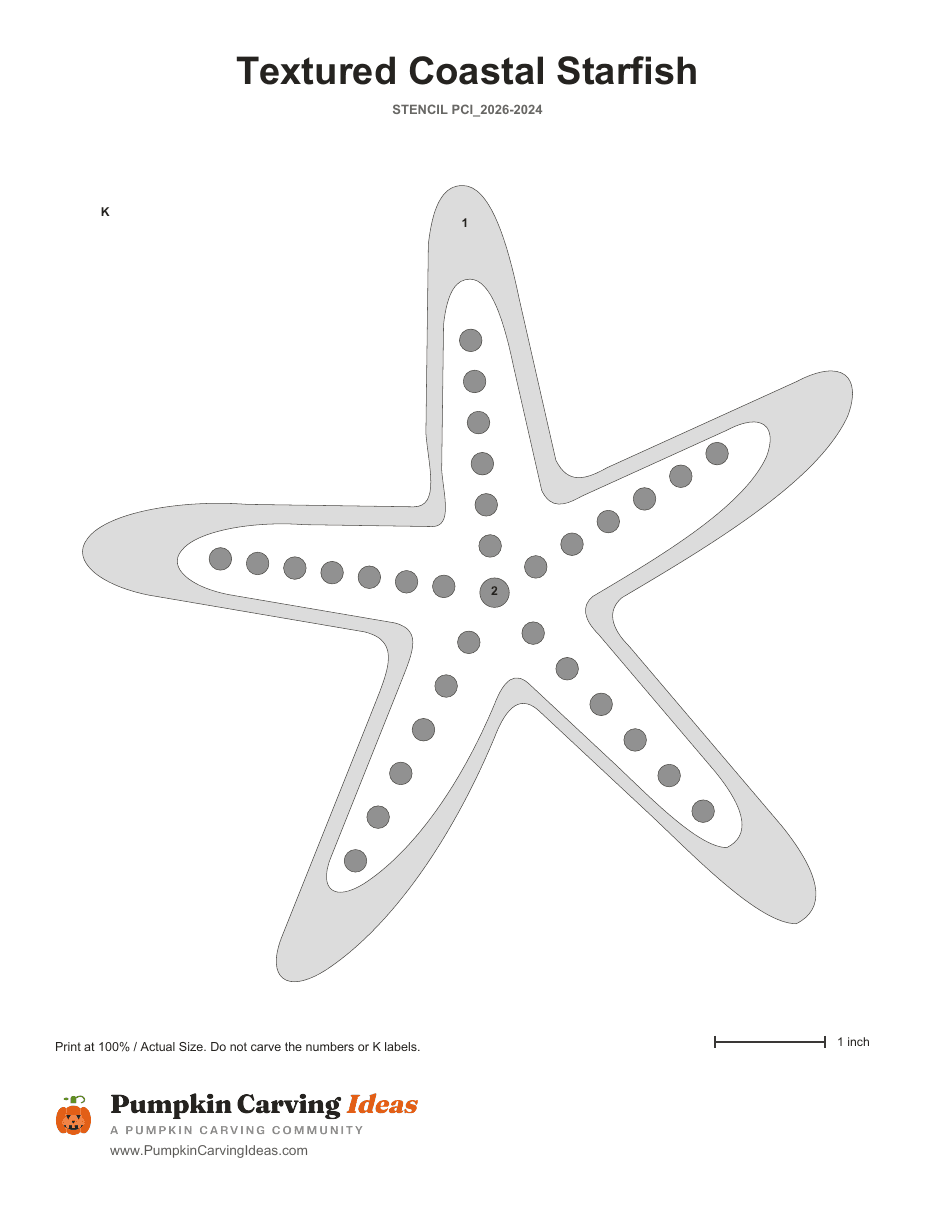
Textured Coastal Starfish
Mixed technique
View stencil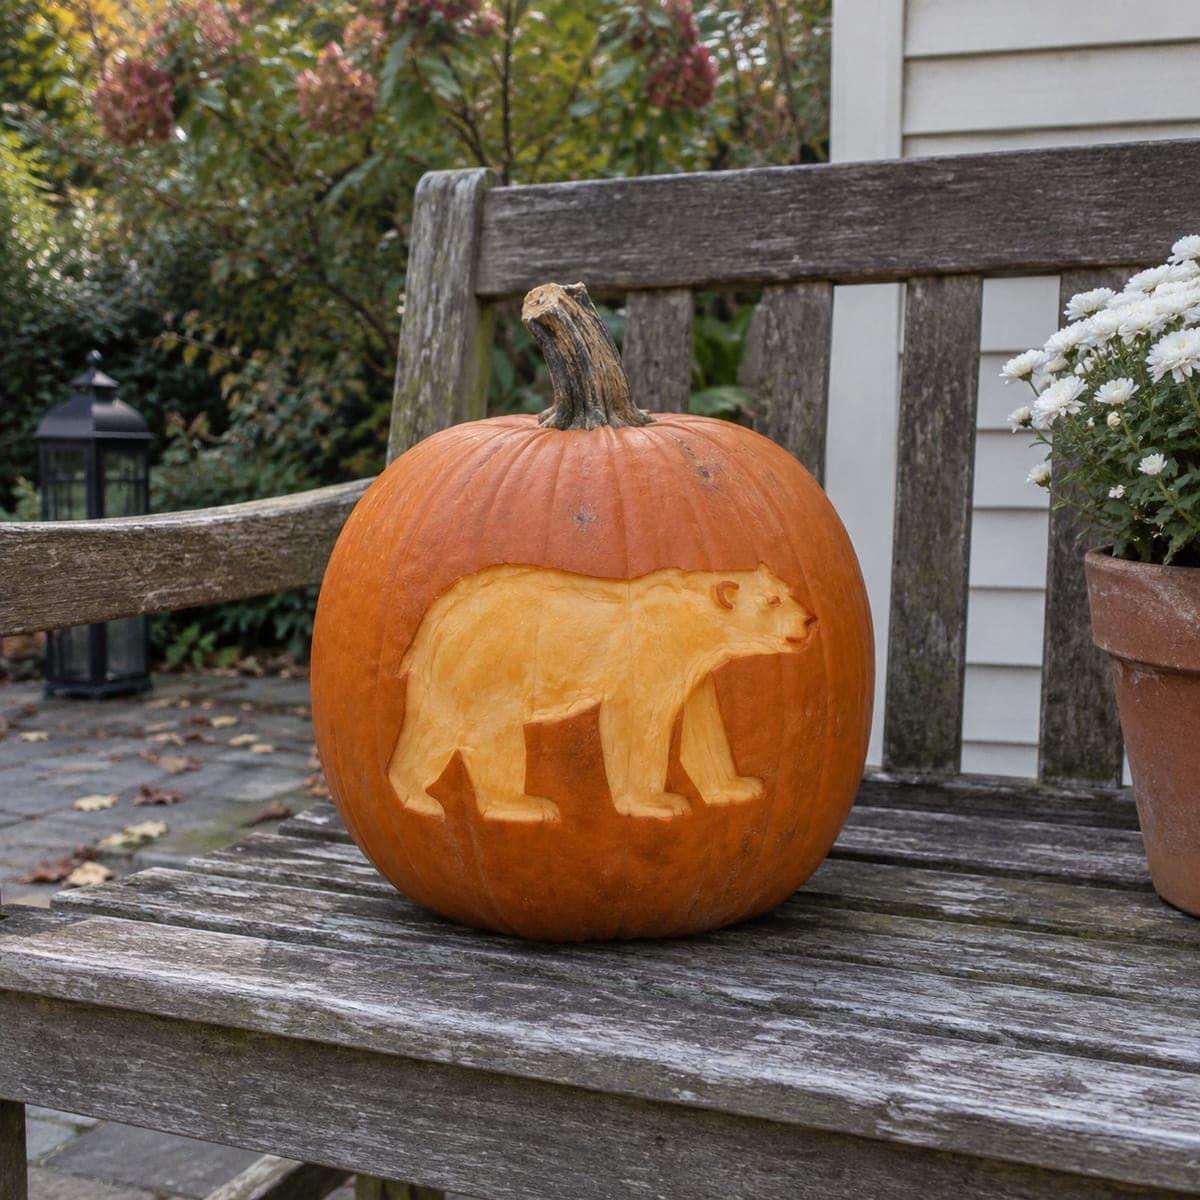 Free PDF
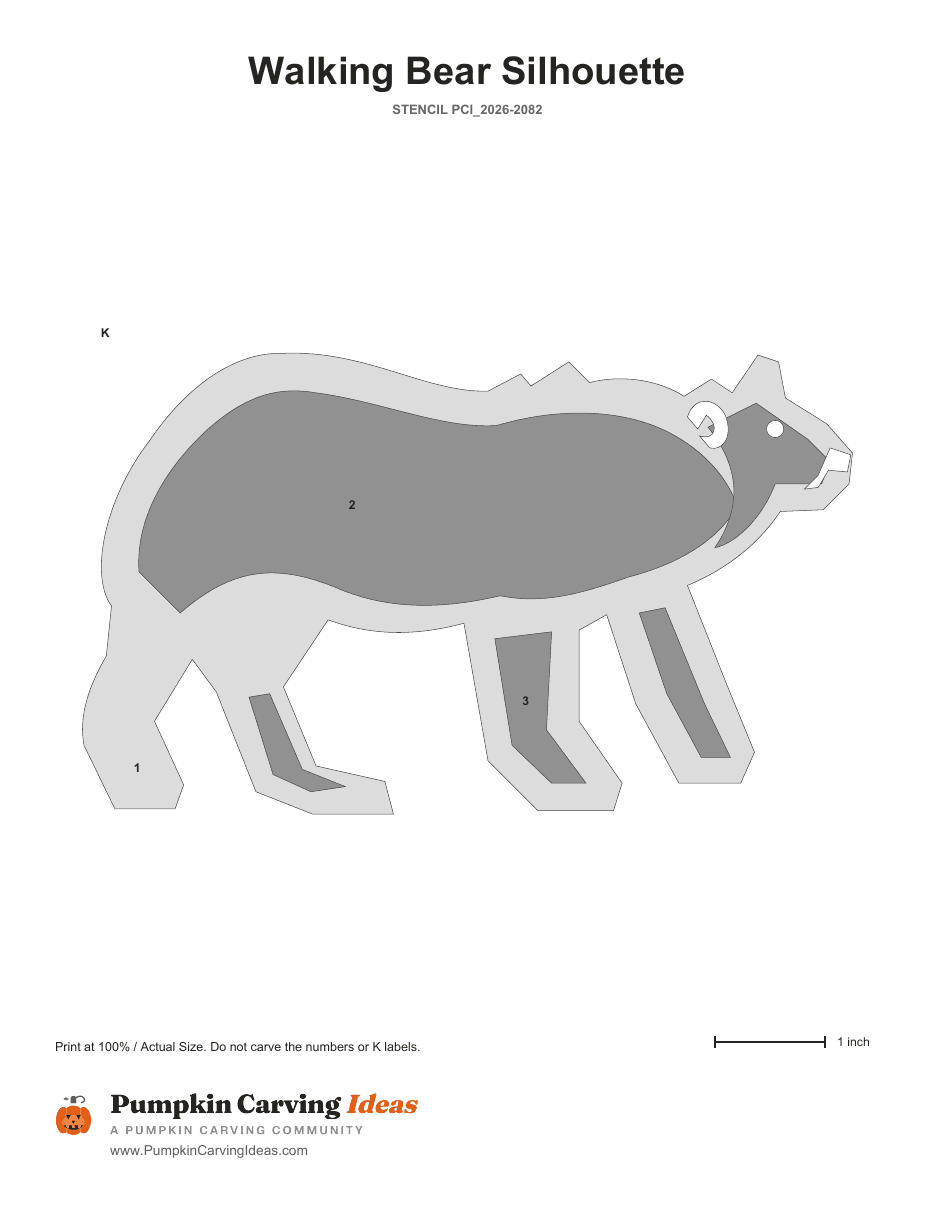
Walking Bear Silhouette
Mixed technique
View stencilCarving guide
How to carve an intermediate pumpkin stencil
Read the pattern before you cut and find the thin spots, the narrow bridges of pumpkin between two openings. Carve those areas first while the wall is strong, then work outward to the big shapes. Use short saw strokes on curves, turning the pumpkin instead of twisting the blade. Cut small pieces into halves before pushing them out so nothing tears.
Tools
A fine-tooth pumpkin saw, a craft knife for corners, a poker tool for transferring the pattern, and painter's tape. A ribbon scoop helps thin the wall evenly.
Which pumpkin
A medium to large pumpkin, 10 to 12 inches tall, gives the smaller cuts more room. Look for a flat face and an even wall so detail does not disappear into a thick spot.
Expect fuller scenes and more character: a witch with a proper hat brim, a cat with whiskers, a haunted house with several lit windows. Details are still cut all the way through, so the design glows crisp and bright.
Questions
Intermediate Pumpkin Stencils questions
How long does an intermediate pumpkin stencil take to carve?+
Plan on 60 to 90 minutes of carving after the pumpkin is scooped. The added detail is where the time goes, not the size.
Should I try an intermediate stencil as my first pumpkin?+
You can, if you are comfortable with a knife. Otherwise carve one easy design first, then come back. The techniques are the same, there are just more cuts.
What is the difference between intermediate and hard stencils?+
Intermediate designs are still fully cut-through with openings you can fit a saw into. Hard designs add hair-thin bridges and shaded areas where you scrape the skin instead of cutting.
Do I need special tools for intermediate stencils?+
A standard carving kit plus a craft knife covers everything on this page. The craft knife is for inside corners the saw cannot turn.
Are intermediate stencils free to download?+
Yes. Every pattern is a free printable PDF. Print at 100% for a medium pumpkin, or scale up 110 to 120 percent for a large one.