Similar pumpkin stencils
View all stencils →About this stencil
This free Colorado pumpkin stencil is a printable PDF pattern you can print at home, tape to your pumpkin, and trace. Colorado's nearly rectangular state outline, with its straight top and sides and the slight irregular notch at the lower-left corner, is the entire design of this easy pumpkin stencil. The silhouette cuts out as one large solid piece, leaving the surrounding pumpkin skin intact, so the glowing state shape is the focal point. Because the cutout is large and the border thin, carve slowly along the bottom edge where the curve of the pumpkin is tightest to prevent the shell from cracking under pressure. Use it as a carving template for your Halloween jack-o'-lantern. It is rated Beginner-friendly. Estimated time: 30-45 minutes. Actual time varies with preparation, pumpkin size and experience. Larger shapes and shorter cuts. An adult should handle sharp carving tools.
Pumpkin size guide
- 🎃 Small (5 to 7"): print at 80%
- 🎃 Medium (7 to 10"): print at 100% (recommended)
- 🎃 Large (11 to 13"): print at 130%
- 🎃 Giant (14"+): print at 150% on tabloid paper
Frequently asked questions
Can I resize this stencil?▾
Yes. The PDF is vector so it scales cleanly. Print the pattern at 100% for a 7 to 10 inch pumpkin, 130% for 11 to 13 inch, or 150% for a giant. Use your printer's "Fit to page" or "Custom scale" setting.
What kind of paper works best?▾
Standard 20 lb letter or A4 printer paper is fine. Heavier paper is harder to bend around the pumpkin curve. If your printer supports it, set the quality to 'best' so the lines are crisp.
How long will the carved pumpkin last?▾
Usually 5 to 10 days. Coat all cut surfaces with petroleum jelly and store the pumpkin somewhere cool overnight. Avoid direct sun. Battery LED pumpkin lights produce no heat and help it last longer.
Can I sell pumpkins carved with this stencil?▾
Yes, the carved pumpkin you make is yours. The license covers personal and small-scale commercial carving (selling carved pumpkins, photographing them, posting on social). You may not resell the PDF file itself.
What if my printer doesn't print the whole stencil?▾
Set 'Page scaling' to 'Fit' in the print dialog and uncheck 'Auto-rotate'. If it still cuts off, the design includes 0.25" of safe-area margin so a small crop won't ruin it.
How to carve this stencil
This is a cut-through stencil: the gray areas on the printable pattern are the pieces you remove, and everything white stays attached. The steps below give you the safest carving order. Plan on about 30-45 minutes from print to candle.
Set up first. Print the PDF at 100% scale on letter or A4 paper. Cut the lid at an angle, scoop the pumpkin clean, and thin the carving wall to about 1 inch where the design will sit. Tape the pattern on (snip small darts in the paper so it hugs the curve) and transfer every outline by poking dots along the lines, about one every 1/8 inch. Peel the paper away and carve dot to dot with short, straight strokes.
Carving order
- Score the rectangle. Trace the four nearly straight borders with a scoring pass first. Colorado is one large four-sided plug, so accuracy on the corners is the whole design.
- Cut three sides. Saw the top, left and right edges with long smooth strokes, cutting cleanly into each corner from both directions so the corners stay sharp.
- Tab and release the plug. Leave a small tab in the middle of the bottom edge. Support the big plug with your palm, cut the tab, then push the piece into the pumpkin and lift it out through the lid.
Clear loose fibers out of each opening as you go, and never twist or pry the blade against the shell; back it out and recut instead. When every piece is out, wipe the cut edges dry and drop in a battery LED puck.
Tools you'll need
For a beginner-friendly carve like this you'll want a paring knife, spoon / scoop, marker, and led pumpkin light. Here's the kit we reach for, but start with whatever you already own.

Elmchee Pumpkin Carving Kit
13-piece kit with carrying case
Saws for the larger cutouts, plus a scoop for hollowing. Covers both jobs in one kit.
View on Amazon ↗
HOME MOST LED Pumpkin Lights
4-pack, battery operated, with remote + timer
Orange glow made for jack-o'-lanterns. The remote and timer light the pumpkin every evening without reaching inside.
View on Amazon ↗
Speedball 4131 Lino Cutter Set
Handle + 5 interchangeable cutters
Interchangeable cutters for peeling and shading the face. Useful for the finer details.
View on Amazon ↗
Reviews from carvers
Every rating comes from a written review by someone who downloaded this stencil.
Carved this one?
Reviews are open to carvers who downloaded the stencil. Grab the free PDF, then come back and tell everyone how it went.
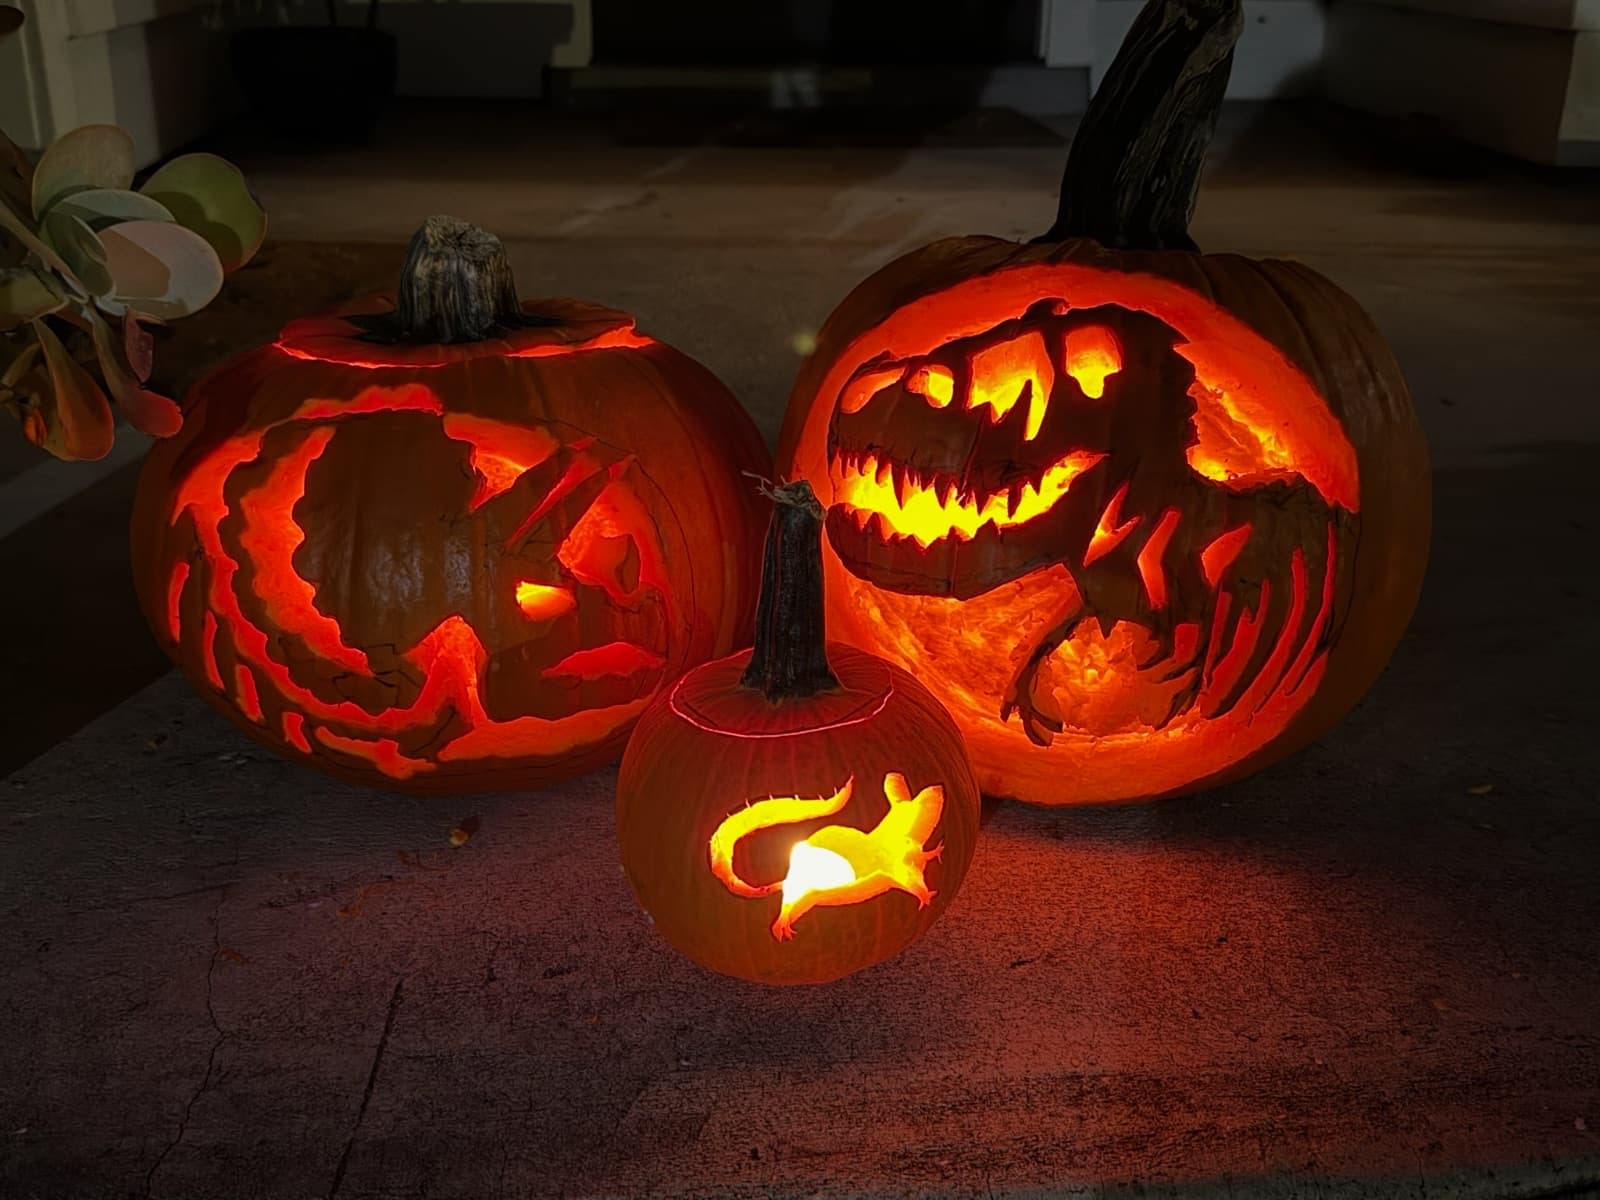
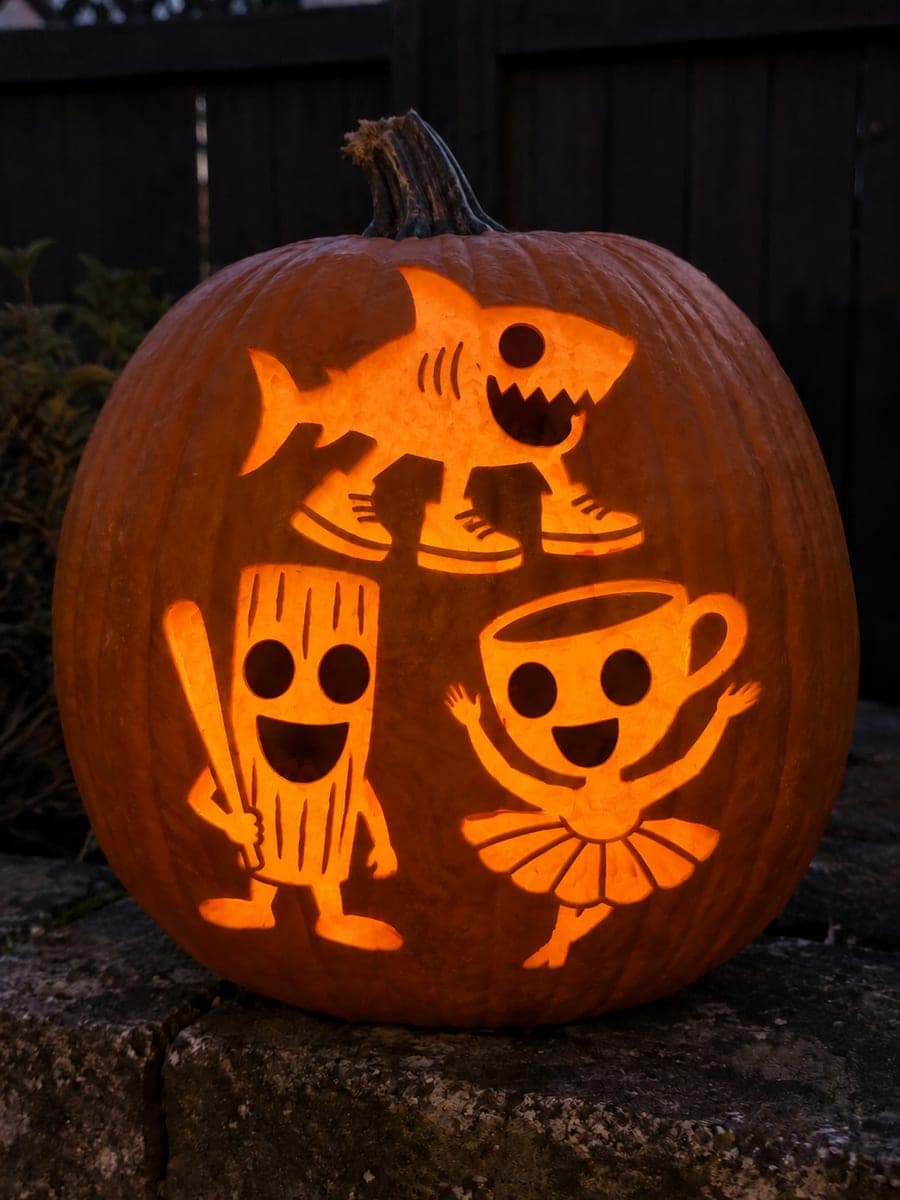
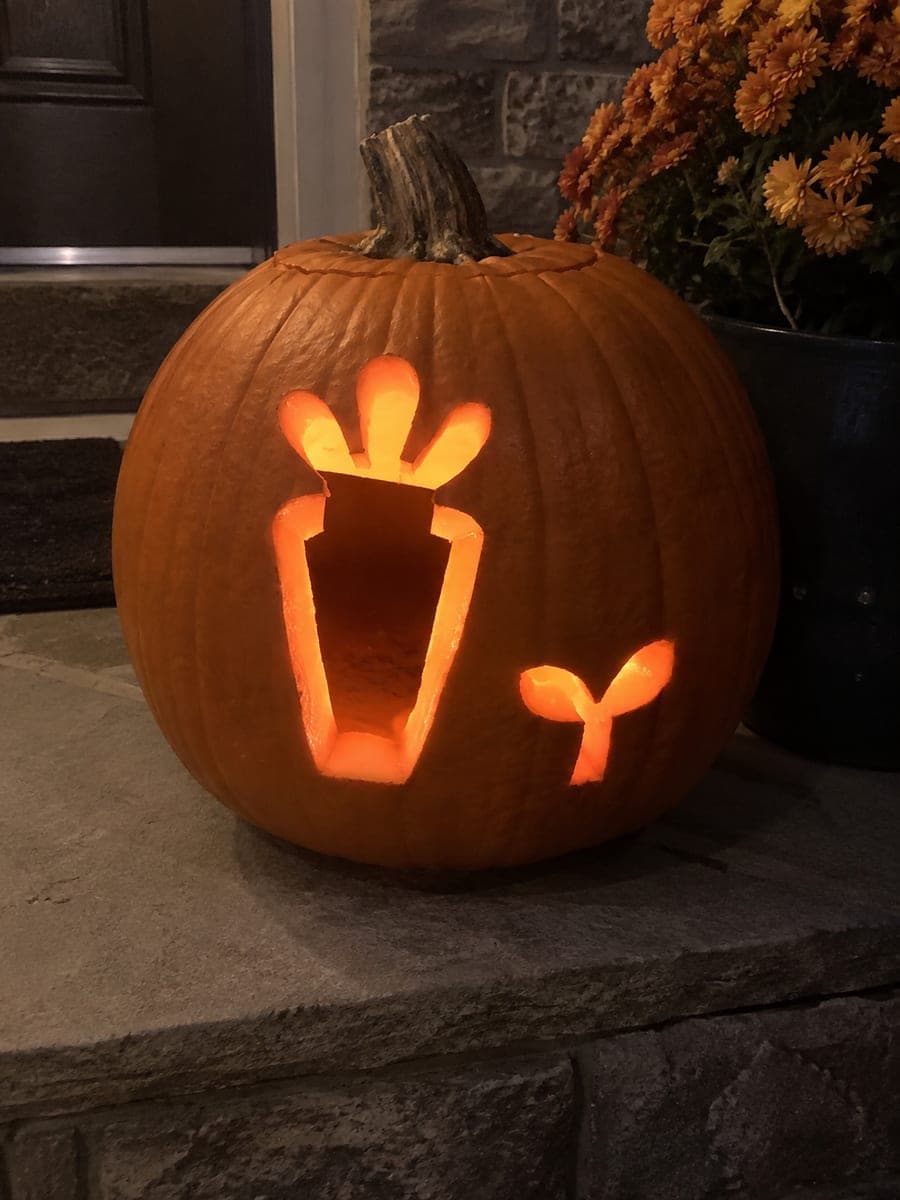
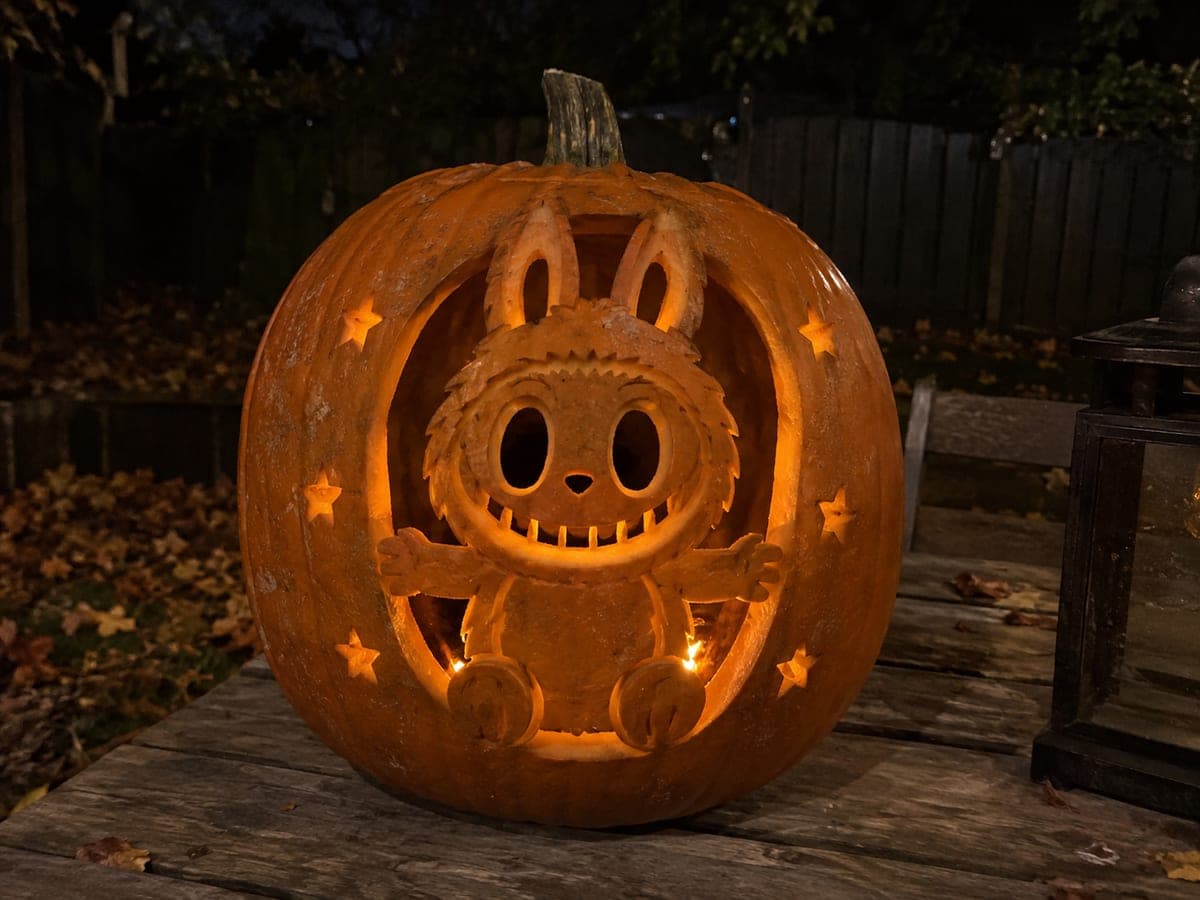
Community Pumpkin Carving Ideas
Carving ideas that use stencils like this one.
Related stencils
More patterns with a related subject. Compare their skill levels before you choose.
 Beginner-friendly
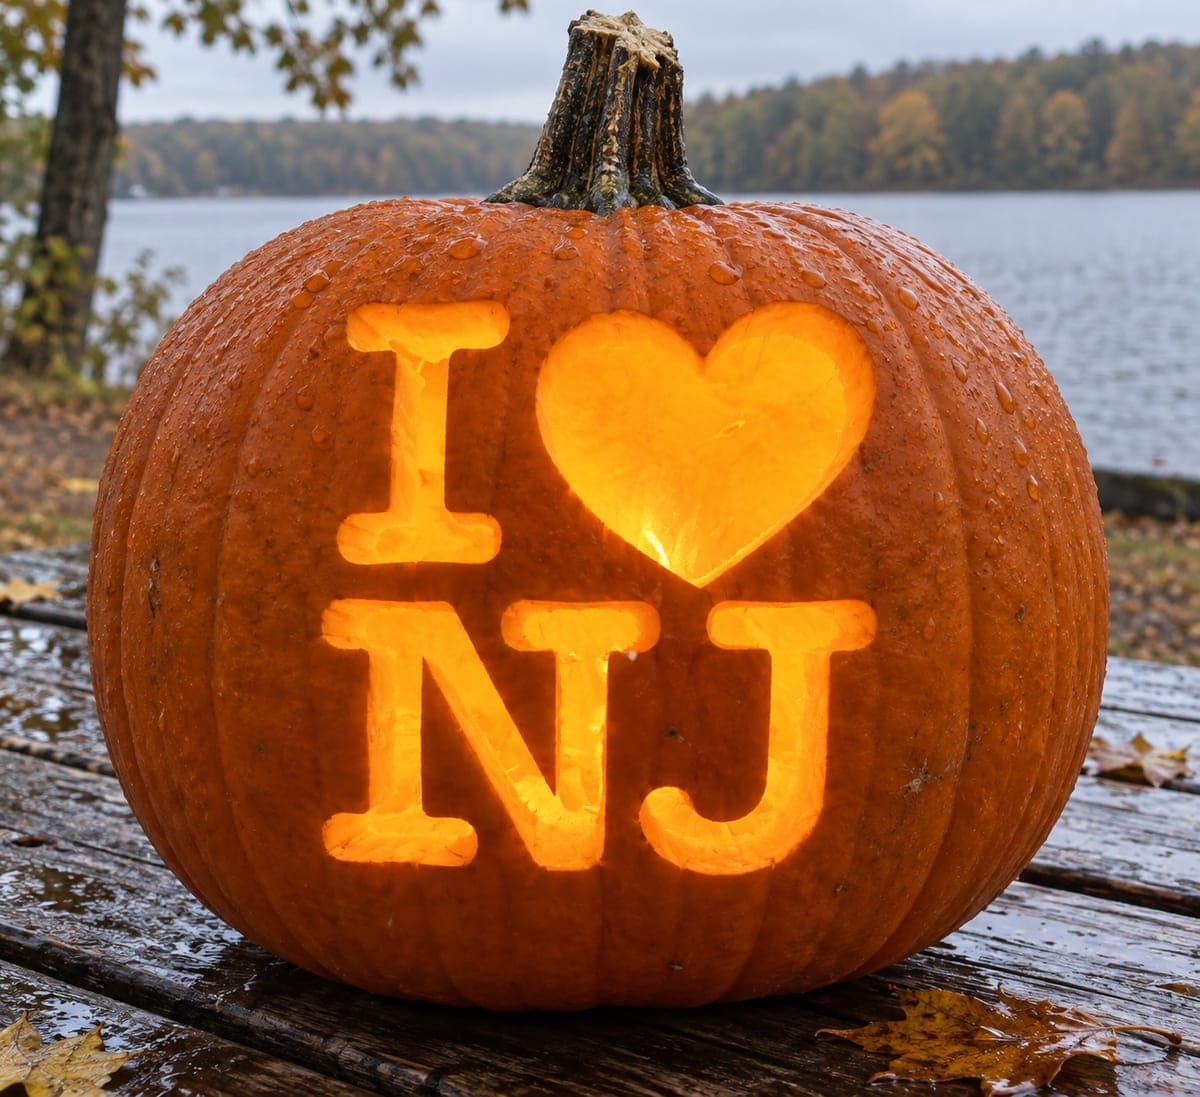
I Heart New Jersey
Show some Garden State love with this bold lettering design: the word I, a big glowing heart, and the letters N and J stacked in a classic two-row layout, all pierced fully through the pumpkin wall. The chunky serif letters are forgiving for an easy carve; cut each letter stroke as its own piece rather than one big chunk, and save the J's curved hook for last since its tail is the thinnest part.
 Beginner-friendly
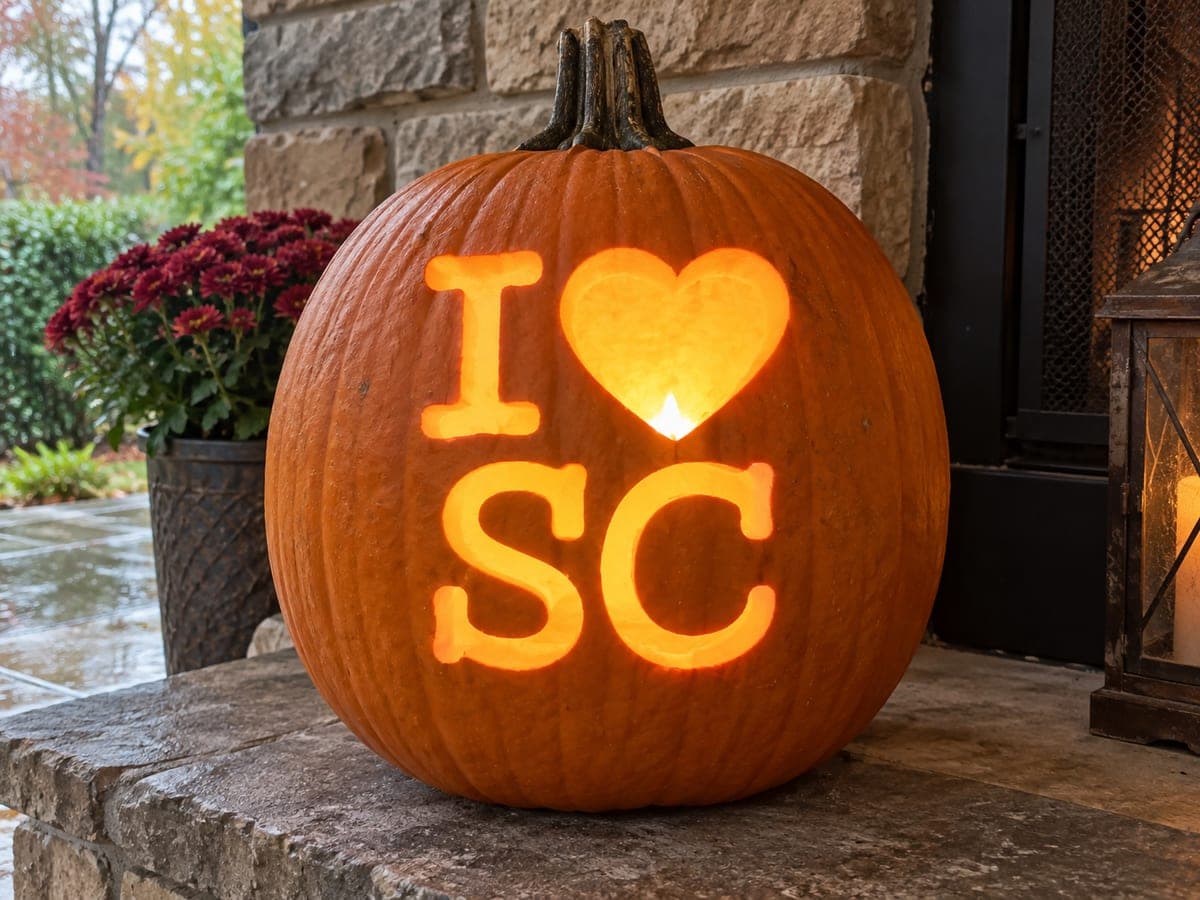
I Heart South Carolina
State pride spelled out plainly: a bold serif I, a big glowing heart, and the letters SC stacked in two rows across the pumpkin face. Each letter and the heart cut fully through, and the thick strokes make this an easy lettering carve with no fragile pieces. Cut the heart's top notch first to set its shape, then saw each letter stroke in straight runs, squaring the serifs from inside the openings.
 Beginner-friendly
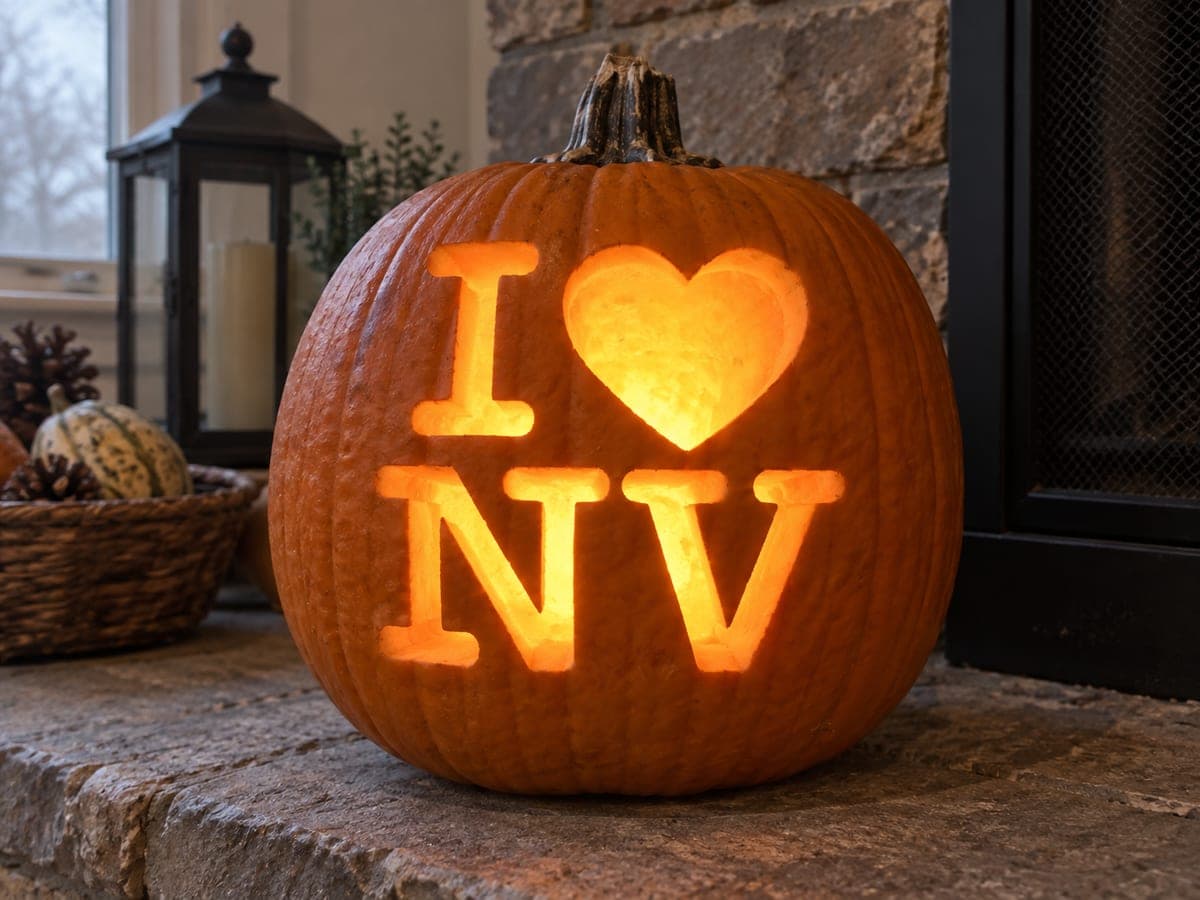
I Heart Nevada
Styled after the famous city-love logo, this design spells out I, a big heart, then the letters N and V in chunky serif capitals, all cut straight through so the message glows for the whole street. The block letters are simple, but keep an eye on the enclosed spaces; the letters are solid cutouts with no counters to bridge, so just take the wide strokes out in sections and square up the serifs with a small knife.
 Beginner-friendly
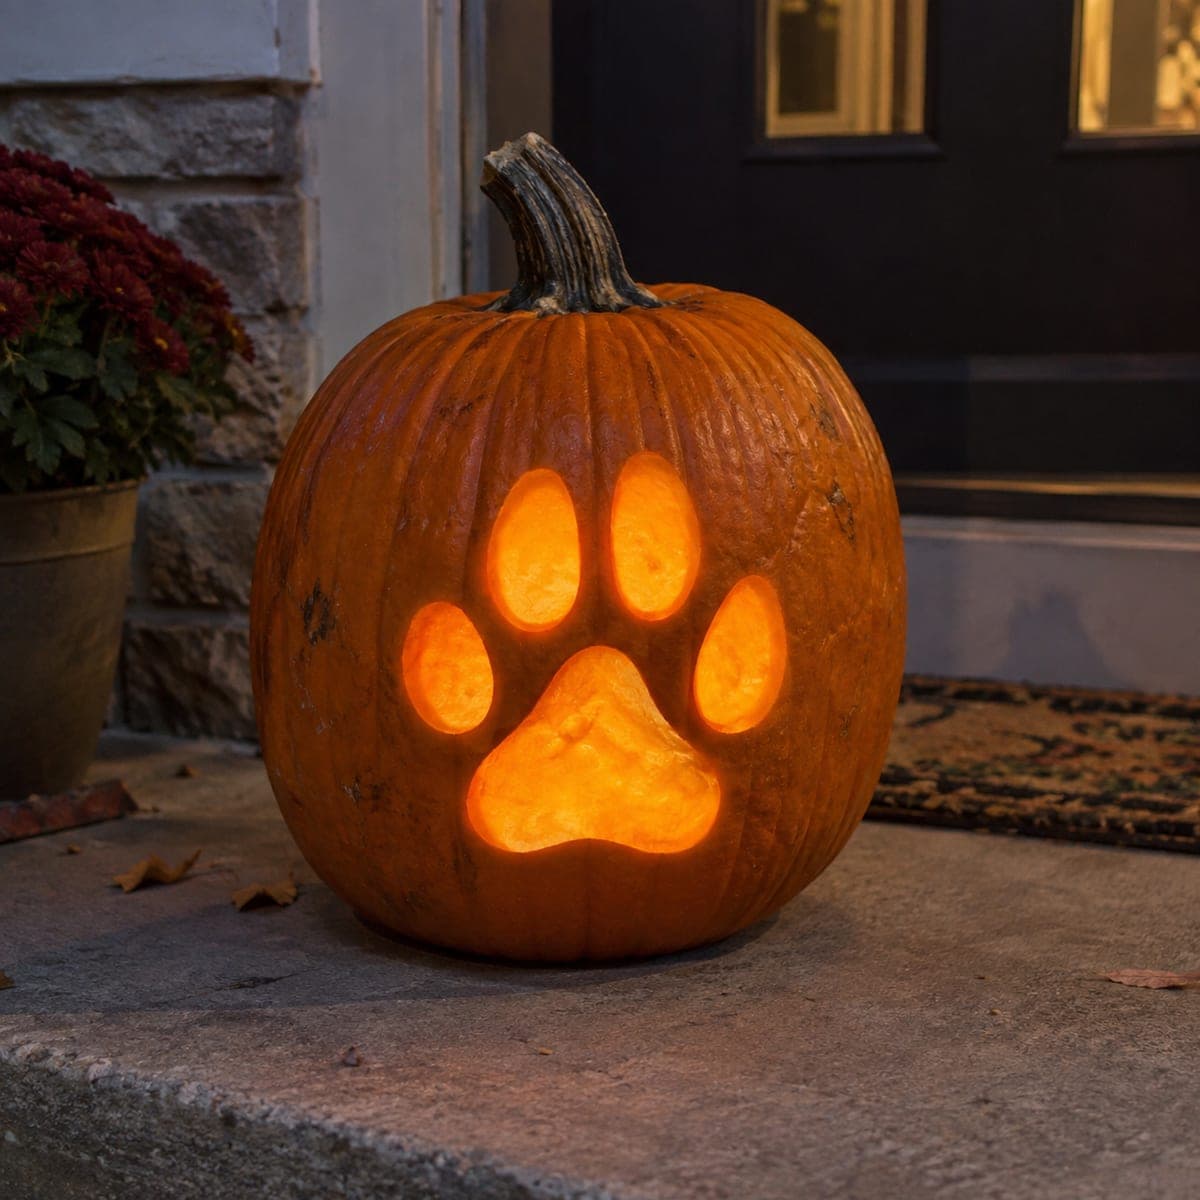
Pitter Patter Paw Pumpkin Stencil
A big glowing paw print built from four oval toe pads arranged above one broad heart-shaped main pad. All five shapes cut cleanly through the wall, and the generous spacing between pads makes the layout very forgiving. Drill a starter hole in the center of each pad and saw outward to the line; the smooth convex curves are ideal practice strokes for young or first-time carvers.
 Beginner-friendly
Caring Heart Pumpkin Stencil
A big glowing heart sits at the center flanked by two medical plus signs, with a trio of small dots beneath, a sweet salute to nurses, doctors, and healthcare workers. Every shape is a straightforward cut-through opening with generous spacing between them. This easy design makes a great clinic lobby or front desk pumpkin; cut the heart's notch as two downward strokes meeting in the middle, and use a drill bit for perfectly matched dots.
 Beginner-friendly
Hospital Lights Pumpkin Stencil
A bold medical plus sign glows at the top while a row of small square windows and a larger doorway below turn the pumpkin into a tiny lit-up hospital. Every shape cuts straight through, and the straight-edged squares make this an easy, tidy carve, perfect for healthcare workers or a first-responder porch display. Score each square with a ruler before cutting so the windows line up in a neat row.