Similar to This
View all stencils →About this stencil
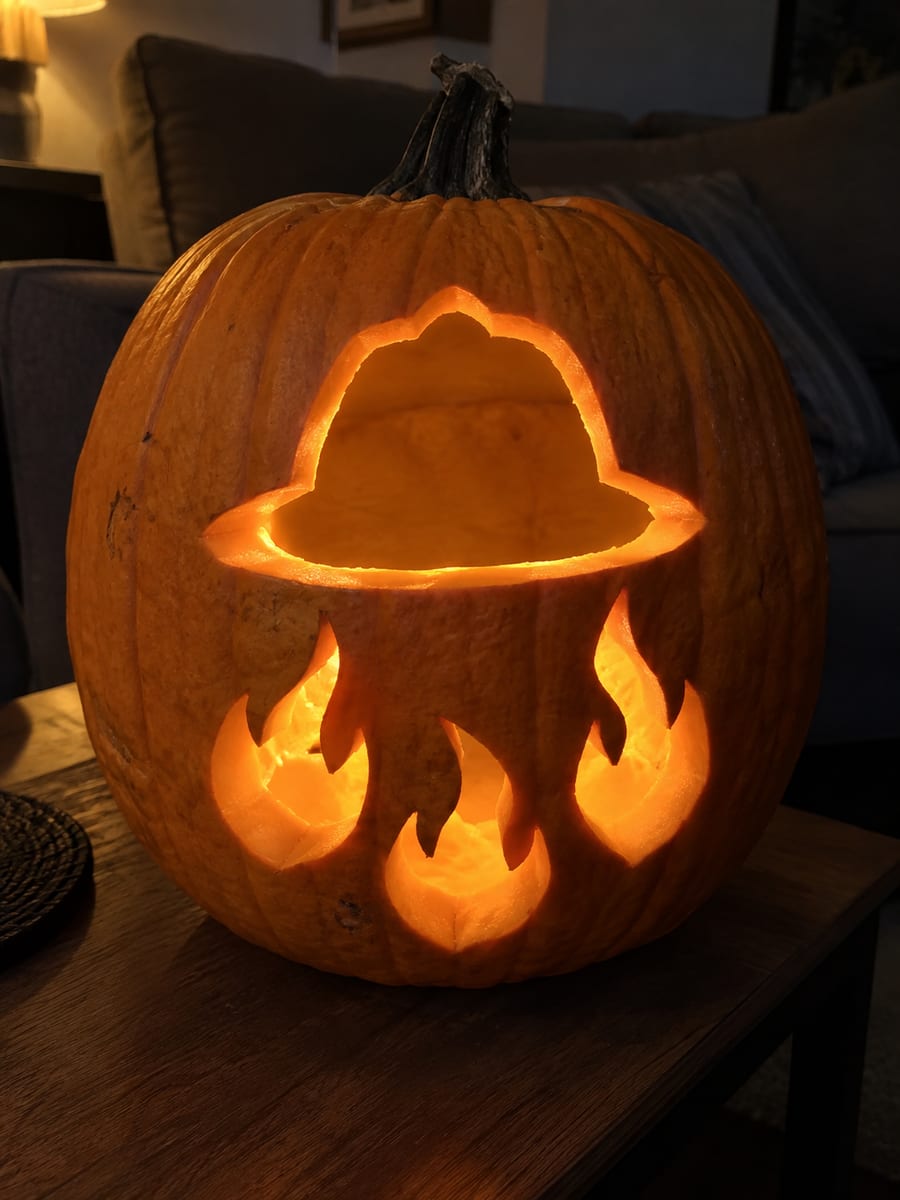
A classic firefighter helmet, complete with front shield and wide brim, glows above three dancing flames in this tribute design. The helmet crown, brim, and each flame are separate cut-through openings, with skin bridges keeping the helmet's shield outline dark against the light. At medium difficulty, the flame tips are the fussy part; saw each flame from its wide base up toward the point, and cut the helmet's thin brim opening last when you can support the wall from inside. This design is rated Intermediate and takes most carvers around 75 minutes from trace to glow. Comfortable knife handling required. Small details and curves.
Pumpkin size guide
- 🎃 Small (5–7") — print at 80%
- 🎃 Medium (7–10") — print at 100% (recommended)
- 🎃 Large (11–13") — print at 130%
- 🎃 Giant (14"+) — print at 150% on tabloid paper
Frequently asked questions
Can I resize this stencil?▾
Yes. The PDF is vector so it scales cleanly. Print at 100% for a 7–10 inch pumpkin, 130% for 11–13 inch, or 150% for a giant. Use your printer's "Fit to page" or "Custom scale" setting.
What kind of paper works best?▾
Standard 20 lb letter or A4 printer paper is fine. Heavier paper is harder to bend around the pumpkin curve. If your printer supports it, set the quality to 'best' so the lines are crisp.
How long will the carved pumpkin last?▾
Usually 5–10 days. Coat all cut surfaces with petroleum jelly and store the pumpkin somewhere cool overnight. Avoid direct sun. Battery LED pumpkin lights produce no heat and double the lifespan.
Can I sell pumpkins carved with this stencil?▾
Yes, the carved pumpkin you make is yours. The license covers personal and small-scale commercial carving (selling carved pumpkins, photographing them, posting on social). You may not resell the PDF file itself.
What if my printer doesn't print the whole stencil?▾
Set 'Page scaling' to 'Fit' in the print dialog and uncheck 'Auto-rotate'. If it still cuts off, the design includes 0.25" of safe-area margin so a small crop won't ruin it.
How to carve this stencil
- 1Print it
Download the PDF and print at 100% scale on letter or A4 paper.
- 2Prep the pumpkin
Cut the lid at an angle, scoop the guts, thin the wall to ~1 inch.
- 3Tape it on
Snip darts in the paper so it lies flat against the curve.
- 4Transfer the design
Poke along every line — about one dot every 1/8 inch.
- 5Carve it
Connect the dots with short straight cuts. Center first, work outward.
- 6Light it up
Drop in a battery LED pumpkin light and you're done.
Tools you'll need
For a intermediate carve like this you'll want a x-acto knife, poker tool, ribbon scoop, and painter's tape. Here's the kit we reach for — start with whatever you already own.

Elmchee Pumpkin Carving Kit
13-piece kit with carrying case
Saws for the larger cutouts, plus a scoop for hollowing. Covers both jobs in one kit.
View on Amazon ↗
HOME MOST LED Pumpkin Lights
4-pack, battery operated, with remote + timer
Orange glow made for jack-o'-lanterns. The remote and timer light the pumpkin every evening without reaching inside.
View on Amazon ↗
Speedball 4131 Lino Cutter Set
Handle + 5 interchangeable cutters
Interchangeable cutters for peeling and shading the face. Useful for the finer details.
View on Amazon ↗
Community Pumpkin Carving Ideas
Carving ideas that use stencils like this one.


Related stencils
Carvers who liked this one also downloaded these.
 Advanced
Leaping Gymnast with Stars
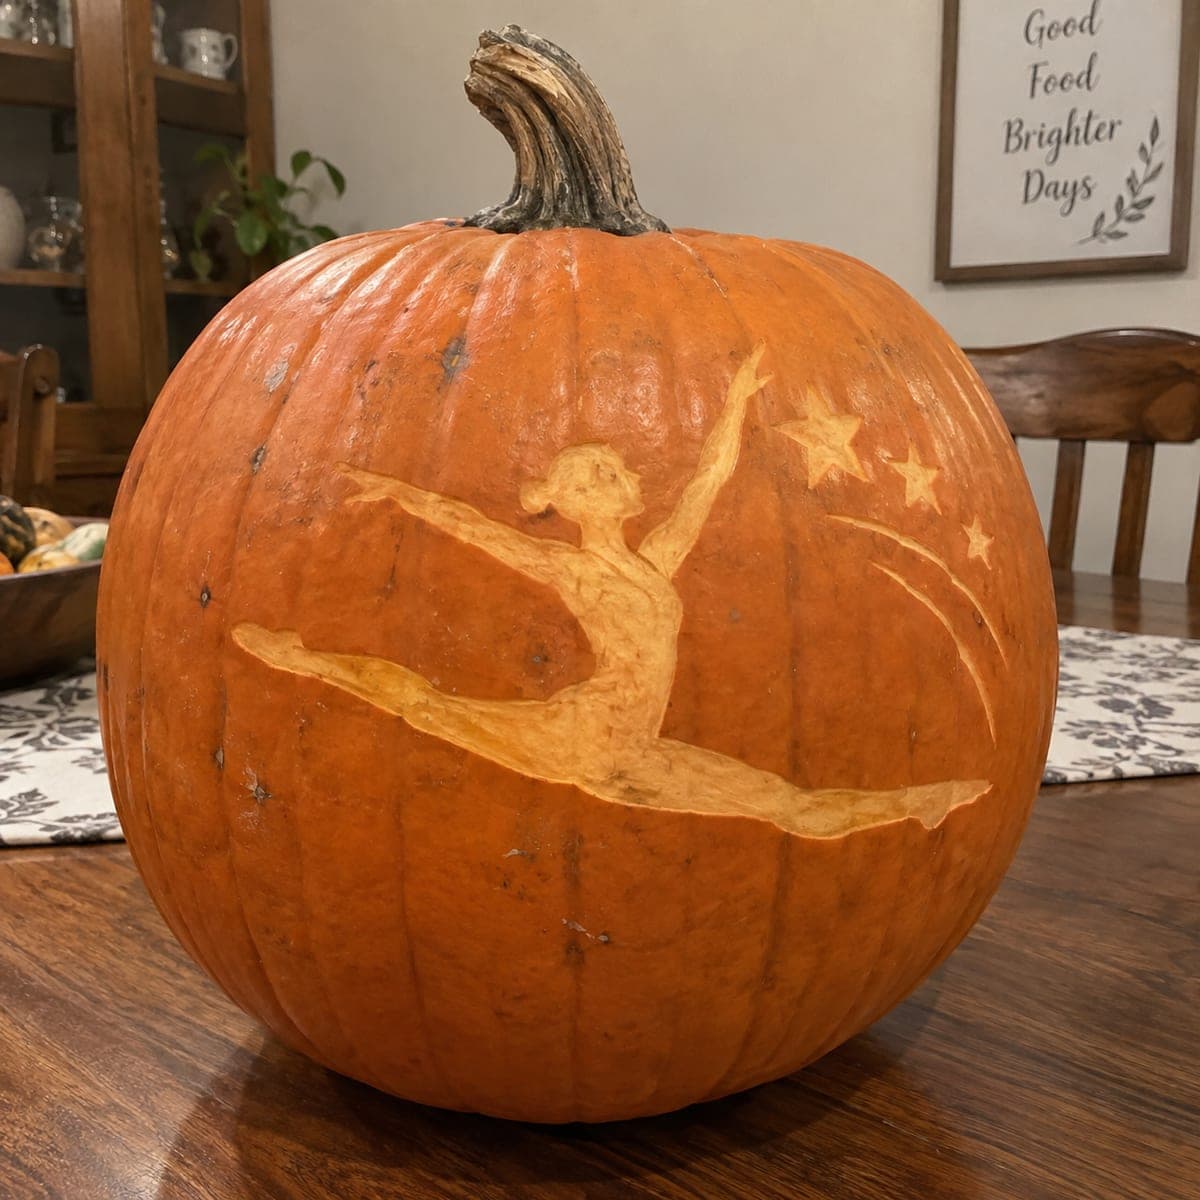
A gymnast soars in a full split leap, one arm reaching skyward toward a trail of stars and a curved comet streak behind her. The whole figure is a shaded carve on a continuous wall, shaving the skin so the silhouette glows without any pierced holes, which preserves the slender arms and pointed toes. Shave the thin limbs in light passes with a small loop tool, since going too deep on those narrow lines risks breaking through.
 Expert / Pro
Domed Jellyfish and Bubbles
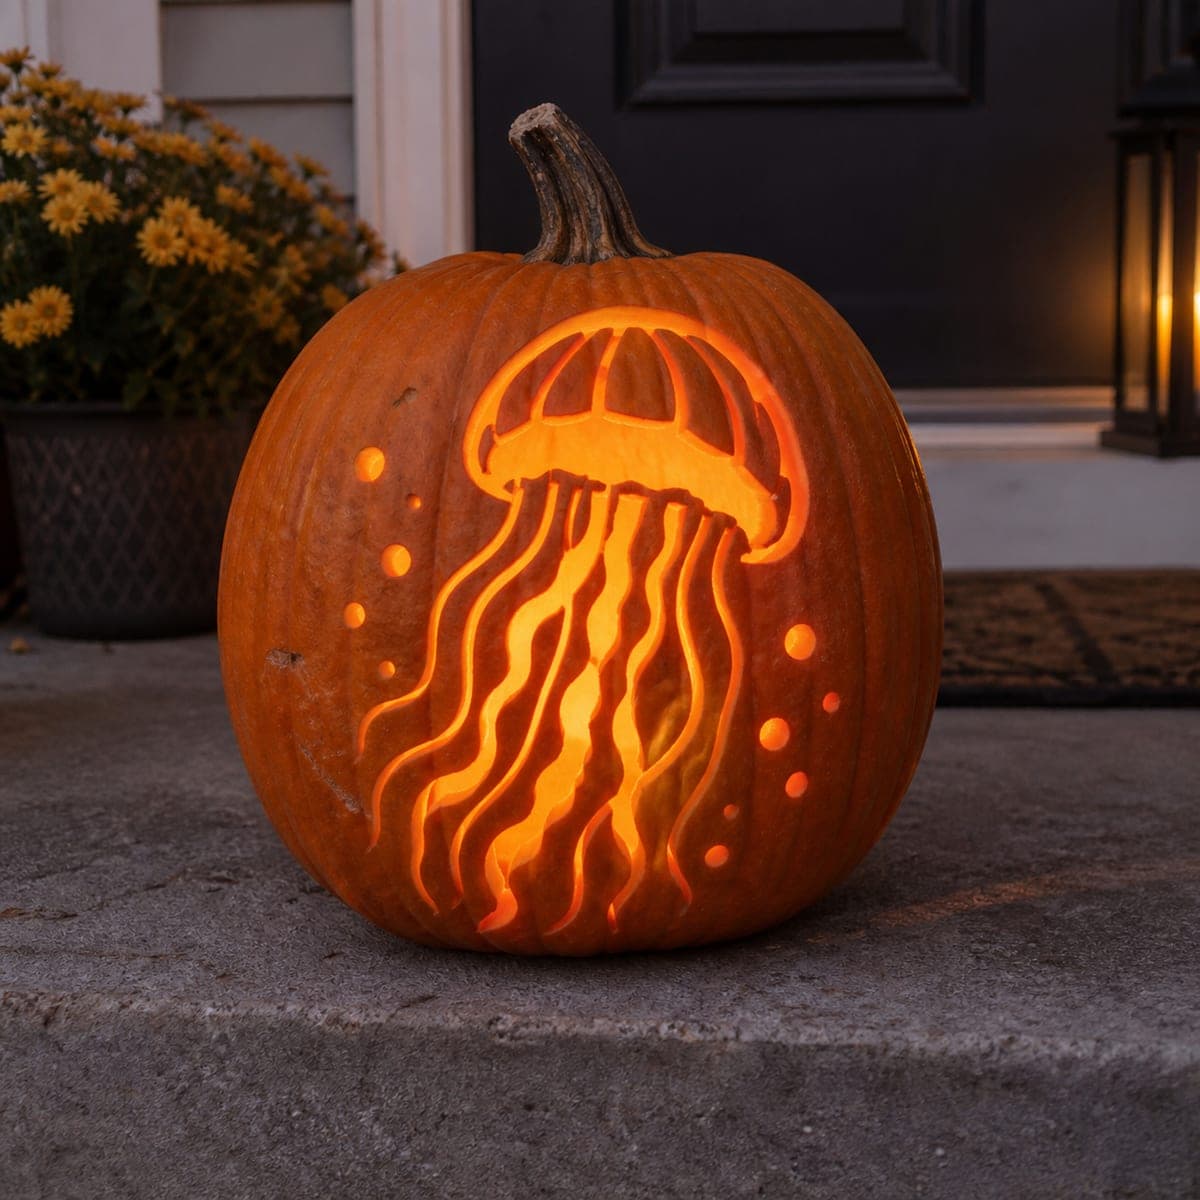
A ribbed jellyfish bell hovers near the top of the pumpkin, trailing eight long wavy tentacles that flow all the way to the base, with small bubbles rising on either side. The bell segments and tentacles are shaved to glowing flesh while thin strips of dark skin separate every ribbon, and the bubbles are pierced through. This expert shading design demands a steady hand; work each tentacle top to bottom in one continuous peel so the curves stay smooth and evenly lit.
 Advanced
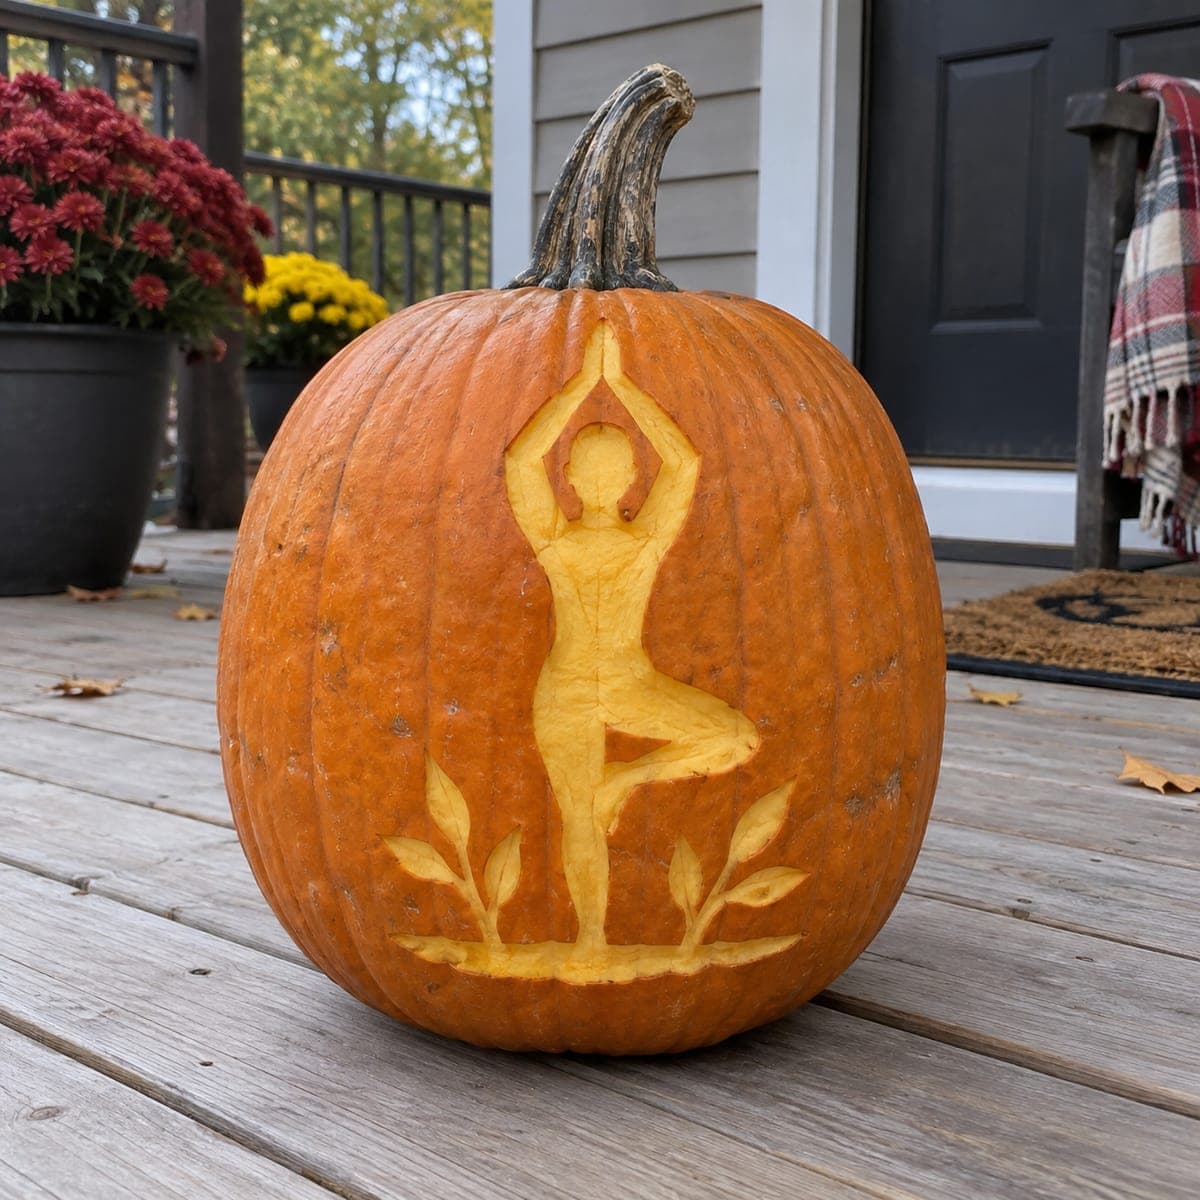
Tree Pose with Raised Arms
A serene figure balances in yoga tree pose, arms raised overhead and one foot tucked against the standing leg, flanked by leafy sprigs on a shaved ground line. The design is entirely skin-shave shading with no pierced holes, so the figure glows in pale relief against the dark rind. Shave the torso and legs in long continuous strokes for smooth lines, then detail the thin arms and leaves with a fine gouge.
 Expert / Pro
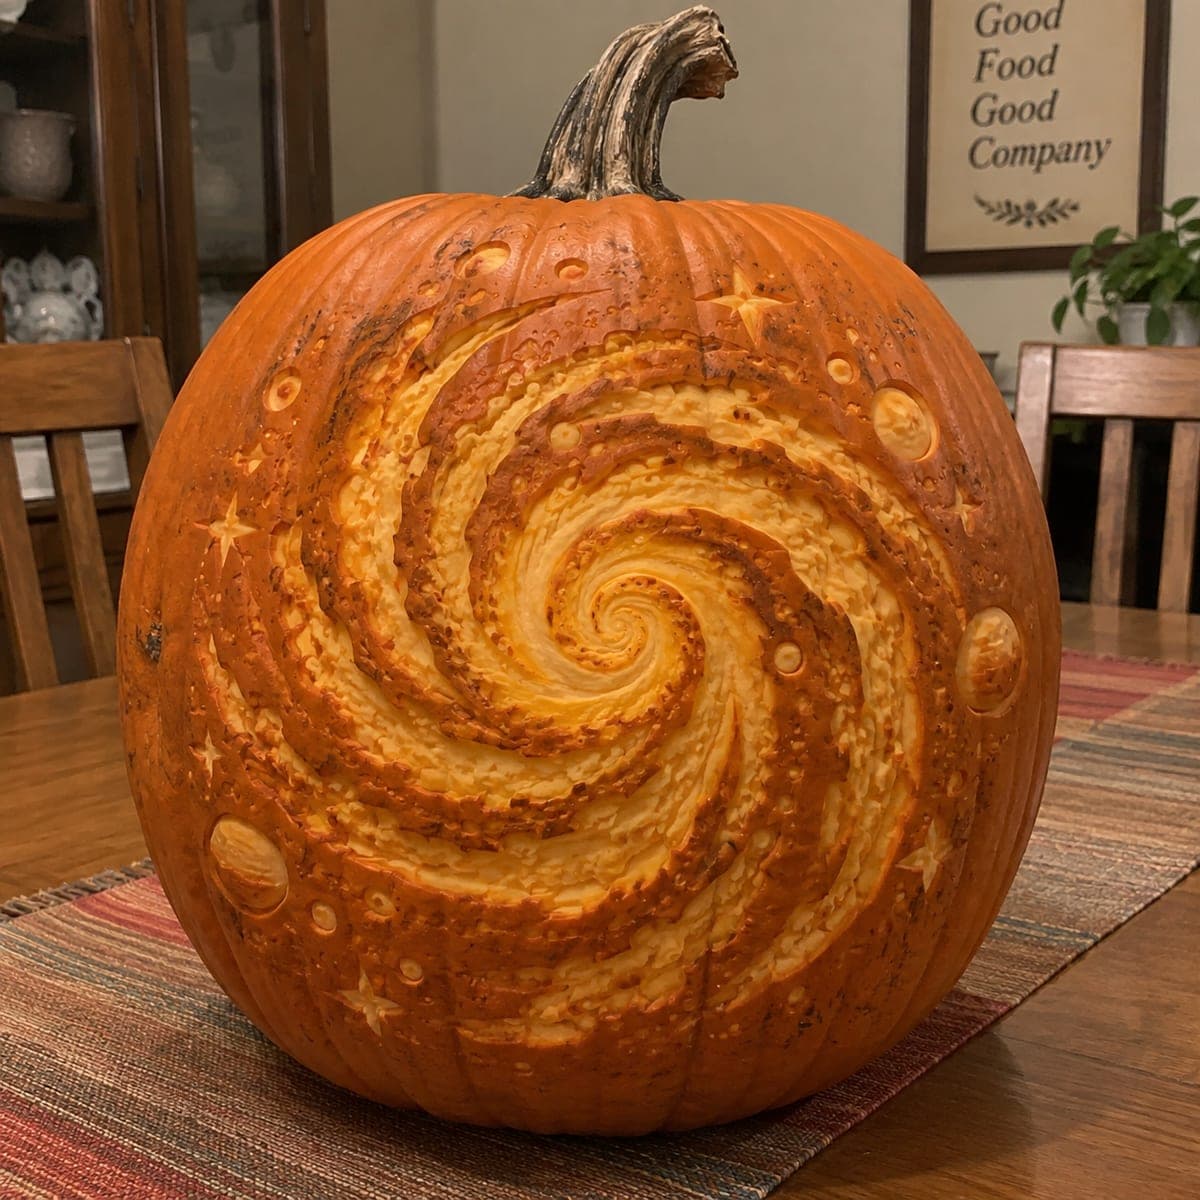
Galaxy with Three Planets
A sweeping spiral galaxy wraps across the entire pumpkin face, its curved arms shaved in graduated depths so the core glows brightest, while three ringed planets and scattered stars orbit the edges in raised relief. Nothing is pierced; every effect comes from continuous-wall shading at different thicknesses. Expert-level patience pays off here: establish the spiral arms as broad shallow bands first, then deepen toward the center in passes to build the luminous gradient.
 Expert / Pro
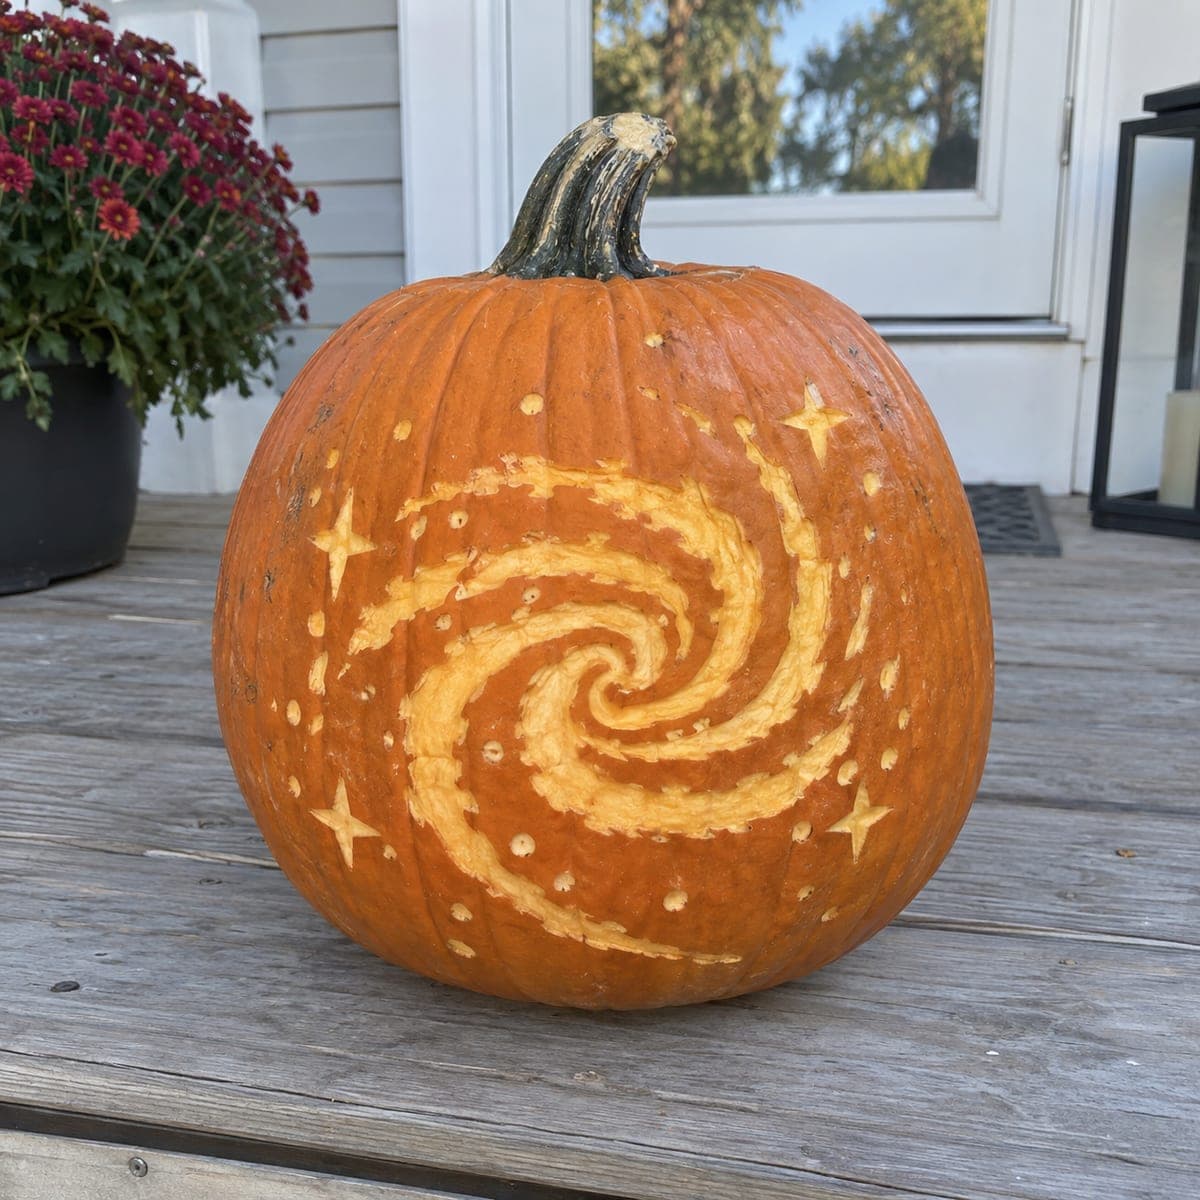
Spiral Galaxy and Four Stars
A sweeping spiral galaxy with two luminous arms curling around a bright core, surrounded by four-point stars and a scatter of small stardust dots. The entire scene is skin-shave work with no pierced holes: the arms are shaved wide and shallow while the dots and stars are picked out individually. An expert pattern because of its long tapering curves; keep your gouge moving in smooth continuous strokes along each arm.
 Expert / Pro
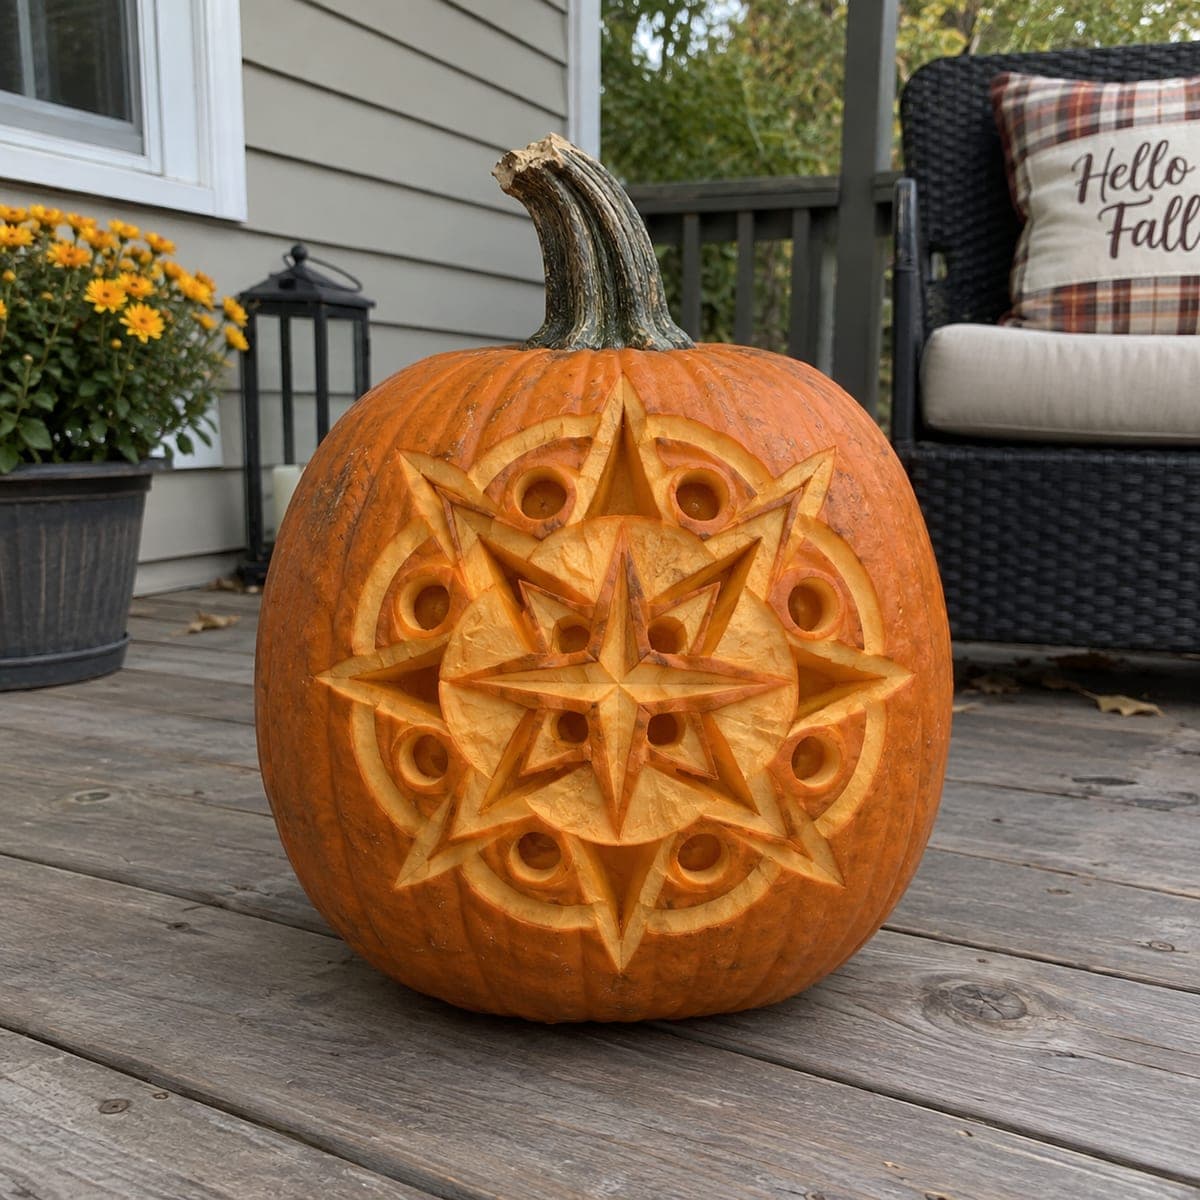
Layered Compass Star Relief
A layered compass-rose mandala: an eight-point star nests inside a larger star, all wrapped in a ring of carved circles and framed by a shaved border medallion. The entire design is relief work at several depths with no pierced openings, which is why it rates expert. Establish the shallowest background layer first, then step each inner layer progressively deeper so the star points read as crisp raised facets.