Similar to This
View all stencils →About this stencil
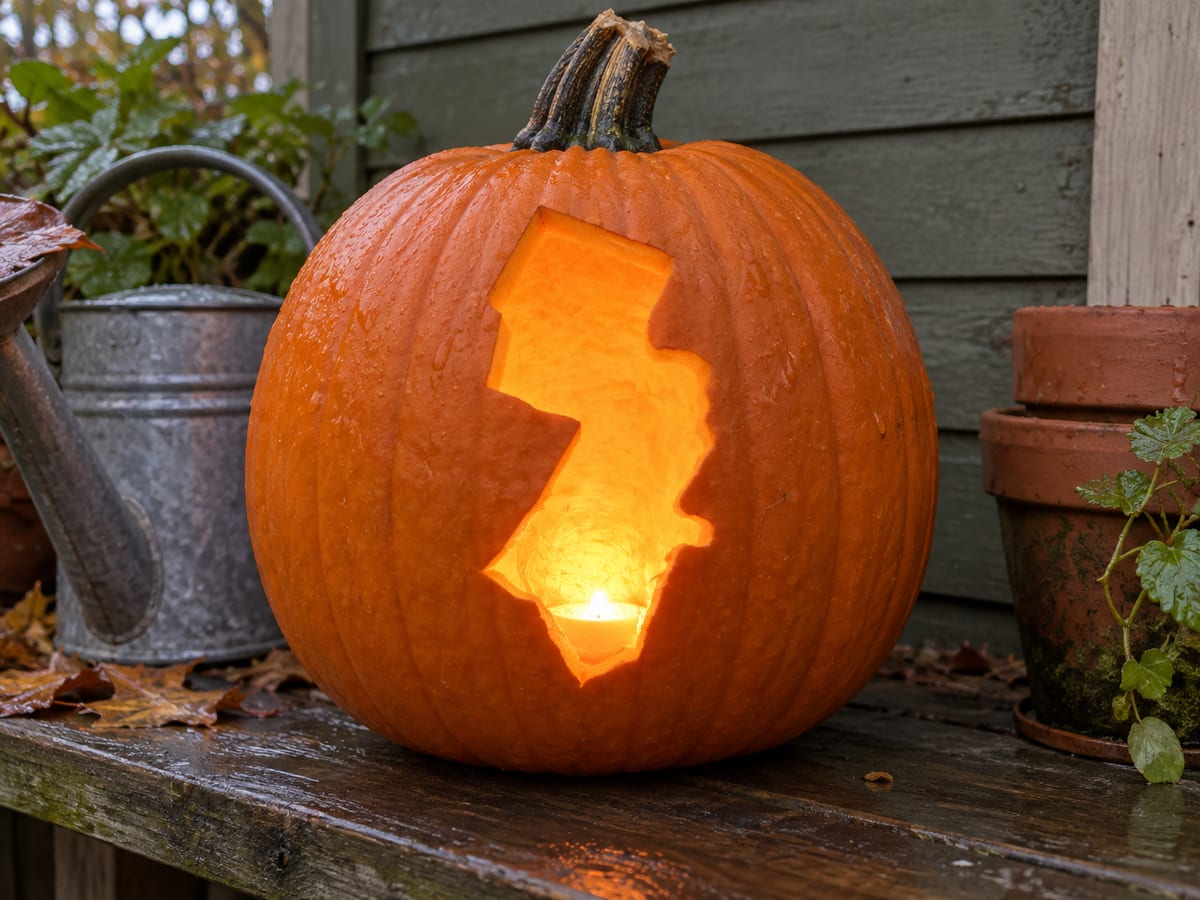
The outline of New Jersey is carved as a single tall opening, so the whole Garden State glows from the pumpkin wall. Everything inside the border gets cut away while the surrounding rind frames the familiar shape, from the northern notches down to the pointed Cape May tip. Take the jagged northeastern coastline slowly with short saw strokes; the small angles there define the state at a glance. This design is rated Intermediate and takes most carvers around 75 minutes from trace to glow. Comfortable knife handling required. Small details and curves.
Pumpkin size guide
- 🎃 Small (5–7") — print at 80%
- 🎃 Medium (7–10") — print at 100% (recommended)
- 🎃 Large (11–13") — print at 130%
- 🎃 Giant (14"+) — print at 150% on tabloid paper
Frequently asked questions
Can I resize this stencil?▾
Yes. The PDF is vector so it scales cleanly. Print at 100% for a 7–10 inch pumpkin, 130% for 11–13 inch, or 150% for a giant. Use your printer's "Fit to page" or "Custom scale" setting.
What kind of paper works best?▾
Standard 20 lb letter or A4 printer paper is fine. Heavier paper is harder to bend around the pumpkin curve. If your printer supports it, set the quality to 'best' so the lines are crisp.
How long will the carved pumpkin last?▾
Usually 5–10 days. Coat all cut surfaces with petroleum jelly and store the pumpkin somewhere cool overnight. Avoid direct sun. Battery LED pumpkin lights produce no heat and double the lifespan.
Can I sell pumpkins carved with this stencil?▾
Yes, the carved pumpkin you make is yours. The license covers personal and small-scale commercial carving (selling carved pumpkins, photographing them, posting on social). You may not resell the PDF file itself.
What if my printer doesn't print the whole stencil?▾
Set 'Page scaling' to 'Fit' in the print dialog and uncheck 'Auto-rotate'. If it still cuts off, the design includes 0.25" of safe-area margin so a small crop won't ruin it.
How to carve this stencil
This is a cut-through stencil: the dark numbered regions on the printable pattern are the pieces you remove, and everything white stays attached. The numbers give you the safest carving order, and the steps below walk through them one by one. Plan on about 40-55 minutes from print to candle.
Set up first. Print the PDF at 100% scale on letter or A4 paper. Cut the lid at an angle, scoop the pumpkin clean, and thin the carving wall to about 1 inch where the design will sit. Tape the pattern on (snip small darts in the paper so it hugs the curve) and transfer every outline by poking dots along the lines, about one every 1/8 inch. Peel the paper away and carve dot to dot with short, straight strokes.
Carving order
- Trace the deep western bend. Start region 1 around the broad inward bend on the left side. Preserve the large white wedge and use short strokes where its upper edge meets the narrow central body.
- Shape the eastern inlets. Follow the upper-right bay and the smaller projection farther down the right coast. Keep these white inlets attached to the exterior while supporting the long narrow plug.
- Finish the sloped top and tip. Complete the broad sloping top and pointed southern end. Leave a tab near the broad upper section until the plug is supported, then sever it and lift the piece free without bending the lower tip.
Clear loose fibers out of each opening as you go, and never twist or pry the blade against the shell; back it out and recut instead. When every region is open, wipe the cut edges dry and drop in a battery LED puck.
Tools you'll need
For a intermediate carve like this you'll want a x-acto knife, poker tool, ribbon scoop, and painter's tape. Here's the kit we reach for — start with whatever you already own.

Elmchee Pumpkin Carving Kit
13-piece kit with carrying case
Saws for the larger cutouts, plus a scoop for hollowing. Covers both jobs in one kit.
View on Amazon ↗
HOME MOST LED Pumpkin Lights
4-pack, battery operated, with remote + timer
Orange glow made for jack-o'-lanterns. The remote and timer light the pumpkin every evening without reaching inside.
View on Amazon ↗
Speedball 4131 Lino Cutter Set
Handle + 5 interchangeable cutters
Interchangeable cutters for peeling and shading the face. Useful for the finer details.
View on Amazon ↗
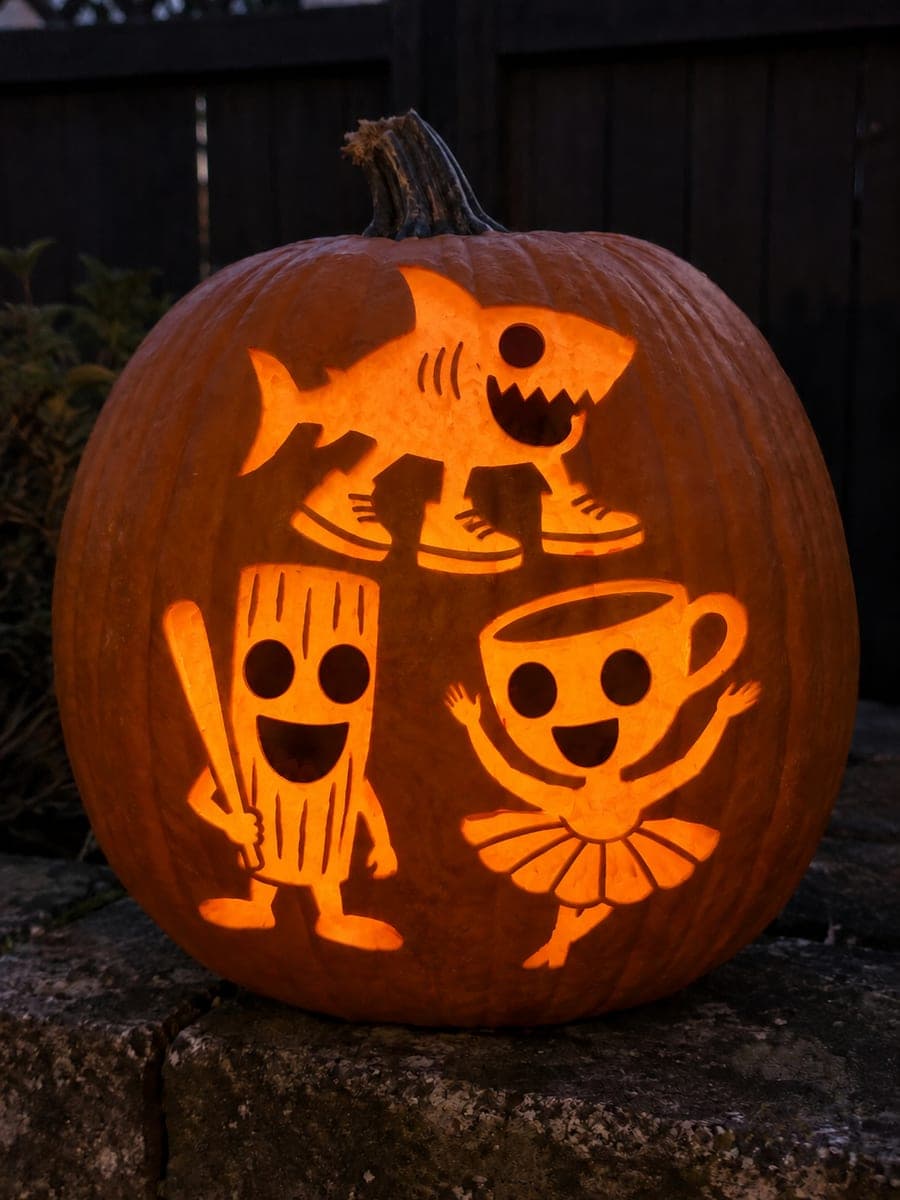
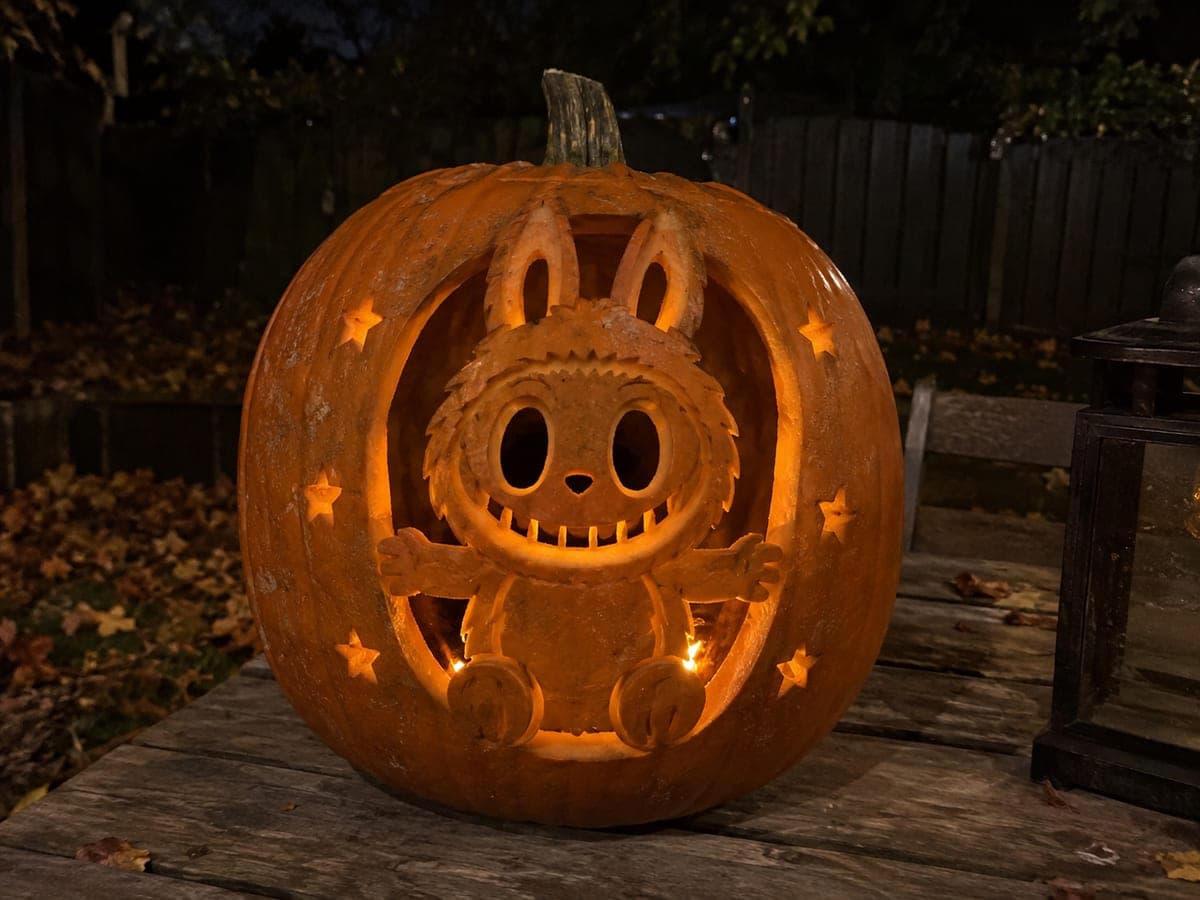
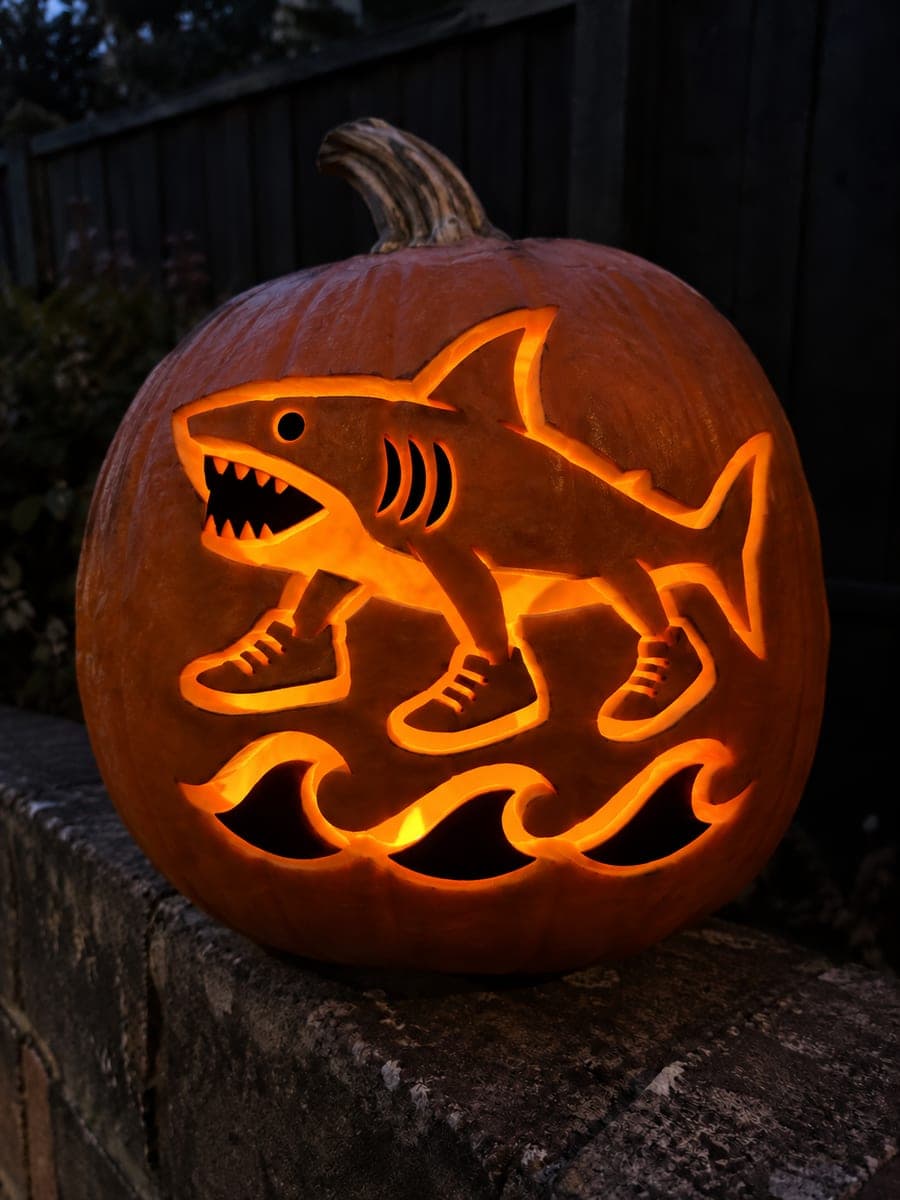
Community Pumpkin Carving Ideas
Carving ideas that use stencils like this one.

Related stencils
Carvers who liked this one also downloaded these.
 Beginner-friendly
Six-Point Star with Round Tips
A six-point sheriff-style badge star with rounded ball tips glows proudly from the pumpkin in this tribute to law enforcement. The full star is removed as one big cutout, so the badge shines as a single bold panel of light. It is an easy carve despite the fancy silhouette; saw each point from its ball tip back toward the star body, and rotate the pumpkin as you go so every cut is at a comfortable angle.
 Intermediate
Hawaii Island Chain
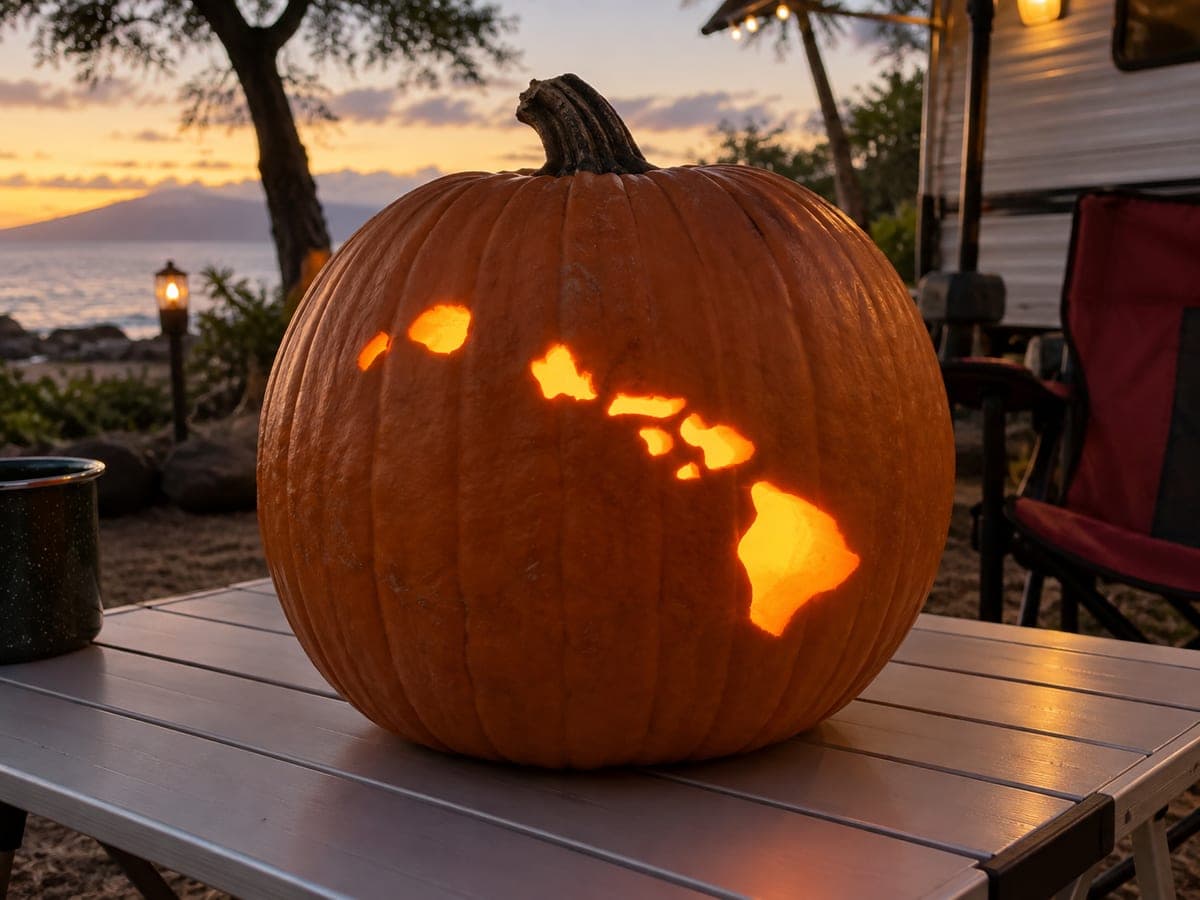
The Hawaiian island chain sweeps diagonally across the pumpkin, with eight separate glowing cutouts running from Niihau and Kauai down to the Big Island. Each island is its own small pierced opening, so the surrounding shell needs no bridges at all. Carve the largest island first to get a feel for the wall thickness, then use a fine detail saw for the smaller islands so their shapes stay distinct.
 Advanced
Maryland State Shape
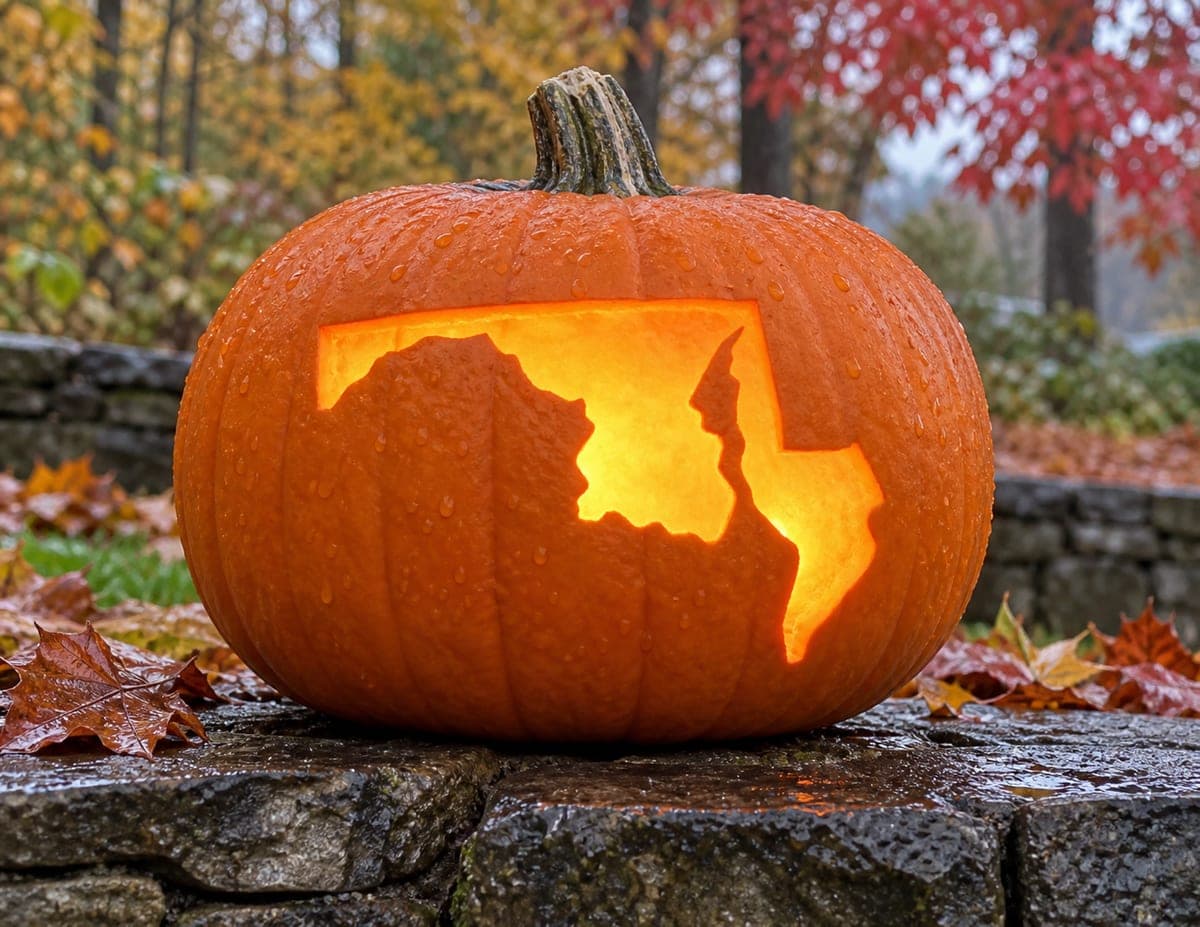
Maryland glows inside a carved rectangular window, its straight northern border on top and the deeply notched Chesapeake Bay splitting the eastern shore from the mainland. The bay itself is left as standing pumpkin wall, so the two glowing landmasses frame it dramatically. That narrow bay peninsula is what makes this a hard carve; cut away from it on both sides, keep the strip at least a finger wide, and brace it from inside if needed.
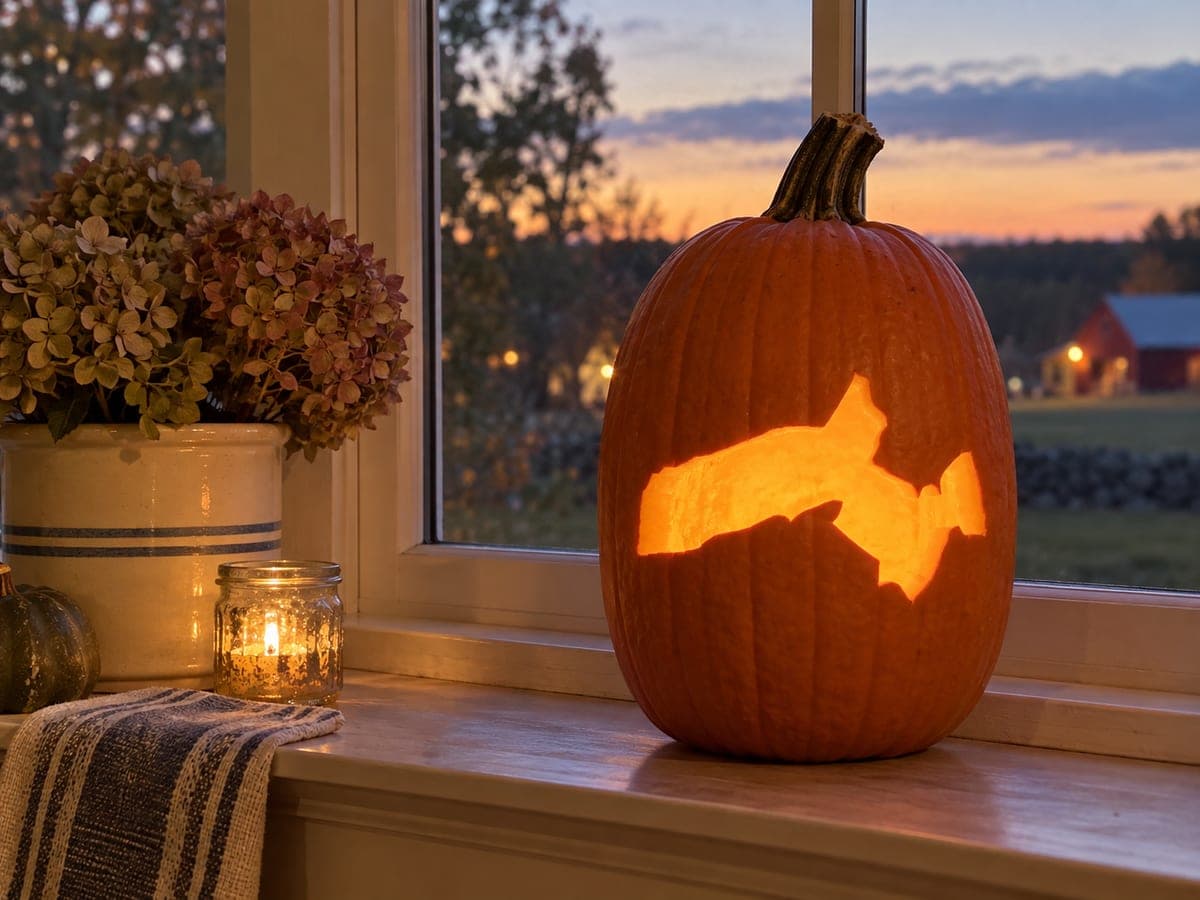 Intermediate
Massachusetts State Shape
The Massachusetts silhouette stretches across the pumpkin, complete with the unmistakable curled hook of Cape Cod flexing off the eastern end. The entire state is cut through as one opening so the whole commonwealth glows. That skinny Cape Cod arm is the trickiest part of this medium carve; leave it for last, support the wall with your free hand, and use gentle strokes so the curl does not tear loose.
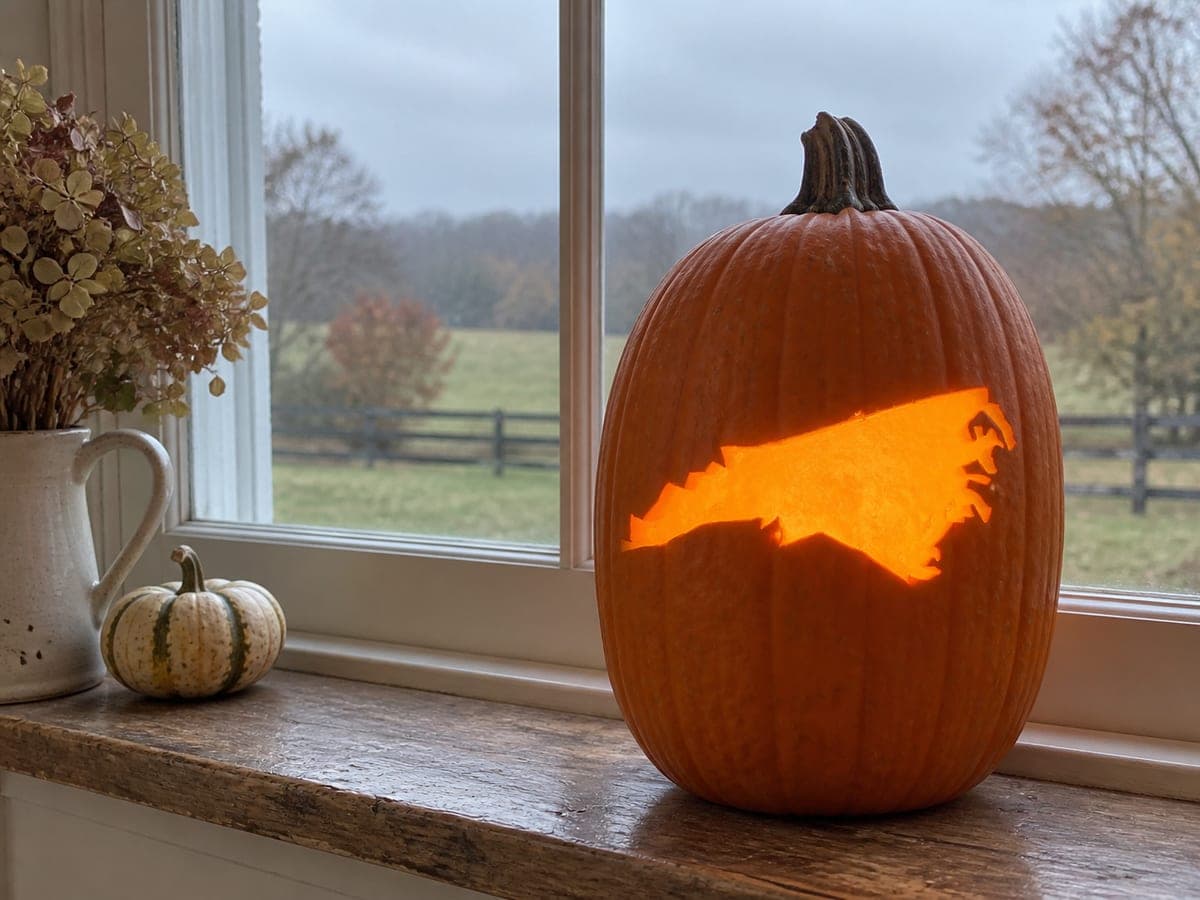 Advanced
North Carolina State Shape
North Carolina stretches across the pumpkin as one long glowing cutout, from the pointed western mountain tip to the fringed Outer Banks coastline on the right. The entire state interior is removed so the distinctive wedge shape reads clearly at night. Rated hard because of the fine barrier-island fingers along the coast; cut the smooth northern border first, then work the ragged eastern edge slowly with a detail saw, leaving the thinnest points for last.
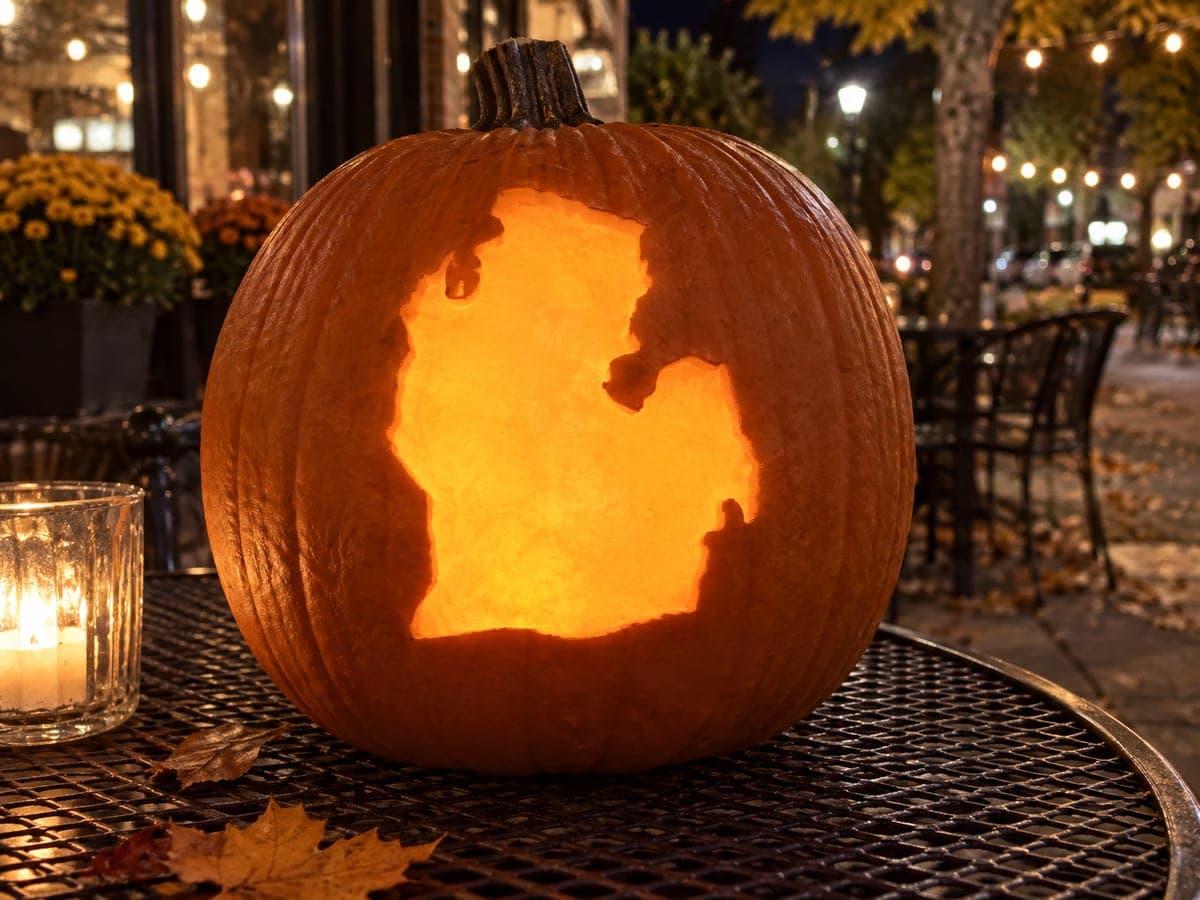 Advanced
Michigan Mitten Shape
Michigan's Lower Peninsula carved as one big glowing mitten, complete with the thumb of Saginaw Bay and the ragged shoreline notches along the lakes. The full state shape is cut through, so accuracy along that coastline is the whole challenge, which is what pushes this one to hard. Trace the outline with a fine saw, work the tight bay curves in several passes, and remove the waste piece in halves to protect the thumb.