Similar pumpkin stencils
View all stencils →About this stencil
Download the Evergreen Glow pumpkin stencil as a free printable PDF, then tape the pattern to your pumpkin and trace the lines. A stately three-tier pine tree with swooping boughs and a short trunk base, cut fully through so the whole evergreen glows like a lantern. The layered branches create six pointed tips where each tier sweeps upward. Cut from the trunk upward one tier at a time, and slow down at every branch point so the tips stay sharp instead of rounding off. It works as a carving template for a Halloween jack-o'-lantern or a fall porch display. It is rated Beginner-friendly. Estimated time: 35-55 minutes. Actual time varies with preparation, pumpkin size and experience. Larger shapes and shorter cuts. An adult should handle sharp carving tools.
Pumpkin size guide
- 🎃 Small (5 to 7"): print at 80%
- 🎃 Medium (7 to 10"): print at 100% (recommended)
- 🎃 Large (11 to 13"): print at 130%
- 🎃 Giant (14"+): print at 150% on tabloid paper
Frequently asked questions
Can I resize this stencil?▾
Yes. The PDF is vector so it scales cleanly. Print the pattern at 100% for a 7 to 10 inch pumpkin, 130% for 11 to 13 inch, or 150% for a giant. Use your printer's "Fit to page" or "Custom scale" setting.
What kind of paper works best?▾
Standard 20 lb letter or A4 printer paper is fine. Heavier paper is harder to bend around the pumpkin curve. If your printer supports it, set the quality to 'best' so the lines are crisp.
How long will the carved pumpkin last?▾
Usually 5 to 10 days. Coat all cut surfaces with petroleum jelly and store the pumpkin somewhere cool overnight. Avoid direct sun. Battery LED pumpkin lights produce no heat and help it last longer.
Can I sell pumpkins carved with this stencil?▾
Yes, the carved pumpkin you make is yours. The license covers personal and small-scale commercial carving (selling carved pumpkins, photographing them, posting on social). You may not resell the PDF file itself.
What if my printer doesn't print the whole stencil?▾
Set 'Page scaling' to 'Fit' in the print dialog and uncheck 'Auto-rotate'. If it still cuts off, the design includes 0.25" of safe-area margin so a small crop won't ruin it.
How to carve this stencil
This is a cut-through stencil: the dark numbered regions on the printable pattern are the pieces you remove, and everything white stays attached. The numbers give you the safest carving order, and the steps below walk through them one by one. Plan on about 35-55 minutes from print to candle.
Set up first. Print the PDF at 100% scale on letter or A4 paper. Cut the lid at an angle, scoop the pumpkin clean, and thin the carving wall to about 1 inch where the design will sit. Tape the pattern on (snip small darts in the paper so it hugs the curve) and transfer every outline by poking dots along the lines, about one every 1/8 inch. Peel the paper away and carve dot to dot with short, straight strokes.
Carving order
- Trace the pointed crown. Cut region 1 from the tall pointed crown around the smallest pair of upper branches. Keep the two white inward notches connected to the surrounding pumpkin.
- Follow the two lower branch tiers. Continue around the middle and broad bottom tiers, preserving all four inward white notches. Follow the curved shoulders and the unequal branch-tip widths shown on the pattern.
- Finish the short square trunk. Cut around the short trunk and slightly curved bottom branches. Support the whole tree plug, leaving one small tab on a broad edge until the branch tips are complete.
Clear loose fibers out of each opening as you go, and never twist or pry the blade against the shell; back it out and recut instead. When every region is open, wipe the cut edges dry and drop in a battery LED puck.
Tools you'll need
For a beginner-friendly carve like this you'll want a paring knife, spoon / scoop, marker, and led pumpkin light. Here's the kit we reach for, but start with whatever you already own.

Elmchee Pumpkin Carving Kit
13-piece kit with carrying case
Saws for the larger cutouts, plus a scoop for hollowing. Covers both jobs in one kit.
View on Amazon ↗
HOME MOST LED Pumpkin Lights
4-pack, battery operated, with remote + timer
Orange glow made for jack-o'-lanterns. The remote and timer light the pumpkin every evening without reaching inside.
View on Amazon ↗
Speedball 4131 Lino Cutter Set
Handle + 5 interchangeable cutters
Interchangeable cutters for peeling and shading the face. Useful for the finer details.
View on Amazon ↗
Reviews from carvers
Every rating comes from a written review by someone who downloaded this stencil.
Carved this one?
Reviews are open to carvers who downloaded the stencil. Grab the free PDF, then come back and tell everyone how it went.
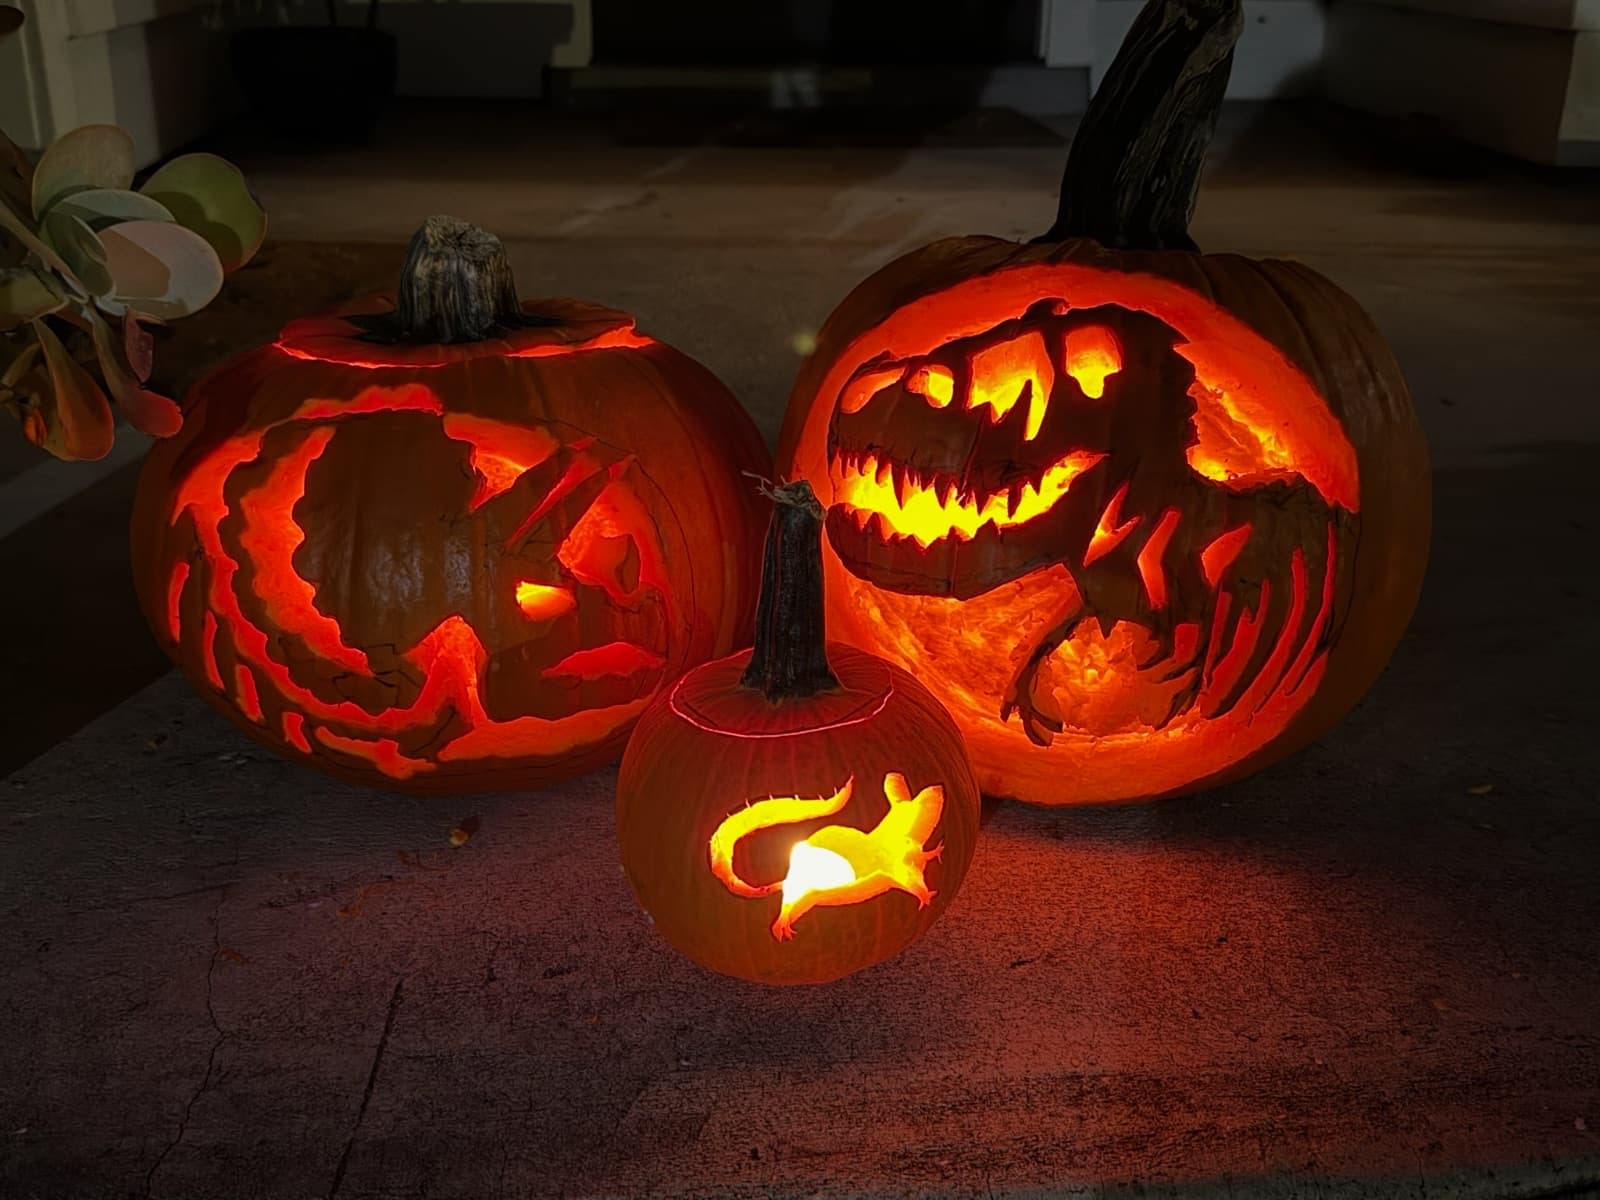
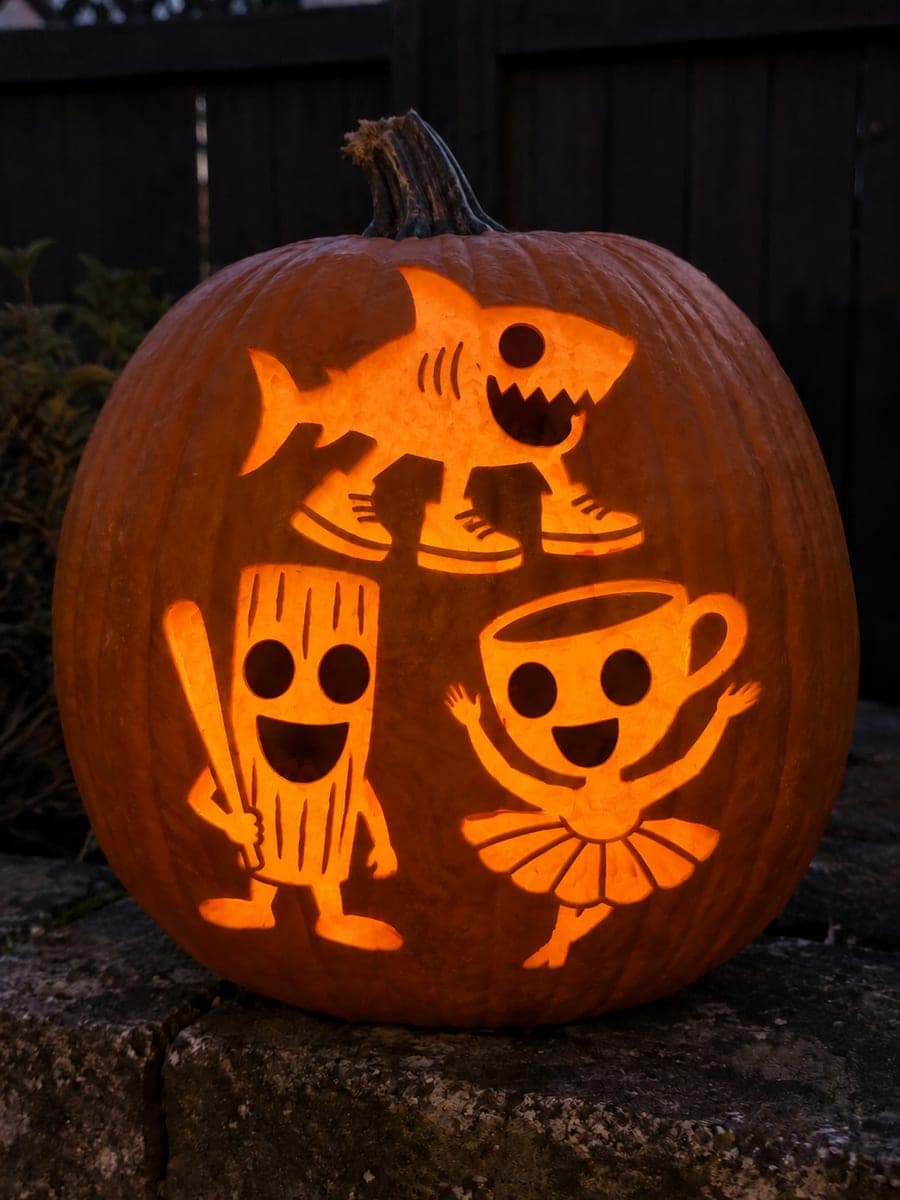
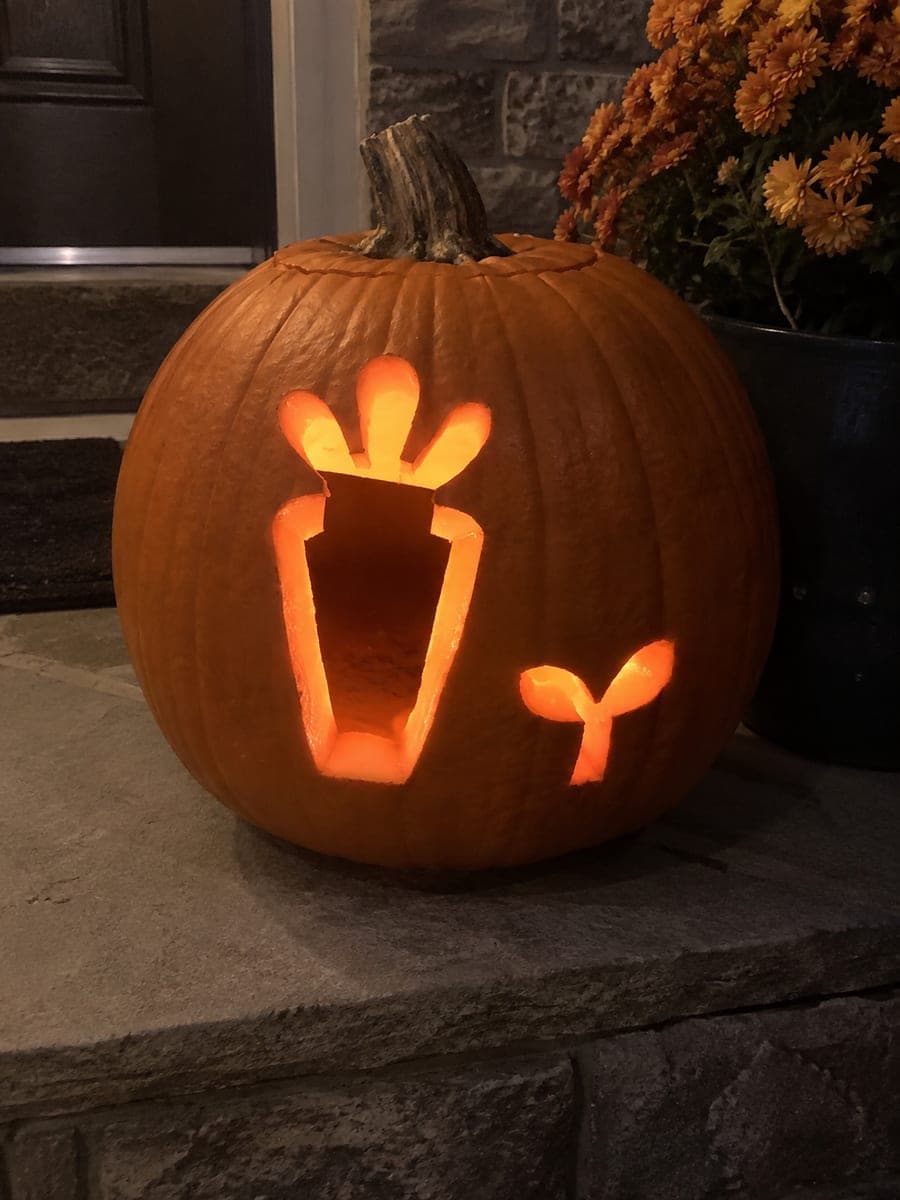
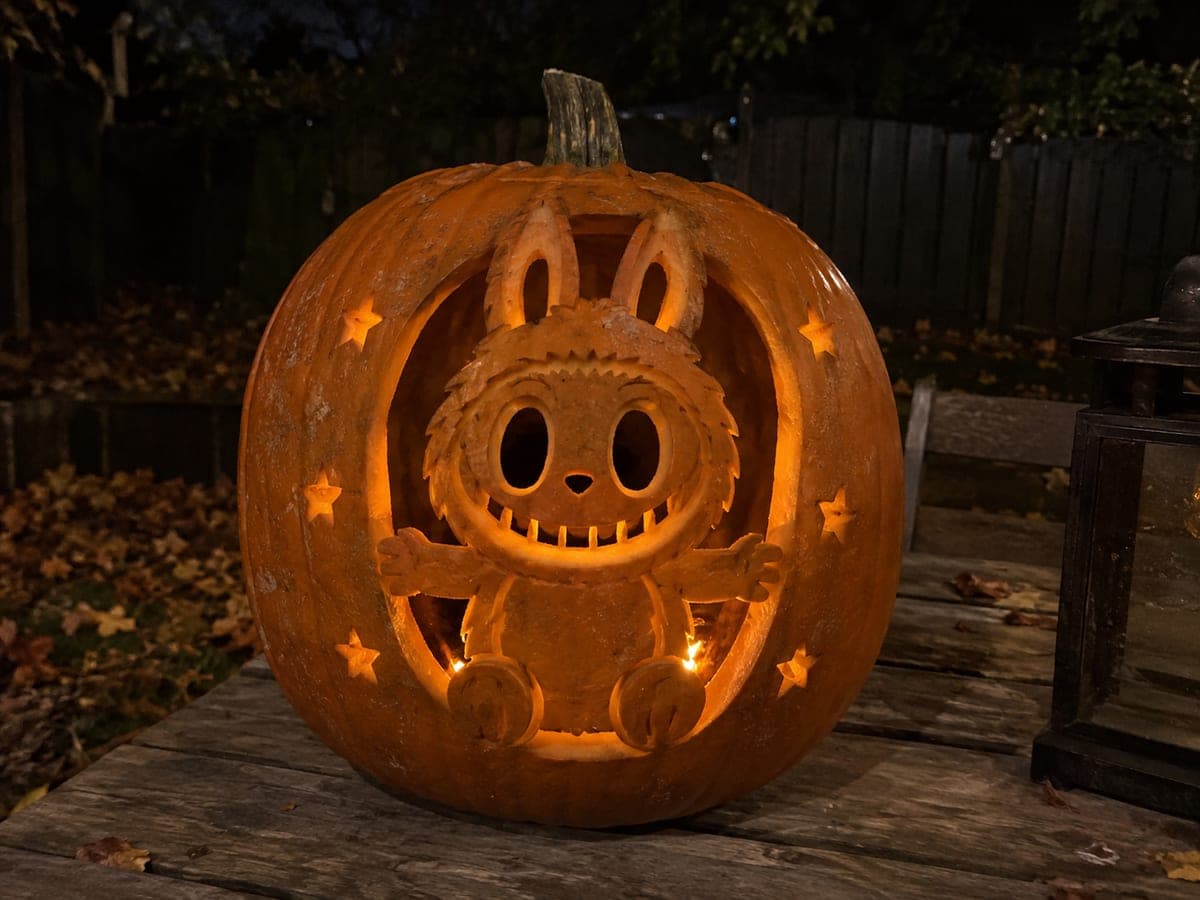
Community Pumpkin Carving Ideas
Carving ideas that use stencils like this one.
Related stencils
More patterns with a related subject. Compare their skill levels before you choose.
 Beginner-friendly
Whispering Pines Pumpkin Stencil
Three tiered evergreen trees of different heights stand side by side, each with a short trunk, forming a tidy little glowing forest. Every tree is cut through as its own complete silhouette, and since none of the shapes touch, each cutout releases cleanly on its own. It is an easy, satisfying carve; start with the tall center tree, cut each stepped branch layer from the outside tip inward, and finish with the little trunks.
 Beginner-friendly
Broad Cap Mushroom
A single broad-capped mushroom with a sturdy stem glows from the center of the pumpkin in this cozy woodland design. The whole mushroom is removed as one connected cutout, cap and stem together, so there are no fragile bridges to protect. That makes it a great easy project for porch-step decorating; cut the smooth dome of the cap in one continuous pass, then square off the stem base last for a clean silhouette.
 Beginner-friendly
Moonrise Peaks Pumpkin Stencil
A minimalist night landscape made of three simple triangle peaks in a row with a full round moon floating above them. Each triangle and the circle are cut cleanly through, turning the pumpkin into a tiny glowing mountain scene. This is one of the easiest patterns to carve; keep the triangle points sharp by cutting into each corner from both directions instead of turning the blade.
 Beginner-friendly
Broad Autumn Leaf
A single broad maple-style leaf glows from the pumpkin's face, its rounded lobes and short stem cut fully through as one connected opening. The design leans seasonal rather than spooky, making it a lovely choice for fall porches from October through Thanksgiving. As an easy one-piece cutout, just poke transfer dots along the lobed outline, saw slowly around each curve, and push the waste piece out from inside in a single pop.
 Intermediate
Sunny Bloom Pumpkin Stencil
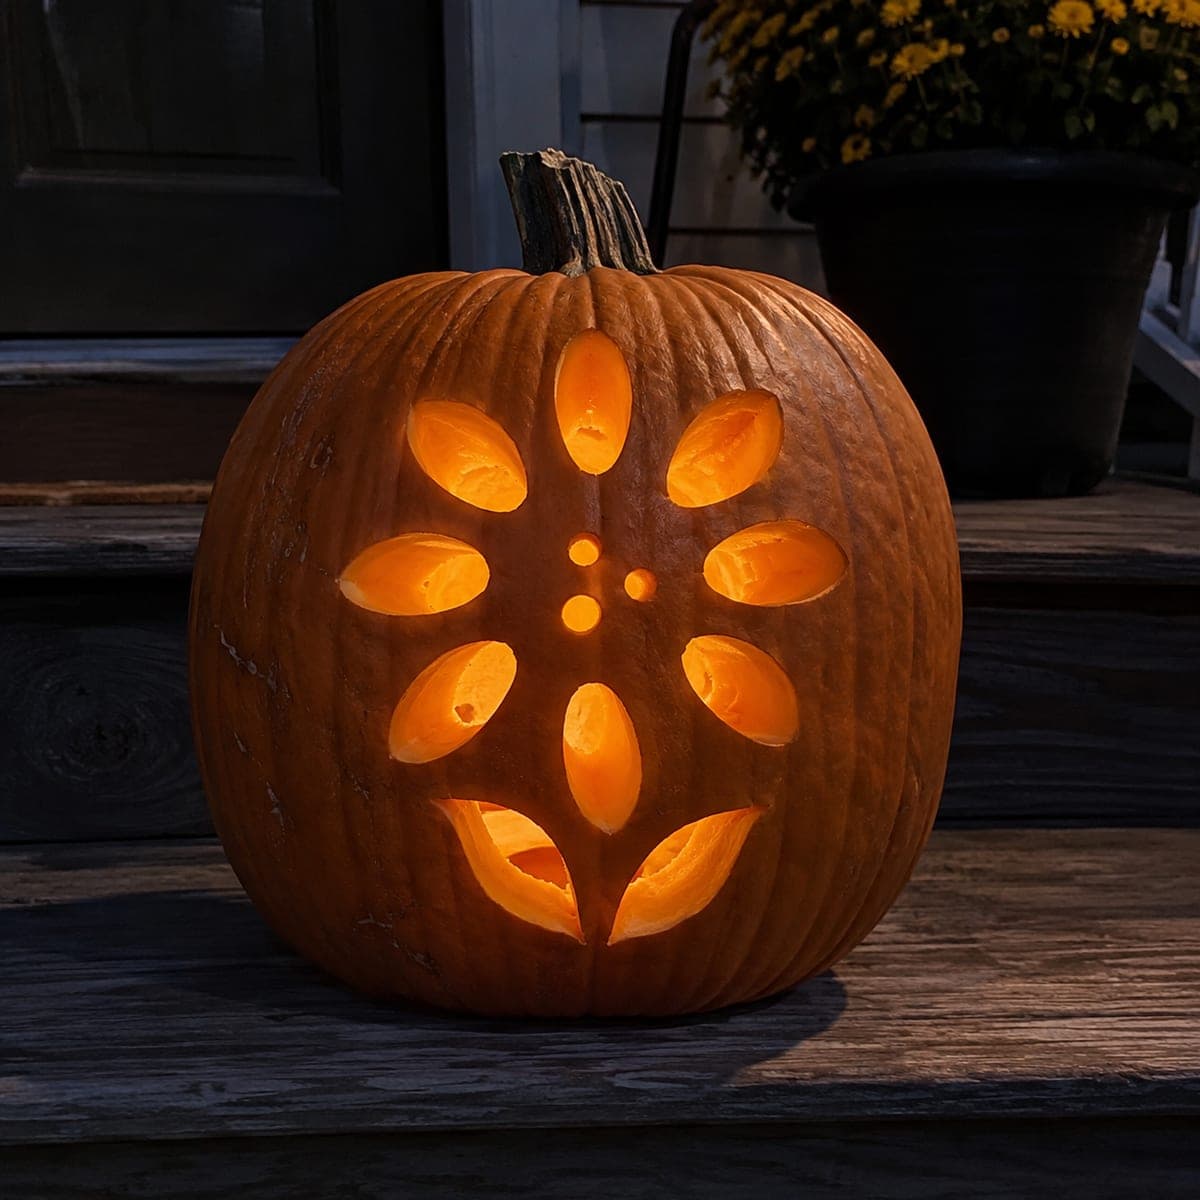
Eight oval petals radiate from a dotted center like a stylized sunflower, with three small seed holes in the middle and a leafy stem opening anchoring the bloom below. Each petal is a pierced oval, and the skin spokes left between them hold the flower together while letting light pour through. Cut opposite petals in pairs, top then bottom, left then right, so the spokes never take uneven strain.
 Intermediate
Laurel Wreath Glow Pumpkin Stencil
Fifteen almond-shaped leaves sweep upward in two mirrored arcs, curving around the pumpkin's face like a laurel wreath opening toward the stem. Each leaf is cut fully through, so the whole design becomes an elegant pierced lantern with no face at all. Alternate sides as you cut, removing one leaf on the left and then its mirror on the right, to keep the wall's strength balanced throughout.