Pumpkin carving templates
1155 free printable stencils. Download, print, trace, carve.
13 results · Page 1 of 1

Bent Crown and Broad Brim
A classic witch hat fills the pumpkin face, its tall crown bending over at the tip above a broad, gently curved brim. The whole hat is removed as one pierced piece, making a big bright silhouette with no interior details to fuss over. As an easy single-cut design, just keep your blade angled slightly inward as you saw so the large panel pulls free without wedging.
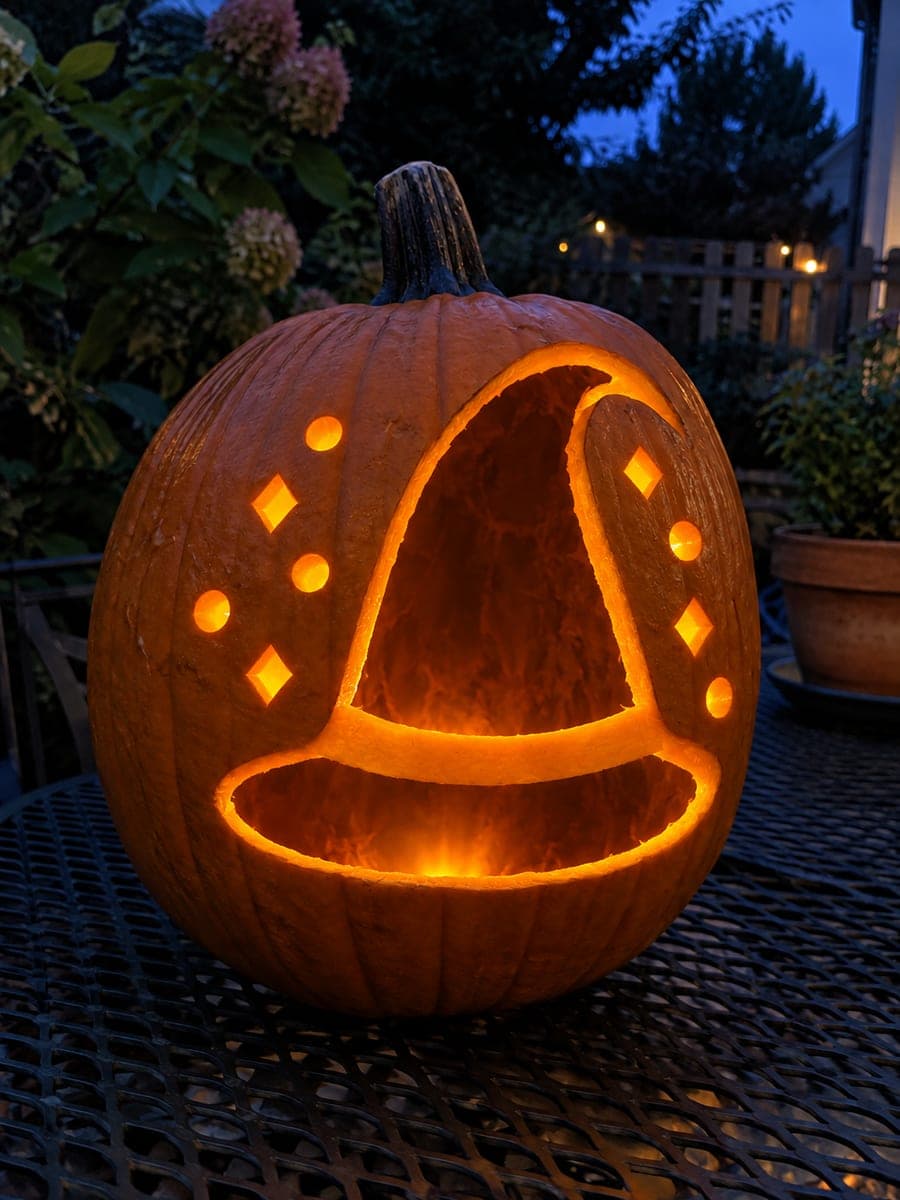
Bent Hat with Nine Sparkles
A tall witch hat with a jauntily bent tip glows from the pumpkin, its wide oval brim carved as a separate opening beneath the crown so the solid hatband reads as a dark stripe between them. Around the hat, small circles and diamonds sparkle like scattered magic. This medium design hinges on that hatband bridge; cut the crown and brim as two independent openings and never saw across the band, then finish with the little sparkle shapes using a drill and detail knife.
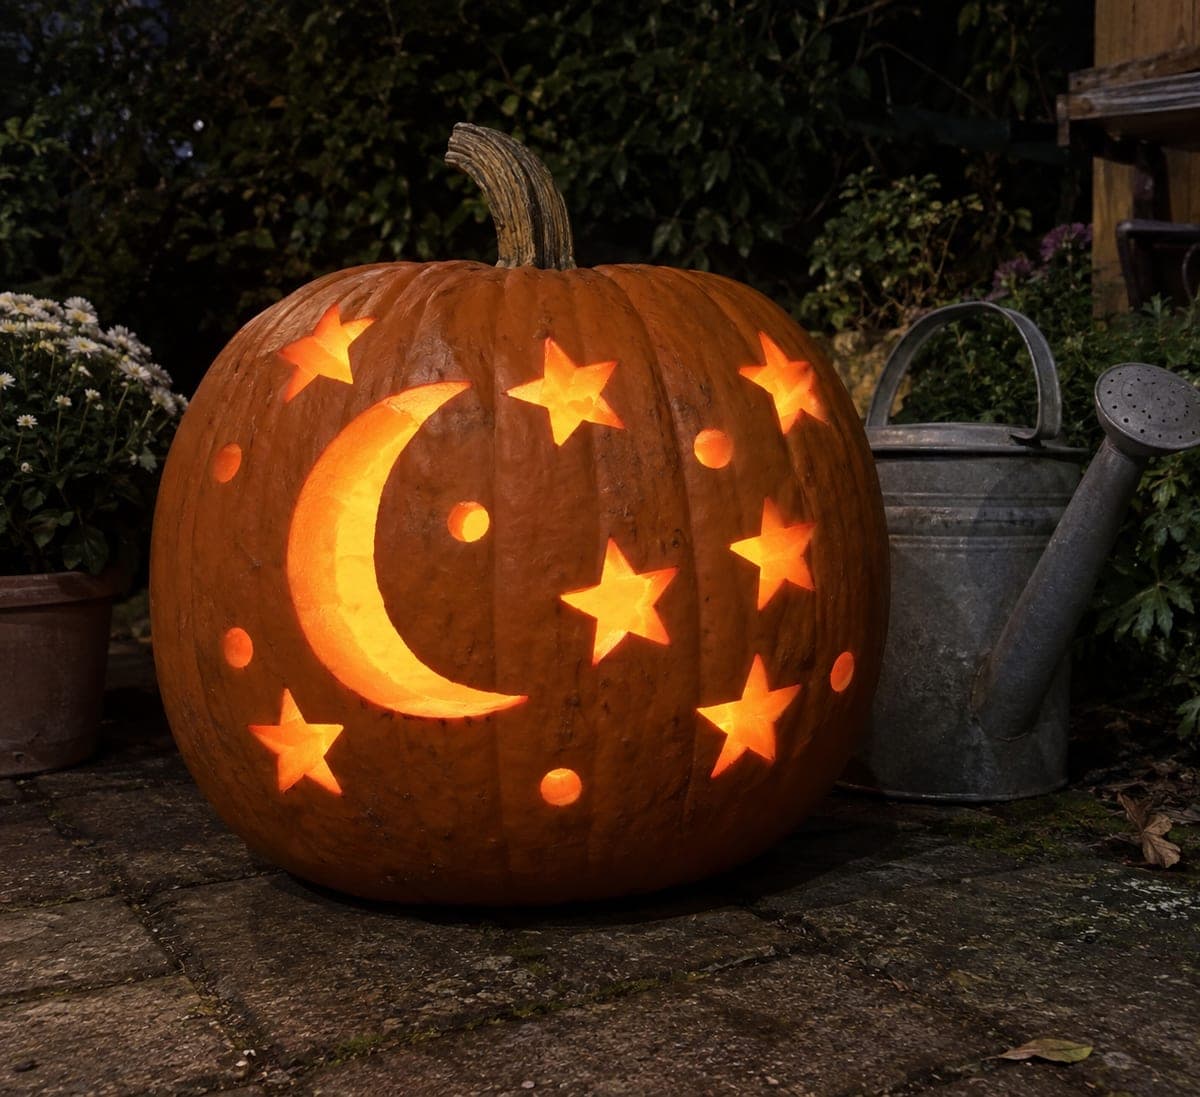
Crescent Seven Stars Six Dots
A large crescent moon glows at the left while seven chunky five-point stars and six round dots scatter across the rest of the pumpkin like a full night sky. Every moon, star, and dot is pierced through, so the whole surface twinkles when lit. Space your cuts out as you go, alternating sides of the pumpkin, so the wall keeps its strength until the final star is freed.
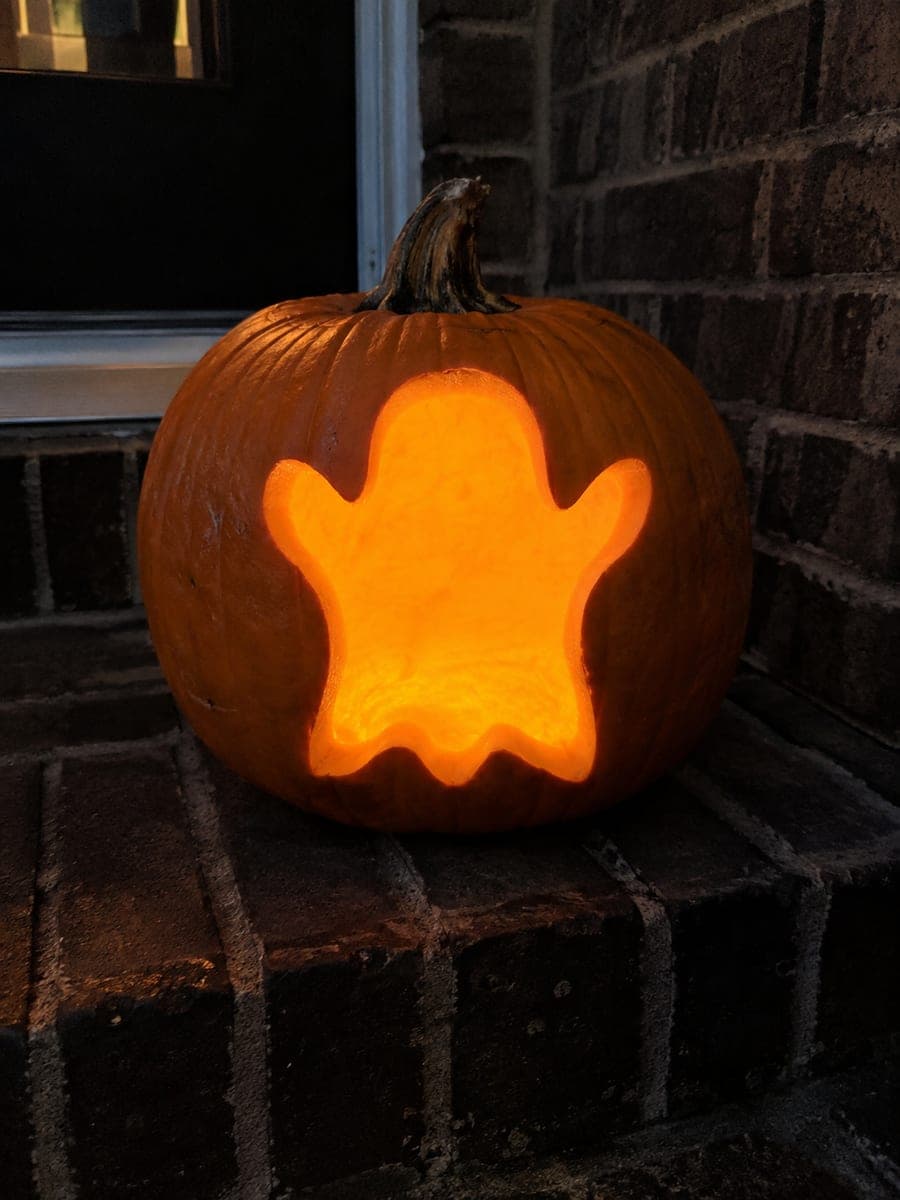
Ghost with Three Uneven Points
A single billowy ghost with two raised arms and a wavy hem ending in three uneven points, carved as one big glowing cutout. The entire ghost silhouette is pierced through, so candlelight fills the friendly specter from arms to tail. This easy one-piece design suits squat pumpkins with plenty of front surface; cut the smooth outer curves first and finish with the scalloped bottom points, which are the only fiddly bits.
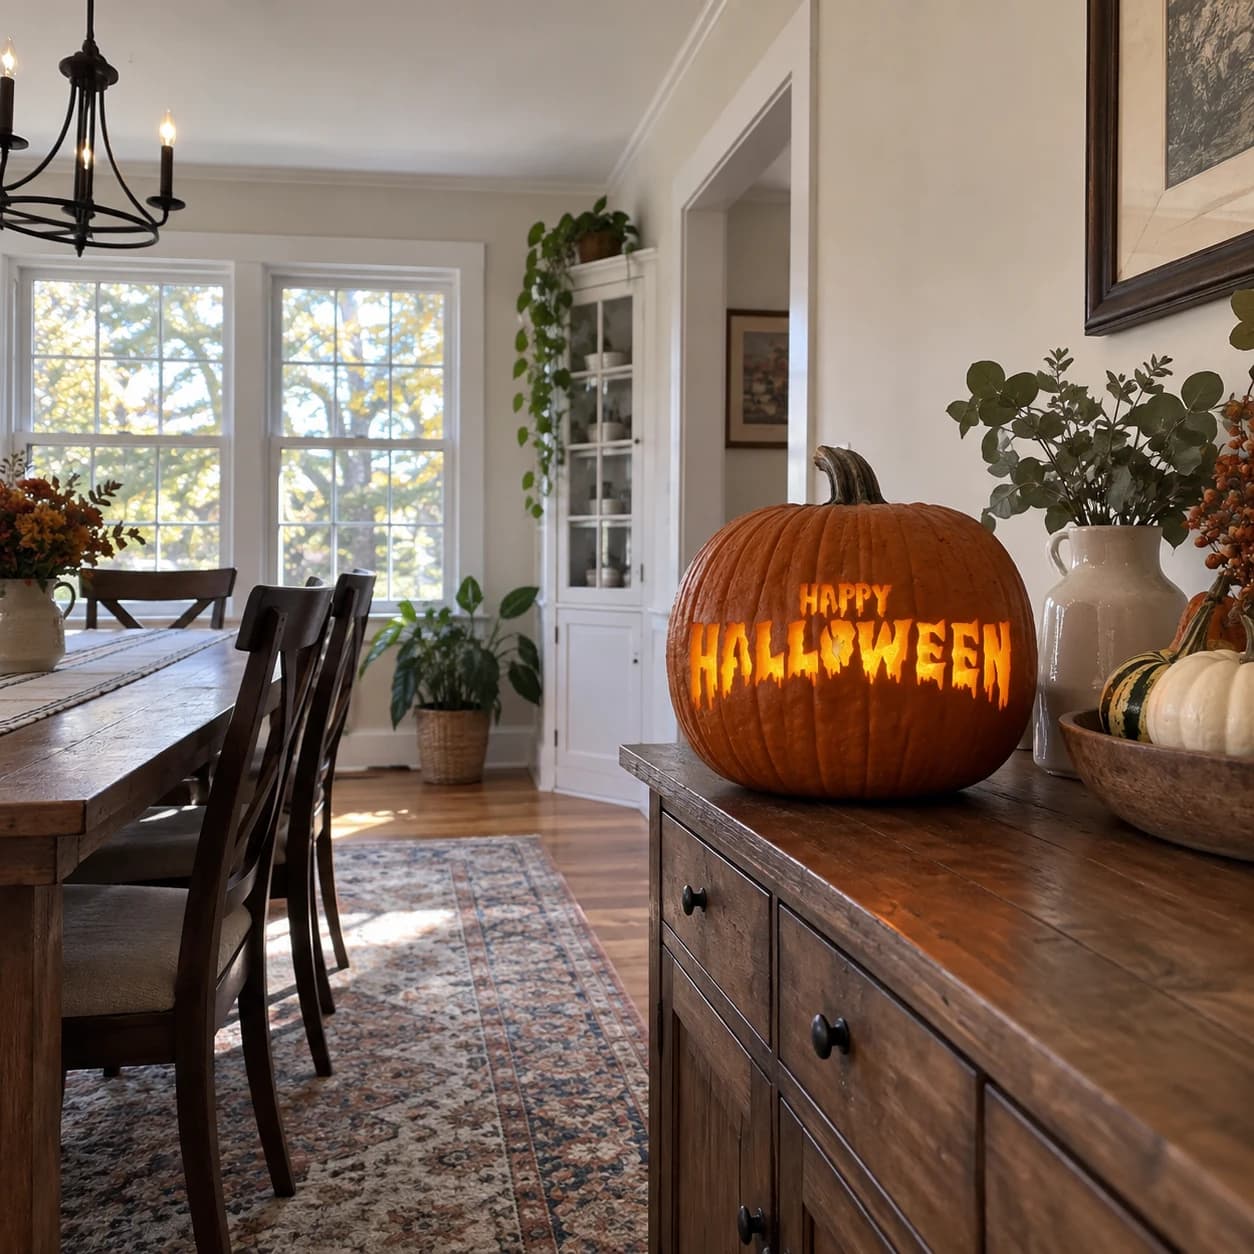
Happy Halloween Drip Text Pumpkin Stencil
The words HAPPY HALLOWEEN wrap across this pumpkin stencil in a wide dripping horror typeface, the tall letters of HALLOWEEN spanning the full width of the pumpkin in a single solid banner with icicle-like drips hanging from each base. The smaller word HAPPY sits above in a lighter display face. All letters are carved as open cut-outs connected edge to edge, forming a wide horizontal band of glowing text. Thin the pumpkin wall to about half an inch across the whole text zone before carving, because the long horizontal band removes a large section of structural support and a thinner wall is easier to keep from cracking under the blade.
Happy Halloween Text Pumpkin Stencil
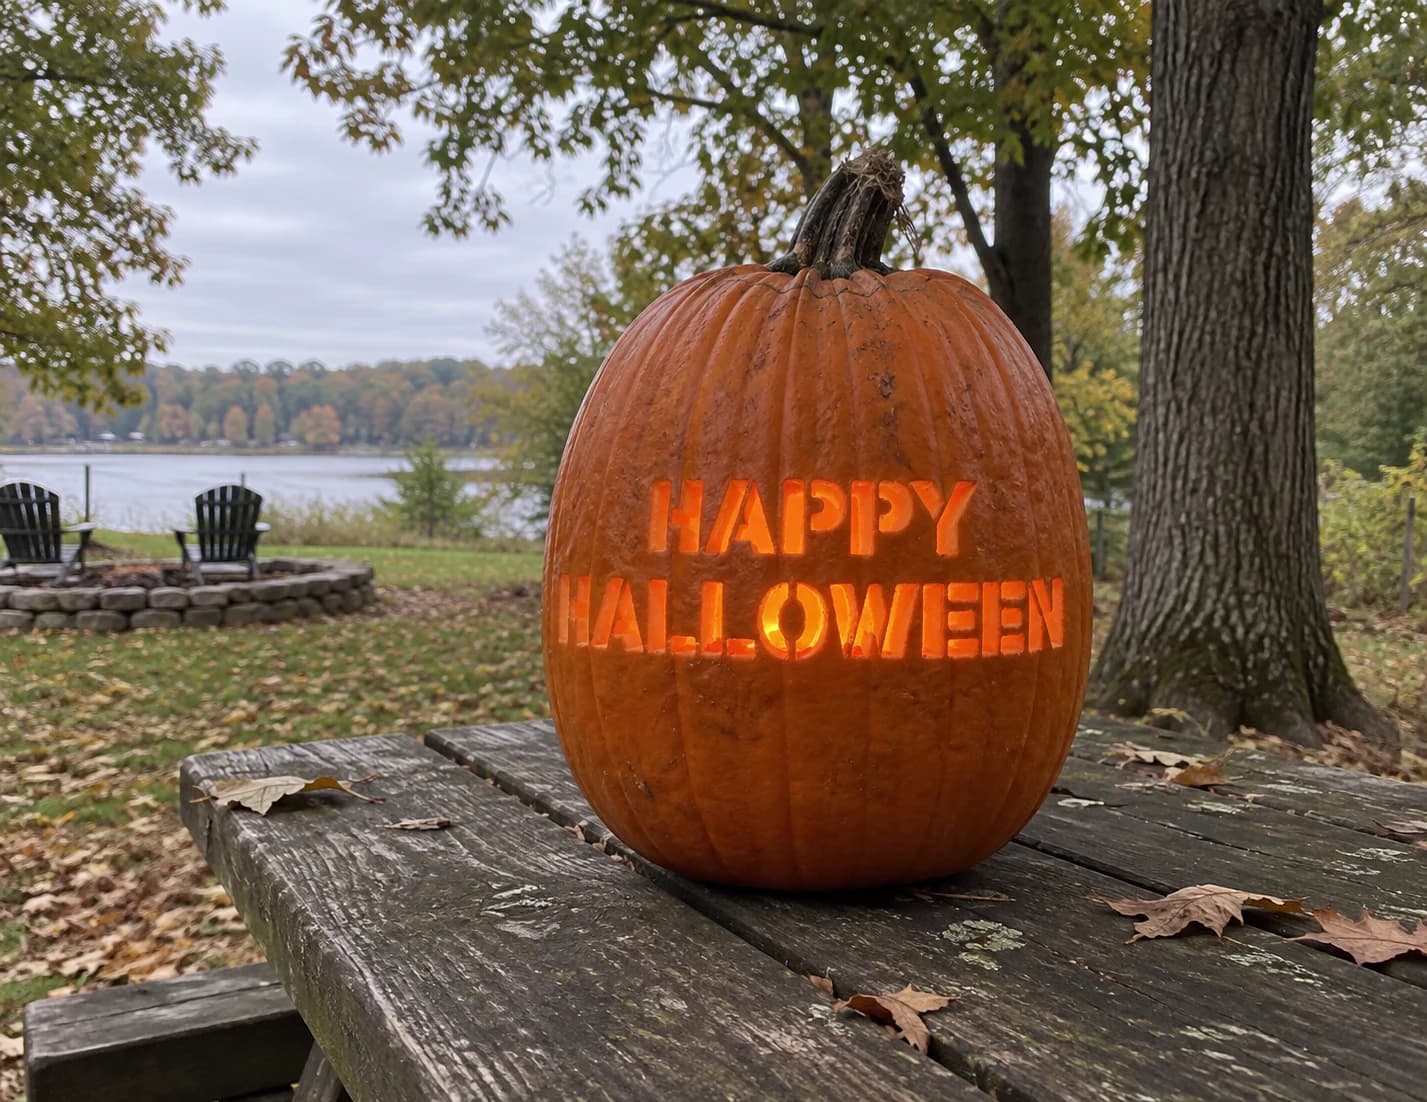
The words HAPPY HALLOWEEN appear in two stacked lines of wide block capital letters in this pumpkin stencil, the typeface clean and bold with squared serifs and open counters inside letters like A, P, O, and E. Every letter is a cut-through opening, so the lit jack-o-lantern displays a glowing two-line greeting. Before carving, identify the enclosed counter islands inside closed letters such as the inner triangles of A and the inner ovals of O and P, and cut those small interior pieces out first so each island stays anchored until its surrounding letter walls are removed.
Reverse BOO Block Letters
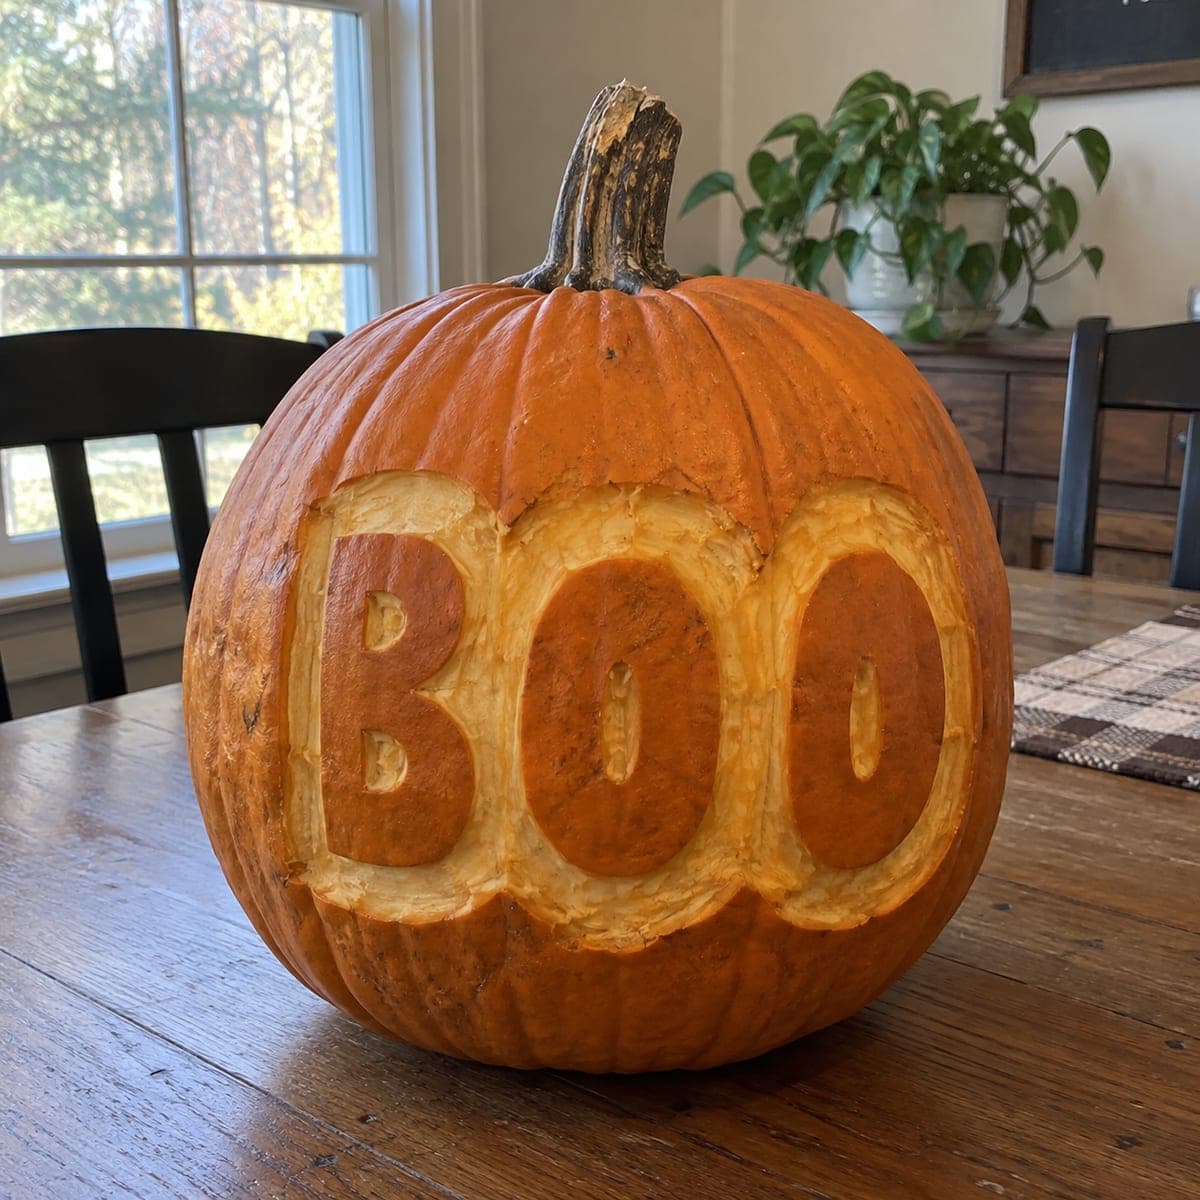
The word BOO in fat block letters fills the front of the pumpkin, carved in reverse relief: the background panel is shaved away while the letters remain raised in untouched skin. No holes are pierced, so the pumpkin stays sturdy and reads clearly by daylight or candlelight. An easy etch for a first shading project; trace the letter outlines with shallow score cuts before peeling the background to an even depth.

Rising Bat and Four Stars
A bold bat rises with scalloped wings spread wide while four small stars twinkle around it. The bat and every star are cut completely through the wall, turning the pumpkin into a glowing night-sky scene. The bat is one large connected opening, so it carves fast; poke a starter hole in the middle of the body and saw outward toward the wing scallops, finishing the little stars last.
Spooky Text Pumpkin Stencil
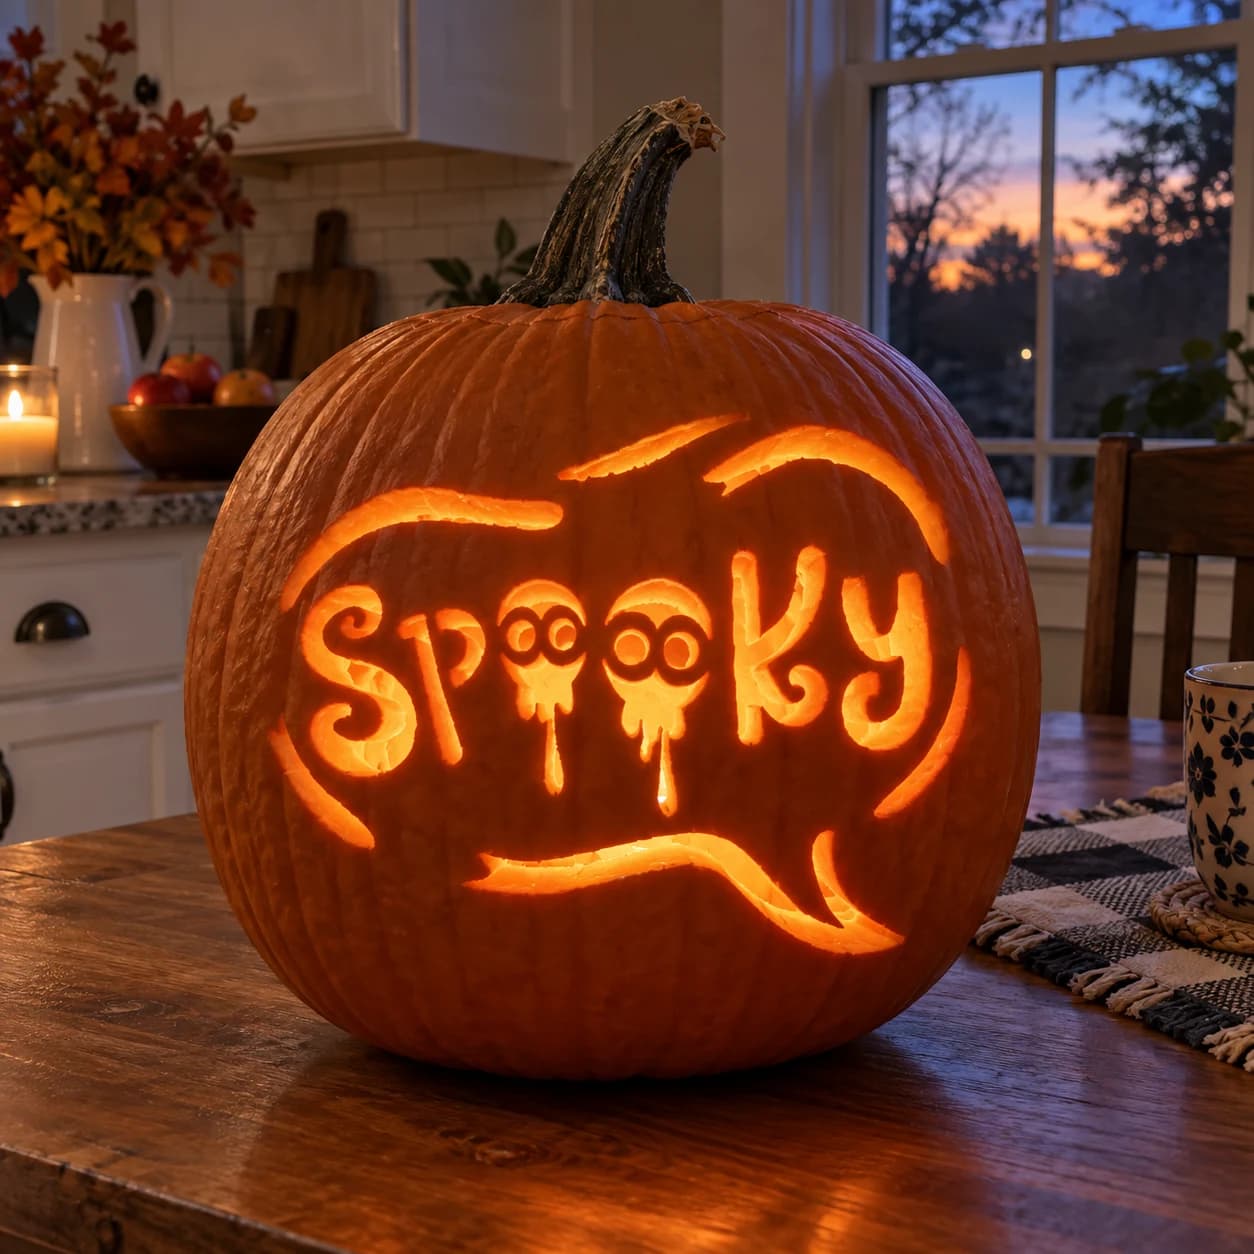
The word "Spooky" is carved in bold bubbly lettering with each letter outlined as a cut-through shape on this Halloween pumpkin stencil. The two O's feature skull-like eye holes inside them, and drip lines hang from the letters below. Curling ribbon flourishes arc above and below the text, all pierced through. Lit from inside, the letters glow with dark gaps forming the decorative interior details. Take care to preserve the thin drip connections between letters, as those links keep each letter floating in place on the pumpkin wall.
Triangle Eyes and Twin Teeth
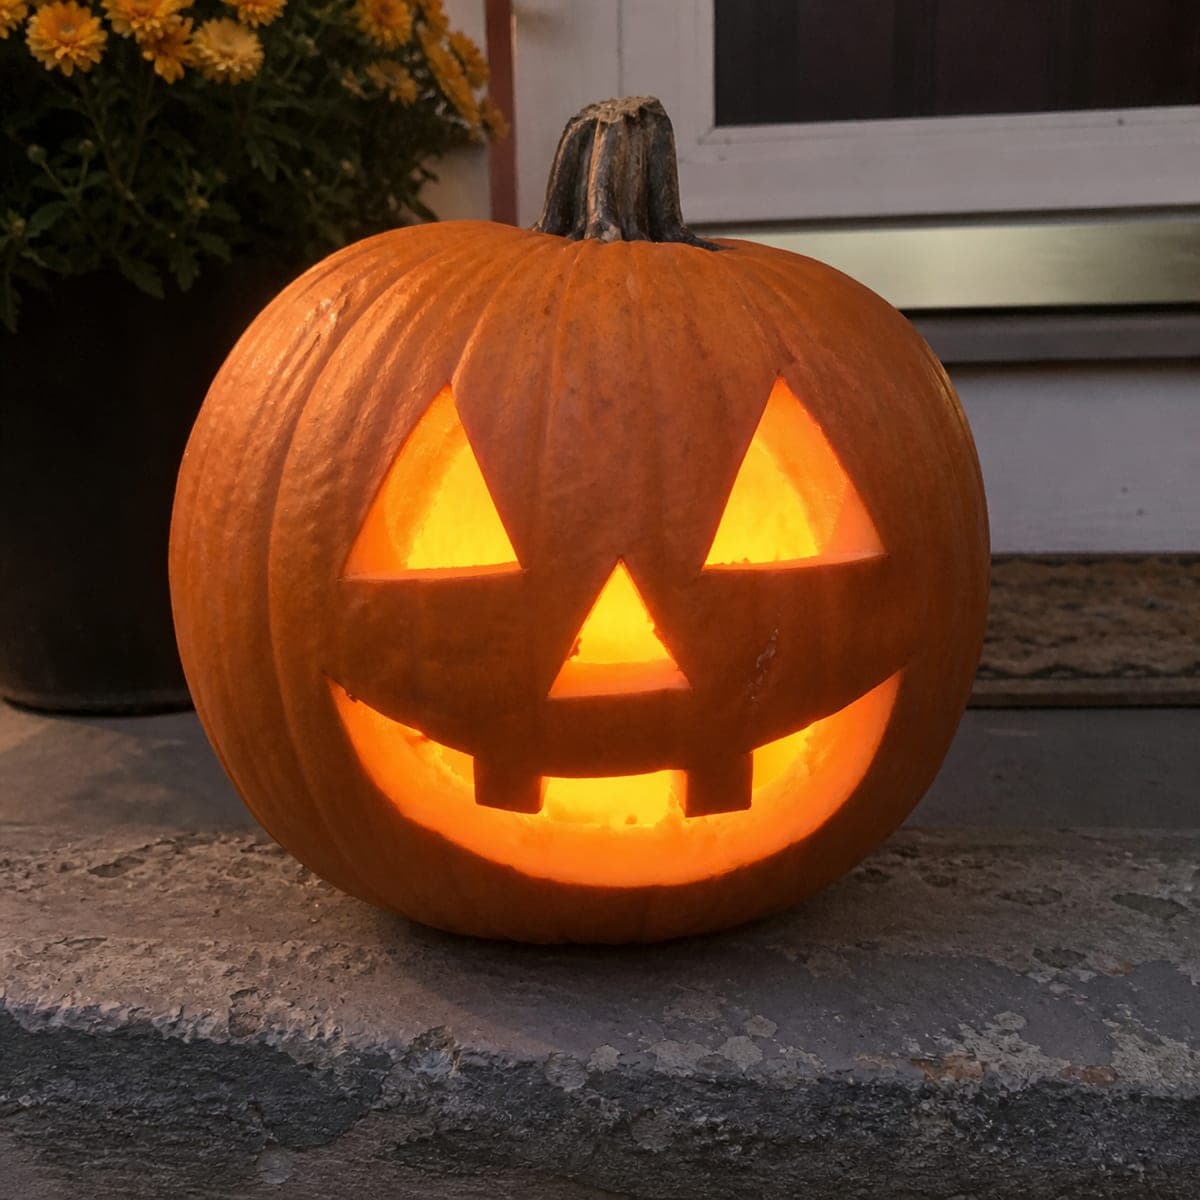
The timeless jack-o'-lantern: two bold triangle eyes, a matching triangle nose, and a wide friendly smile with two square teeth breaking the curve. Every feature is cut fully through, leaving the rest of the pumpkin smooth so the glowing shapes do the talking. Straight lines make this an ideal easy carve; score the triangles with a ruler edge first and the cuts will fall right in place.
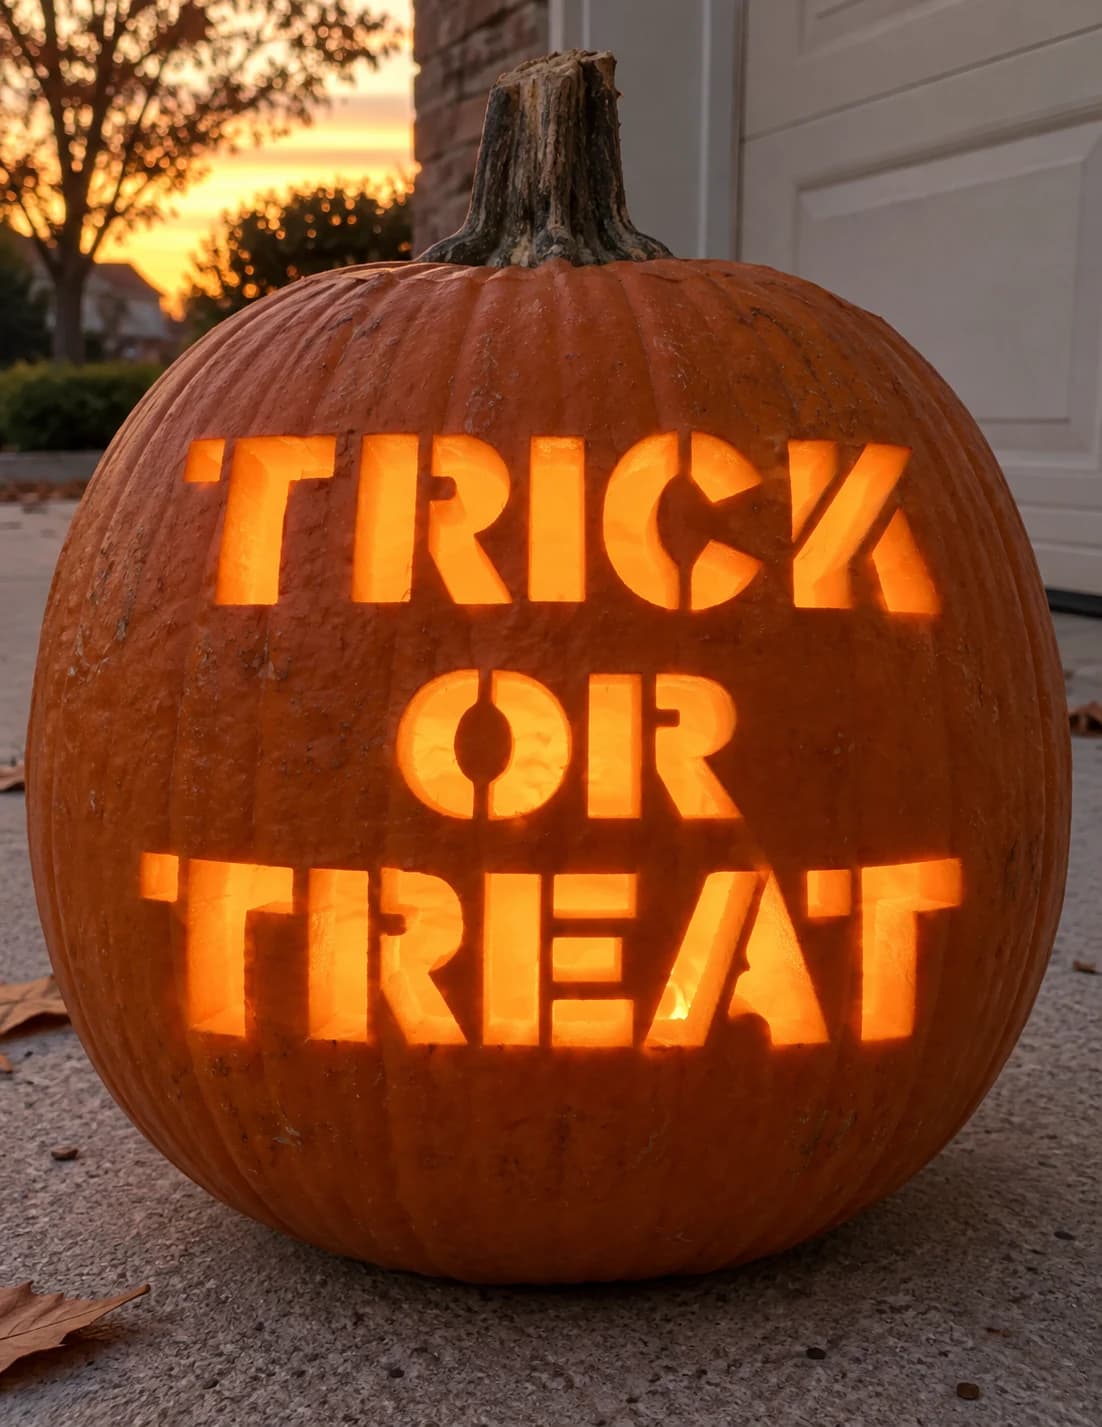
Trick or Treat Pumpkin Stencil
A bold typographic pumpkin stencil spelling out TRICK OR TREAT in three stacked lines of wide block stencil letters, each character separated by narrow bridges that keep the letterforms readable when carved through. The large open interiors of the letters glow with even, full-face brightness when lit. Cut enclosed letter counters, the circular center of the R and the inside of the O, before removing the surrounding letter bodies, so those islands stay in position while you work.
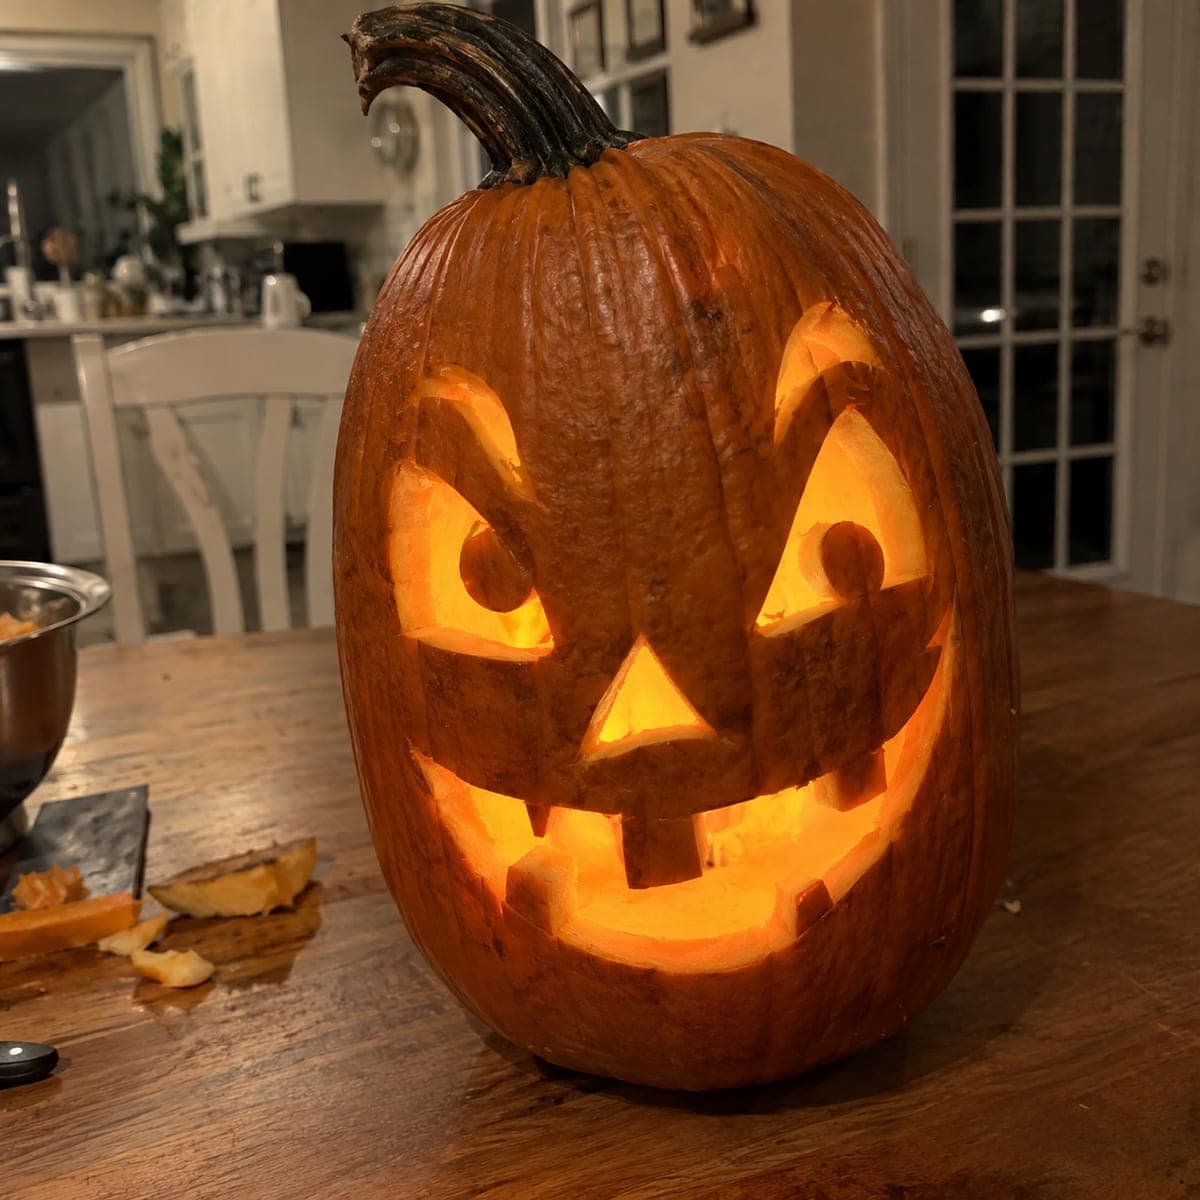
Uneven Eyes and Five Teeth
A mischievous jack-o'-lantern with deliberately uneven eyes under slanted brows, a triangle nose, and a huge crooked grin interrupted by five hanging teeth. All the features are pierced clean through so candlelight pours out of every gap. The teeth are the trickiest part at this medium level, so cut around each one slowly and leave those tabs attached to the rim of the mouth.

Witch on a Left-Brushed Broom
A witch in a pointed hat rides her broom across the pumpkin, cloak trailing and broom bristles brushed out to the left as one bold glowing silhouette. The entire figure is cut through as a single connected opening, so the drama comes from the outline rather than fine interior detail. For this medium carve, start with the big body mass and work outward, cutting the hat point and individual bristle tips last so the surrounding rind supports your blade the whole way.