@pumpkin_pilot
Sep 5, 2026
Armful of Halloween
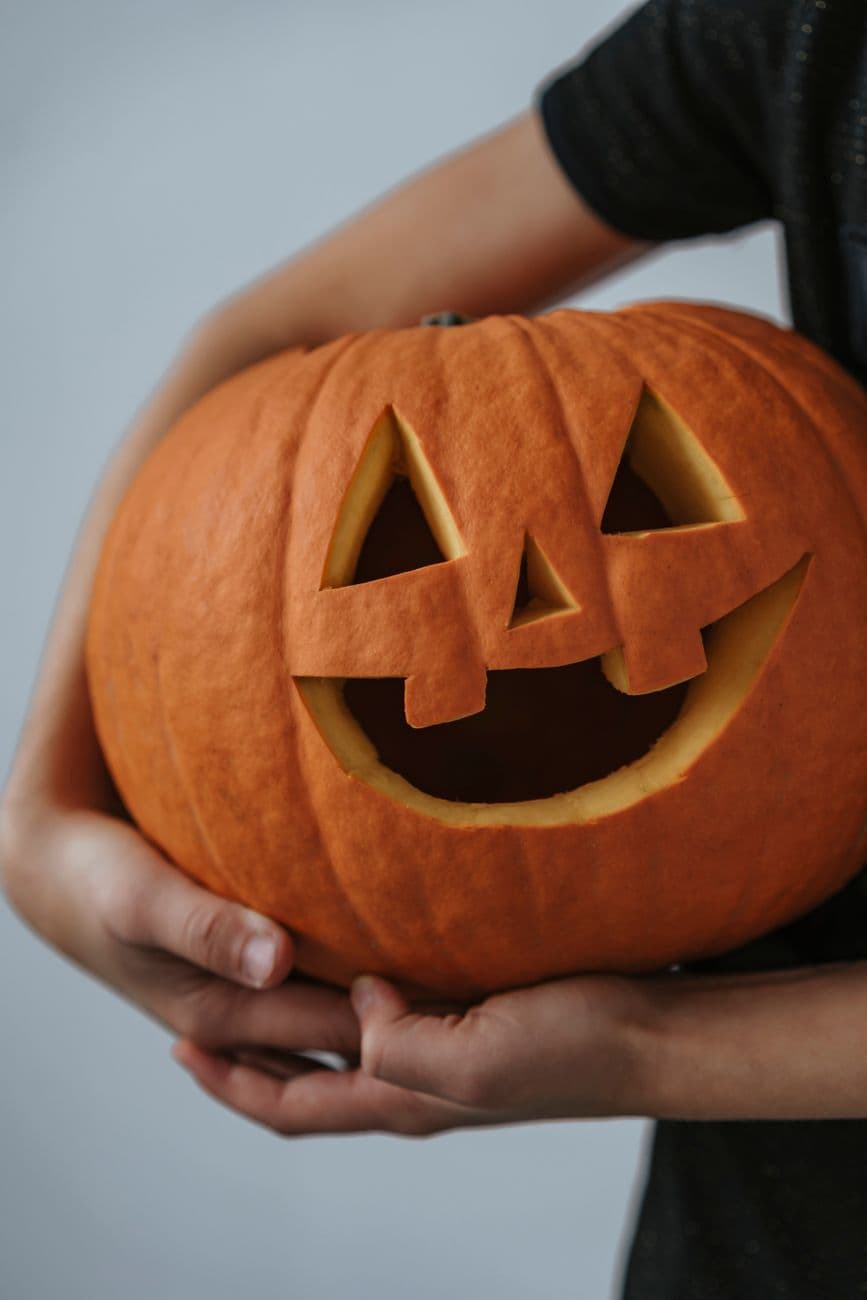
A kid hugging a freshly carved classic with fang-notched grin. The proud-carver pose every October deserves.
No ratings yet · Sign in to rate
A kid hugging a freshly carved classic with fang-notched grin. The proud-carver pose every October deserves.
This is the timeless jack-o-lantern face, and its whole charm is in the clean cutout shapes: two triangle eyes, a small triangle nose, and a wide grin with two blocky fangs. The trick is keeping those fangs chunky and attached at top and bottom so the mouth stays strong. Plan simple straight cuts and save the big mouth opening for last so the front stays sturdy while you work.
Written by PumpkinCarvingIdeas.com, inspired by @pumpkin_pilot's photo above. These are our suggestions, not instructions from the uploader, and this approach hasn't been tested on their exact carve.
Wash and dry the pumpkin, then pick the flattest side to face out. Draw two triangle eyes, a small downward triangle nose, and a wide curved grin with a washable marker. Sketch the two fang notches so each one connects the top and bottom of the mouth, not floating on its own. Step back and check the spacing before any cutting starts.
An adult should cut a lid around the stem at a slight inward angle so it rests without falling in. Scoop out the seeds and pulp with a sturdy spoon or a scraper. Thin the inside front wall to about one inch so your cuts push through easily. A thinner wall also lets more light escape later.
Start with the smallest shapes while the pumpkin is still solid and easy to hold. Use a small serrated carving saw and cut with slow, steady strokes rather than force. Push each triangle piece inward or outward gently to pop it free. Clean up any ragged edges with the tip of your tool.
Cut the outline of the mouth but leave the two fang notches uncut so they stay part of the wall. Work from the center outward so the shape stays even on both sides. The fangs should stay wide and blocky, which keeps them strong and gives that friendly look. Remove the grin pieces last since it is the biggest opening.
Drop in a battery LED tea light or a small LED puck, never a real candle. Set the lid back on and check that the glow reaches every cutout. If a corner looks dark, thin that inner wall a little more. Then hold your finished pumpkin for the proud-carver photo.
Check things off as you get ready.
Work on a stable surface, keep your free hand out of the cutting path, and have an adult handle sharp tools.
The whole orange face and body stays untouched and dark for a bold silhouette.
Optional: lightly peel a thin outline around the mouth to add a soft glowing rim.
The two eyes, the nose, and the wide fanged grin are cut fully through for the brightest light.
Keep each fang wide and blocky rather than thin and pointed, and make sure both ends stay connected to the pumpkin wall. Since they are part of the mouth rim and not free-standing pieces, they hold up well. Cut slowly around them so you do not nick the base.
A medium round pumpkin gives you plenty of room for the wide grin without crowding the eyes. Look for one with a fairly flat front so your straight cuts sit evenly. Avoid very small pumpkins, since the fang notches get fiddly at tiny sizes.
Yes, this is one of the friendliest starter faces around. Kids can draw the shapes and scoop the insides, while an adult handles the lid and the sharp carving saw. Let children push the cut pieces out and place the LED light for a shared win.
Changed a detail? Made it simpler? Share a photo of your version and tell the community what worked.
The best new carvings, ideas worth stealing, and how-tos for carving season. Short, seasonal, and gone by November.




Comments (0)