Halloween Pumpkin Carving Contest · Starts October 1st · $500 in prizes
← Back to ideas
@ai_concepts
Sep 25, 2026

Barred Eyes and Scalloped Teeth Vintage Pumpkin LanternAI
0

Report this carving

Tell us what is wrong. Reports are private.

Barred Eyes and Scalloped Teeth Vintage Pumpkin Lantern

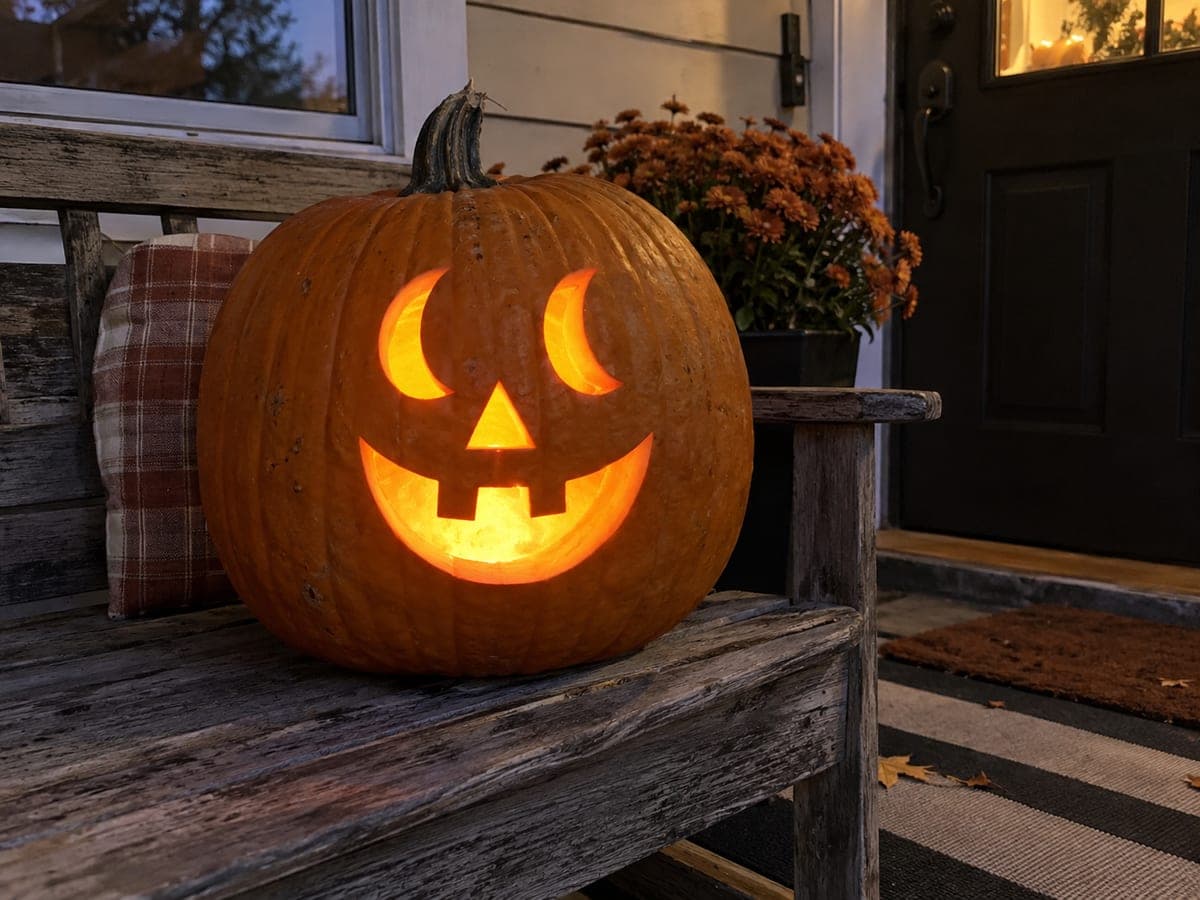
Round eyes retain central vertical bars, rounded rectangular mouth apertures are separated by rind bridges, and decorative comma and diamond cutouts circle the face in this vintage jack o lantern faces pumpkin carving idea. Every decorative shape is a fully open cutout, so plan the order of cuts carefully and leave rind connections between every hole. Placing the finished pumpkin on a garden wall at dusk shows off the glowing comma shapes at eye level.

No ratings yet · Sign in to rate

Save this design for carving night, then share a photo of your own jack-o'-lantern once it's glowing.

Comments (0)

  • No comments yet — be the first.

Save without an account. Sign in to like or comment.

Our tips for carving a similar design

Every decorative comma and diamond shape is a fully open cutout, and planning the order of cuts to preserve rind connections between every hole is the difference between success and a collapsed shell. Map all positions before cutting, work from the face center outward, and leave rind connections between every hole. The barred round eyes and rind-bridged tooth row are both non-negotiable structural devices.

From pumpkin to porch

  1. Map the complete pattern before cutting anything

    Hollow to a 20mm wall. Using a full-scale template, transfer every feature: the two round eye outlines with their central bars, the stacked brow positions, all tooth apertures with their rind bridges, and every comma and diamond cutout. Confirm with a ruler that no two adjacent marks are closer than 10mm rim-to-rim. Mark any crowded areas and shift the positions in marker before cutting.

  2. Cut the round eyes with retained vertical bars

    Cut each round eye as two semicircular sections, leaving the central bar fully intact. The bar must be at least 12mm wide. Clean the semicircular edges with a detail knife and confirm the bar is firmly attached at both top and bottom before moving on.

  3. Cut the stacked eyebrows and face center features

    Cut the stacked brow slots above each eye, working through all brow positions while surrounding rind is solid. Then add any nose feature and score the rind bridges between the tooth apertures before cutting any tooth window.

  4. Cut the tooth apertures row with rind bridges intact

    Score all vertical rind bridge lines between planned tooth openings deeply before removing any window. Cut each rounded rectangular tooth aperture individually, working from inside each window outward toward the scored bridge lines rather than through them. Check that every bridge is firm after each window is removed.

  5. Cut the diamond cutouts

    Work through all diamond holes using two-angle converging tip cuts. Place these cuts with at least 10mm of rind between adjacent diamonds and between diamonds and the face features. Work in alternating passes to distribute the structural load evenly around the face.

  6. Cut the comma cutouts and display on a garden wall

    Each comma is a curved teardrop-like shape with a rounded head and a tapering tail. Cut the rounded end first, then taper the saw toward the pointed tail. Position the pumpkin on a garden wall at dusk where the glowing commas are visible at eye level and their distinctive curved forms reflect in any nearby wet surface.

Written with AI to match this design

Gather your supplies

Check things off as you get ready.

Work on a stable surface, keep your free hand out of the cutting path, and have an adult handle sharp tools.

Three levels of light

  • Leave intact

    Central vertical bars through both round eyes, all rind bridges between tooth apertures, and all rind bands between adjacent comma and diamond cutouts

  • Peel & shade

    None, all features are full cutouts

  • Cut through

    Both round eye semicircular sections (minus bars), all stacked brow slots, all tooth aperture windows, all open diamond cutouts, and all comma cutouts

Learn the carving basics

Before you start cutting

What makes a comma shape different from a teardrop, and how do I cut it accurately?

A comma has a more pronounced rounded head and a longer curved tail that terminates in a fine point, while a teardrop is more symmetrical around a central axis. For a comma, cut the wide rounded head first as a near-circle, then draw the saw out along the curved tapering tail toward the point. Approach the tip from both sides, not straight into it.

How do I know if the rind bridges between teeth are still intact after each tooth window is cut?

After removing each tooth window, gently press on the adjacent bridge with a fingertip from outside. It should feel firm with no flex. A bridge that flexes or moves slightly is either too thin or was inadvertently cut through. Stop and brace a loose bridge with a toothpick through the wall from inside before cutting the next window.

The pumpkin feels noticeably lighter and softer to handle by the time I reach the comma cuts. Is it still safe to continue?

A lightweight, flexible shell is normal at this stage after so much material has been removed. Minimize handling and use both hands cupped under the base when moving it. Work the final comma cuts with the pumpkin resting on a flat surface rather than holding it. If any section feels dangerously thin, brace it with a thin wooden skewer through the wall from inside before cutting nearby.

Your take belongs here, too.

Changed a detail? Made it simpler? Share a photo of your version and tell the community what worked.

Share your pumpkin

More pumpkins like this

You've reached the end · 8 pumpkins
The Patch Report

Fresh pumpkins, in your inbox.

The best new carvings, ideas worth stealing, and how-tos for carving season. Short, seasonal, and gone by November.

A short email during carving season. Unsubscribe anytime. See our privacy policy.