Halloween Pumpkin Carving Contest · Starts October 1st · $500 in prizes
← Back to ideas
@ai_concepts
Sep 25, 2026
Retro Cat Face Vintage Pumpkin Carving with Pupil TabsAI
0

Report this carving

Tell us what is wrong. Reports are private.

Retro Cat Face Vintage Pumpkin Carving with Pupil Tabs

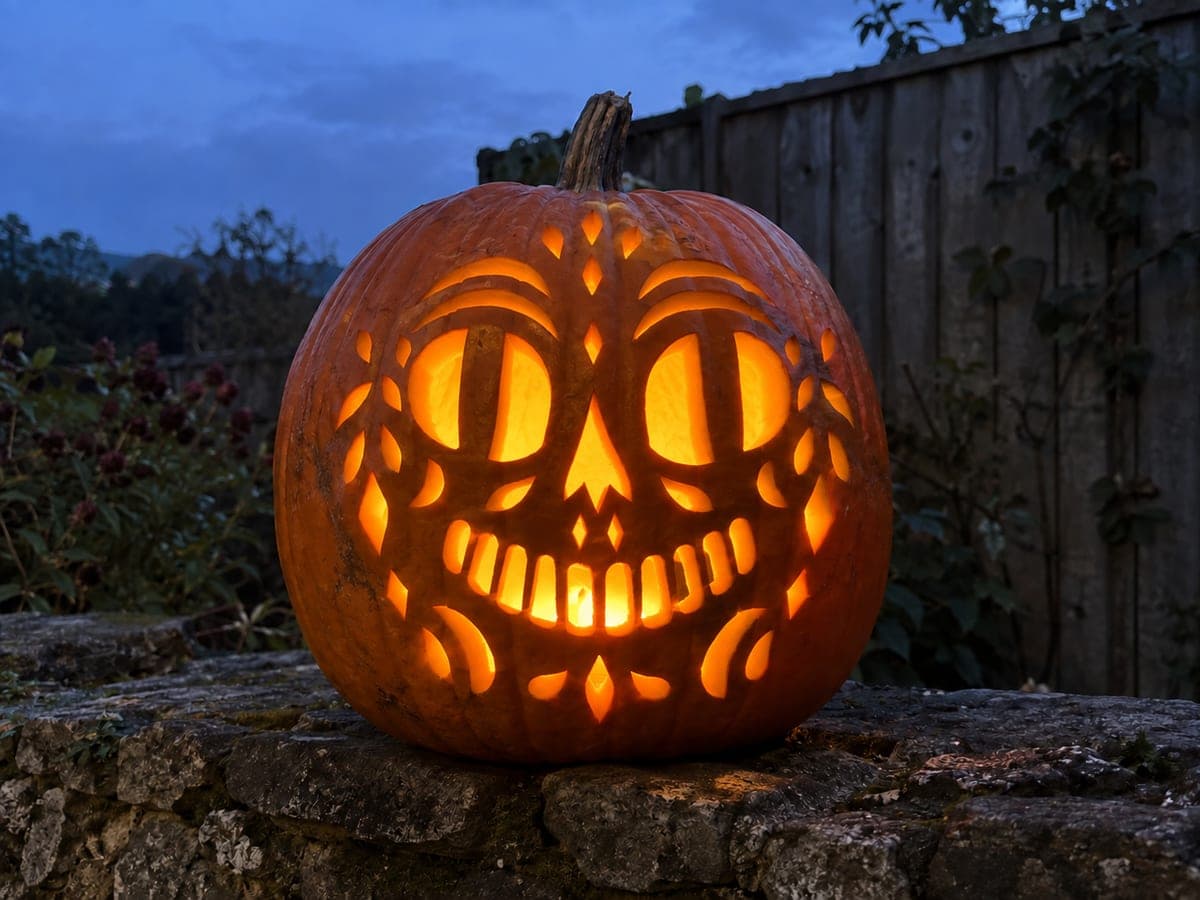
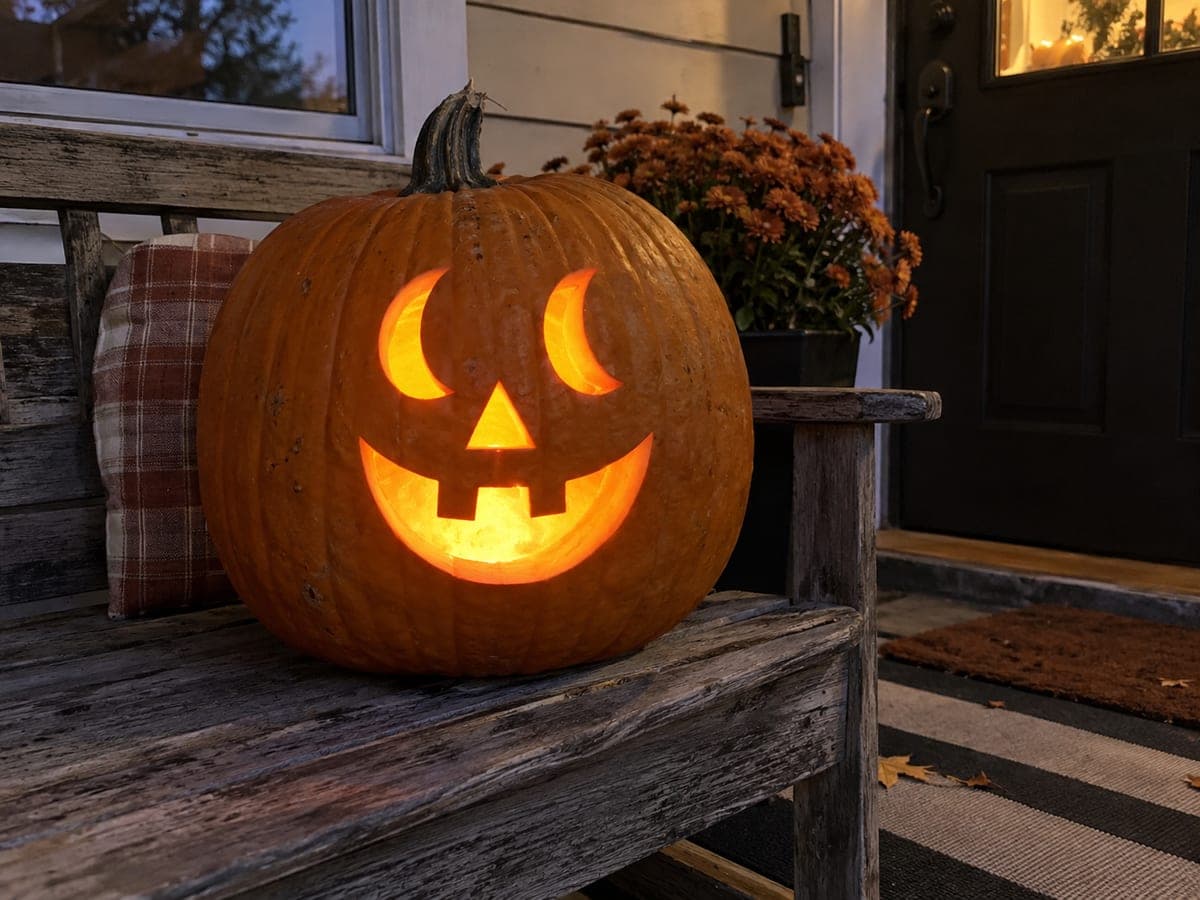
Crescent eye holes with dark pupil tabs attached to their upper edges, a triangle nose, four separate curved cheek-slot holes, and shallow-scraped pointed brows give this vintage pumpkin carving a retro cat-face character drawn from mid-century Halloween art. The pupil tabs are the trickiest element: score the crescent fully, then score the pupil tab perimeter just before the final cut so the attachment point stays wide. Scrape the brow ridges lightly with a linoleum cutter, removing only a thin skin layer so they stay firmly rooted.

No ratings yet · Sign in to rate
Comments (0)

  • No comments yet — be the first.

Save without an account. Sign in to like or comment.

Our tips for carving a similar design

This design borrows its character from mid-century Halloween illustration: crescent eyes that look like a contented cat squint, with dark pupils hovering inside them, combined with four decorative cheek slots and a subtle scraped brow. The pupil tabs are the trickiest structural detail; scoring the pupil perimeter before the crescent cut is the move that keeps them intact. Scraping the brow ridges with a linoleum cutter adds a layer of relief shading that requires no through-cuts.

From pumpkin to porch

  1. Hollow to an even wall

    Scoop the pumpkin to a consistent 25 to 30 mm wall thickness across the face area. The scraped brow ridges require enough wall depth to peel a thin layer without risk, so do not go thinner than 25 mm.

  2. Sketch the face elements

    Draw the two crescent eye shapes, the triangle nose, four curved cheek slot positions (two per side), and the two pointed brow ridge lines above the eyes. Keep the crescent tips pointing down and inward for the characteristic cat-squint look.

  3. Score the pupil tabs first

    Use a craft knife to score the outline of each pupil tab (a small oval or teardrop inside each crescent) at very shallow depth, leaving only the top edge unscored. This gives you a safe boundary to cut up to when you open the crescent.

  4. Cut the crescent eyes

    Cut each crescent opening fully, following its outline and stopping just short of the scored pupil boundary. Complete the crescent outline with a craft knife along the scored pupil perimeter, freeing the crescent piece while leaving the pupil tab attached at the top. Clear the crescent carefully without dislodging the pupil.

  5. Scrape the brow ridges

    Using a linoleum cutter or narrow loop tool, scrape a thin layer of skin along the two pointed brow ridge lines above the eyes. Work in the direction of the ridge, from the center outward, and remove only the outer skin. The lighter scraped line against the intact orange rind reads as a pointed brow when lit from within.

  6. Cut the nose and cheek slots

    Cut the small triangle nose, then the four curved cheek slot holes (two slots per cheek). Each cheek slot should be a smooth curved slit. Cut from the outer end of each slot toward the cheek center so you do not accidentally run a cut toward the eye or nose. Add an LED candle and adjust placement for even light on the pupils.

Written with AI to match this design

Gather your supplies

Check things off as you get ready.

Work on a stable surface, keep your free hand out of the cutting path, and have an adult handle sharp tools.

Three levels of light

  • Leave intact

    Intact orange rind, raised brow ridge lines (fully uncut), and the pupil tab surfaces

  • Peel & shade

    The shallow-scraped brow ridge lines glow slightly lighter than the surrounding orange rind

  • Cut through

    Crescent eye openings (minus the pupil tabs), triangle nose, and four curved cheek-slot holes

Learn the carving basics

Before you start cutting

My pupil tab came loose during the crescent cut. Can I reattach it?

If the tab is still intact, push a round toothpick through it and into the upper rind bridge above, trimmed flush inside. If the tab broke off entirely, the crescent eye still reads as a cat expression; simply leave the eye as a plain crescent opening.

How do I keep both crescent eyes the same curve?

Draw both crescents at the same time using the same curve template, such as a large round lid or a compass set to the same radius. Match the arc length and the tip positions before making any cuts.

The scraped brows look too subtle to see in daylight. Will they show up at night when lit?

Yes. Scraped relief almost always reads better when lit from within than in daylight. The interior light comes through the thinner scraped area slightly brighter than the untouched rind, making the brow ridge pop at night even if it is barely visible during the day.

Your take belongs here, too.

Changed a detail? Made it simpler? Share a photo of your version and tell the community what worked.

Share your pumpkin

More pumpkins like this

You've reached the end · 8 pumpkins
The Patch Report

Fresh pumpkins, in your inbox.

The best new carvings, ideas worth stealing, and how-tos for carving season. Short, seasonal, and gone by November.

A short email during carving season. Unsubscribe anytime. See our privacy policy.