Halloween Pumpkin Carving Contest Β· Starts October 1st Β· $500 in prizes
← Back to ideas
@ai_concepts
Sep 25, 2026
Blush-Cheek Kawaii Pumpkin With Oval Eye HolesAI
0

Report this carving

Tell us what is wrong. Reports are private.

Blush-Cheek Kawaii Pumpkin With Oval Eye Holes

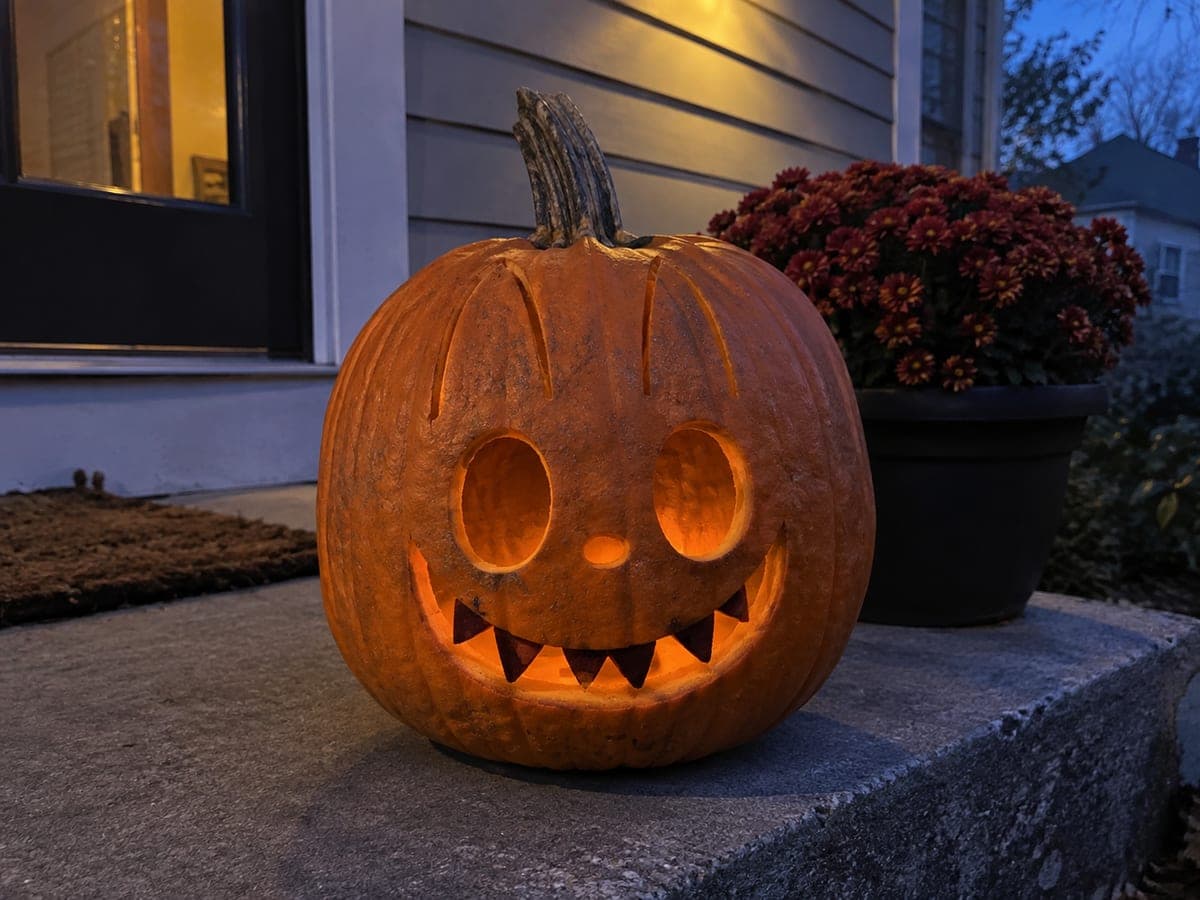
Two large empty oval eye holes, a tiny upward-curved smile hole, and two circular blush holes create a clean minimal kawaii pumpkin face idea with an undeniably adorable result. Cut the large ovals first since they are the face's widest openings and removing them early keeps the rind surface easy to handle for the smaller cuts. The tiny smile hole should be centered just below and between the eyes and angled very slightly upward. Two blush circles drilled with a 6mm bit on either side complete the kawaii look.

No ratings yet Β· Sign in to rate

Comments (0)

  • No comments yet β€” be the first.

Save without an account. Sign in to like or comment.

Our tips for carving a similar design

This design is intentionally spare: two large ovals carry the visual weight and the tiny smile and blush circles serve as quiet accents. Cutting the large oval eyes first removes the most material while the rind is at its stiffest, making the smaller details easier to control afterward. The blush circles are drilled rather than cut for the cleanest circles.

From pumpkin to porch

  1. Prep the pumpkin

    Cut the lid from the bottom and scoop seeds and pulp until the wall is about 25mm thick. A bottom lid keeps the entry hole hidden and makes it easy to swap the LED battery without tipping the pumpkin. Check wall thickness near where the oval eyes will sit since that is where the rind is often thickest.

  2. Mark the oval eyes

    Draw both ovals symmetrically using an oval template or a hand-drawn guide. The ovals are wide and tall, taking up a good portion of the upper face. Hold the pumpkin at arm's length after marking to confirm both ovals read as evenly positioned before any cutting.

  3. Cut the large oval eyes

    Use a narrow serrated saw and cut each oval in one continuous pass if possible. Work in smooth arcs and resist stopping at the top of the curve; speed through the tightest turn keeps the curve clean. Remove cut pieces and clean any rough edges with a detail knife.

  4. Cut the tiny smile

    Position the smile centered just below and between the two eyes, angled very slightly upward at each end. It is a small curved slot, not a full open mouth. Make two shallow cuts that meet at a slight upward angle, forming a minimal arc. Remove the sliver of rind between them.

  5. Drill the blush circles

    Mark two blush circle positions to the right and left of the smile, roughly at cheek height below the eyes. Use a 6mm drill bit and press straight in perpendicular to the rind surface. Drill slowly to avoid splitting. Two clean circles on each side is also charming if you prefer a more expressive blush.

  6. Add LED and display

    Place a warm white or soft pink LED inside for the most kawaii effect. The tiny smile and small blush circles glow faintly while the large oval eyes dominate the expression. This design looks great on a doorstep at ground level where younger trick-or-treaters can appreciate it eye-to-eye.

Written with AI to match this design

Gather your supplies

Check things off as you get ready.

Work on a stable surface, keep your free hand out of the cutting path, and have an adult handle sharp tools.

Three levels of light

  • Leave intact

    The full rind areas surrounding the eyes, the broad forehead, and the chin below the smile

  • Peel & shade

    None, this design uses full cutouts

  • Cut through

    Both large oval eye holes, the tiny upward-curved smile slot, and the two blush circle holes

Learn the carving basics

Before you start cutting

How do I make the oval eyes look truly round rather than egg-shaped?

Draw the oval with a physical oval guide such as a large egg carton divot, a cereal bowl rim, or a printed template to get a consistent shape. Freehand ovals tend to drift wider at one end. Once drawn, stand back and compare both ovals before cutting; adjust the marker line rather than the cut.

The tiny smile keeps coming out as a straight slot instead of a curve. Any tips?

The smile is only a few centimeters wide, so even a subtle curve makes a big difference. Draw the arc in marker first, making sure the midpoint dips slightly lower than the two ends. Cut along the lower arc first, then the upper arc, and remove the sliver between them. The upward-turned ends are what create the kawaii smile.

Can I add a third blush circle under each eye for a more exaggerated kawaii look?

Yes, adding a third circle below each blush pair deepens the anime-cheek effect. Drill them at the same diameter and space them in a small triangle cluster. Just be careful not to place them too close to the oval eye openings, leaving at least 15mm of rind between each circle and the eye edge.

Your take belongs here, too.

Changed a detail? Made it simpler? Share a photo of your version and tell the community what worked.

Share your pumpkin

More pumpkins like this

You've reached the end Β· 8 pumpkins
The Patch Report

Fresh pumpkins, in your inbox.

The best new carvings, ideas worth stealing, and how-tos for carving season. Short, seasonal, and gone by November.

A short email during carving season. Unsubscribe anytime. See our privacy policy.