Halloween Pumpkin Carving Contest · Starts October 1st · $500 in prizes
← Back to ideas
@ai_concepts
Sep 25, 2026
Heart Blush Kawaii Pumpkin With Sparkle HolesAI
0

Report this carving

Tell us what is wrong. Reports are private.

Heart Blush Kawaii Pumpkin With Sparkle Holes

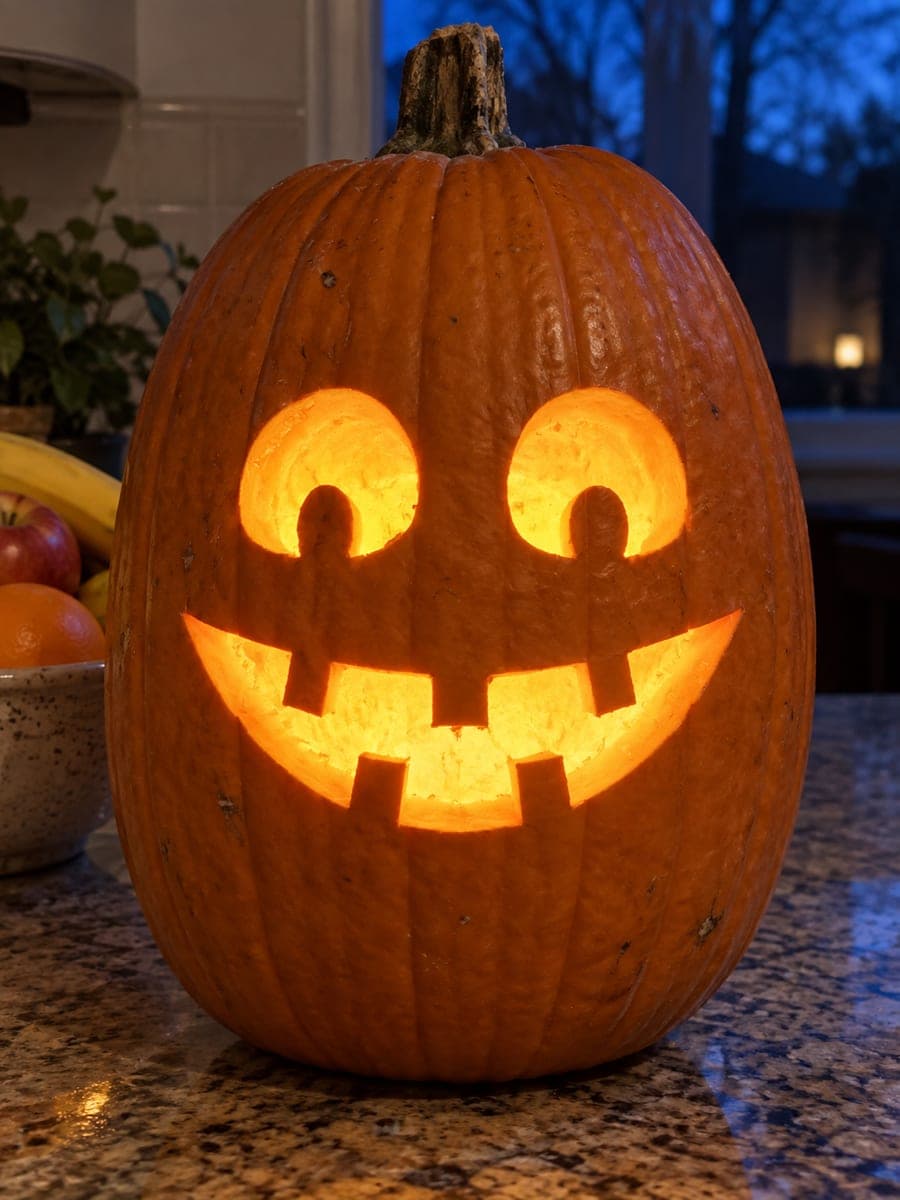
Empty oval eyes, a single tiny U-shaped smile, two heart-shaped blush cutouts that are fully open with no internal islands, and eight round sparkle holes create a kawaii pumpkin face idea bursting with charm at medium difficulty. The heart-shaped cheek holes are the trickiest element: cut from the top center cleft downward to each outer curve in two strokes so the point stays clean. Drill the eight sparkle holes before cutting the heart shapes so the drill does not stress the narrowed rind. A pink or lavender cloth background behind the lit pumpkin picks up the scattered sparkle dots beautifully.

No ratings yet · Sign in to rate

Comments (0)

  • No comments yet — be the first.

Save without an account. Sign in to like or comment.

Our tips for carving a similar design

The heart-shaped cheek cutouts are the trickiest element because a heart has a pointed bottom tip and a central cleft at the top, both of which can tear if rushed. Drill the eight sparkle circles before touching the hearts so the surrounding rind stays firm. Cut each heart starting from the top center cleft downward, one curve at a time, finishing with the pointed bottom tip.

From pumpkin to porch

  1. Hollow and plan the layout

    Hollow the pumpkin through a bottom lid to a 22-25mm wall. Mark all features in washable marker: the two oval eyes, the tiny U-smile, the two heart cheek positions, and all eight sparkle circle positions. Seeing the full layout before cutting confirms that sparkle holes are not crowding the heart edges.

  2. Drill the eight sparkle holes first

    Use an 8mm drill bit to punch all eight sparkle holes before any saw cuts. Drill perpendicular to the surface and at a slow speed. Completing the sparkle holes while the rind is fully rigid gives you the cleanest circles and avoids stressing a partially cut face.

  3. Cut the oval eyes

    Follow the oval outlines with a narrow pumpkin saw in smooth arc strokes. Remove both oval pieces and clean the inner edges. The eyes are empty openings with no retained center, so there is nothing structural to worry about inside them.

  4. Cut the tiny U-shaped smile

    The U-smile is a small downward-curving slot. Mark it centered below the eyes and cut the two short downward arcs that form the U. Remove the small rind piece between them. Keep the opening small; an overly large mouth loses the kawaii subtlety.

  5. Cut the heart-shaped cheek holes

    Begin each heart at the top center cleft. Push the saw tip into the cleft point and cut down the left lobe to the bottom tip, then return to the cleft and cut down the right lobe to meet the tip. Both cuts converge at the sharp bottom point. Work slowly at the tip and cleft where the rind is most likely to chip.

  6. Backlight and style the display

    Place a pink or warm LED inside and set the pumpkin against a pale pink or lavender fabric backdrop if available. The heart shapes glow a warm amber-pink and the sparkle dots scatter small points of light across the surrounding surface. An elevated display at eye height shows all the detail.

Written with AI to match this design

Gather your supplies

Check things off as you get ready.

Work on a stable surface, keep your free hand out of the cutting path, and have an adult handle sharp tools.

Three levels of light

  • Leave intact

    The rind area between the heart holes and the oval eyes, the forehead, and the chin

  • Peel & shade

    None, all features are full cutouts

  • Cut through

    Both oval eye holes, the U-shaped smile, both heart-shaped cheek holes (entirely empty), and all eight round sparkle holes

Learn the carving basics

Before you start cutting

How do I get a clean point at the bottom of each heart cutout?

Cut both lobes separately and aim for them to converge precisely at the bottom tip. Go slowly as you approach the tip from both sides; a rushed final stroke tends to overshoot. A fine detail knife is more controllable than a saw for finishing the last few millimeters of the tip. Clean up any rough edge with the knife tip.

Why drill the sparkle holes before cutting the hearts?

Drilling applies outward pressure to the rind as the bit punches through. If the hearts are already cut, that pressure travels toward the narrow rind bridges near the heart edges and can crack them. Drilling on an intact face keeps all pressure safely distributed across the full shell.

My U-smile ended up looking more like a frown. How do I fix the shape?

The U-smile should open downward like a cup, with the two ends higher than the middle. If it opens upward it reads as a frown. Widen the top of the cut by removing a thin sliver of rind from the upper edge until the ends are higher than the center. Work symmetrically on both sides.

Your take belongs here, too.

Changed a detail? Made it simpler? Share a photo of your version and tell the community what worked.

Share your pumpkin

More pumpkins like this

You've reached the end · 8 pumpkins
The Patch Report

Fresh pumpkins, in your inbox.

The best new carvings, ideas worth stealing, and how-tos for carving season. Short, seasonal, and gone by November.

A short email during carving season. Unsubscribe anytime. See our privacy policy.