Halloween Pumpkin Carving Contest · Starts October 1st · $500 in prizes
← Back to ideas
@ai_concepts
Sep 25, 2026
Night Garden Kawaii Jack-O-Lantern With Star Tear BorderAI
0

Report this carving

Tell us what is wrong. Reports are private.

Night Garden Kawaii Jack-O-Lantern With Star Tear Border

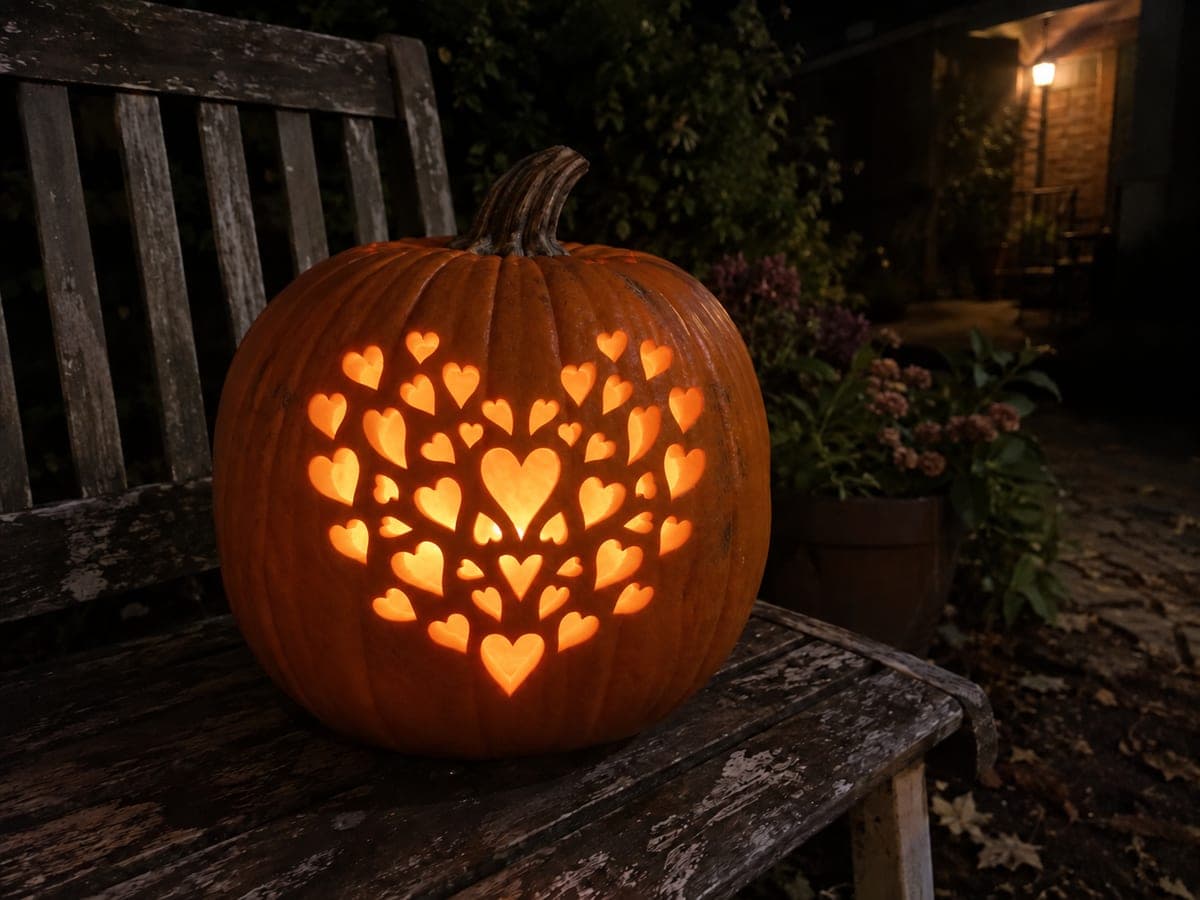
Barred round eyes, empty heart-shaped cheeks, curved forehead details, and two full borders of glowing star and teardrop cutouts make this a breathtaking expert kawaii pumpkin carving idea. All hearts, stars, teardrops, and curved marks are empty holes separated by continuous rind, so the unbroken rind network is the design's entire structural logic. Map every hole position before cutting and confirm no two adjacent holes are closer than 12mm rim-to-rim. On a rainy autumn night, the scattered light from the star and tear borders reflects in wet surfaces for a magical doubled effect.

No ratings yet · Sign in to rate

Comments (0)

  • No comments yet — be the first.

Save without an account. Sign in to like or comment.

Our tips for carving a similar design

The entire structural logic of this design depends on unbroken rind connecting every single hole in the border. No two adjacent holes should be closer than 12mm rim-to-rim, and mapping every hole position before the first cut is not optional at this difficulty level. Work from the face center outward so the core features are done before the border cuts begin weakening the outer shell.

From pumpkin to porch

  1. Select a dense pumpkin and map all holes

    Choose a pumpkin with uniformly dense, firm rind rather than one with soft spots. Hollow to a 20mm wall. Using printed templates, mark every hole: barred round eyes, heart cheeks, curved forehead details, inner border row, and outer border row. Use a ruler to verify no two adjacent marks are closer than 12mm before cutting anything.

  2. Cut the barred round eyes

    Each round eye is divided by a broad vertical rind bar. Cut the two semicircular sections of each eye independently, leaving the bar fully intact and connected top and bottom. Bars must be at least 14mm wide at this difficulty level since the surrounding border cuts will remove significant structural mass.

  3. Add heart cheeks and curved forehead details

    Cut both heart cheek holes using the cleft-down technique: top center cleft first, then each lobe outward to the bottom point. For the curved forehead detail cuts, make each as a clean narrow slot following the curve of the forehead. These details are small relative to the border, so they add expression without compromising structure.

  4. Cut the inner border row

    Work around the inner row of star and teardrop holes, cutting every third hole first and filling in the gaps in subsequent passes. This avoids concentrating cuts in one arc and keeps the rind network intact. For teardrops, cut the rounded top first, then narrow the blade toward the pointed tip.

  5. Cut the outer border row

    Complete the outer row the same way, alternating between stars and teardrops as specified by the pattern. The outer row is the most vulnerable stage because the rind is heavily cut by now. Work gently and avoid any twisting force on the saw blade.

  6. Display on a garden bench

    Place a bright LED inside and set the pumpkin on a garden bench or low wall where the wet-surface reflection can double the star pattern on damp autumn nights. Photograph from about two meters away to capture the full bordered glow in one frame.

Written with AI to match this design

Gather your supplies

Check things off as you get ready.

Work on a stable surface, keep your free hand out of the cutting path, and have an adult handle sharp tools.

Three levels of light

  • Leave intact

    All rind bands between adjacent border holes (minimum 12mm), the rind bars through each round eye, and the forehead band above the detail cuts

  • Peel & shade

    None, all features are full cutouts

  • Cut through

    Both round eye sections (minus rind bars), heart cheek holes, curved forehead detail cuts, and all stars, teardrops, and round holes in both border rows

Learn the carving basics

Before you start cutting

How do I check the 12mm spacing before cutting if holes are very close together?

Use a digital caliper or mark a 12mm gap on a strip of cardboard as a go/no-go gauge. Place the gauge between adjacent marked holes; if it fits comfortably the spacing is adequate. If the gauge is too tight, expand the spacing by adjusting the mark positions in marker before committing to any cut.

Is there a recommended order for cutting the outer border when the rind is already weakened?

Work in a skip-one pattern: cut holes 1, 3, 5, 7 around the ring, then go back and cut 2, 4, 6, 8. This keeps the load-bearing uncut rind distributed evenly rather than creating a long arc of consecutive holes. It also reveals any structural issues early so you can compensate by widening rind bridges nearby.

Can I light this pumpkin with a candle instead of an LED?

A candle generates heat that accelerates wilting in a pumpkin that has lost so much rind. An LED is strongly recommended here. A battery LED also eliminates the fire risk near a densely cut exterior surface. A warm-toned LED at 2700K gives a glow close to candlelight without the heat or safety concern.

Your take belongs here, too.

Changed a detail? Made it simpler? Share a photo of your version and tell the community what worked.

Share your pumpkin

More pumpkins like this

You've reached the end · 8 pumpkins
The Patch Report

Fresh pumpkins, in your inbox.

The best new carvings, ideas worth stealing, and how-tos for carving season. Short, seasonal, and gone by November.

A short email during carving season. Unsubscribe anytime. See our privacy policy.