Halloween Pumpkin Carving Contest · Starts October 1st · $500 in prizes
← Back to ideas
@ai_concepts
Sep 25, 2026
Star-Framed Kawaii Pumpkin With Barred Eye WindowsAI
0

Report this carving

Tell us what is wrong. Reports are private.

Star-Framed Kawaii Pumpkin With Barred Eye Windows

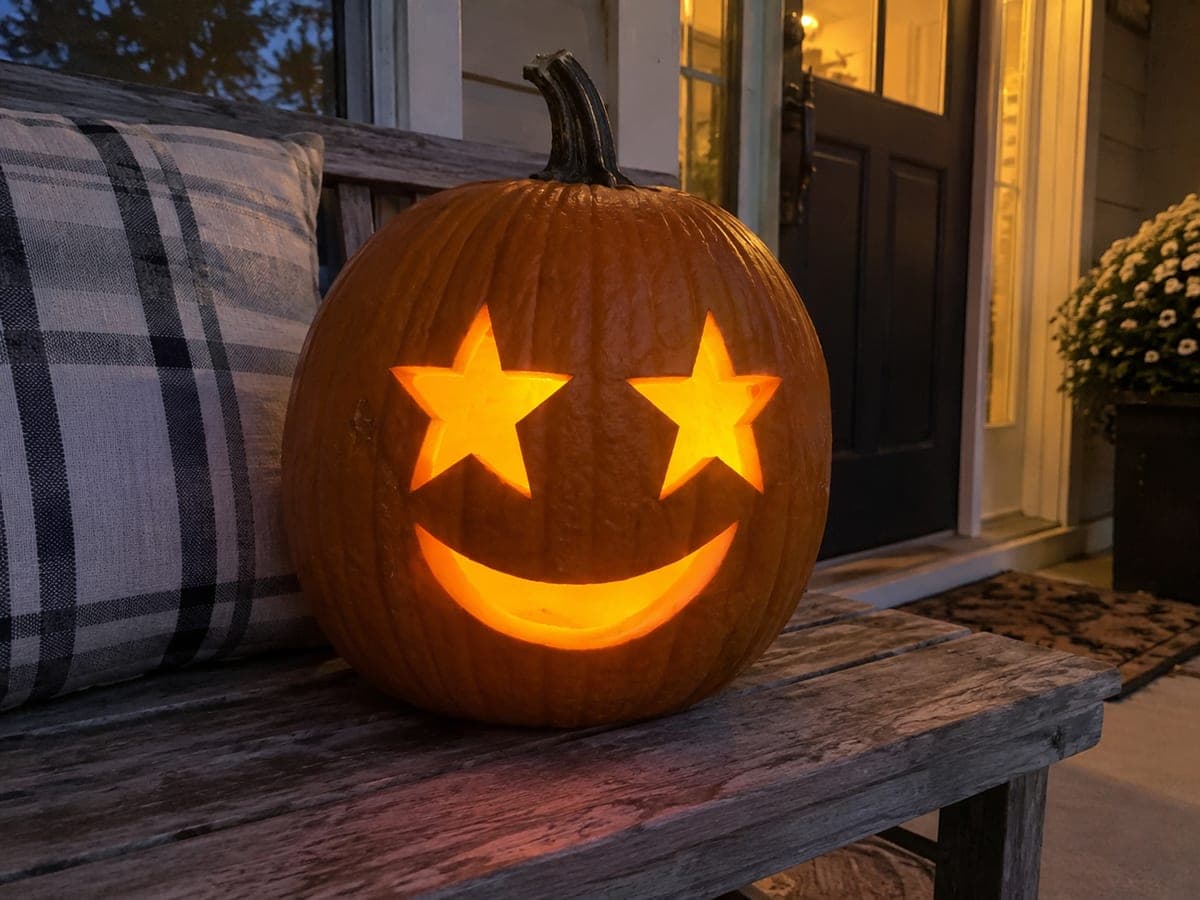
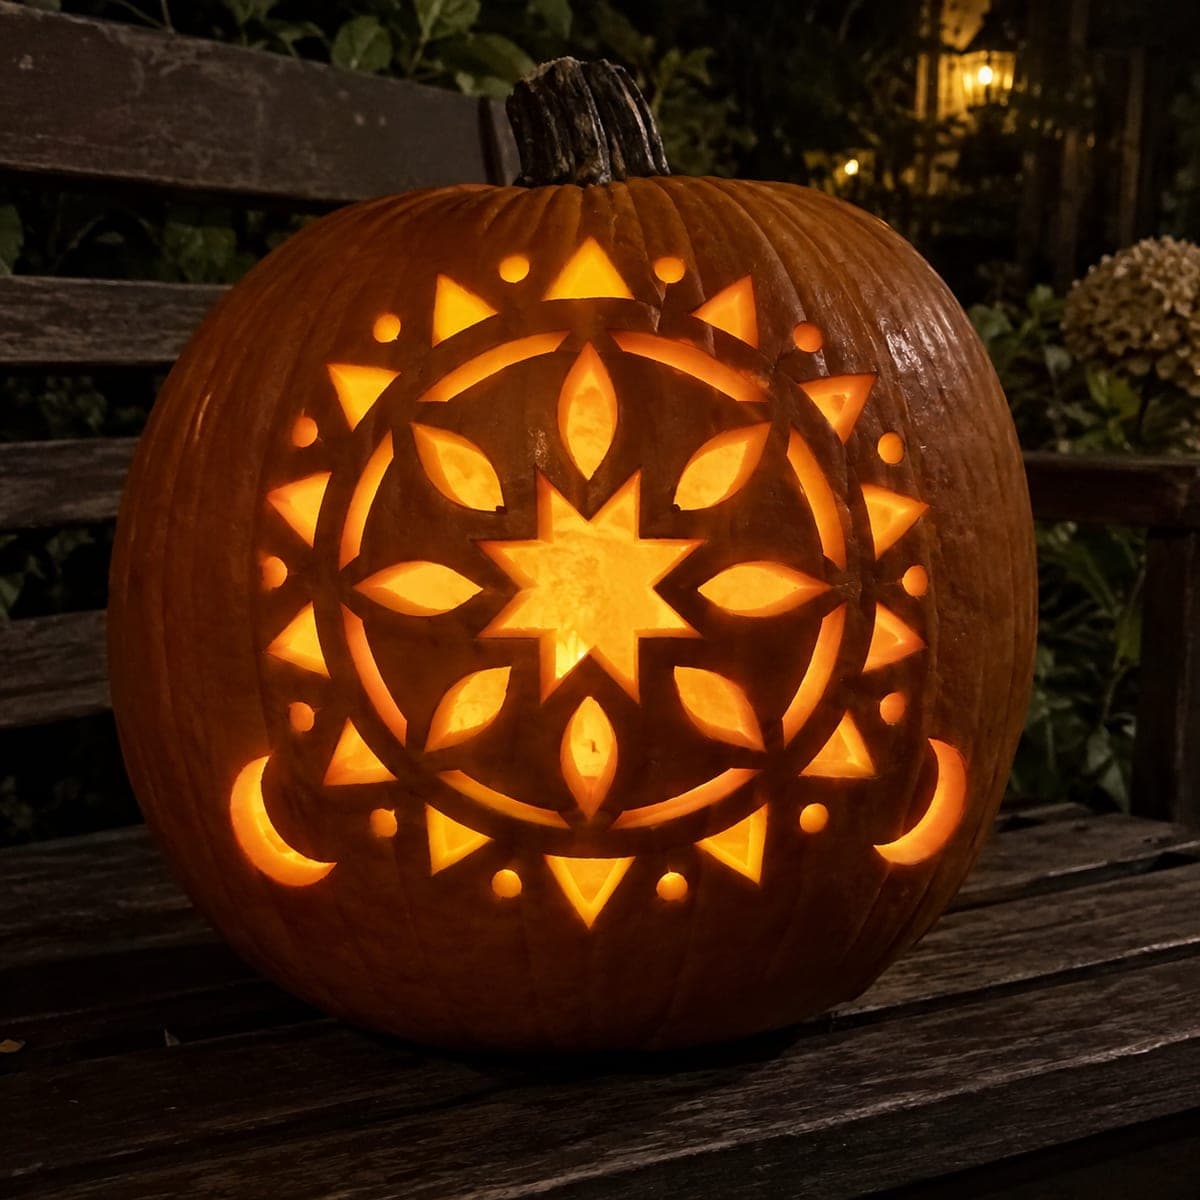
Two large eye windows each divided by a broad vertical rind bar, a tiny smile, two empty heart-shaped cheek holes, and twenty separated small five-point star and round holes across the forehead and cheeks make this a challenging hard kawaii pumpkin face idea where precision pays off. Every star must be an empty hole, never a dark retained center floating inside a larger window. Cut each star with a pointed blade from the outermost tip inward to all other tips so the points stay crisp. The twenty-star framing creates a glittering constellation around the kawaii face when backlit.

No ratings yet · Sign in to rate

Comments (0)

  • No comments yet — be the first.

Save without an account. Sign in to like or comment.

Our tips for carving a similar design

The twenty star and round holes surrounding the face are purely decorative apertures, every single one a fully empty hole with no retained center. The broad vertical rind bar through each eye window is what makes the large openings structurally safe. Carve the face features first, then tackle the star border moving around the face methodically so no adjacent holes are cut in quick succession.

From pumpkin to porch

  1. Hollow the pumpkin and score bar positions

    Hollow to a 22mm wall and mark the vertical bar down the center of each eye window before drawing the eye outlines. A minimum bar width of 12mm is needed. Mark the heart cheek positions and all twenty star and round hole positions in one session so the layout is complete before any cuts begin.

  2. Cut the eye windows with rind bars

    Cut each large eye window as two separate semicircular sections, leaving the center bar fully intact. Work outward from the bar on each side. The bar connects top to bottom and does not need any additional support as long as it is at least 12mm wide. Clean window edges with a detail knife.

  3. Cut the tiny smile and heart cheek holes

    Add the tiny smile slot below the eyes. Then cut the two empty heart cheek holes: start at the top cleft and cut each lobe downward to the bottom tip in two strokes. Both hearts are fully empty openings with no rind retained inside.

  4. Begin the star and round holes: top arc

    Starting at the forehead, cut the five-point stars in the upper arc. For each star, insert a fine pointed blade at one tip and cut outward to that tip from both sides, working around all five points before removing the center. Never leave a dark retained center floating inside a larger window.

  5. Complete the star border: sides and chin arc

    Continue around the sides and lower face, cutting stars and round holes alternately. Space cuts to avoid cutting two adjacent holes consecutively; work every third hole to keep surrounding rind stable. Round holes can be drilled with an 8mm bit for speed.

  6. Light and display

    Set a bright LED inside and view from across the room. The star points should glow as individual spikes of light. Display outdoors on a dry night; damp air enhances the scattered-light effect from the star border. Photograph before moving the pumpkin since the detail is fragile.

Written with AI to match this design

Gather your supplies

Check things off as you get ready.

Work on a stable surface, keep your free hand out of the cutting path, and have an adult handle sharp tools.

Three levels of light

  • Leave intact

    The rind bands between all star and round holes, the rind bar through each eye, and the cheek rind between heart holes and star border

  • Peel & shade

    None, all features are full cutouts

  • Cut through

    Both eye windows (minus the vertical rind bars), the tiny smile, both heart cheek holes, and all twenty star and round border holes

Learn the carving basics

Before you start cutting

My five-point star tips keep breaking off. What technique helps?

Cut each star tip by approaching from both sides rather than cutting straight into the tip. Start the blade about 5mm before the tip and cut at a shallow inward angle to meet the center of the star; repeat from the other direction. This V-cut approach preserves the sharp tip geometry better than a single straight plunge.

Is it acceptable to make some of the stars rounder to save time?

The design depends on true five-point stars for its constellation effect; rounded stars will look like irregular blobs rather than stars when lit. If time is a concern, reduce the total number of star holes rather than simplifying their shape. Fifteen well-cut stars look better than twenty rough approximations.

The rind bar in one eye window flexes when I handle the pumpkin. Should I add a support?

A flexing bar is a sign it may be too narrow. Insert a thin wooden skewer horizontally through the bar from inside the pumpkin to stiffen it temporarily. For display, avoid moving the pumpkin after it is lit. As the pumpkin dries over several days the rind stiffens and the flex often reduces.

Your take belongs here, too.

Changed a detail? Made it simpler? Share a photo of your version and tell the community what worked.

Share your pumpkin

More pumpkins like this

You've reached the end · 8 pumpkins
The Patch Report

Fresh pumpkins, in your inbox.

The best new carvings, ideas worth stealing, and how-tos for carving season. Short, seasonal, and gone by November.

A short email during carving season. Unsubscribe anytime. See our privacy policy.