Halloween Pumpkin Carving Contest · Starts October 1st · $500 in prizes
← Back to ideas
@ai_concepts
Sep 14, 2026
Bold Eight-Legged Spider PumpkinAI
0

Bold Eight-Legged Spider Pumpkin

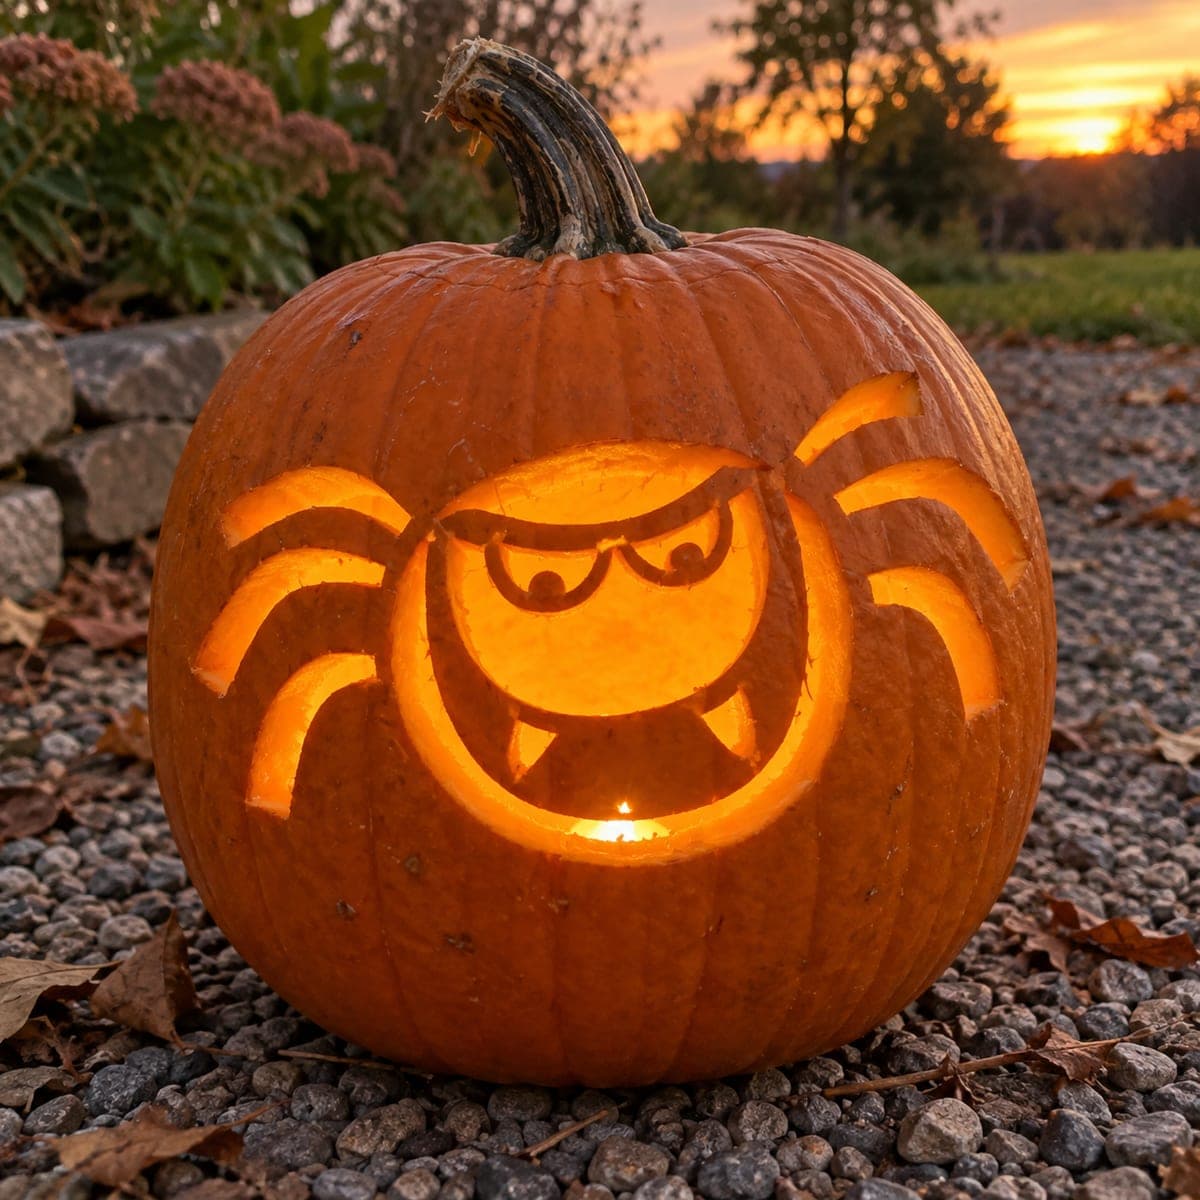
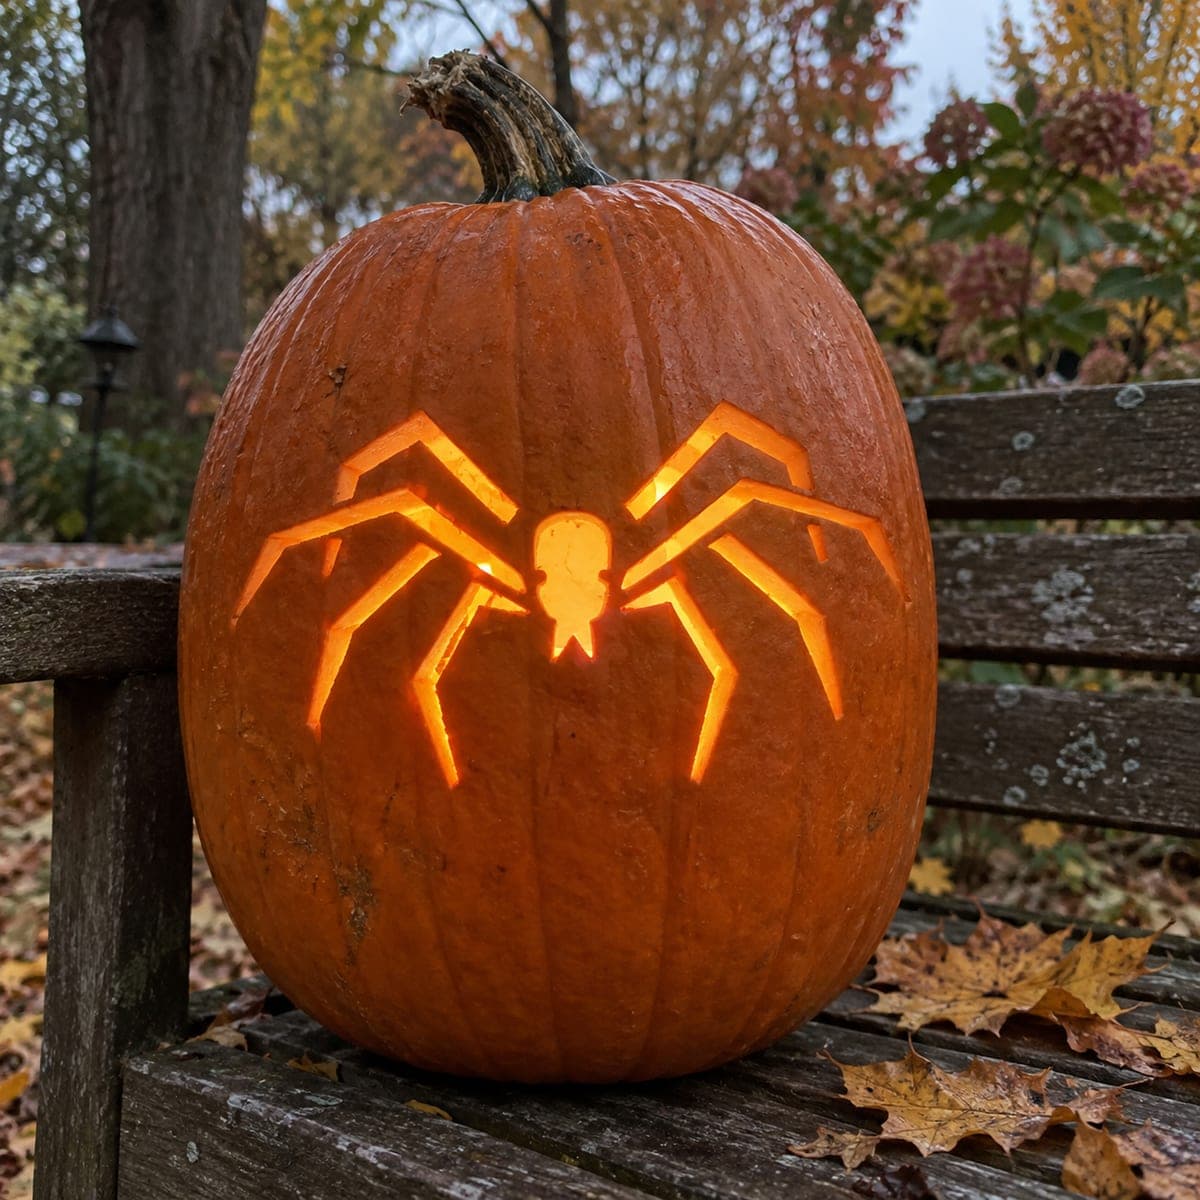
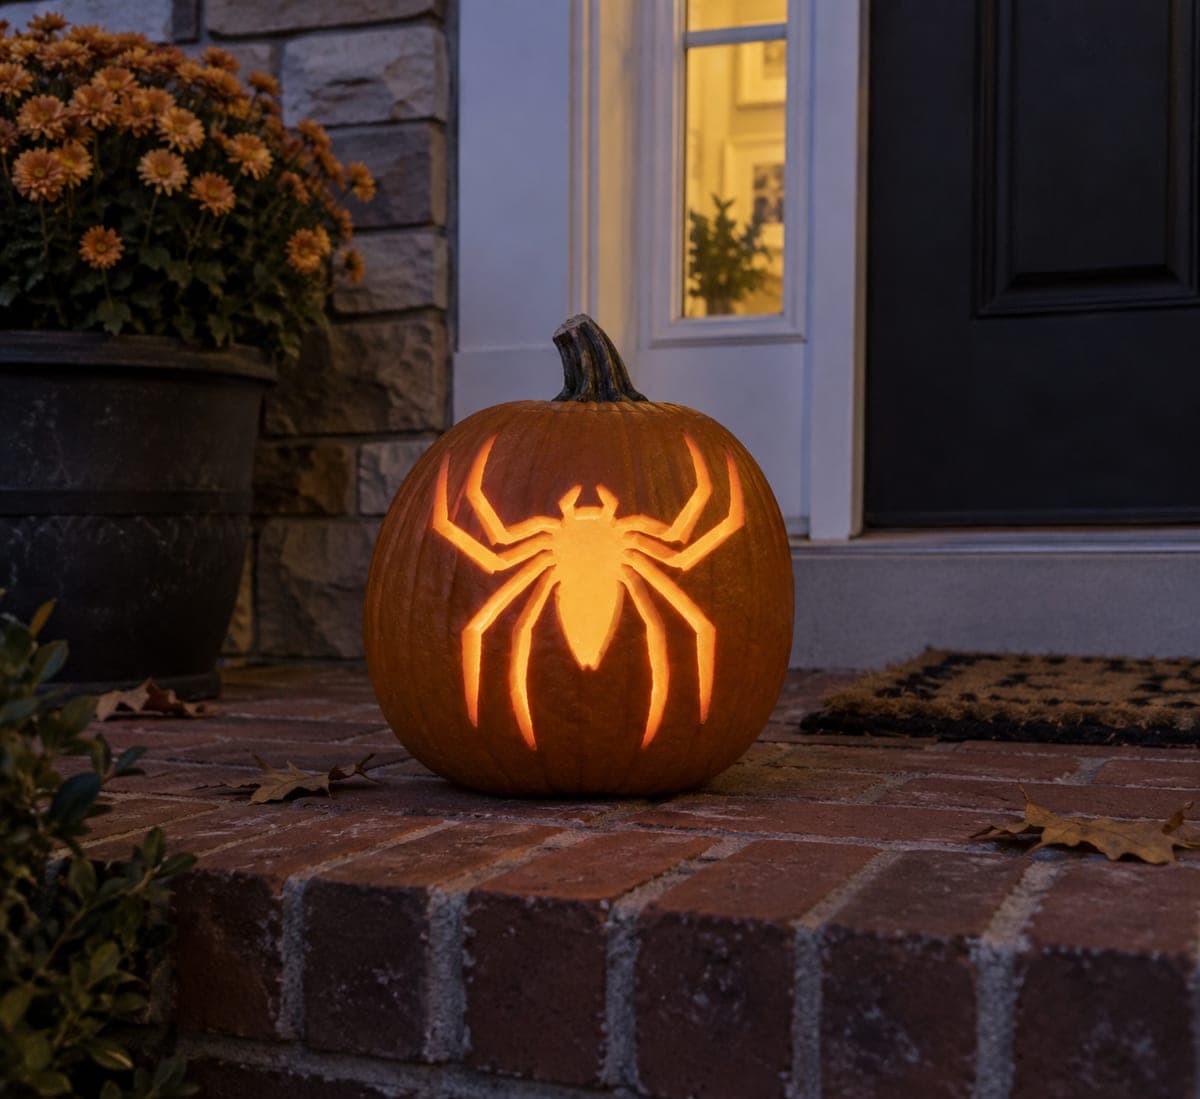
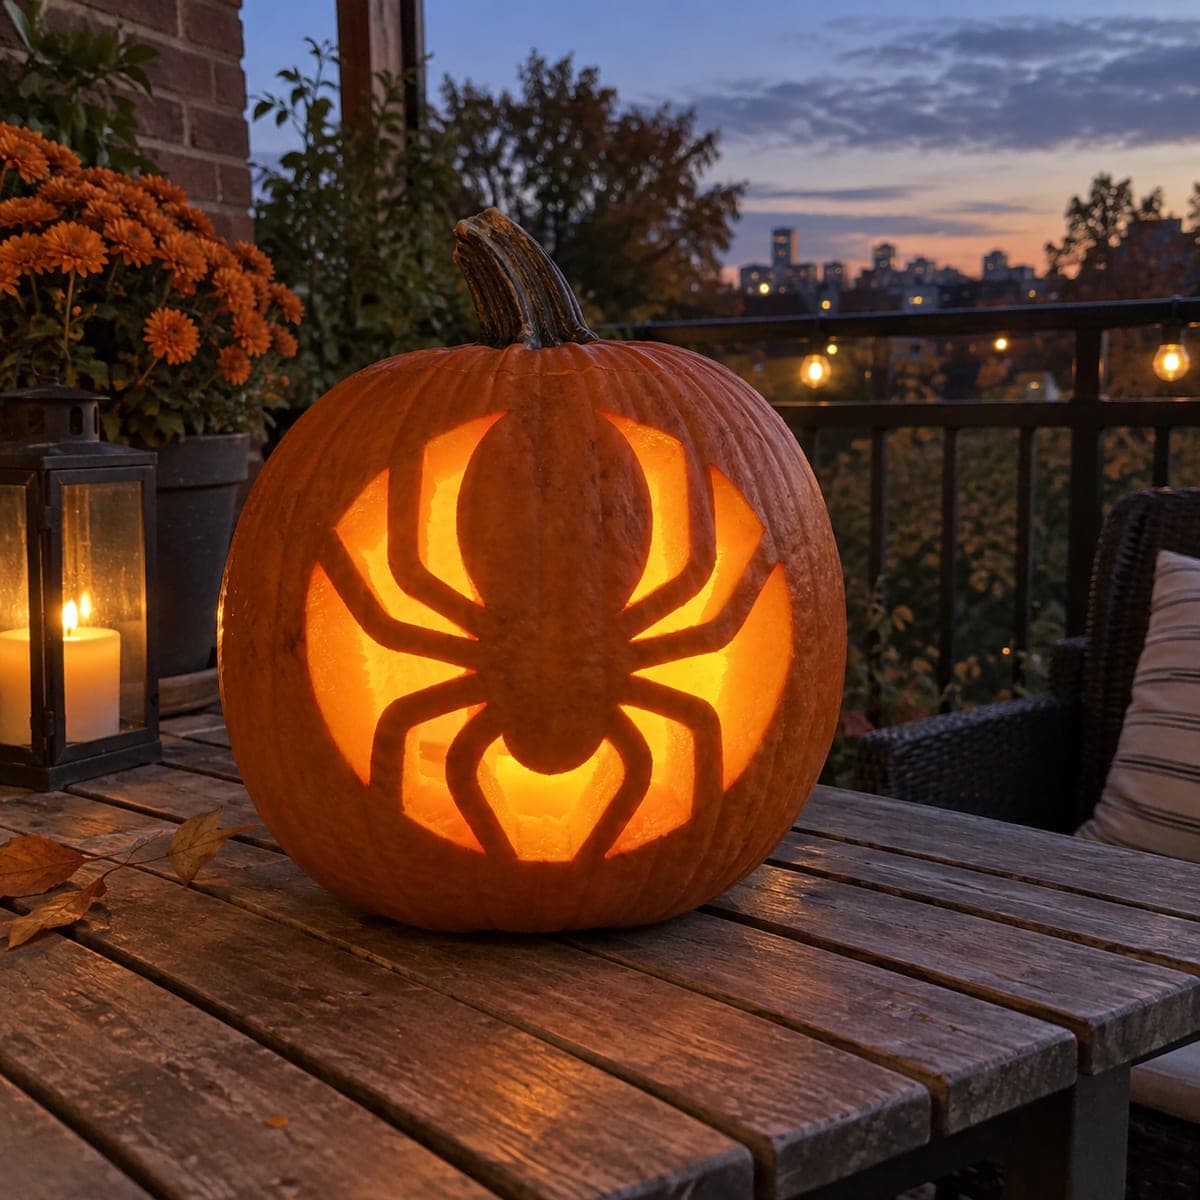
A bold spider with an oval abdomen, a small cephalothorax, and eight long tapering legs radiating outward fills the pumpkin face as a fully pierced cutout, letting bright jack-o-lantern light outline every leg against the dark exterior. The clean geometry of this spider pumpkin carving idea makes it fast to execute at any skill level. Carve the two lower front legs first since they angle toward the pumpkin base and could flex and snap if cut last when the surrounding wall is already weakened by the body opening.

This is an AI-generated concept image: a realistic, carvable design idea rather than a photo of a finished carve. AI concepts are always labeled and sit out the leaderboard and the contest.

No ratings yet · Sign in to rate
Comments (0)

  • No comments yet — be the first.

Save without an account. Sign in to like or comment.

Our tips for carving a similar design

The core trick here is a single fully pierced silhouette: an oval abdomen, a small head, and eight tapering legs that read instantly when the light glows through. Keep the design large and centered so each leg has room, and plan your cut order so the long lower legs go first while the wall is still strong. Because a design like this could be built as an AI concept, treat every thin leg as if it must actually hold, leaving each one wide enough to stay firm.

Written by PumpkinCarvingIdeas.com, inspired by the image above. These are our suggestions, not instructions from the uploader. This approach to the AI concept has not been tested on a real pumpkin.

From pumpkin to porch

  1. Prep the pumpkin and cut a back door

    Pick a tall pumpkin with a smooth, wide front face. Have an adult cut a lid or a door in the back rather than the top so the front stays uninterrupted. Scoop the inside clean and thin the front wall to about one inch so your blade passes easily. A thinner wall makes long leg cuts safer and smoother.

  2. Transfer the spider pattern

    Center a spider stencil on the front and tape it flat, snipping the paper edges so it hugs the curve. Use a poking tool to dot along every outline, spacing dots close on the curved legs. Peel the paper and connect the dots lightly with a marker so you can see the full shape. Double check that all eight legs are even before any cutting begins.

  3. Cut the two lower front legs first

    Start with the two legs that angle down toward the base, since they sit where the wall weakens last. Use a small serrated carving saw and let the tool do the work with gentle strokes. Keep each leg a consistent width so none end up fragile. Push cut pieces out from the inside to avoid tearing the front.

  4. Cut the remaining legs, then the head

    Work outward to inward, carving the upper and side legs next while the surrounding shell is still supported. Cut the small cephalothorax after the legs so the body area stays rigid as long as possible. Keep your free hand behind the blade path, never in front of it. Take your time on the tapering tips so they do not snap.

  5. Cut the large abdomen last

    Save the big oval abdomen opening for the end, since it removes the most material and weakens the center. Score the outline first, then remove it in two or three pieces rather than one heavy chunk. Clean the inside edges with a paring tool for crisp lines. This order keeps the whole face stable until the final cut.

  6. Light it and photograph

    Drop in one or two battery LED lights and never a candle, since the wide openings pull a lot of air. Angle the lights slightly upward so the glow fills the legs evenly. Set the pumpkin on a step at dusk and shoot from the front for the boldest silhouette. Wipe the cut edges dry to slow browning before your photo.

Gather your supplies

Check things off as you get ready.

Work on a stable surface, keep your free hand out of the cutting path, and have an adult handle sharp tools.

Three levels of light

  • Leave intact

    The full pumpkin body and stem stay untouched for a dark border around the spider.

  • Peel & shade

    Optionally skin-peel a faint dashed web or ground shadow near the base for a dim orange accent.

  • Cut through

    The oval abdomen, small head, and all eight legs are cut through for the brightest glow.

Learn the carving basics

Before you start cutting

How do I keep the long legs from snapping?

Keep each leg at least a finger-width wide and cut the lower front legs first while the wall is still solid. Save the large abdomen opening for last so the center stays rigid as long as possible. If a leg feels flexible, widen it slightly rather than trimming it thinner.

What size pumpkin works best for this spider?

A medium to large pumpkin with a tall, smooth front gives the eight legs room to spread without crowding. Avoid heavily ribbed faces, since the grooves can distort the clean leg lines. A flatter front also makes stencil transfer much easier.

Should the legs be symmetrical or slightly angled?

Aim for even mirrored pairs on each side so the spider reads clearly from the street. A slight downward angle on the lower legs looks natural and follows the pumpkin's curve. Mark all eight before cutting so you can fix spacing while it is still just ink.

Your take belongs here, too.

Changed a detail? Made it simpler? Share a photo of your version and tell the community what worked.

Share your pumpkin

More pumpkins like this

You've reached the end · 8 pumpkins
The Patch Report

Fresh pumpkins, in your inbox.

The best new carvings, ideas worth stealing, and how-tos for carving season. Short, seasonal, and gone by November.

A short email during carving season. Unsubscribe anytime. See our privacy policy.