Halloween Pumpkin Carving Contest · Starts October 1st · $500 in prizes
← Back to ideas
@ai_concepts
Aug 20, 2026
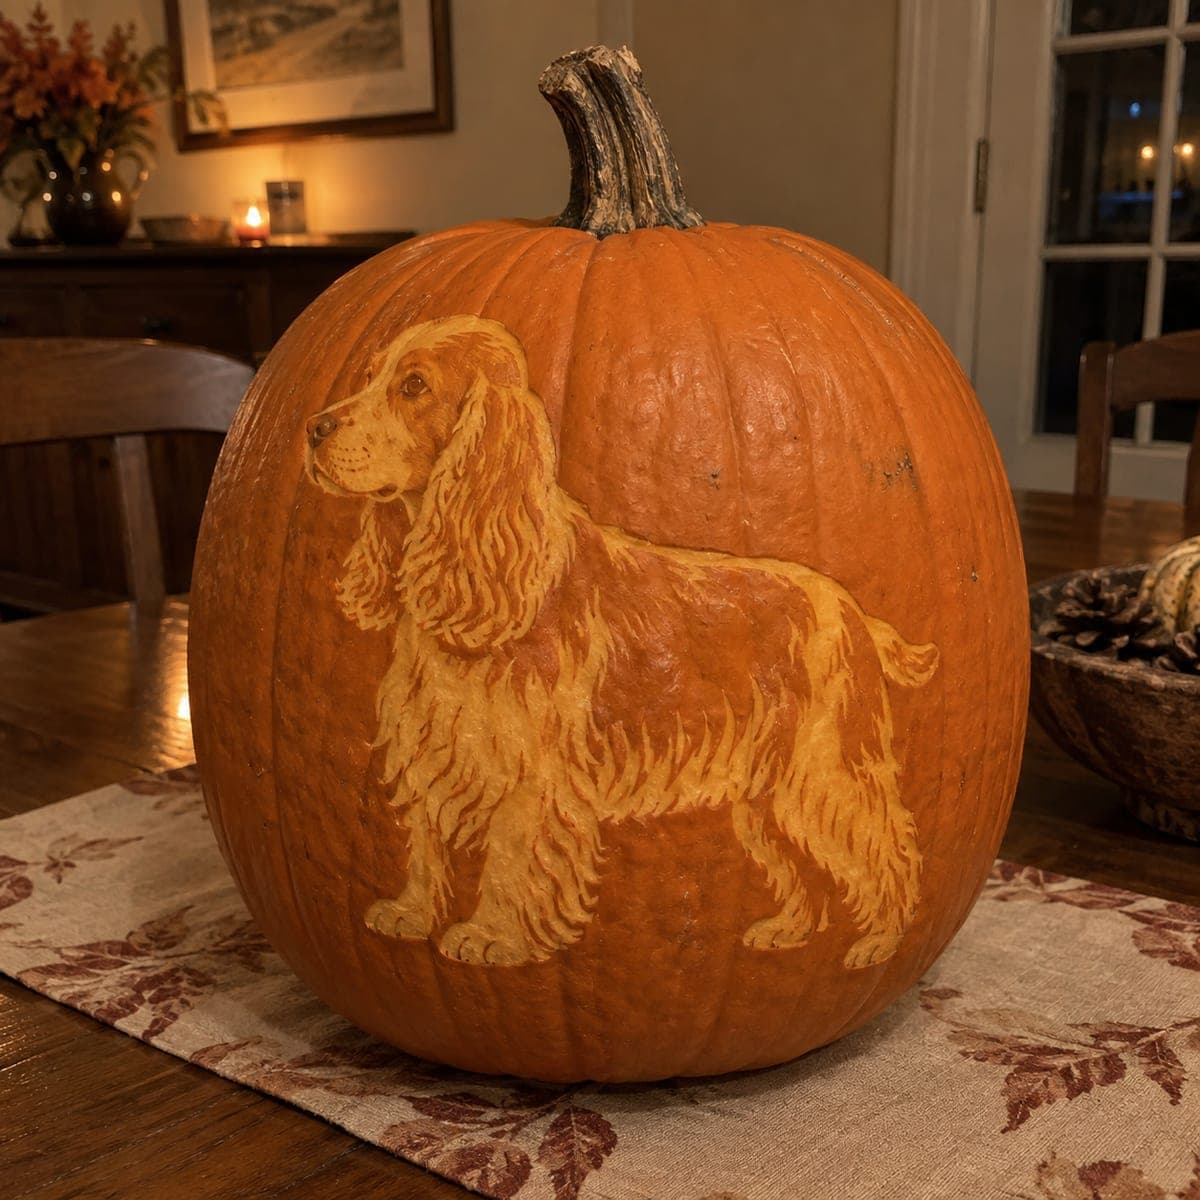
Bull Terrier Dog Etched Pumpkin PortraitAI
0

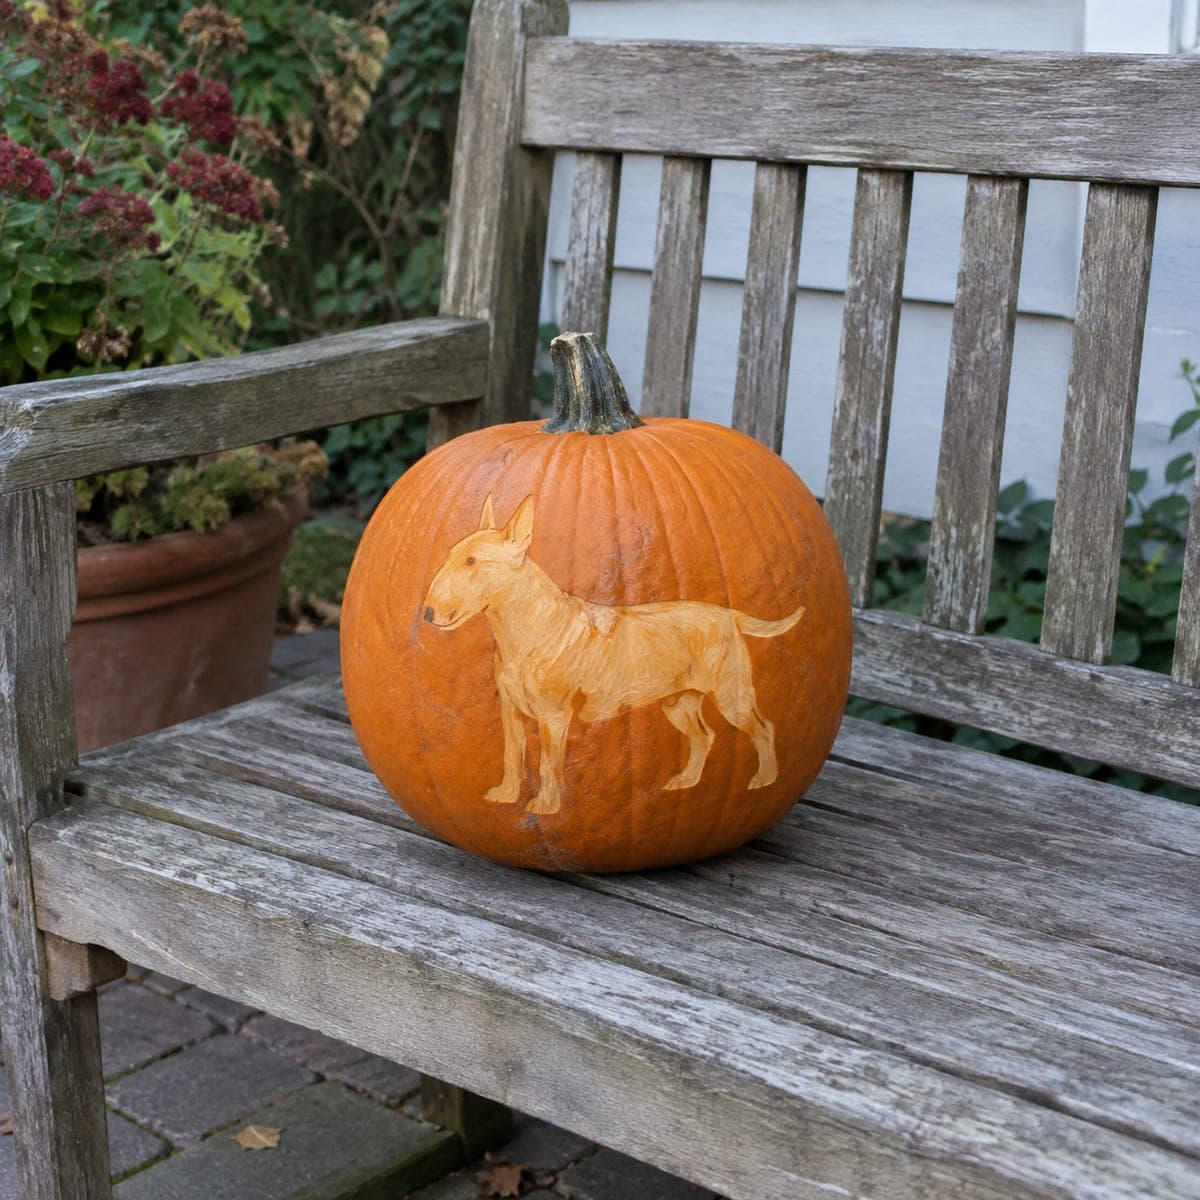
Bull Terrier Dog Etched Pumpkin Portrait

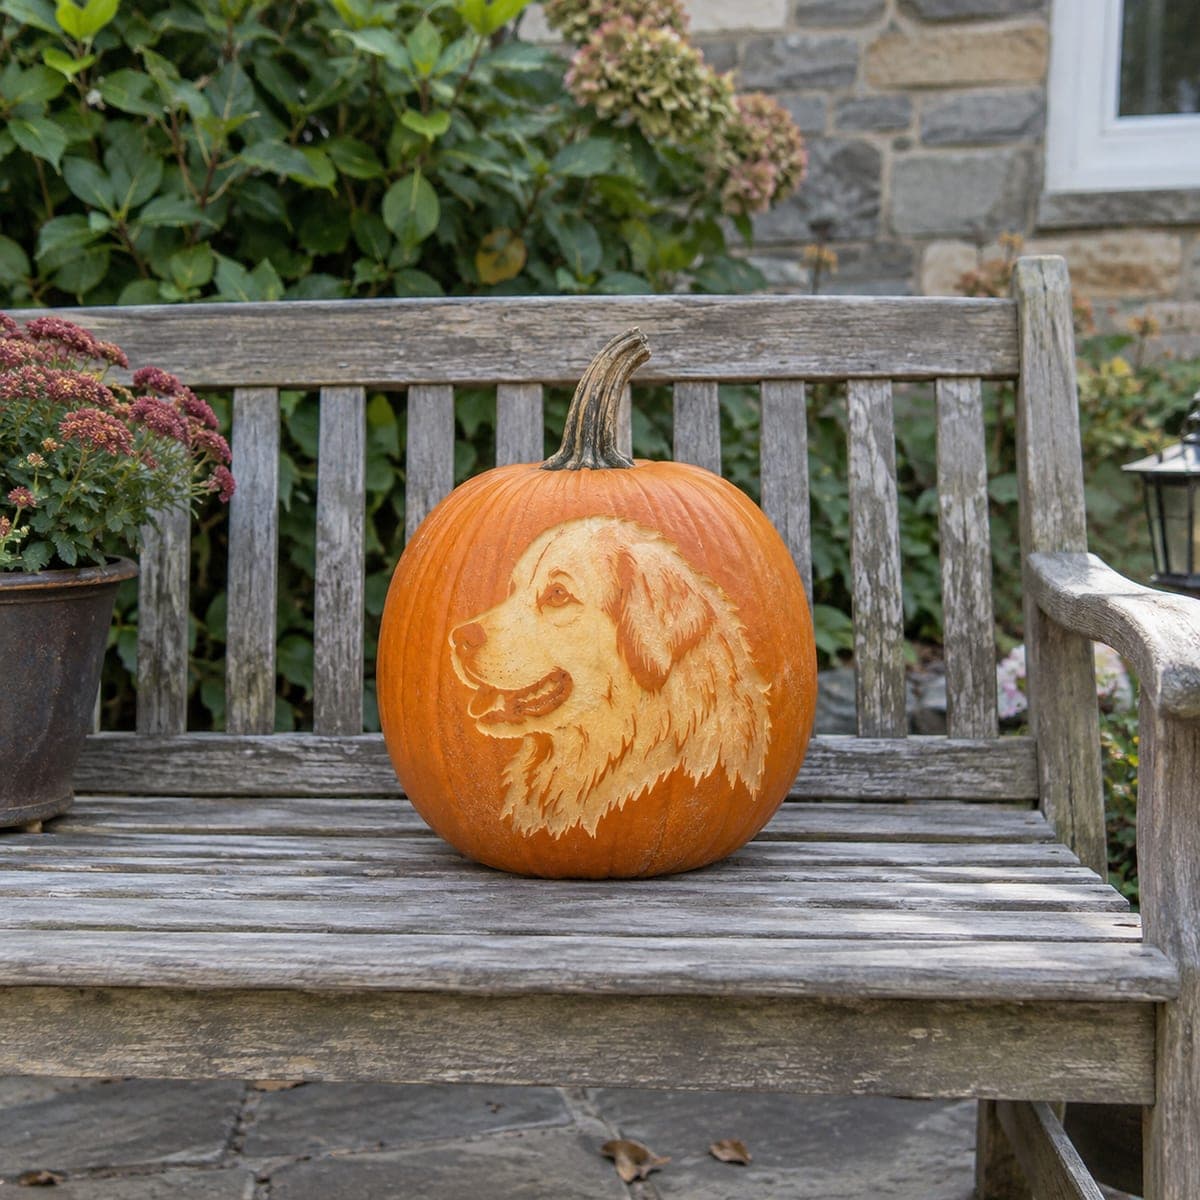
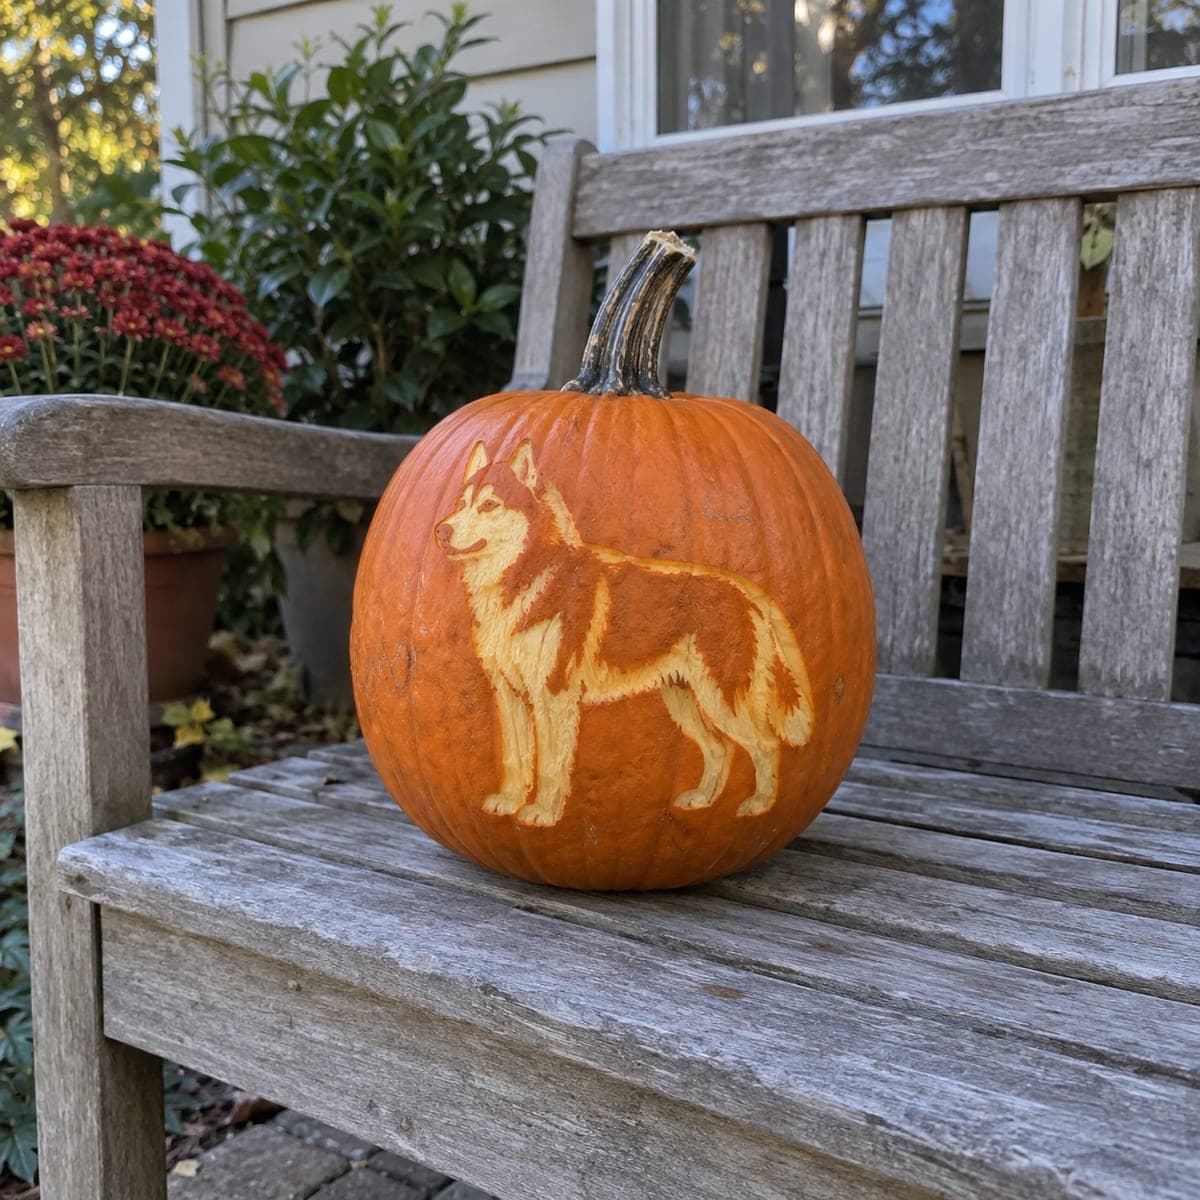
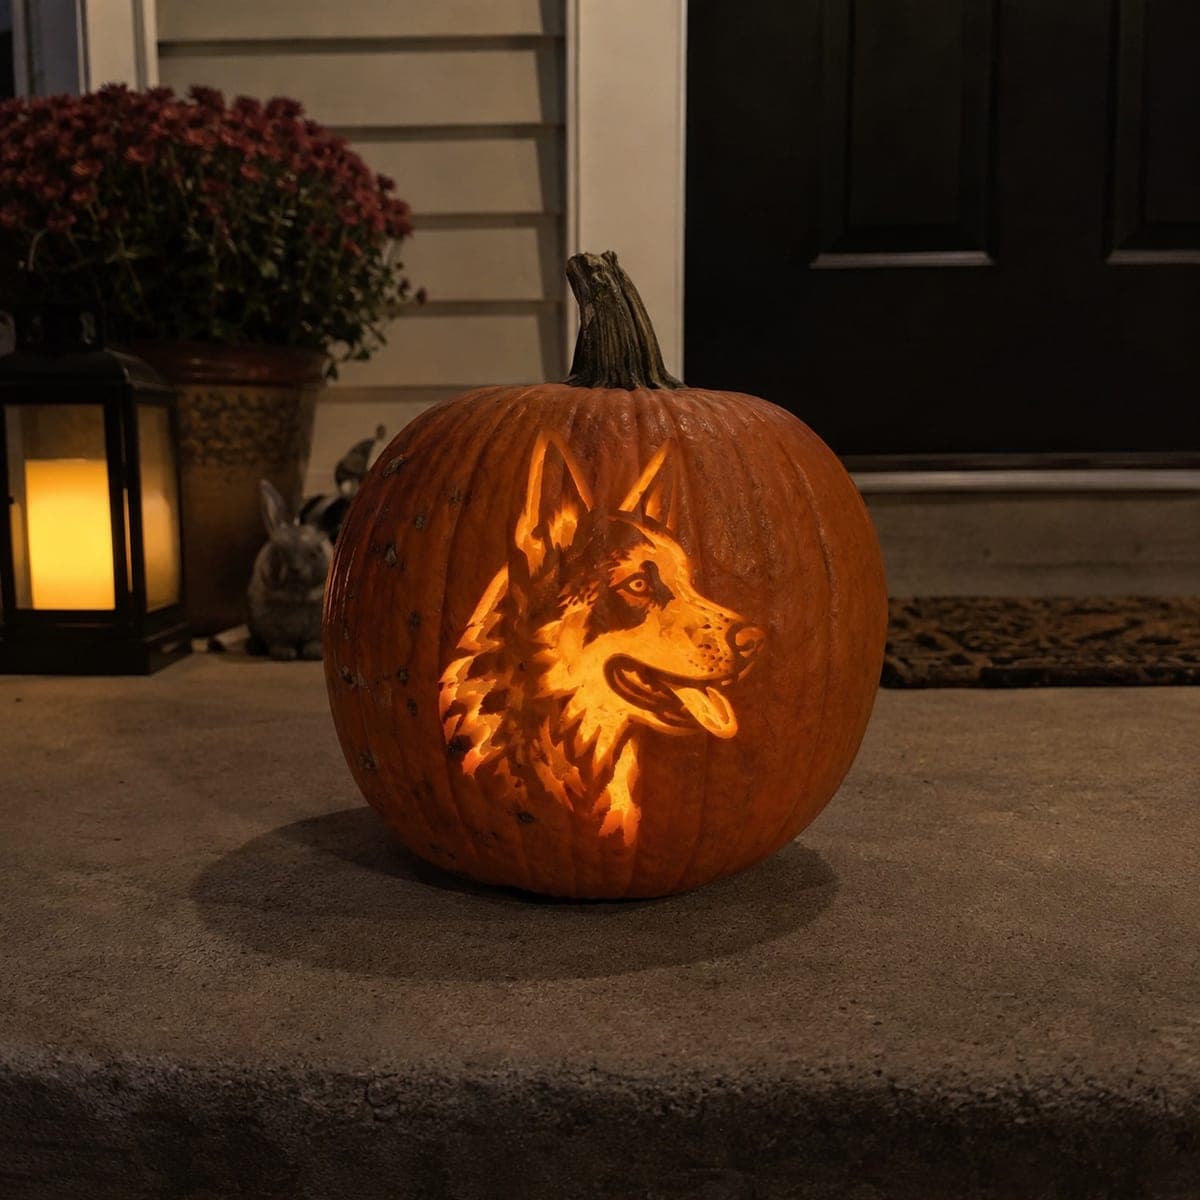
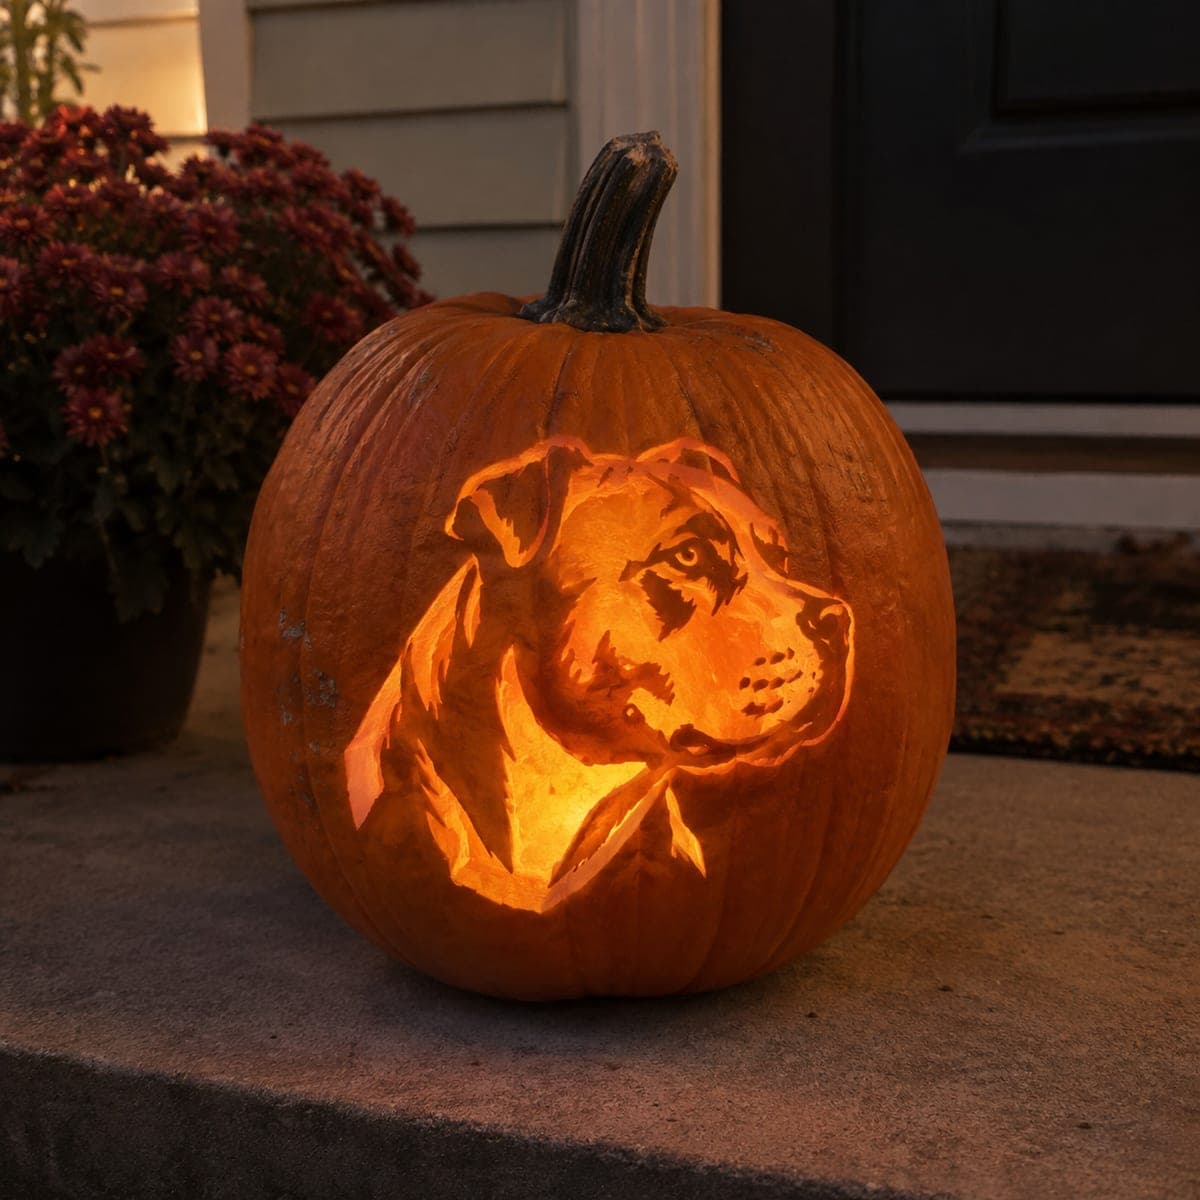
A standing bull terrier in full profile, peeled from the pumpkin skin with light strokes that suggest the breed's smooth coat and famous egg-shaped head. Dog silhouette etches are a thoughtful gift pumpkin for owners, and any breed with a distinctive outline works with the same method. Print a side-view photo at pumpkin scale, trace the outline through the paper with a pin wheel, and peel inside the lines. Leave subtle skin shading along the back for muscle definition.

This is an AI-generated concept image: a realistic, carvable design idea rather than a photo of a finished carve. AI concepts are always labeled and sit out the leaderboard and the contest.

No ratings yet · Sign in to rate
Comments (0)

  • No comments yet — be the first.

Save without an account. Sign in to like or comment.

Our tips for carving a similar design

The core trick here is etching rather than cutting all the way through, so the whole dog glows as a soft orange silhouette instead of a bright cutout. You peel away only the thin outer skin inside the outline, then leave a few patches of skin slightly darker along the back to hint at muscle. Because nothing punches through the wall, the pumpkin stays strong and the smooth coat reads as gentle shading.

Written by PumpkinCarvingIdeas.com, inspired by the image above. These are our suggestions, not instructions from the uploader. This approach to the AI concept has not been tested on a real pumpkin.

From pumpkin to porch

  1. Print and position the profile

    Find a clean side-view photo of a bull terrier and print it at the size of your pumpkin's flattest panel. Trim the paper and tape it snugly to a smooth area, avoiding deep ribs that would distort the outline. Choose a spot where the egg-shaped head and long back have room to sit without wrapping around the curve. Keep the pose fully in profile so the legs and tail stay easy to read.

  2. Transfer the outline

    Run a pin wheel or a poke tool along every edge of the dog, spacing dots close together so the shape stays continuous. Add a few interior marks where the chest, hind leg, and ear meet the body. Peel the paper off and connect the dots lightly with a washable marker if it helps you see the shape. Step back and check the outline before any peeling begins.

  3. Score the outline first

    With a small detail blade or a lino-style gouge, trace just inside your dotted line to define the whole silhouette. Keep the cut shallow, only through the skin and a hair below, not into the hollow. This crisp border keeps your peeling from wandering past the dog. An adult should handle every sharp tool from this point on.

  4. Peel the body for a soft glow

    Use a ribbon tool or the edge of a spoon to scrape away the orange skin inside the outline, exposing the pale flesh underneath. Work in the direction the coat would lie, from head toward tail, so faint tool strokes suggest fur. Aim for an even mid depth across the main body. This peeled layer is what will glow dim orange when lit.

  5. Shade the back and details

    Leave a narrow band of skin only lightly scuffed along the top of the back and the crown of the head so those areas stay a touch darker, hinting at muscle and the egg-shaped skull. Peel a little deeper on the chest and belly to brighten them. Define the eye and the line between the legs with shallow scoring. Keep testing with a light inside to see the contrast build.

  6. Light it and photograph

    Drop in a battery LED, warm white looks best against the flesh tones. Set the pumpkin so the dog faces your walkway or the giftee's door. Take your photo in dim light at dusk to catch the soft glow of the peeled coat. Mist the etched area and cover it with plastic wrap in the fridge overnight to slow browning.

Gather your supplies

Check things off as you get ready.

Work on a stable surface, keep your free hand out of the cutting path, and have an adult handle sharp tools.

Three levels of light

  • Leave intact

    The background pumpkin skin around the dog and the thin band along the top of the back stay untouched and dark.

  • Peel & shade

    The dog's body, head, legs, and tail are skin-peeled to glow a soft dim orange.

  • Cut through

    Nothing is cut all the way through on this design, keeping the etched portrait strong and subtle.

Learn the carving basics

Before you start cutting

Do I need to cut through the pumpkin wall anywhere?

No. This is an etched portrait, so you only remove the outer skin and a shallow layer of flesh. Keeping the wall intact is what gives the whole dog that even, glowing silhouette instead of harsh bright gaps. It also makes the pumpkin much sturdier.

How do I keep the smooth coat from looking flat?

Vary your peeling depth. Go a little deeper on the chest and belly so they read brighter, and leave the top of the back and skull only lightly scuffed so they stay darker. Those small differences in depth create the muscle definition and the breed's distinctive head shape.

Can I use this method for a different breed?

Yes, any dog with a clear side-view outline works with the exact same steps. Print a profile photo at pumpkin scale, transfer the edge, and peel inside the lines. Breeds with a strong silhouette, like a greyhound or a corgi, read especially well.

Your take belongs here, too.

Changed a detail? Made it simpler? Share a photo of your version and tell the community what worked.

Share your pumpkin

More pumpkins like this

You've reached the end · 8 pumpkins
The Patch Report

Fresh pumpkins, in your inbox.

The best new carvings, ideas worth stealing, and how-tos for carving season. Short, seasonal, and gone by November.

A short email during carving season. Unsubscribe anytime. See our privacy policy.