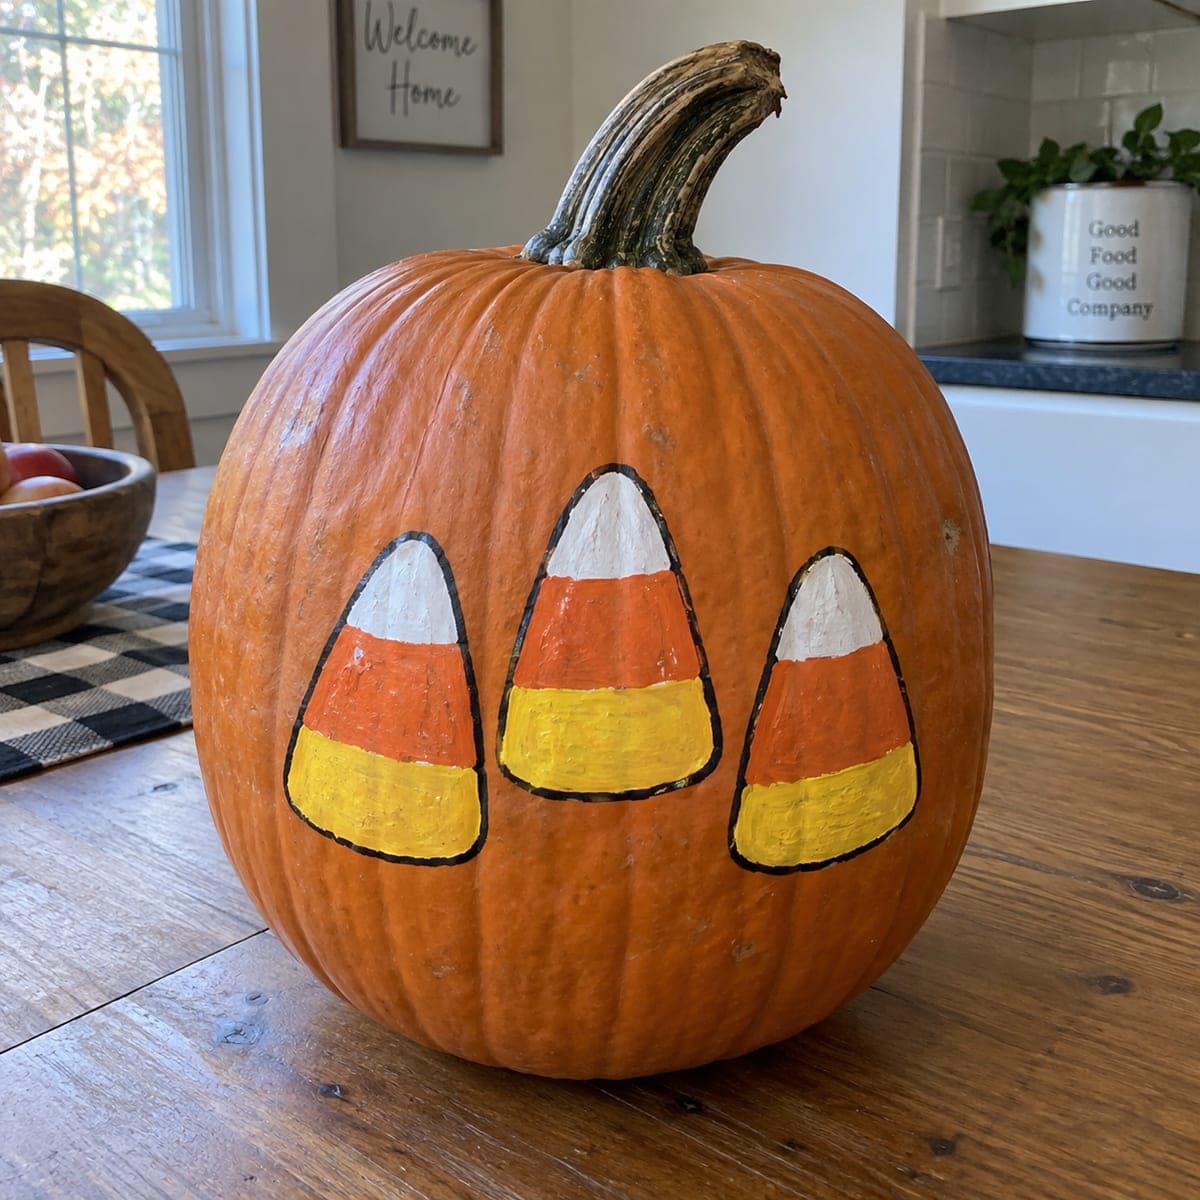
Three plump candy corn pieces march across this no-carve pumpkin, each outlined in black and filled with the classic white, orange, and yellow stripes. The bold outlines hide wobbly edges, which makes this a forgiving first painting project for kids. Paint all the white tips first, then the orange bands, then yellow, letting each stripe dry before the next. Set it on a kitchen table or porch step for cheerful color that lasts through Thanksgiving.
This is an AI-generated concept image: a realistic, carvable design idea rather than a photo of a finished carve. AI concepts are always labeled and sit out the leaderboard and the contest.
The core trick here is the bold black outline, which frames each candy corn piece and hides any wobbly brush edges underneath. Sketch three plump triangles across the pumpkin belly, outline them in black, then fill in the classic white tip, orange middle, and yellow base. Because nothing is cut, this is a forgiving, mess-light project that holds its color from Halloween through Thanksgiving.
Written by PumpkinCarvingIdeas.com, inspired by the image above. These are our suggestions, not instructions from the uploader. This approach to the AI concept has not been tested on a real pumpkin.
From pumpkin to porch
1
Wipe down and plan your layout
Choose a smooth, clean pumpkin and wipe the surface with a damp cloth so paint sticks well. Let it dry fully. Decide on three candy corn shapes across the front, roughly evenly spaced, with the middle one slightly larger and higher. Lightly mark each triangle with a washable pencil or chalk so you can adjust before any paint goes down.
2
Draw the black outlines
Using a fine brush or a black paint pen, trace the outline of each candy corn triangle with rounded corners. Add the two horizontal divider lines inside each shape to separate the white, orange, and yellow bands. Keep the lines steady but do not worry about perfection, since the thick black border is meant to cover small wobbles. Let the outlines dry completely before filling.
3
Paint all the white tips
Start with the top band of every candy corn using white craft paint. Painting all three tips at once keeps your color loading consistent. Stay just inside the black lines and use two thin coats rather than one thick one. Let the white dry fully so the next color does not smear into it.
4
Add the orange middle bands
Fill the center band of each shape with orange, working up to but not over the black dividers. Again, do all three at once for an even look. Thin coats dry faster and resist chipping. Give the orange time to set before moving on.
5
Fill the yellow bases and touch up
Paint the bottom band of each candy corn yellow, then let everything dry. Once dry, go back over any black outlines that got nicked so the borders stay crisp. Fix any spots where a color crept past a line by touching up with the neighboring paint. A quick clear acrylic sealer over the top helps the colors last outdoors.
6
Style and photograph it
Set the finished pumpkin on a kitchen table, mantel, or porch step where the colors pop against fall decor. Natural daylight shows the stripes best for photos, so shoot near a window during the day. Because it is painted and never opened, it needs no light inside and stays cheerful for weeks. Snap your picture and share it with the community.
Gather your supplies
Check things off as you get ready.
Work on a stable surface, keep your free hand out of the cutting path, and have an adult handle sharp tools.
Three levels of light
Leave intact
The orange pumpkin skin between and around the candy corn stays bare and dark, acting as the natural background.
Peel & shade
If you want a soft glow version, lightly scrape the skin inside the white and yellow bands so a lit pumpkin shines dim behind them.
Cut through
For a carved twist, cut fully through only the thin black divider lines and outline so light traces each candy corn shape, saving these openings for last.
No, this is a no-carve painting project, so the pumpkin stays whole and lasts much longer. If you want it to glow, you can set it near a lamp or add a battery LED behind a lightly scraped area. Keep any cutting for adults only if you decide to try the carved variation.
What order should I paint the colors in?
Do the black outlines first and let them dry, then paint all the white tips, then all the orange bands, then all the yellow bases. Working one color across all three shapes keeps your coats even and lets each layer dry before the next. Drying between colors is what keeps the stripes from smearing together.
How do I keep the stripes from looking messy?
Lean on the thick black outline, which is designed to cover small mistakes along the edges. Use thin coats and stay just inside the lines rather than trying to fill perfectly in one pass. If a color slips over a border, wait for it to dry and touch up with the black or neighboring paint.
Your take belongs here, too.
Changed a detail? Made it simpler? Share a photo of your version and tell the community what worked.
 AI
AI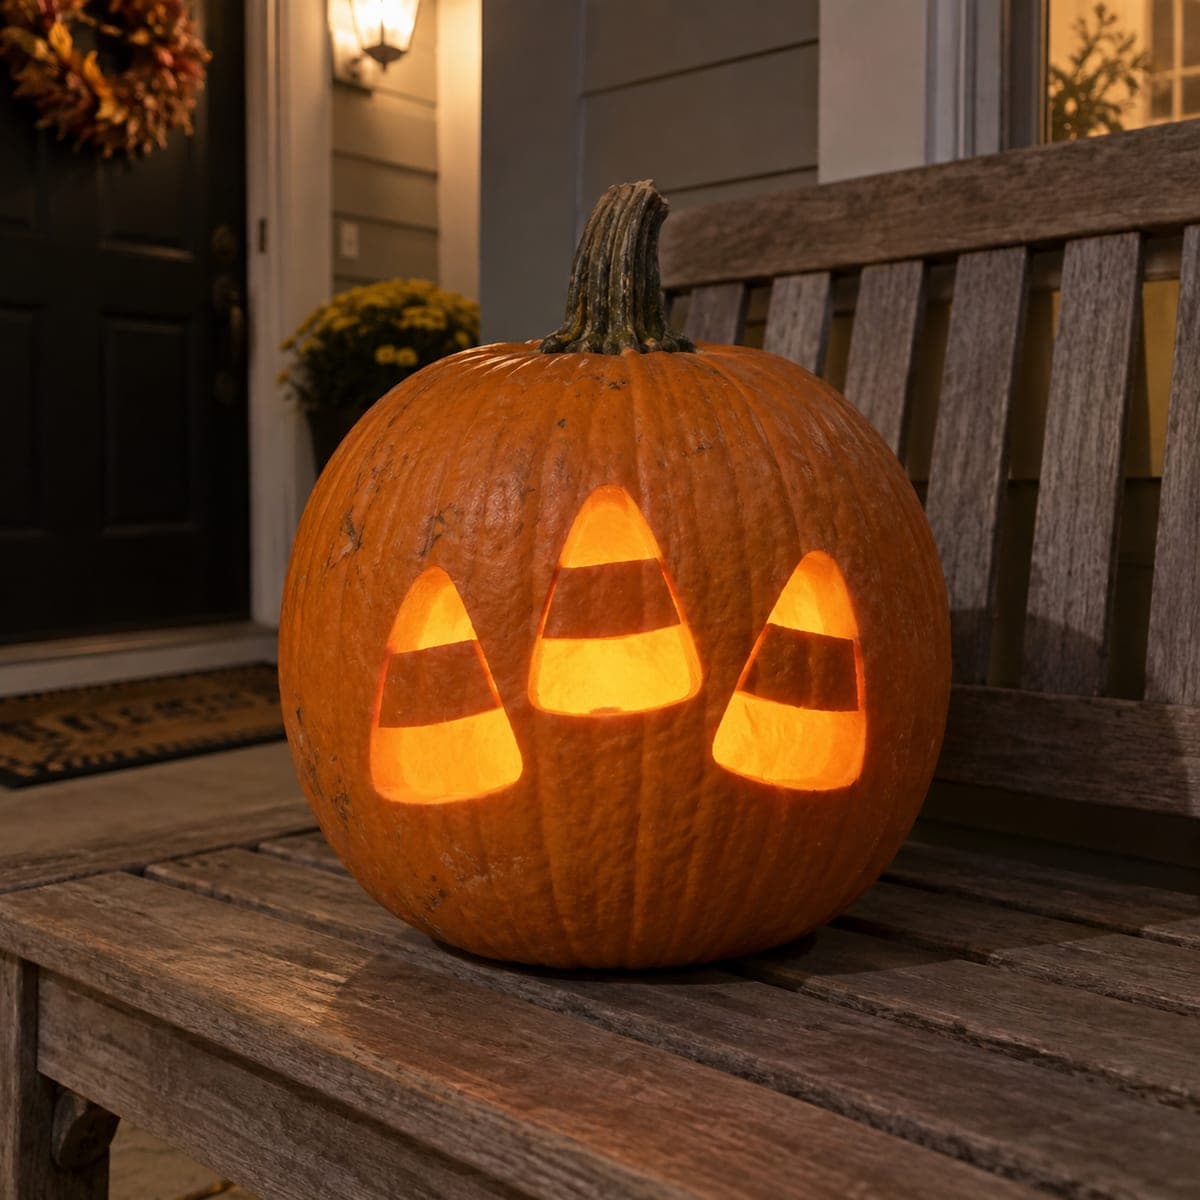

Comments (0)