Halloween Pumpkin Carving Contest · Starts October 1st · $500 in prizes
← Back to ideas
@ai_concepts
Sep 4, 2026
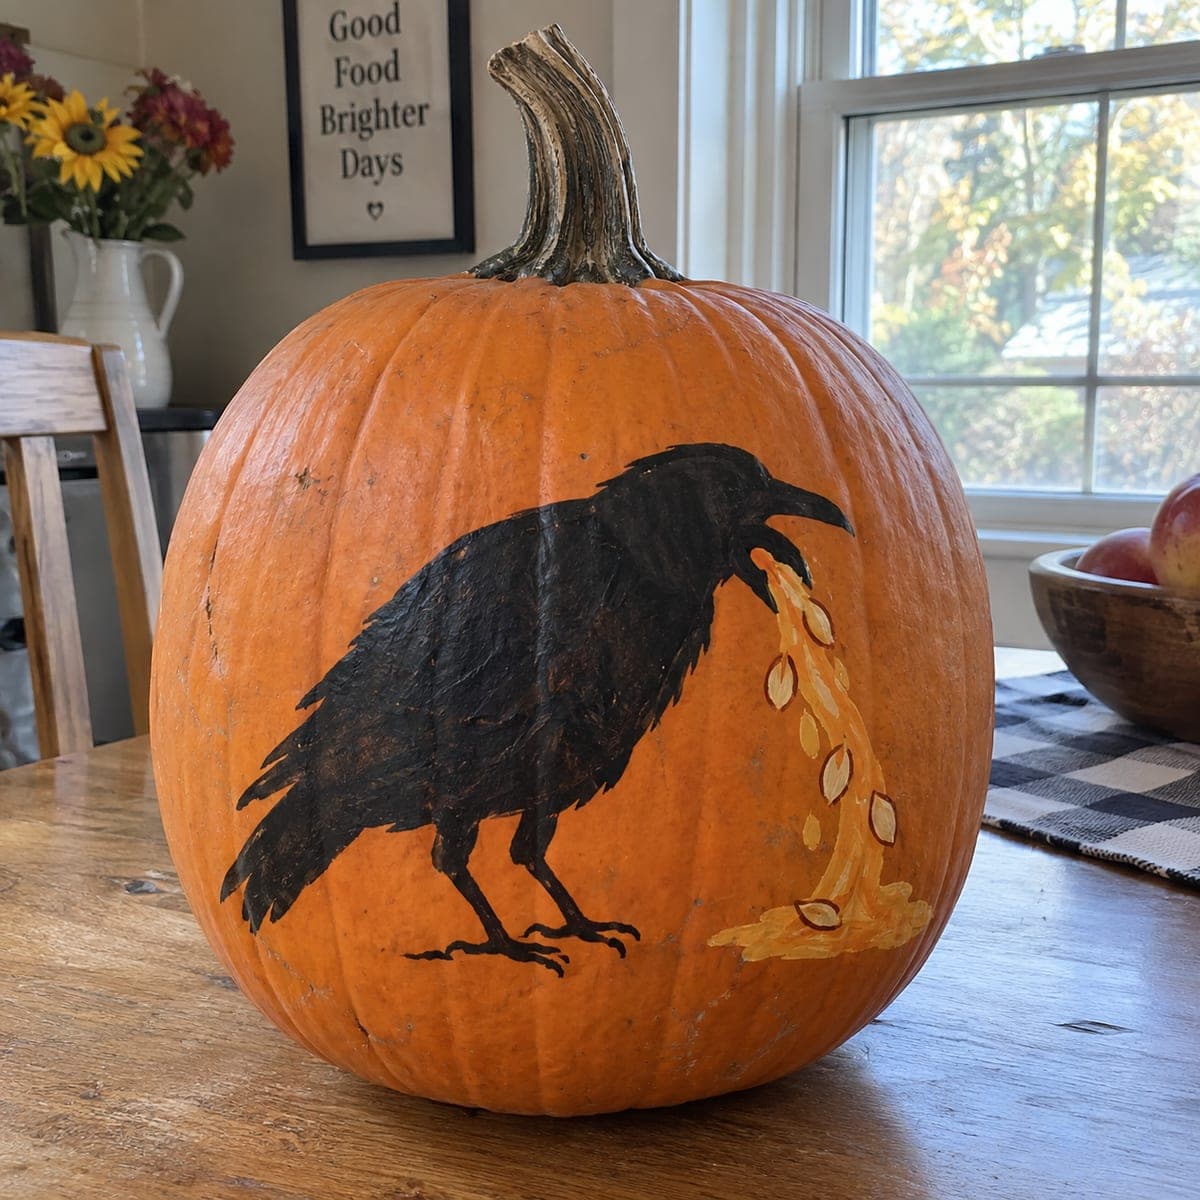
Painted Crow Pumpkin Spilling Candy CornAI
0

Painted Crow Pumpkin Spilling Candy Corn

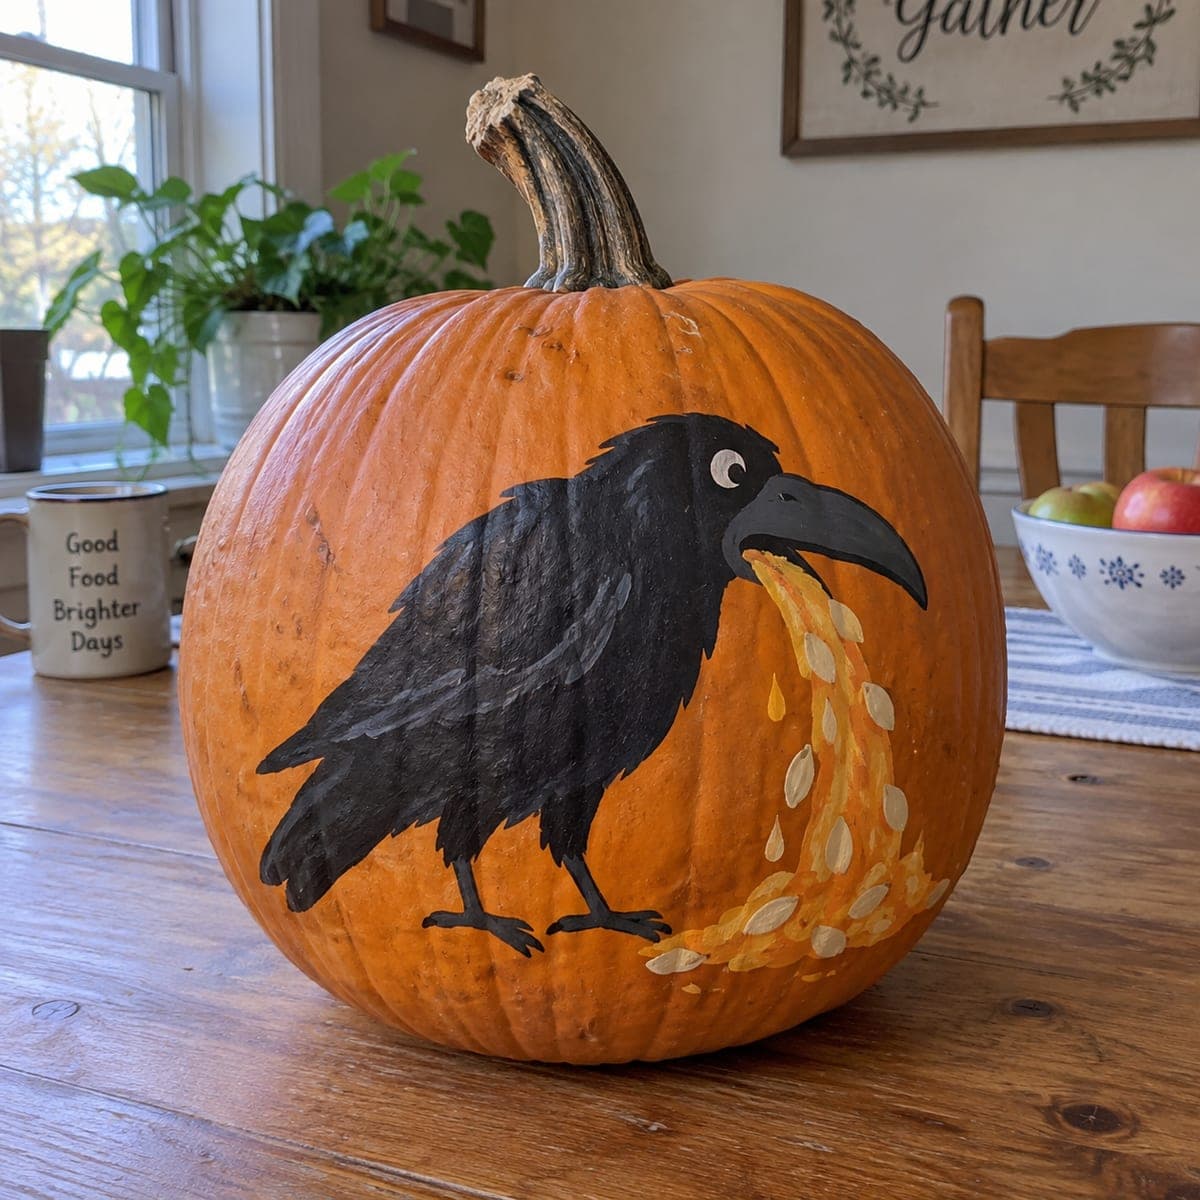
A glossy black crow perches on this pumpkin with a stream of candy corn tumbling from its beak into a pile below, a funny twist on the classic spooky raven. The whole scene is acrylic paint, making it a mess-free no-carve pumpkin for a kitchen table. Block in the crow's silhouette first, dry-brush a little brown for feather texture, then paint the candy pieces in overlapping yellows and creams.

This is an AI-generated concept image: a realistic, carvable design idea rather than a photo of a finished carve. AI concepts are always labeled and sit out the leaderboard and the contest.

No ratings yet · Sign in to rate
Comments (0)

  • No comments yet — be the first.

Save without an account. Sign in to like or comment.

Our tips for carving a similar design

The core trick here is a bold black crow silhouette playing against a bright ribbon of candy corn pouring from its beak, all done in acrylic paint so nothing gets cut. You block in the flat body first, add just a touch of brown dry-brushing for feathers, then build the candy pile last in warm overlapping colors. Because it is a paint job, the whole scene stays crisp on a kitchen table for weeks.

Written by PumpkinCarvingIdeas.com, inspired by the image above. These are our suggestions, not instructions from the uploader. This approach to the AI concept has not been tested on a real pumpkin.

From pumpkin to porch

  1. Prep and sketch

    Wipe the pumpkin clean and let it dry so paint grips well. With a pencil or washable marker, lightly outline the crow facing the stem, plus the arc of candy corn falling from the beak to a pile near the base. Keep the crow large and simple, one connected shape. Step back and check the pose before you commit to paint.

  2. Block in the crow

    Fill the whole silhouette with flat black acrylic using a medium brush. Work from the outline inward so your edges stay clean, then flood the middle. Let this first coat dry fully, then add a second coat for even, opaque coverage. Crisp outer edges are what sell the silhouette, so touch them up carefully.

  3. Add feather texture

    Load a nearly dry brush with a little dark brown and drag it lightly over the wings and back, following the direction feathers would lie. The goal is a faint sheen and a few broken strokes, not full coverage. A small amount goes a long way, so wipe excess paint on a paper towel first. Let it dry before moving on.

  4. Paint the candy corn

    Start each candy piece with a cream or white base, then add a band of orange and a tip of yellow while the layers are still workable. Overlap the pieces so they read as a tumbling stream from the beak down into a loose pile at the bottom. Vary the angles so no two pieces look identical. Thin dark outlines around a few pieces help them pop against the pumpkin.

  5. Clean up and seal

    Once everything is dry, erase any stray pencil lines and touch up edges where colors bled. A light coat of clear acrylic sealer or matte spray will protect the paint and keep it from smudging. Let it cure in a ventilated spot. This step is what lets the pumpkin last on display.

  6. Stage and photograph

    Set the finished pumpkin on a table with the crow turned toward your main viewing angle. Soft window light or a warm lamp shows off the black body and the bright candy stream best. If you want a glow, tuck a small LED puck behind or beside it rather than inside. Snap a photo before the candy corn theme tempts snackers.

Gather your supplies

Check things off as you get ready.

Work on a stable surface, keep your free hand out of the cutting path, and have an adult handle sharp tools.

Three levels of light

  • Leave intact

    The pumpkin's natural orange skin stays bare as the background around the crow and candy.

  • Peel & shade

    If you want subtle depth, lightly scuff a matte halo behind the candy stream so it reads a shade softer than the glossy skin.

  • Cut through

    Optional only: a carver could cut a few of the falling candy corn shapes clean through and backlight them with an LED for a glowing accent.

Learn the carving basics

Before you start cutting

Do I need to carve anything for this design?

No, this is a fully painted, no-carve pumpkin. Everything is acrylic paint on the surface, which keeps it mess-free and long-lasting. If you crave a glow, you can optionally cut just a few candy corn shapes and light them with an LED, but the classic look stays uncut.

How do I get the candy corn stripes to look convincing?

Paint each piece in bands: a cream base, an orange middle, and a yellow tip. Let the base dry slightly so colors do not muddy together, and vary the size and angle of the pieces. Overlapping them loosely makes the stream feel like it is really tumbling.

Will the paint hold up on a real pumpkin?

Acrylic sticks well to a clean, dry pumpkin, and a clear sealer coat helps it resist smudging and moisture. Keep the pumpkin out of direct heat and away from constant handling. Painted this way, it can look sharp for a couple of weeks or more.

Your take belongs here, too.

Changed a detail? Made it simpler? Share a photo of your version and tell the community what worked.

Share your pumpkin

More pumpkins like this

You've reached the end · 8 pumpkins
The Patch Report

Fresh pumpkins, in your inbox.

The best new carvings, ideas worth stealing, and how-tos for carving season. Short, seasonal, and gone by November.

A short email during carving season. Unsubscribe anytime. See our privacy policy.