Halloween Pumpkin Carving Contest · Starts October 1st · $500 in prizes
← Back to ideas
@ai_concepts
Jul 31, 2026
Cat Jack-O-Lantern With Pointed EarsAI
0

Cat Jack-O-Lantern With Pointed Ears

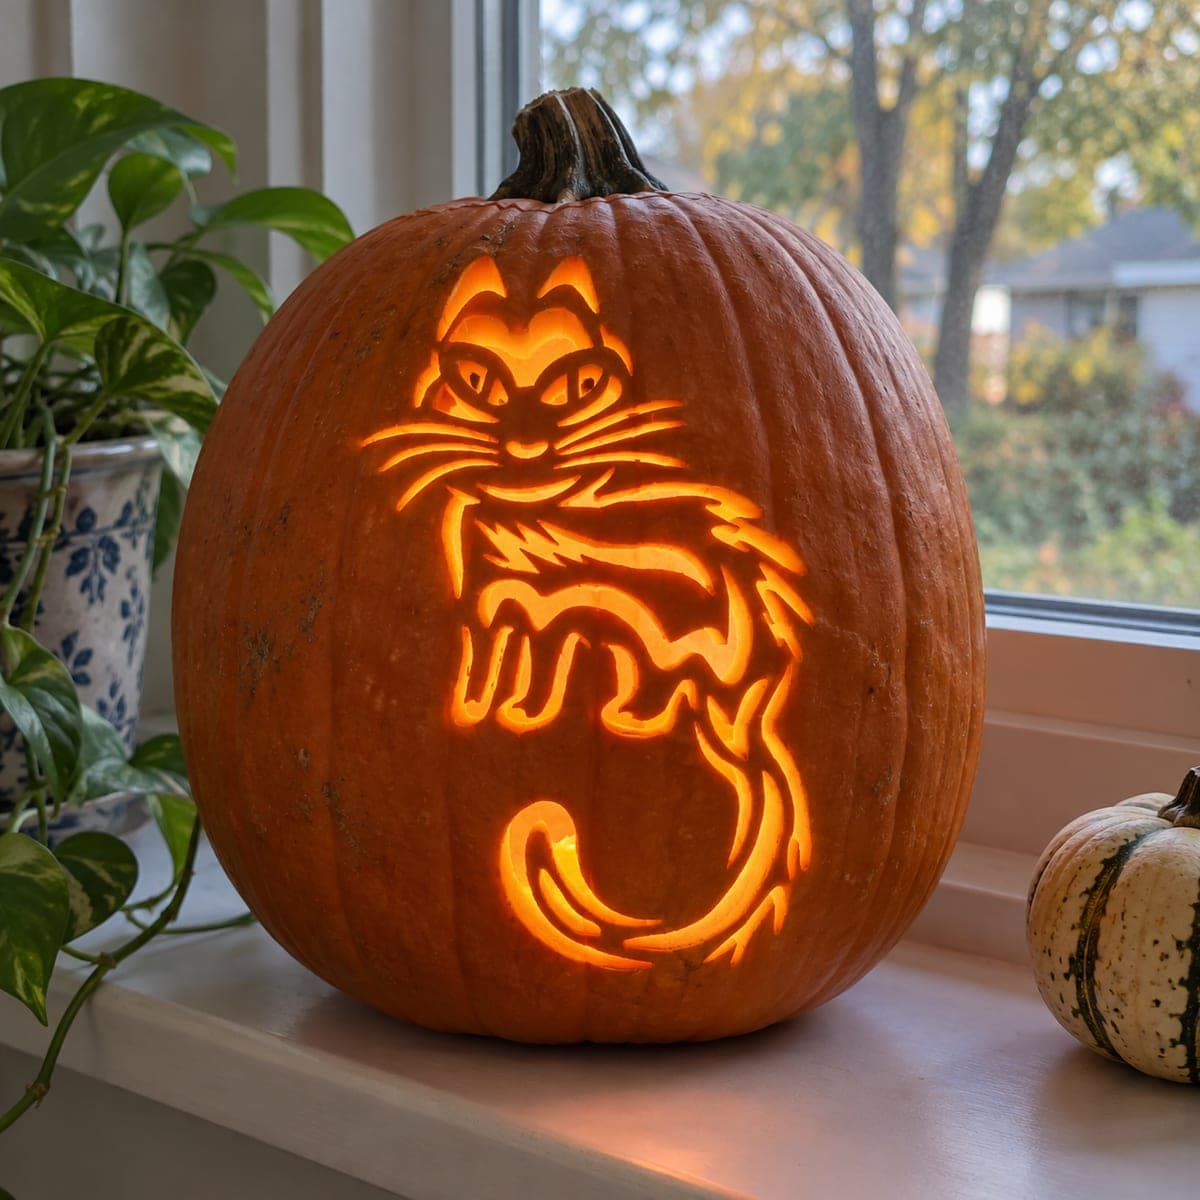
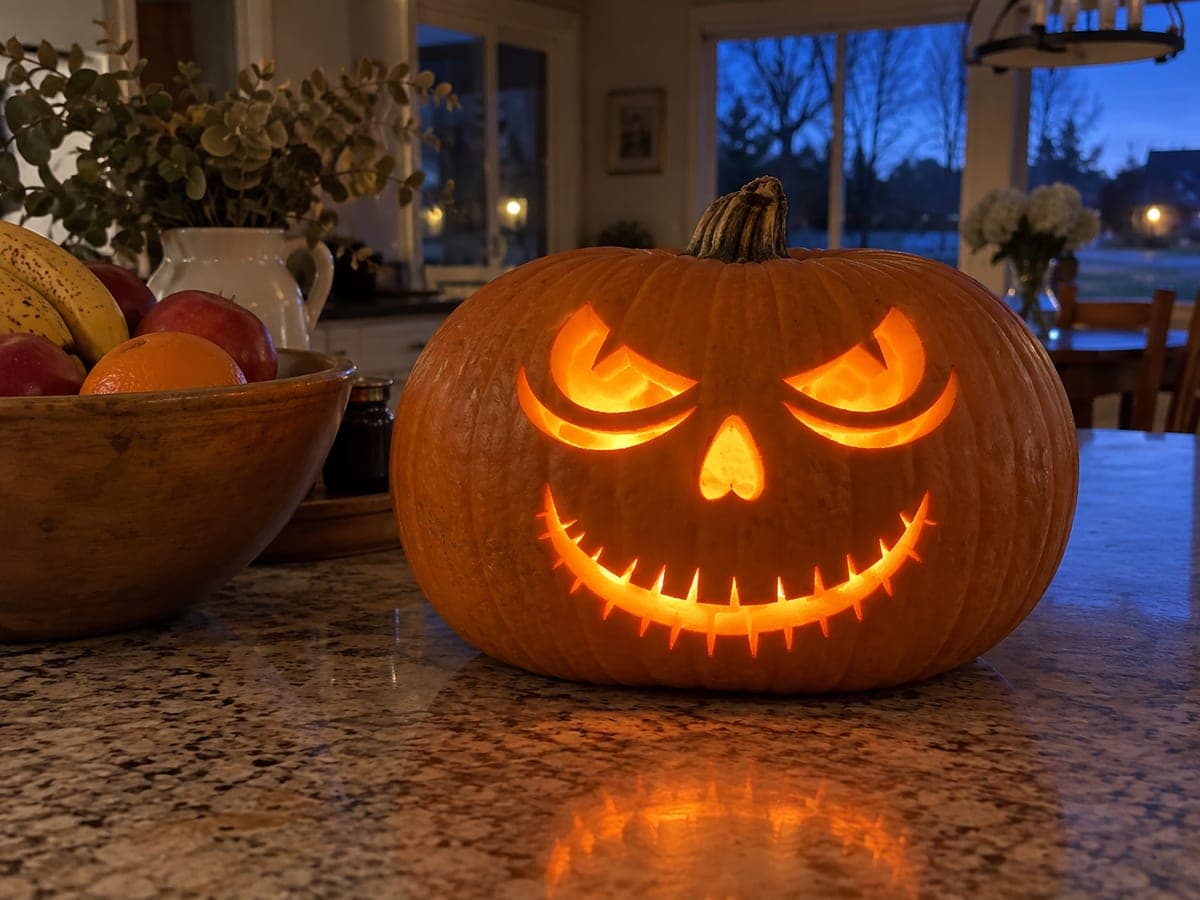
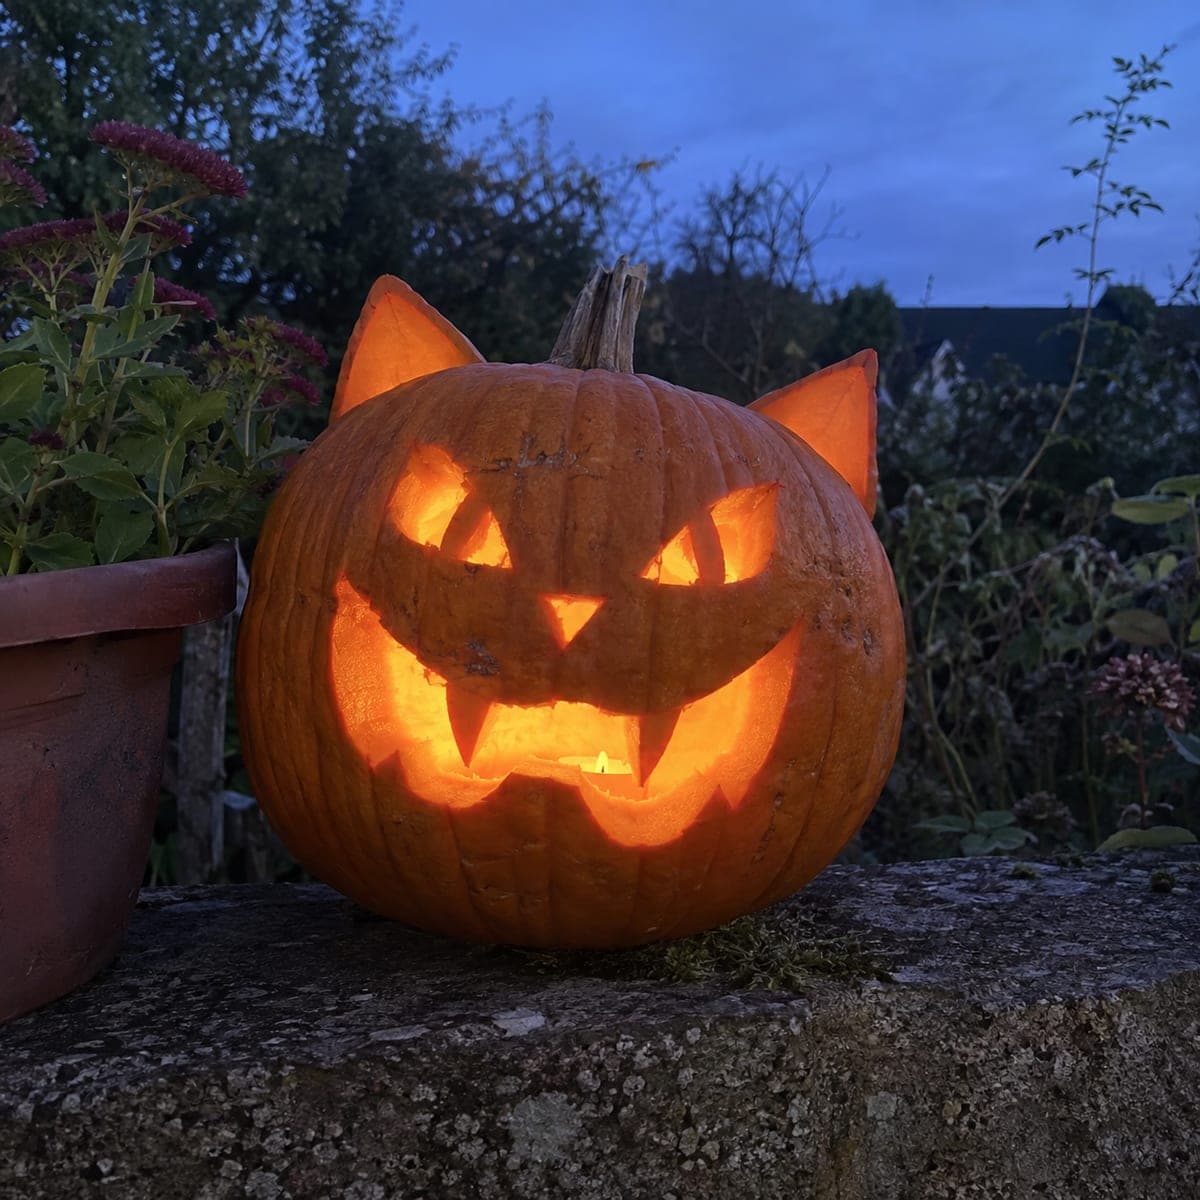
Triangular ears carved from the pumpkin's own shell rise off the top of this grinning cat jack-o-lantern, whose slanted eyes and fanged smile glow at twilight. Cut the ears from the section you remove for the lid, then pin them in place with toothpicks or bamboo skewers. The wide jagged mouth is standard cutout work, easiest with a long thin saw. Face it toward the street so those backlit ears show in silhouette.

This is an AI-generated concept image: a realistic, carvable design idea rather than a photo of a finished carve. AI concepts are always labeled and sit out the leaderboard and the contest.

No ratings yet · Sign in to rate
Comments (0)

  • No comments yet — be the first.

Save without an account. Sign in to like or comment.

Our tips for carving a similar design

The clever trick in a design like this is building the pointed ears from the shell you cut away when you open the pumpkin, then pinning them upright on top so they show as dark triangles against a twilight sky. The rest is standard cutout work: slanted eyes, a small nose, and a wide jagged grin with a pair of fangs. Plan the ears and the lid opening together so you get two matched triangles from one piece.

Written by PumpkinCarvingIdeas.com, inspired by the image above. These are our suggestions, not instructions from the uploader. This approach to the AI concept has not been tested on a real pumpkin.

From pumpkin to porch

  1. Pick the pumpkin and plan the layout

    Choose a round, evenly ripe pumpkin with a flat enough base to sit still. Sketch the slanted eyes, triangle nose, and wide grin on the front with a washable marker before you cut anything. Mark two matching ear triangles on the top where you plan to open the lid. Keeping the whole layout drawn first helps you space the ears symmetrically over the eyes.

  2. Open the lid and save the shell for ears

    Have an adult cut a lid on top with a keyhole or long thin saw, angling the blade inward so the lid rests without falling in. Cut the lid section large enough that you can trim two firm ear triangles from its thicker shell. Scoop the pumpkin out and scrape the front wall down to about one inch thick so light passes through easily. Set the ear pieces aside on a towel.

  3. Shape and mount the ears

    Trim each saved shell piece into a clean pointed triangle, keeping a bit of thickness so they hold their shape. Decide where they sit above the eyes, then pin each ear in place with two or three bamboo skewers or toothpicks pushed down through the base of the ear into the pumpkin top. Angle them slightly outward so they read as cat ears in silhouette. Because they are structural and thin, handle them gently and add an extra skewer if one feels loose.

  4. Cut the eyes and nose

    Carve the two slanted almond eyes and the small triangle nose as full cutouts, cutting straight in with a thin saw. Take your time on the inner corners so the slant stays sharp and catlike. These smaller openings give clean bright shapes without weakening the face. Push each cut piece out from the inside to avoid tearing the front.

  5. Carve the fanged grin last

    Save the wide jagged mouth for last since it is the biggest opening. Cut the smiling curve first, then shape the two downward fangs by leaving them attached to the top edge of the mouth so they stay strong. A long thin saw makes the sweeping grin easier to control than a short blade. Work slowly at the fang tips so they do not snap off.

  6. Light it and face the street

    Set a battery LED tea light or a small LED puck inside, never a real flame, since the thin walls and skewered ears can scorch. Turn the pumpkin so the ears stand against open sky and photograph it at dusk when the glow reads warmest. If an ear leans, reseat its skewers before the light goes in. A little floral moss or a plant pot beside it rounds out the twilight scene.

Gather your supplies

Check things off as you get ready.

Work on a stable surface, keep your free hand out of the cutting path, and have an adult handle sharp tools.

Three levels of light

  • Leave intact

    The full outer skin of the face and the mounted ears stay dark, so the ears read as solid black triangles at dusk.

  • Peel & shade

    Skin-peel a thin halo around the eyes or along the cheeks if you want a soft dim glow framing the features.

  • Cut through

    The slanted eyes, triangle nose, and wide fanged grin are cut all the way through for the brightest light.

Learn the carving basics

Before you start cutting

How do I keep the shell ears from falling off?

Cut them with a bit of thickness so they hold their shape, then pin each one down with two or three skewers or toothpicks driven through the base into the pumpkin top. Angle the pins so they grip firmly rather than sliding out. Check them again before adding the light, and add an extra skewer to any ear that wobbles.

Can the fangs really stay attached?

Yes, as long as you leave them joined to the top edge of the mouth rather than carving them free. Keep each fang fairly wide at the base and taper only toward the tip. Cut slowly near the points, since thin pumpkin flesh snaps easily if you rush.

Since this is a concept image, will a real pumpkin look the same?

This design comes from an AI concept, so no real carving exists yet, but the approach is completely doable. Use a firm, freshly picked pumpkin so the ears and fangs hold, and keep walls about an inch thick for a strong even glow. Expect small natural ridges and blemishes that actually add character.

Your take belongs here, too.

Changed a detail? Made it simpler? Share a photo of your version and tell the community what worked.

Share your pumpkin

More pumpkins like this

You've reached the end · 8 pumpkins
The Patch Report

Fresh pumpkins, in your inbox.

The best new carvings, ideas worth stealing, and how-tos for carving season. Short, seasonal, and gone by November.

A short email during carving season. Unsubscribe anytime. See our privacy policy.