@grinninggreta
Aug 26, 2026
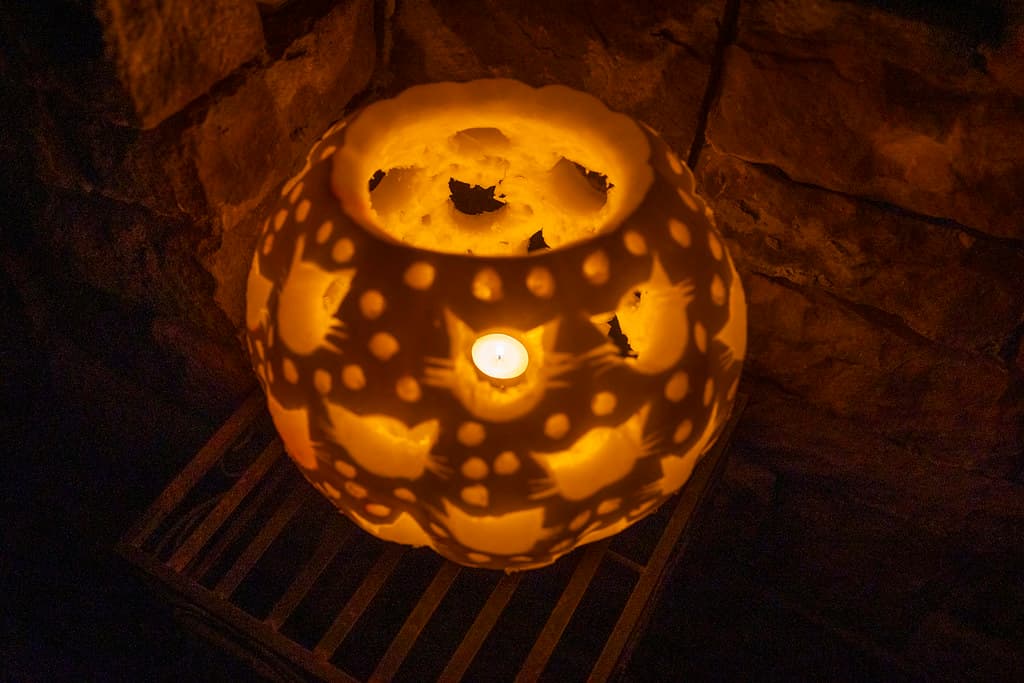
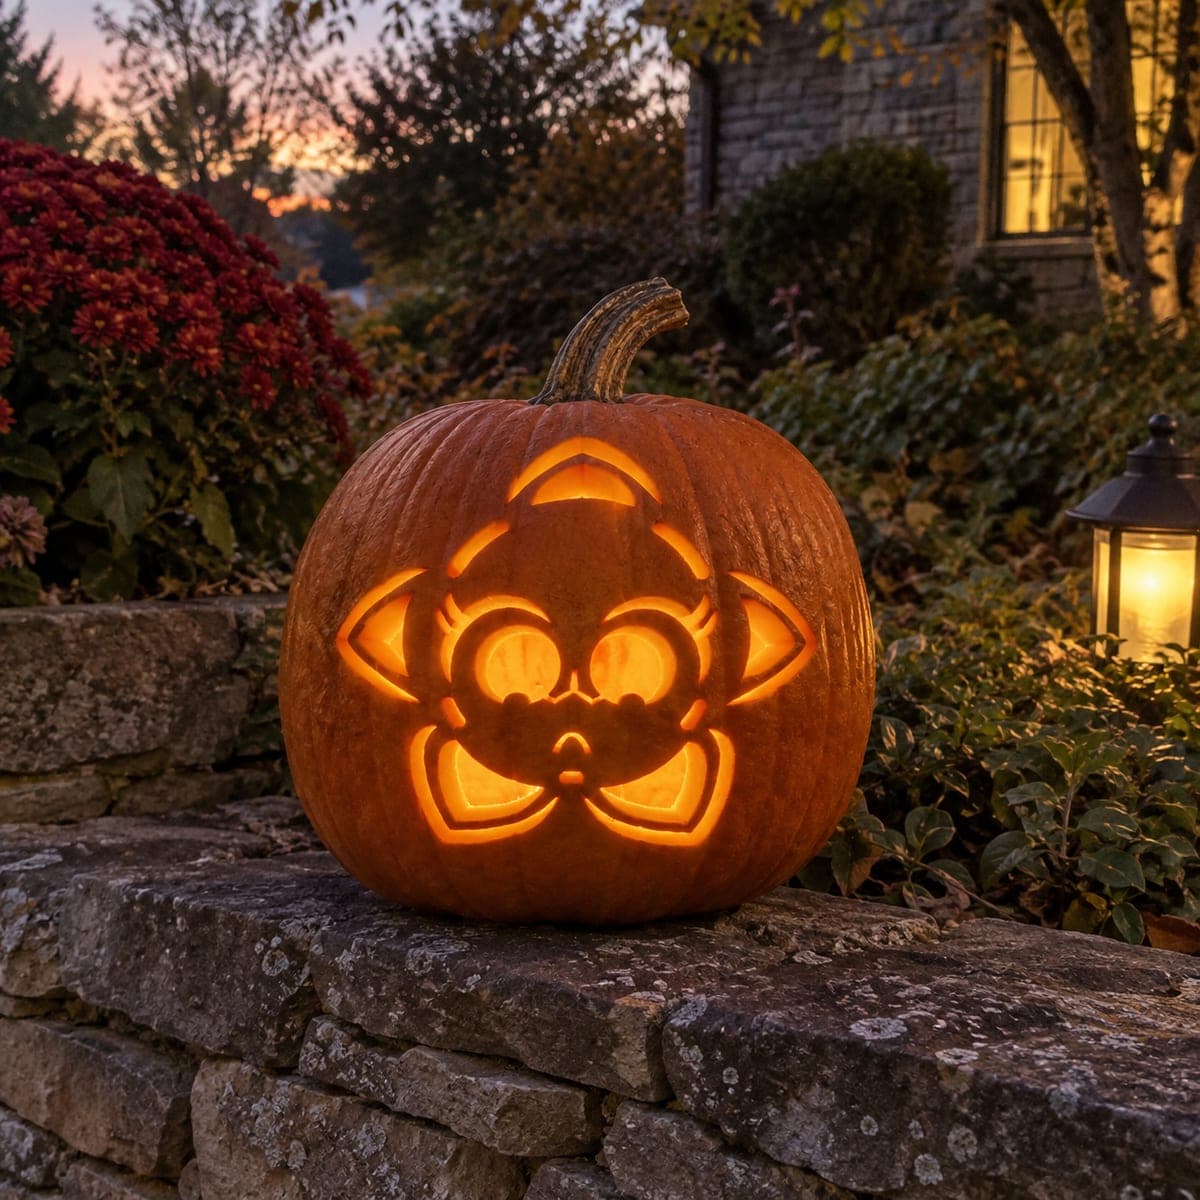
Cat silhouette luminary
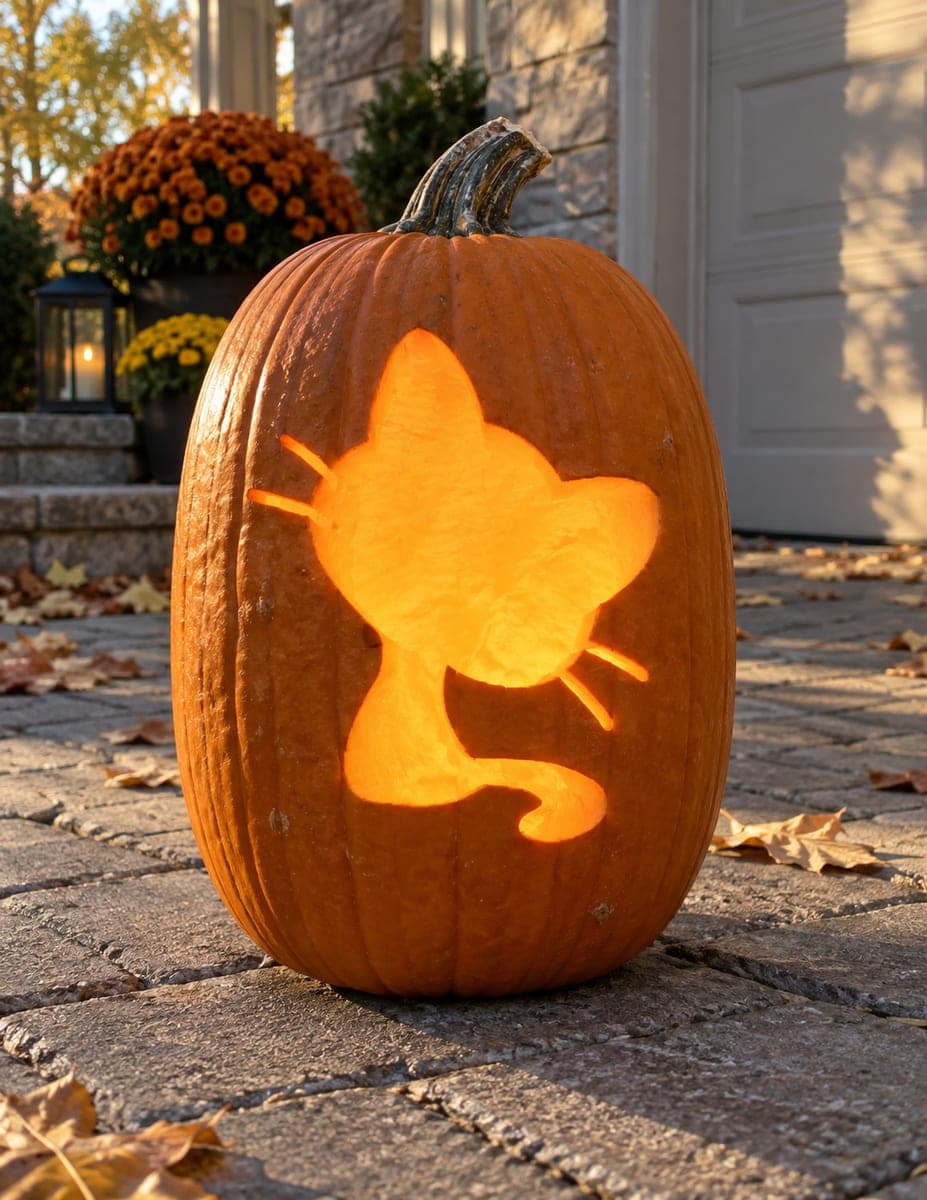
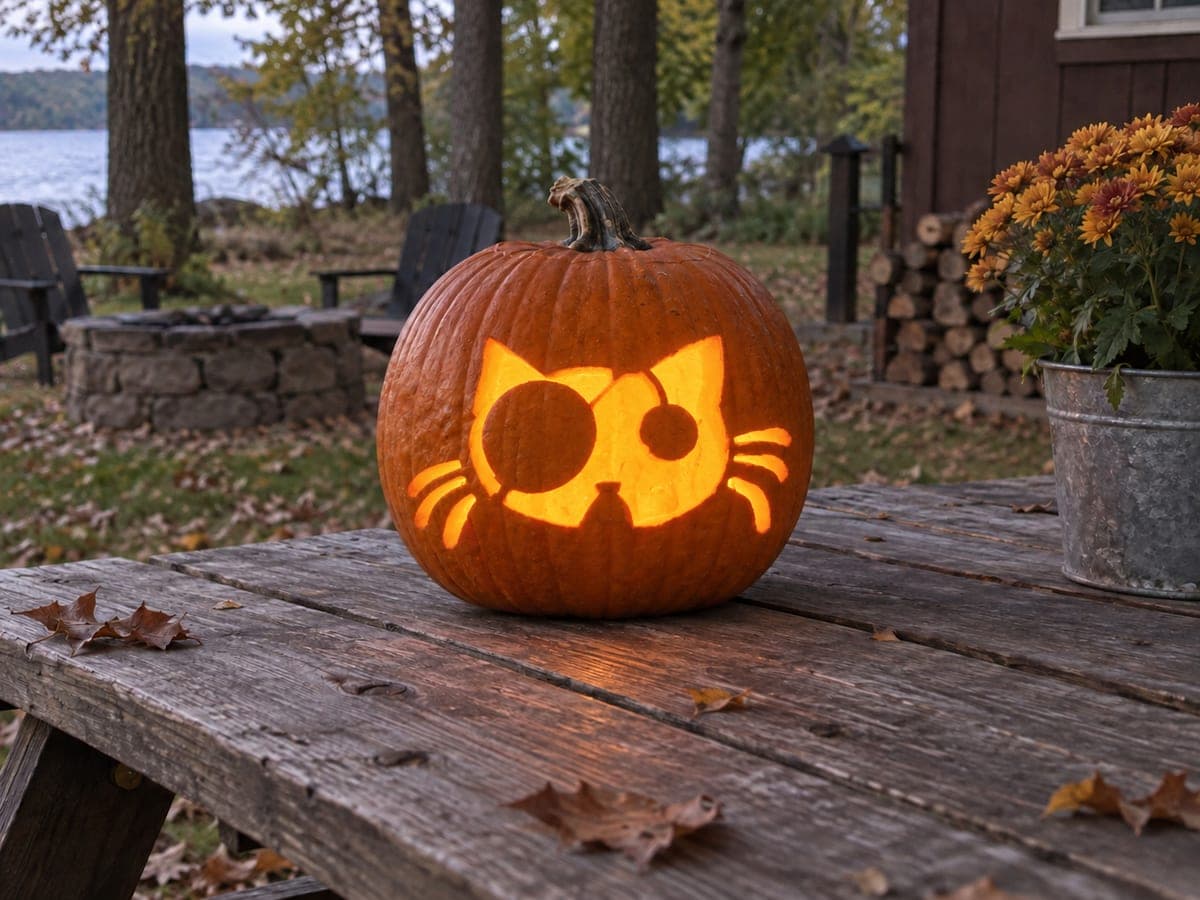
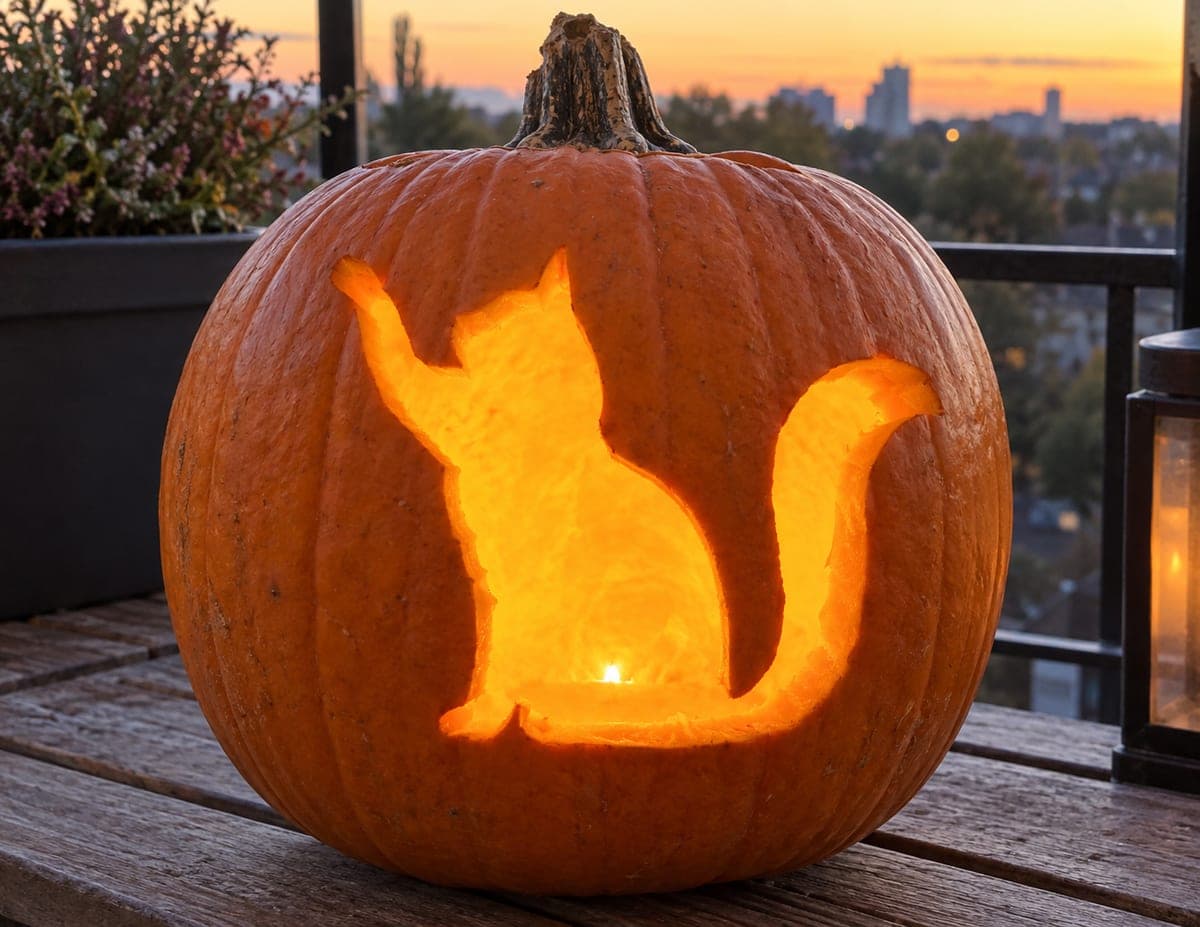
A white pumpkin turned lantern, drilled and carved all over with cat silhouettes and polka dots around a single tea light. Glows like a porch nightlight.
No ratings yet · Sign in to rate
A white pumpkin turned lantern, drilled and carved all over with cat silhouettes and polka dots around a single tea light. Glows like a porch nightlight.
The core trick here is treating the whole pumpkin as a lantern, with small drilled dots and little cat silhouettes wrapped evenly around the surface so light escapes in a soft speckled pattern. Plan the layout first so the cats read clearly and the dots stay balanced, then work from small holes up to the larger cutouts. A pale or white pumpkin keeps the skin bright, which makes the glow feel like a porch nightlight.
Written by PumpkinCarvingIdeas.com, inspired by @grinninggreta's photo above. These are our suggestions, not instructions from the uploader, and this approach hasn't been tested on their exact carve.
Choose a round, smooth pumpkin, a white one if you can find it, so the skin glows evenly. Cut a lid on top at an angle so it rests without falling in, then scoop the insides clean. Thin the wall you plan to carve down to about one inch using a loop tool. A thinner wall drills and cuts far more easily and lets more light through.
Sketch or tape your cat silhouettes around the sides in a loose ring, then fill the gaps with a grid of dots. Space the cats so each one has room and the dots stay roughly even. Mark dot centers with a pen or poke marks so the drill has a guide. Planning now keeps the design from crowding on one side.
Use a small hand drill or a poking tool to make the round dots, starting with the smallest sizes. Keep the drill straight so each hole is clean and round. Work in the marked grid and step up to a slightly larger bit only where you want brighter points. Doing the little holes first leaves the wall strong while you handle the bigger work.
With the dots done, cut out each cat shape with a fine detail saw or a sharp craft knife. Have an adult handle the blades. Keep the ears pointed and leave the shapes fully cut through so they read as clean silhouettes against the glow. Save the largest openings for last so the pumpkin stays rigid while you carve.
For the whisker lines and any faint accents, scrape away just the skin without cutting through. This peeled surface glows a dim orange and adds detail without weakening the wall. Use a lino tool or the edge of a spoon for shallow, even strokes. Keep these areas thin and small so they read as fine lines.
Drop in a battery LED tea light rather than a flame, since the drilled wall traps heat and the design sits low. Set the pumpkin on a flat surface in a dark corner and let the dots and cats scatter light across the wall behind it. Try a warm-toned LED for that nightlight look. Snap your photo with the room lights off so the pattern pops.
Check things off as you get ready.
Work on a stable surface, keep your free hand out of the cutting path, and have an adult handle sharp tools.
The broad untouched skin between the dots and cats stays dark and holds the pale pumpkin color.
Whisker lines and soft accents scraped just below the skin glow a dim orange.
The drilled dots and the cat silhouettes are cut fully through for the brightest points of light.
Aim for about one inch. That is thick enough to hold the many holes without collapsing, but thin enough that light passes through the dots and the drill goes in cleanly. Check the thickness as you scrape so it stays even all the way around.
Because the cats are cut fully through as silhouettes, the pumpkin skin around each shape acts as the support, so the ears stay attached to the wall rather than standing alone. Cut slowly with a fine saw and avoid crowding cuts too close together. If an area feels weak, leave a little more skin between shapes.
Yes, if you space the holes and keep solid skin between them. Do the small dots first while the wall is strongest, then the cat cutouts, and save any large openings for last. Spreading the pattern evenly also keeps any one side from getting too fragile.
Changed a detail? Made it simpler? Share a photo of your version and tell the community what worked.
The best new carvings, ideas worth stealing, and how-tos for carving season. Short, seasonal, and gone by November.
Comments (0)