Halloween Pumpkin Carving Contest · Starts October 1st · $500 in prizes
← Back to ideas
@ai_concepts
Sep 25, 2026
Cemetery Gate Pumpkin with Connected Rails and Bare TreesAI
0

Report this carving

Tell us what is wrong. Reports are private.

Cemetery Gate Pumpkin with Connected Rails and Bare Trees

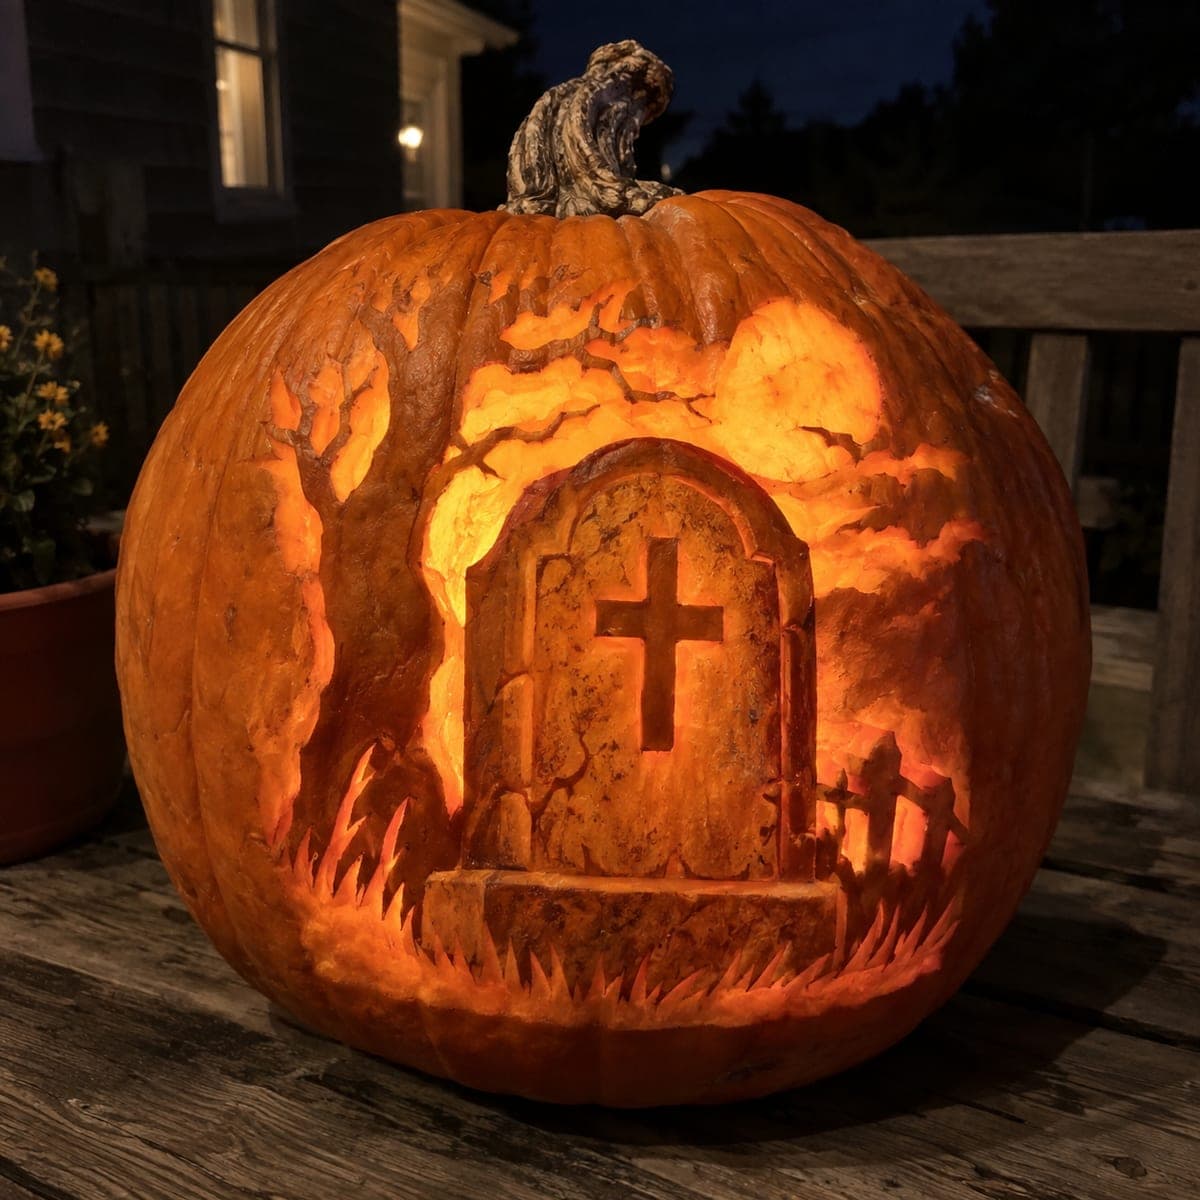
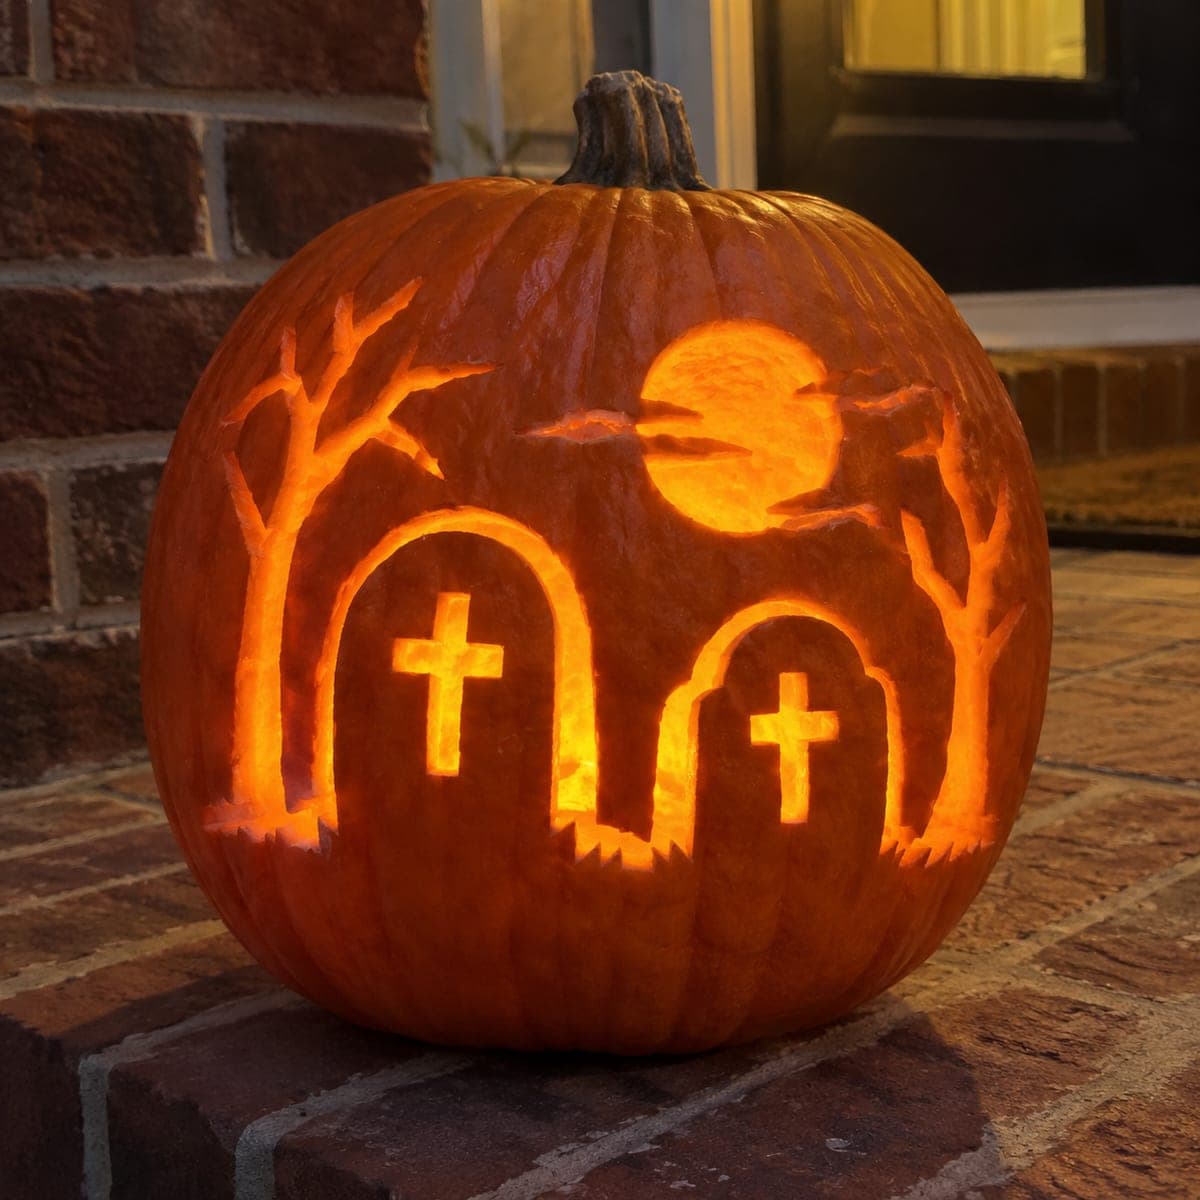
Vertical gate bars, horizontal rails, a ground strip, and bare tree trunks form a fully connected rind lattice in this expert cemetery pumpkin carving idea, with surrounding apertures and backed shallow tombstone accents behind the gate pattern. Map the entire lattice structure on the pumpkin surface before cutting anything, since every element depends on its neighbors for support. Cut the gate bars and rails first as the primary structure, then add the tree shapes and finally the surrounding open apertures. The combination of through-cuts and shallow-backed accents creates a sense of depth, as if the tombstones recede behind the gate.

No ratings yet · Sign in to rate

Comments (0)

  • No comments yet — be the first.

Save without an account. Sign in to like or comment.

Our tips for carving a similar design

The design functions as a fully connected rind lattice where gate bars, horizontal rails, a ground strip, and tree trunks all depend on each other for structural integrity. Mapping the complete lattice before any cut is not optional at this level: a single missed connection can cascade into a collapse. Shallow-backed tombstone accents behind the gate add a depth effect because they catch light differently than the through-cut apertures, creating a sense that the tombstones recede behind the iron gate.

From pumpkin to porch

  1. Map the lattice completely before cutting

    Print the design and draw every rind strip in marker, confirming that each gate bar connects to both a horizontal rail and the ground strip, that each tree trunk connects to the ground strip at the base and the outer arch at the top, and that the two flanking tree masses connect the gate structure to the pumpkin shell on both sides. Mark every connection point in a bright contrasting color.

  2. Prep and gut the pumpkin

    Use a large pumpkin with thick walls for this design: thicker rind gives more working depth for the shallow-backed tombstone accents. Cut a wide bottom cap and scoop to slightly more than an inch of wall thickness for the same reason. Dry the surface thoroughly before transferring the full pattern.

  3. Cut gate bars and horizontal rails first

    The gate bars and rails are the primary structural grid. Cut them first as the scaffolding for everything else. Work from the top rail downward, removing the aperture between each pair of bars as a separate opening. Confirm each bar connects to both the top and bottom rail before moving to the next section.

  4. Add tree shapes and surrounding apertures

    With the gate grid stable, cut the tree trunk and branch shapes on each side of the gate, connecting them to both the ground strip and the outer arch. Remove the large surrounding open apertures last, working inward from the pumpkin edge so the gate grid is never left without lateral support.

  5. Carve shallow tombstone accents

    Use a medium V-tip linoleum tool to back-carve the tombstone accent shapes from the outside of the rind. Remove about half the wall thickness to create a shallow depression that glows dimly when lit, distinct from the fully cut apertures. Work with light, controlled pressure to avoid accidentally breaking through.

  6. Light and display

    Use a bright LED bulb inside so the difference between through-cut apertures and shallow-backed accents reads clearly. The gate bars cast shadows through the glowing background, and the tombstone accents glow at a lower intensity behind the gate. Display against a pale wall for maximum shadow projection.

Written with AI to match this design

Gather your supplies

Check things off as you get ready.

Work on a stable surface, keep your free hand out of the cutting path, and have an adult handle sharp tools.

Three levels of light

  • Leave intact

    All gate bars, horizontal rails, ground strip, both tree trunk and branch strips, and outer rind surrounding apertures

  • Peel & shade

    Shallow-backed tombstone accent areas carved from the outside to roughly half wall thickness

  • Cut through

    All apertures between gate bars, apertures between rails, surrounding open areas outside the gate structure, and sky openings between tree branches

Learn the carving basics

Before you start cutting

How do I carve the tombstone accents without breaking through the rind?

Use a V-tip linoleum tool and work in layers: one shallow pass to score, a second to deepen, stopping when you can see the rind beginning to lighten to a cream or yellow color (which indicates you are roughly halfway through). Mark the target depth on the side of your tool tip with a small piece of tape as a depth gauge. Never press hard: several light passes are safer than one forceful one.

How do I confirm the lattice is complete before making the first cut?

Trace every rind strip from the printed map with your finger, confirming it connects to at least two other strips. Any strip that only connects to one neighbor is structurally isolated and will eventually fall out. If you find a dangling strip, adjust the design to connect it to something on the other end before transferring the pattern.

This design looks very dense on the reference. Can I simplify it?

Yes. Drop the shallow tombstone accents entirely and simplify the gate by reducing the bar count to four or five. Even a simplified gate-with-trees lattice is a demanding hard-level carve. If this feels too complex for your first expert attempt, the hard-level cemetery pumpkin with a cross and tree in this series is a better stepping stone.

Your take belongs here, too.

Changed a detail? Made it simpler? Share a photo of your version and tell the community what worked.

Share your pumpkin

More pumpkins like this

You've reached the end · 8 pumpkins
The Patch Report

Fresh pumpkins, in your inbox.

The best new carvings, ideas worth stealing, and how-tos for carving season. Short, seasonal, and gone by November.

A short email during carving season. Unsubscribe anytime. See our privacy policy.