Halloween Pumpkin Carving Contest · Starts October 1st · $500 in prizes
← Back to ideas
@ai_concepts
Jul 20, 2026
Cheerleader Jack-O-Lantern With Glowing Pom-PomsAI
0

Cheerleader Jack-O-Lantern With Glowing Pom-Poms

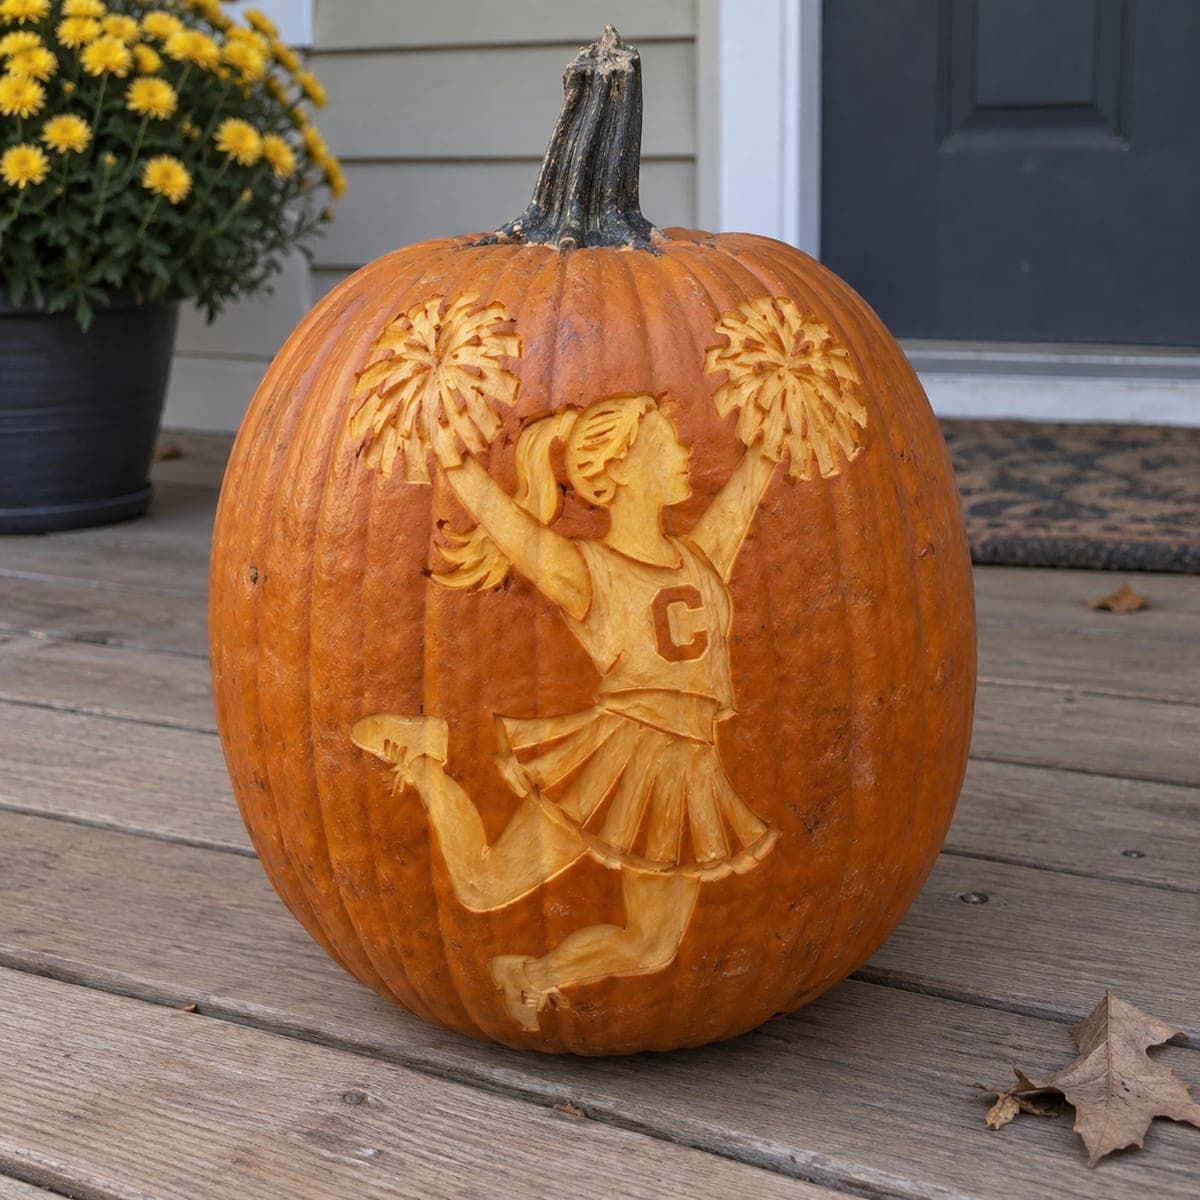
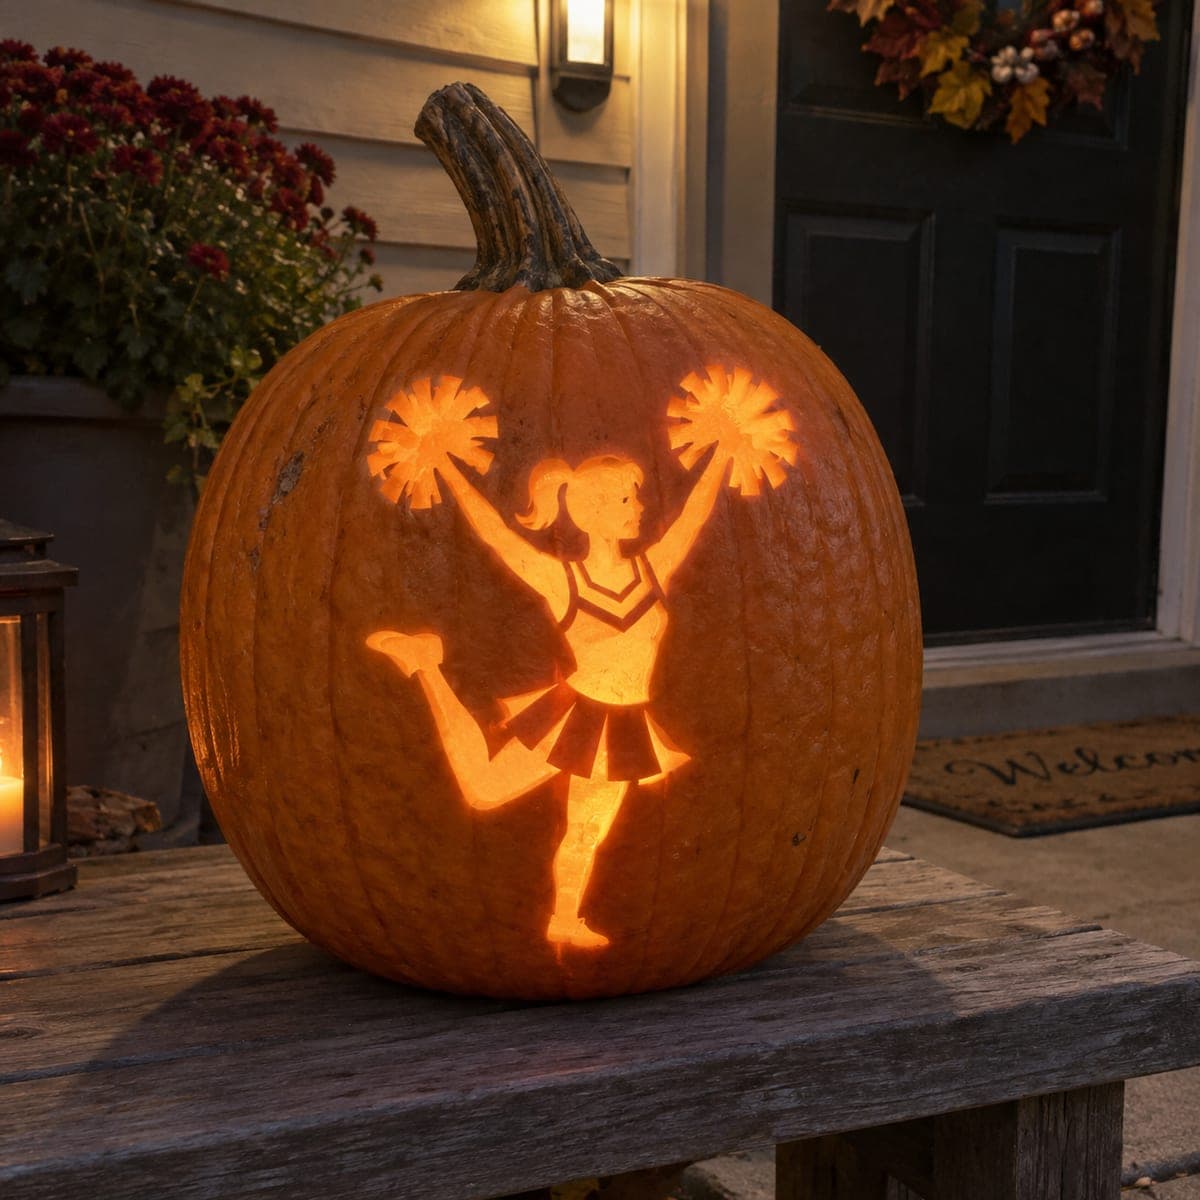
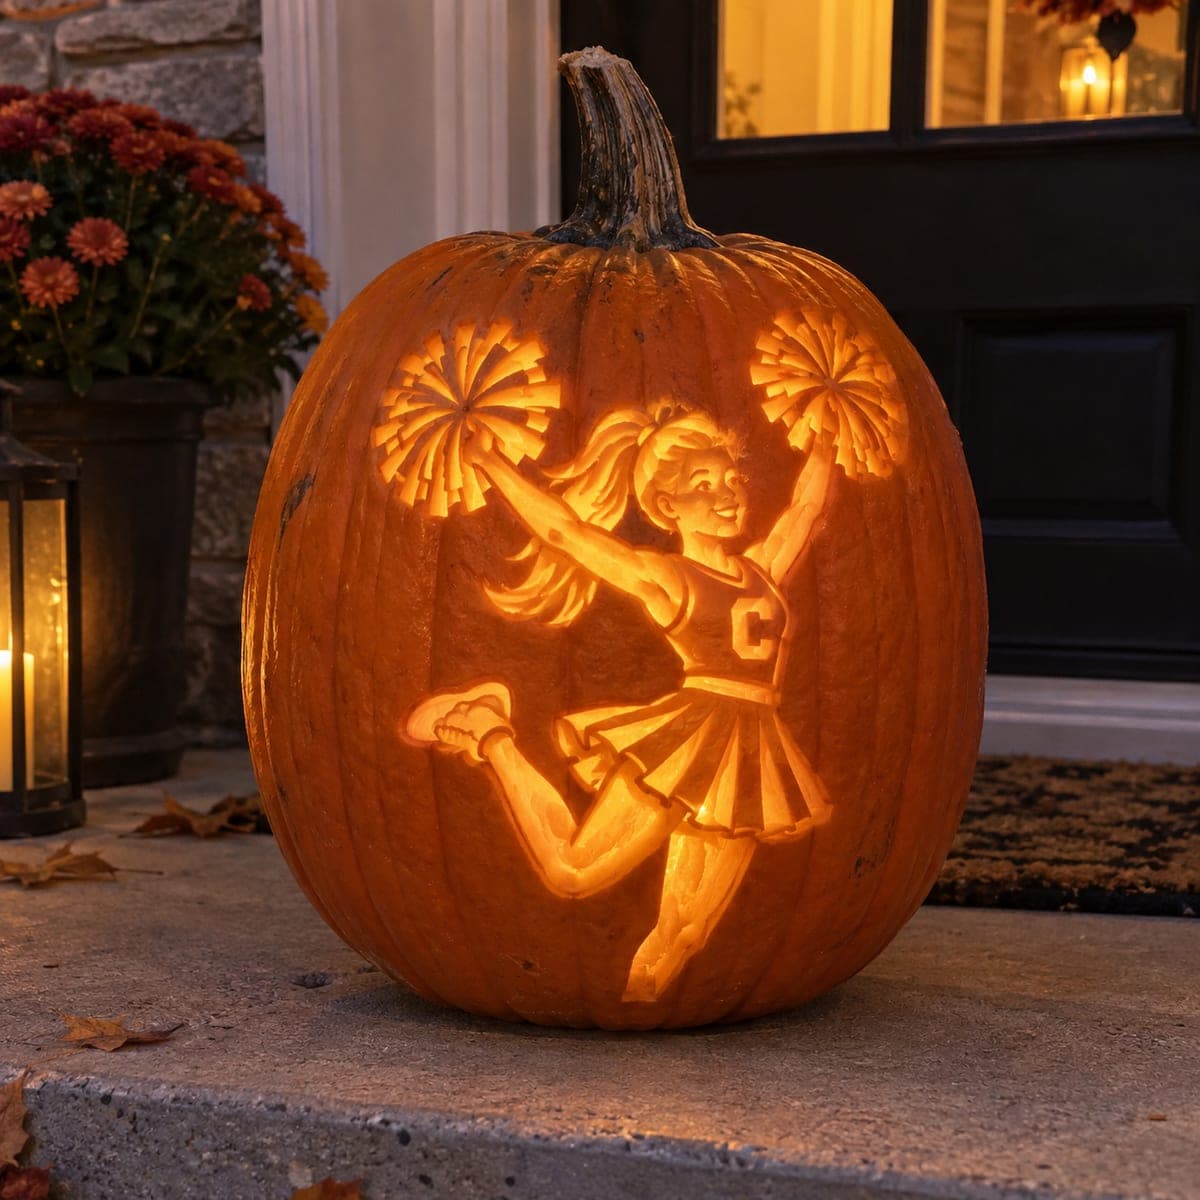
A leaping cheerleader shakes two pom-poms overhead, her skirt and lettered top etched in layered depths so the candlelight grades from bright white to deep amber. The figure is shaved rather than cut through, which keeps fine details like the ponytail and shoe laces intact. Print a reference photo, tape it on, and poke transfer holes before you start etching. Great pumpkin carving idea for game-day spirit or a cheer squad fundraiser.

This is an AI-generated concept image: a realistic, carvable design idea rather than a photo of a finished carve. AI concepts are always labeled and sit out the leaderboard and the contest.

No ratings yet · Sign in to rate
Comments (0)

  • No comments yet — be the first.

Save without an account. Sign in to like or comment.

Our tips for carving a similar design

The core trick here is shading, or shaving away only the top skin so the figure glows a soft amber while her raised pom-poms are cut clean through for the brightest pop. You could plan it as three light levels: dark background skin, a peeled body and skirt, and two fully open pom-poms up top. Transfer a printed reference first so the ponytail, laces, and lettered top stay accurate.

Written by PumpkinCarvingIdeas.com, inspired by the image above. These are our suggestions, not instructions from the uploader. This approach to the AI concept has not been tested on a real pumpkin.

From pumpkin to porch

  1. Prep and open the pumpkin

    Pick a tall pumpkin with a wide, smooth front panel for the full figure. An adult should cut a lid from the bottom or the back so the front face stays uninterrupted. Scoop the walls on the carving side down to about one inch thick so light passes through evenly. A thinner wall makes shading glow much better.

  2. Transfer the design

    Print your cheerleader reference sized to the pumpkin and tape it flat, snipping darts around the edges so it hugs the curve. Poke transfer holes along every line with a pin or awl, following the ponytail, arms, skirt pleats, and the letter on her top. Peel the paper and connect the dots lightly with a washable marker. Double check the two pom-poms and both arms before you touch a blade.

  3. Shade the figure

    Use a lino or ribbon-style shaving tool to skin off just the surface inside the body, face, skirt, and legs. Go shallow first, then remove a little more where you want brighter arein like the raised arm and the front of the skirt. Leave the ponytail, laces, and the letter as slightly higher ridges so they read as detail. Keep bridges of uncut skin between fine lines so nothing tears free.

  4. Grade the depths

    For the graded glow, shave deeper on the pom-pom arm and highlights and shallower on shadowed folds like the back of the skirt and the bent leg. Work in small passes and hold the pumpkin up to a light now and then to check the gradient. The goal is a smooth fade from bright to amber, not hard steps. Clean stray fibers with a detail loop tool.

  5. Cut the pom-poms last

    Save the two overhead pom-poms for the end since they are the only full cutouts and they weaken the wall. Cut the burst of streaks with a fine saw, leaving thin uncut spokes between them so the shape holds together. Push scraps inward and gently out. Cutting these last keeps the upper pumpkin rigid while you handle it.

  6. Light it and photograph

    Drop in a bright LED puck or two, never a candle, so the shaded body glows and the pom-poms blaze. Warm white bulbs give that amber tone; add a second light near the top to lift the pom-poms. Set it on a porch step at dusk and shoot slightly below eye level. Mist the cut edges with water if they start to dry and curl.

Gather your supplies

Check things off as you get ready.

Work on a stable surface, keep your free hand out of the cutting path, and have an adult handle sharp tools.

Three levels of light

  • Leave intact

    The background skin around the figure stays untouched and dark to frame her.

  • Peel & shade

    Her body, face, skirt, legs, and lettered top are shaved to a soft amber, with ponytail and laces left as brighter ridges.

  • Cut through

    The two overhead pom-poms are cut fully through for the brightest bursts of light.

Learn the carving basics

Before you start cutting

How do I keep the ponytail and shoelaces from breaking off?

These are shaded, not cut through, so they stay part of the solid wall and will not fall out. Leave them as slightly raised ridges by shaving around them rather than into them. If you do open any tiny gap, keep a thin skin bridge across it for support.

How do I get the smooth fade from bright to amber?

Control depth, not outline. Shave deepest where you want the brightest glow, like the raised arm, and barely skim the shadowed folds. Check against a light often and remove material gradually, since you can always take more but cannot put it back.

Why cut the pom-poms last?

They are the only full openings and they sit high on the pumpkin, so cutting them early would weaken the wall while you still have lots of shading to do. Finishing all the shaved work first keeps the upper section firm and less likely to crack. Leave thin spokes between the streaks so the burst shape holds.

Your take belongs here, too.

Changed a detail? Made it simpler? Share a photo of your version and tell the community what worked.

Share your pumpkin

More pumpkins like this

You've reached the end · 8 pumpkins
The Patch Report

Fresh pumpkins, in your inbox.

The best new carvings, ideas worth stealing, and how-tos for carving season. Short, seasonal, and gone by November.

A short email during carving season. Unsubscribe anytime. See our privacy policy.