Halloween Pumpkin Carving Contest · Starts October 1st · $500 in prizes
← Back to ideas
@ai_concepts
Aug 20, 2026
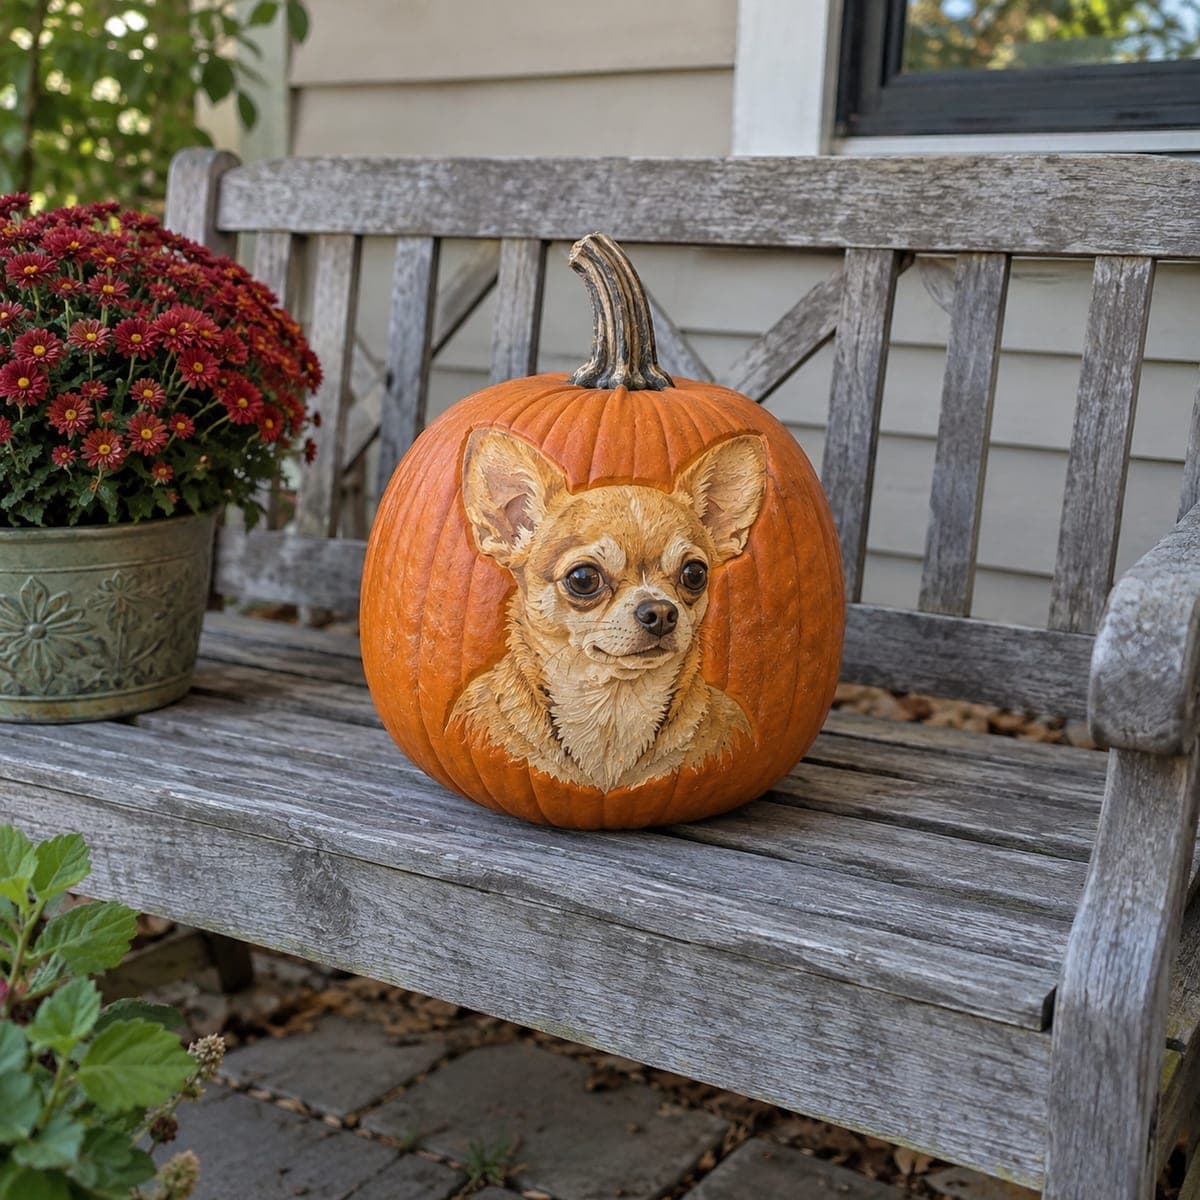
Chihuahua Portrait Pumpkin With Sculpted Relief DetailAI
0

Chihuahua Portrait Pumpkin With Sculpted Relief Detail

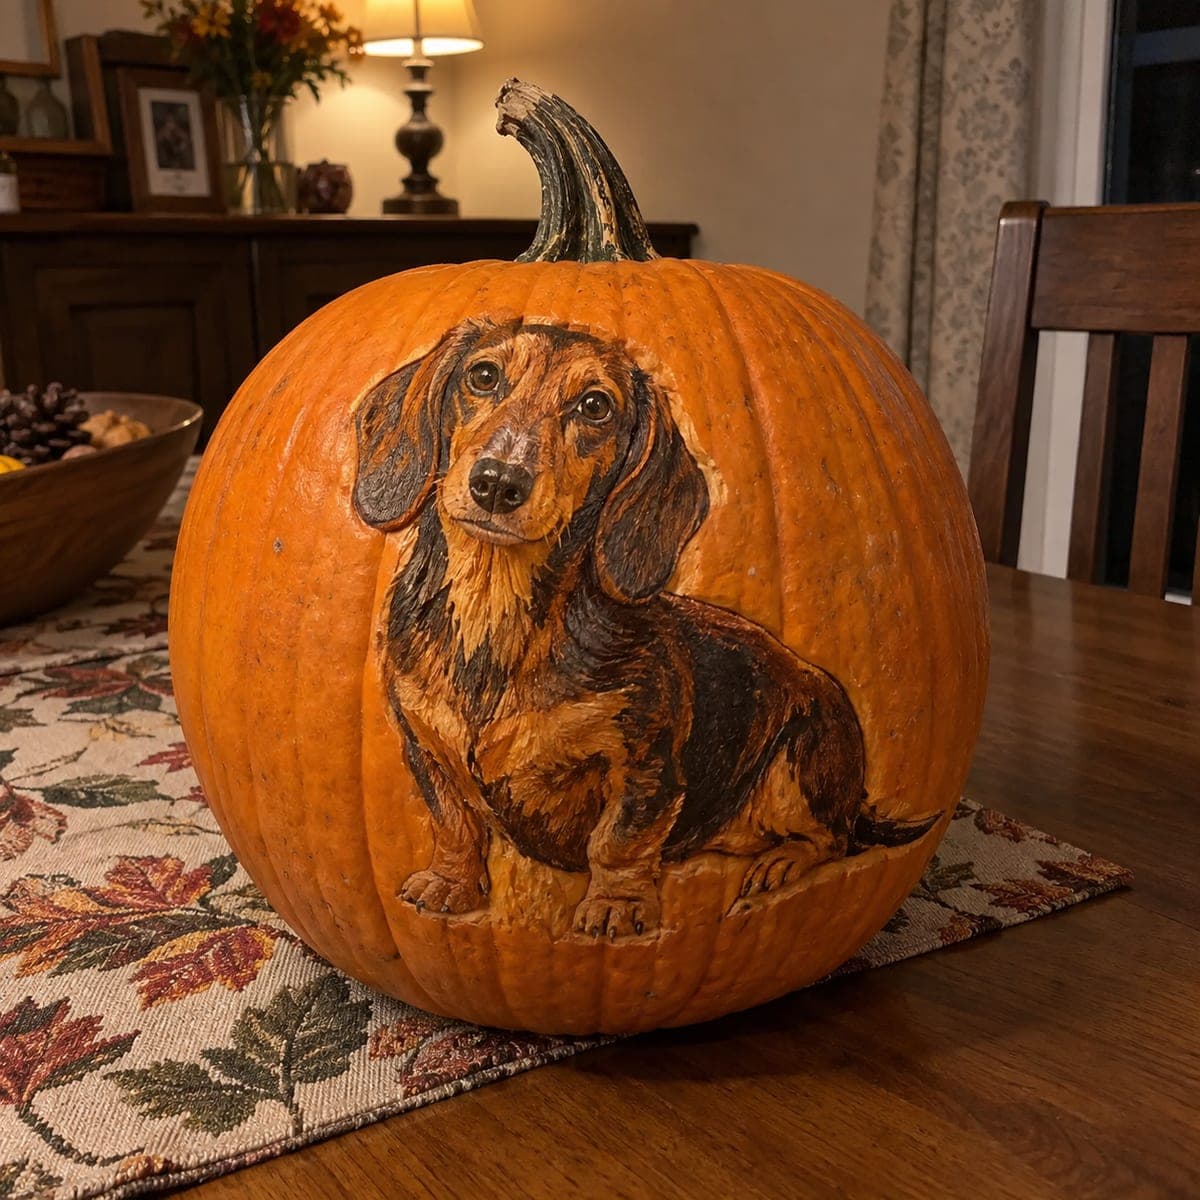
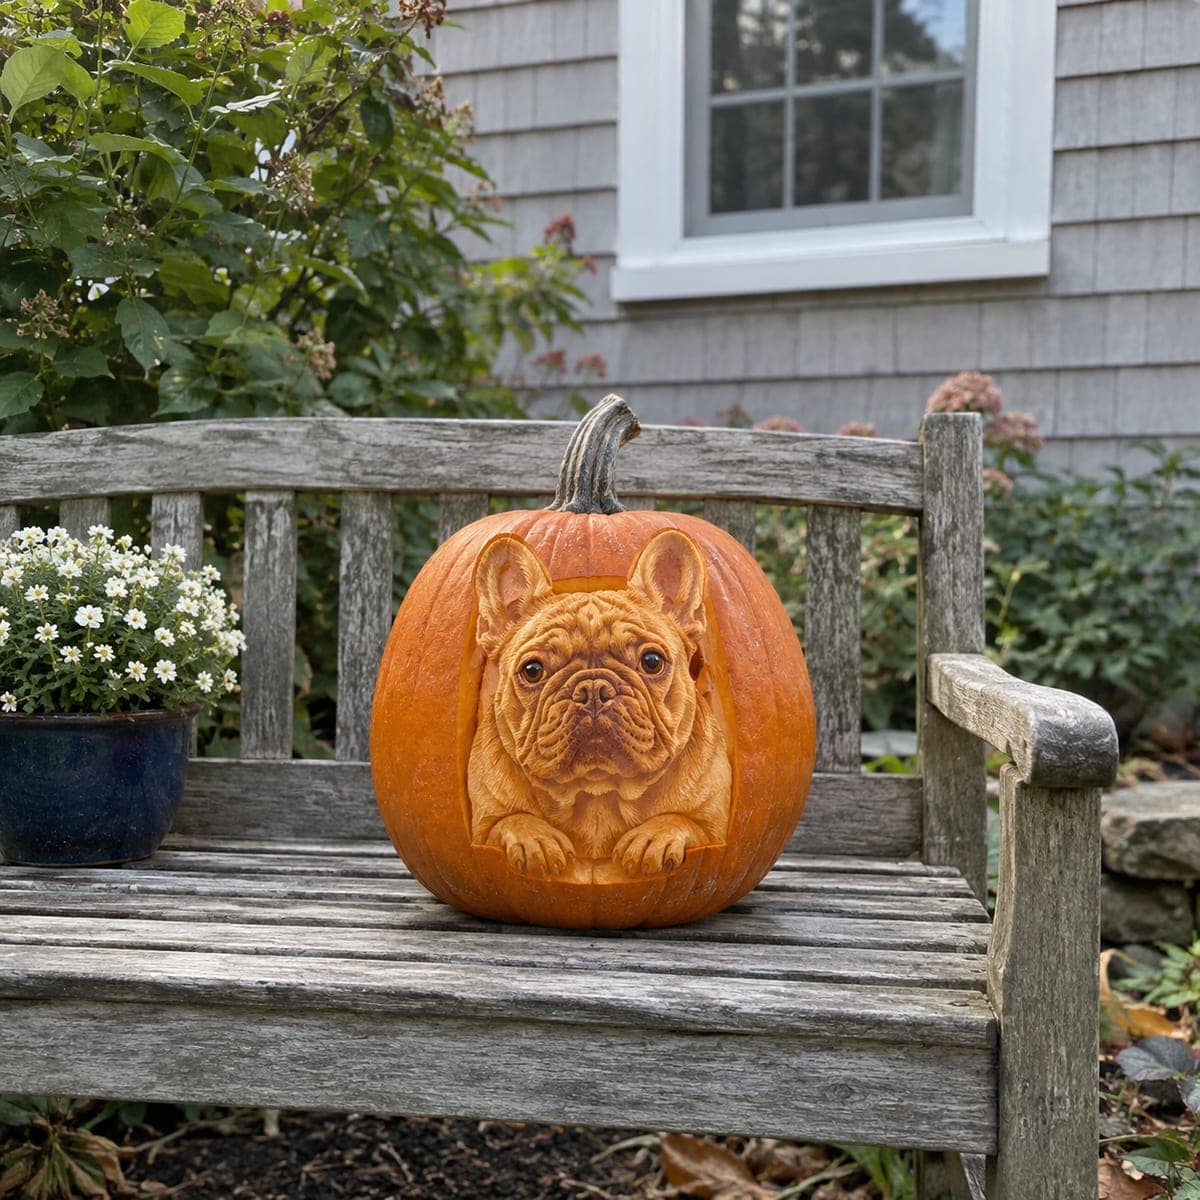
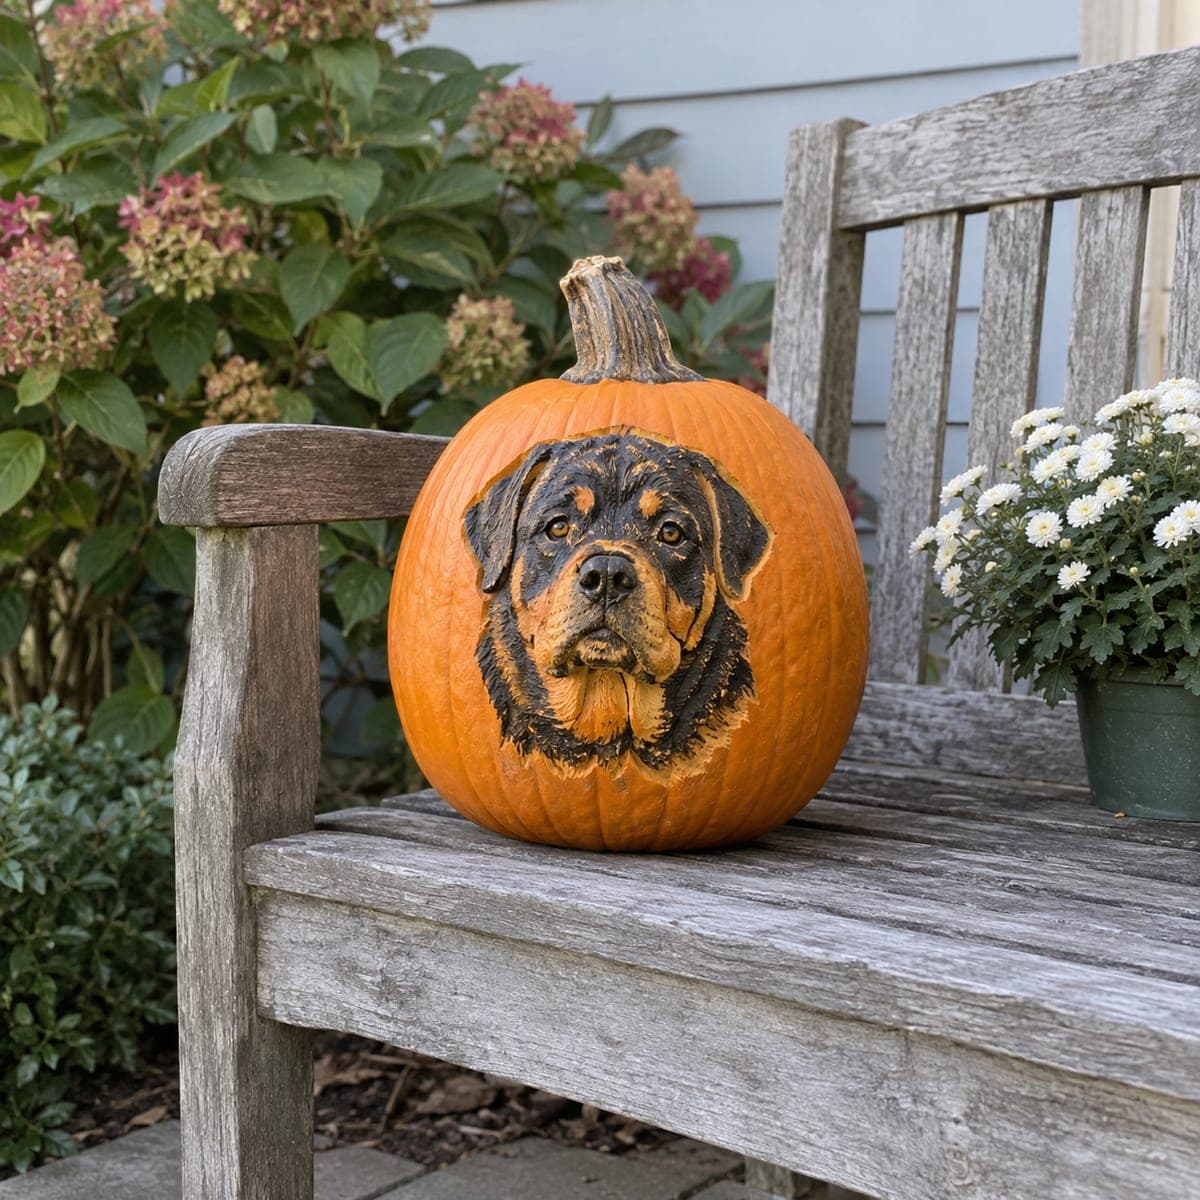
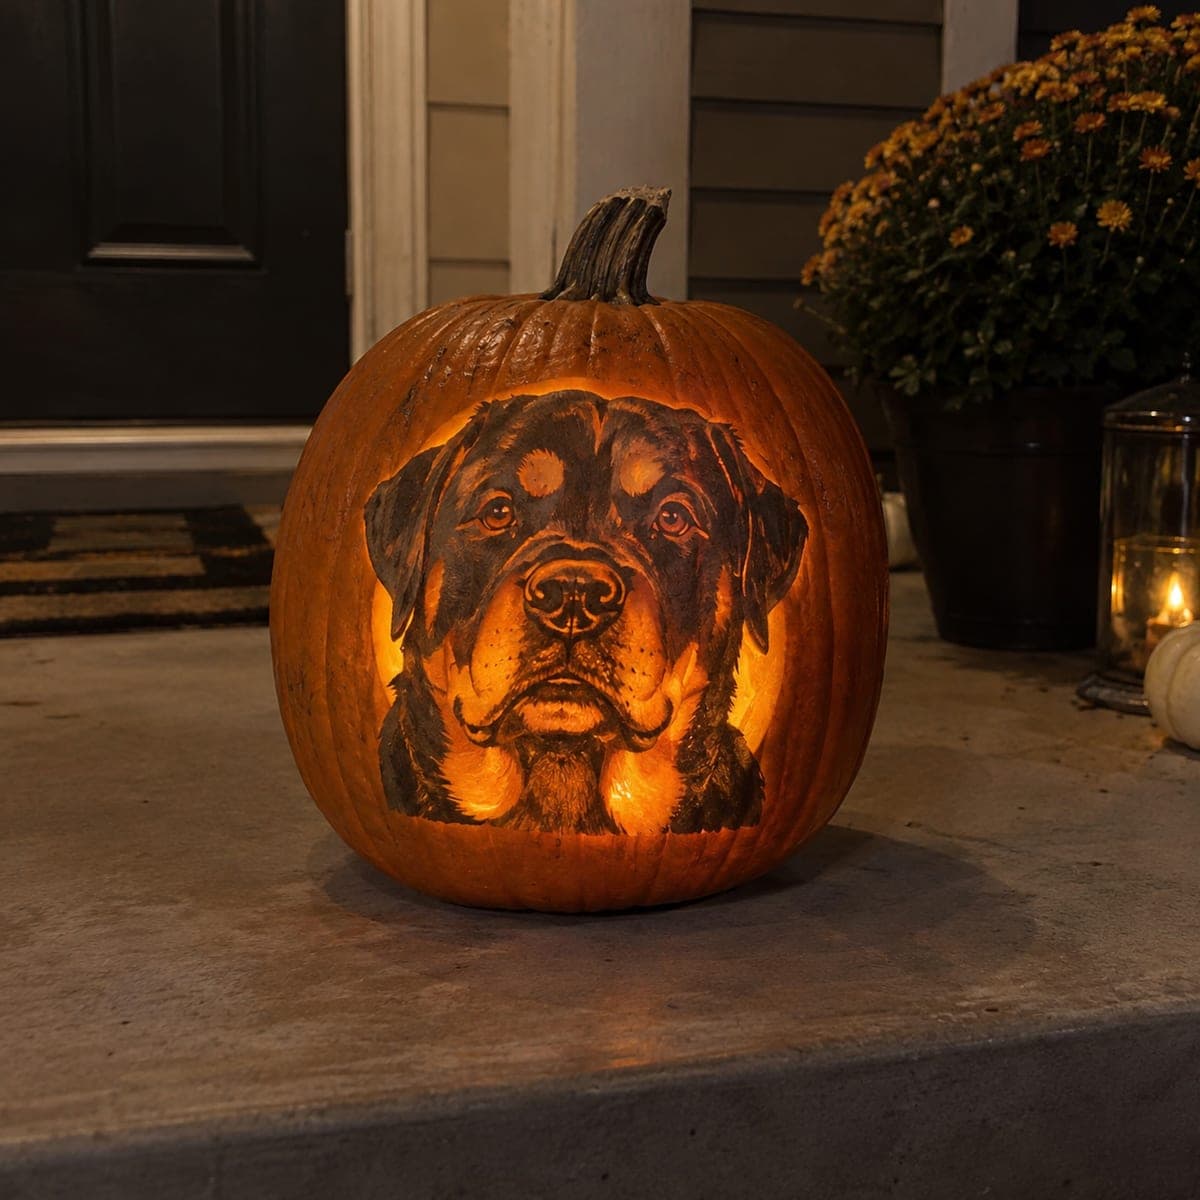
A wide-eyed chihuahua gazes out from this dog portrait pumpkin, its ears, ruff, and muzzle sculpted in shallow relief and tinted in soft tan tones. Trace a printed photo onto the shell, peel the background back a quarter inch, then layer thinned acrylic over the raised fur for depth. Because the shell stays sealed, this one holds up for weeks on a covered porch bench.

This is an AI-generated concept image: a realistic, carvable design idea rather than a photo of a finished carve. AI concepts are always labeled and sit out the leaderboard and the contest.

No ratings yet · Sign in to rate

Comments (0)

  • No comments yet — be the first.

Save without an account. Sign in to like or comment.

Our tips for carving a similar design

The core trick here is shallow relief carving, where you shave away only the top skin instead of cutting all the way through. You leave the pumpkin sealed so it lasts for weeks, then use peeling depths and thinned acrylic washes to build the tan fur, dark eyes, and soft ears. Think of it as sculpting and painting rather than making a lantern.

Written by PumpkinCarvingIdeas.com, inspired by the image above. These are our suggestions, not instructions from the uploader. This approach to the AI concept has not been tested on a real pumpkin.

From pumpkin to porch

  1. Pick a clean pumpkin and plan the face

    Choose a smooth, tall pumpkin with a flat front panel large enough for the whole head and ruff. Wipe the skin dry and set it so the natural ridges run vertically behind the dog. Since this is a concept image rather than a real carve, plan your own layout by printing a chihuahua photo sized to fit the panel. Keep the ears well inside the shoulder of the pumpkin so they do not wrap onto the curve.

  2. Transfer the outline

    Tape your printed photo to the front and trace the main shapes with a poking tool or transfer paper: the head, both ears, eyes, muzzle, and the V of the chest ruff. Press hard enough to leave dots or faint lines in the skin. Remove the paper and connect the dots with a washable marker. Double check the eyes are level and centered before you cut anything.

  3. Peel the background back

    With a small loop or ribbon tool, an adult should shave the background around the dog down about a quarter inch, leaving the whole dog raised as the highest layer. Work slowly and keep the depth even so the outline reads crisply. Do not cut through the wall; you want the shell sealed so it lasts. This peeled background will glow a soft dim orange when lit.

  4. Sculpt the fur in shallow relief

    Now carve depth into the dog itself. Scoop slightly deeper around the base of the ears, under the muzzle, and along the ruff so those areas sit lower than the cheeks and forehead. Use short flicking strokes with the loop tool to suggest fur direction, following the way the coat grows outward from the nose and down the chest. Keep the eyes and nose as raised, rounded bumps so they catch light.

  5. Tint with thinned acrylic

    Mix acrylic paint with water to a thin wash and layer tan and cream over the raised fur, letting the pale peeled surface show through. Build the darker tan around the ears and back of the head with extra passes, and keep the muzzle and chest lighter. Paint the eyes with a dark brown center and a tiny dot of white for a catchlight, then add a soft black nose. Let each layer dry before adding the next so colors stay clean.

  6. Light it and photograph

    Drop a battery LED puck or string inside through a small, discreet hole cut in the back or bottom, never the top. The peeled background will glow while the sealed, painted dog stays as a solid portrait in front of it. Set the pumpkin on a covered bench out of direct rain to protect the paint. Shoot your photo at dusk so the dim background glow shows off the relief.

Gather your supplies

Check things off as you get ready.

Work on a stable surface, keep your free hand out of the cutting path, and have an adult handle sharp tools.

Three levels of light

  • Leave intact

    The sealed, painted dog itself stays untouched skin so the portrait reads as a solid dark shape.

  • Peel & shade

    The quarter-inch background around the dog is peeled for a soft dim orange glow that frames the head.

  • Cut through

    Nothing is cut fully through on the front; keep the only opening a small hidden hole in the back for the light.

Learn the carving basics

Before you start cutting

Do I need to cut all the way through anywhere?

No, and that is the point of this design. The whole front is relief only, which keeps the shell sealed so the pumpkin lasts for weeks. The single opening should be a small, hidden hole in the back or bottom just big enough to insert an LED.

How do I keep the fur looking soft instead of muddy?

Use very thin acrylic washes and build color in several dry layers rather than one thick coat. Let the pale peeled surface show through the tan so the coat looks luminous. Follow the fur direction with short strokes and stop before it gets busy.

Will the paint survive outdoors?

Acrylic holds up better than raw carved edges, but it still needs shelter. Keep the pumpkin on a covered porch or bench out of direct rain and harsh sun. A light coat of clear matte sealer over the dry paint adds extra protection.

Your take belongs here, too.

Changed a detail? Made it simpler? Share a photo of your version and tell the community what worked.

Share your pumpkin

More pumpkins like this

You've reached the end · 8 pumpkins
The Patch Report

Fresh pumpkins, in your inbox.

The best new carvings, ideas worth stealing, and how-tos for carving season. Short, seasonal, and gone by November.

A short email during carving season. Unsubscribe anytime. See our privacy policy.