Halloween Pumpkin Carving Contest Β· Starts October 1st Β· $500 in prizes
← Back to ideas
@ai_concepts
Aug 25, 2026
Golden Retriever Glowing Pumpkin Carving PortraitAI
0

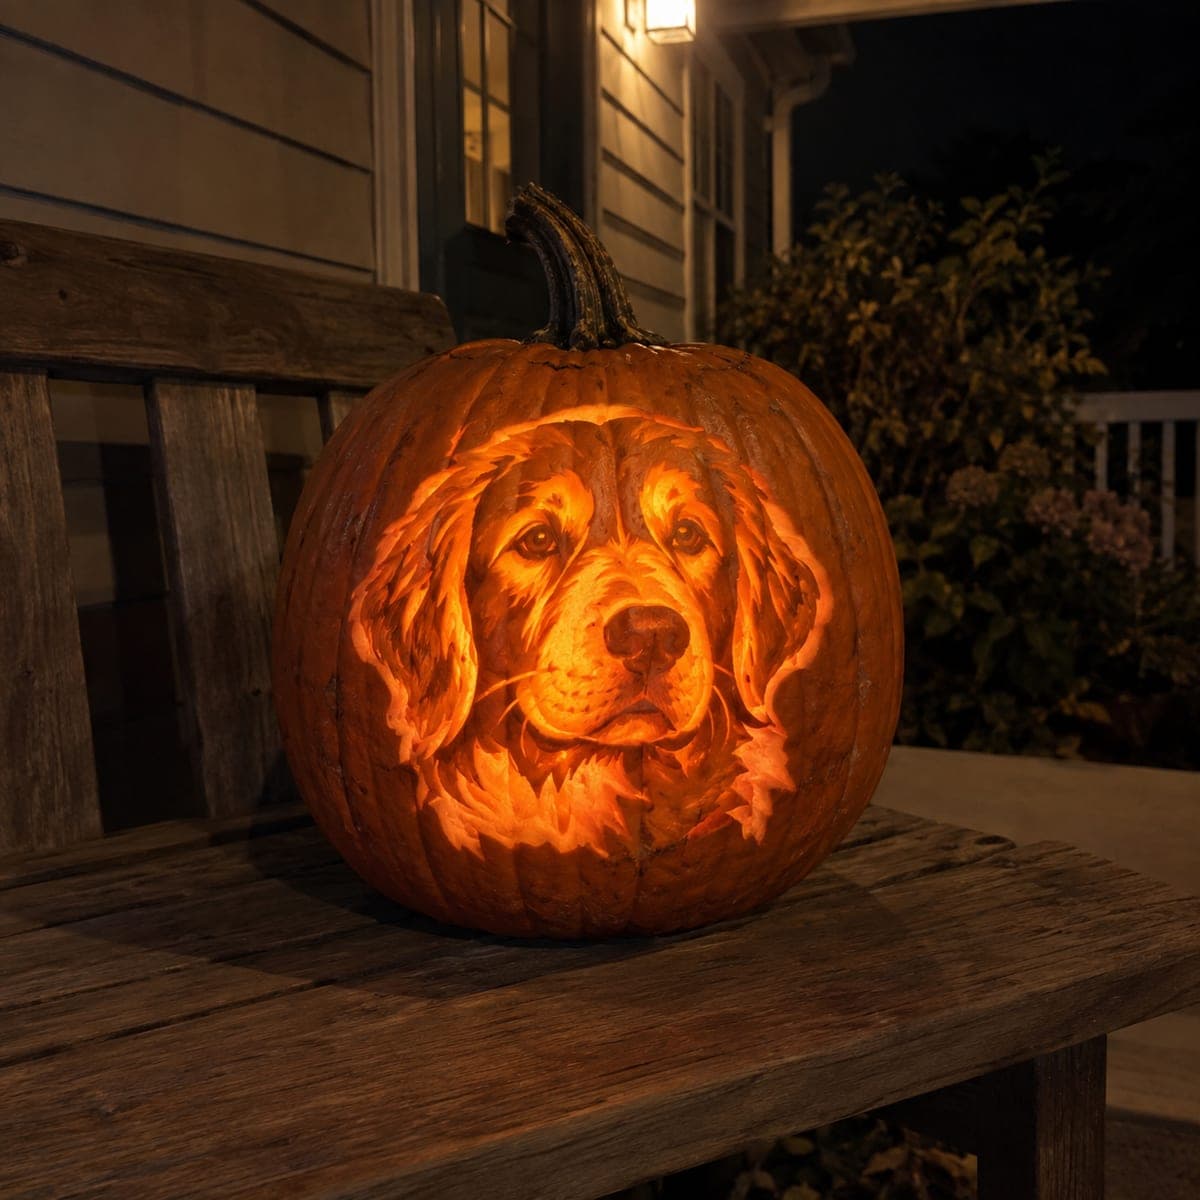
Golden Retriever Glowing Pumpkin Carving Portrait

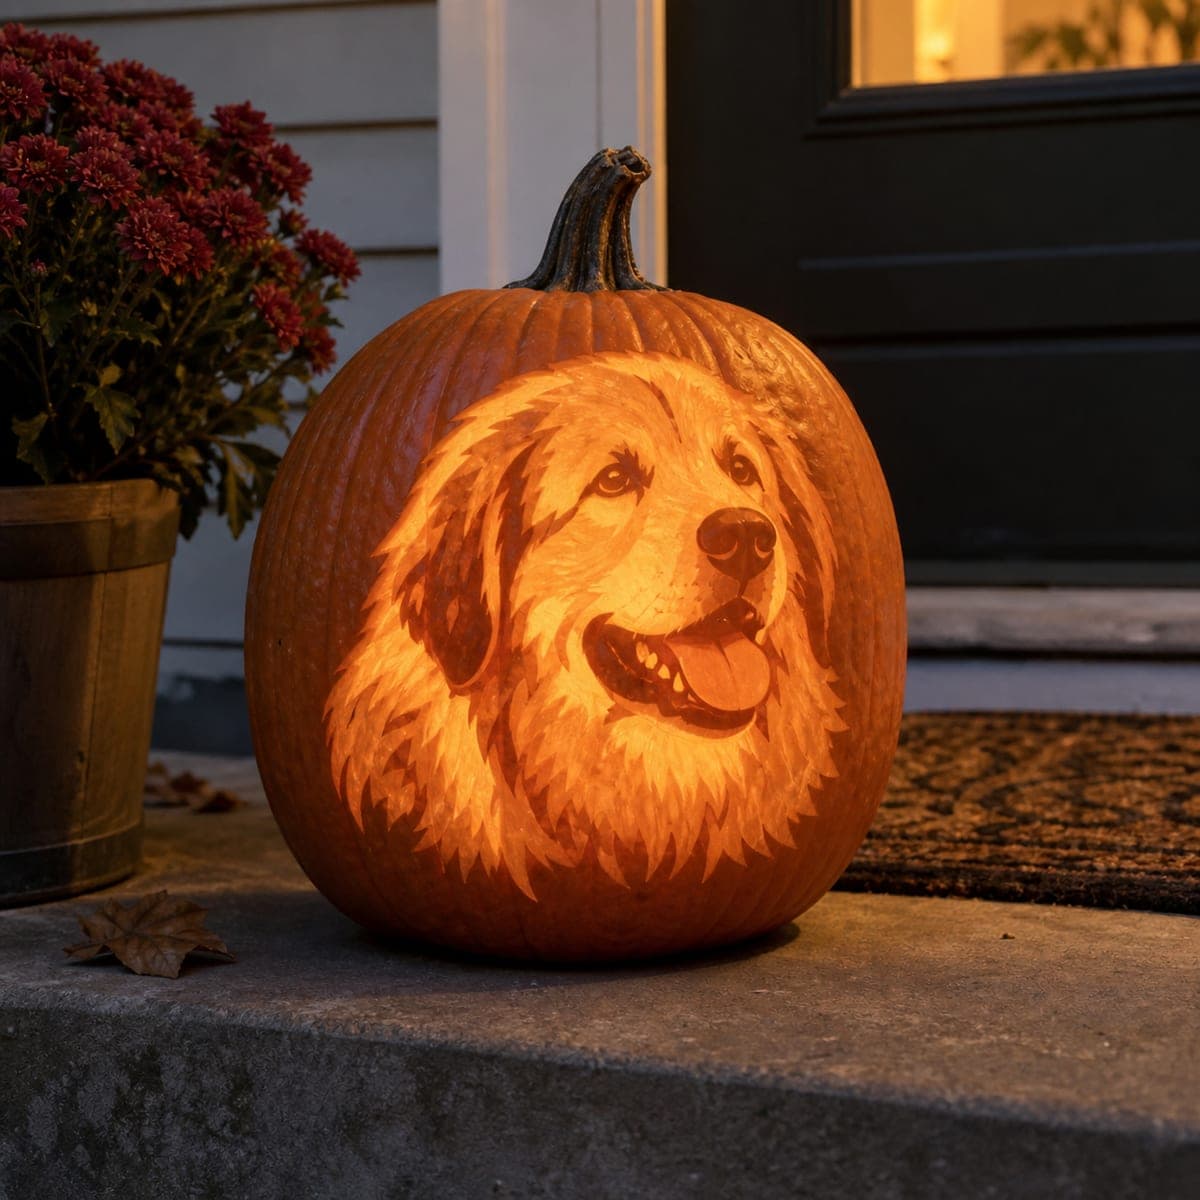
A golden retriever's gentle face radiates from this backlit pumpkin carving, feathered ears and ruff etched stroke by stroke into the glowing flesh. The soft expression comes from keeping the eyes and nose as dark uncut islands surrounded by bright shaved fur. Check your depths often with a light inside the shell, and thin the cheeks and forehead last to bring the whole face up to an even warmth.

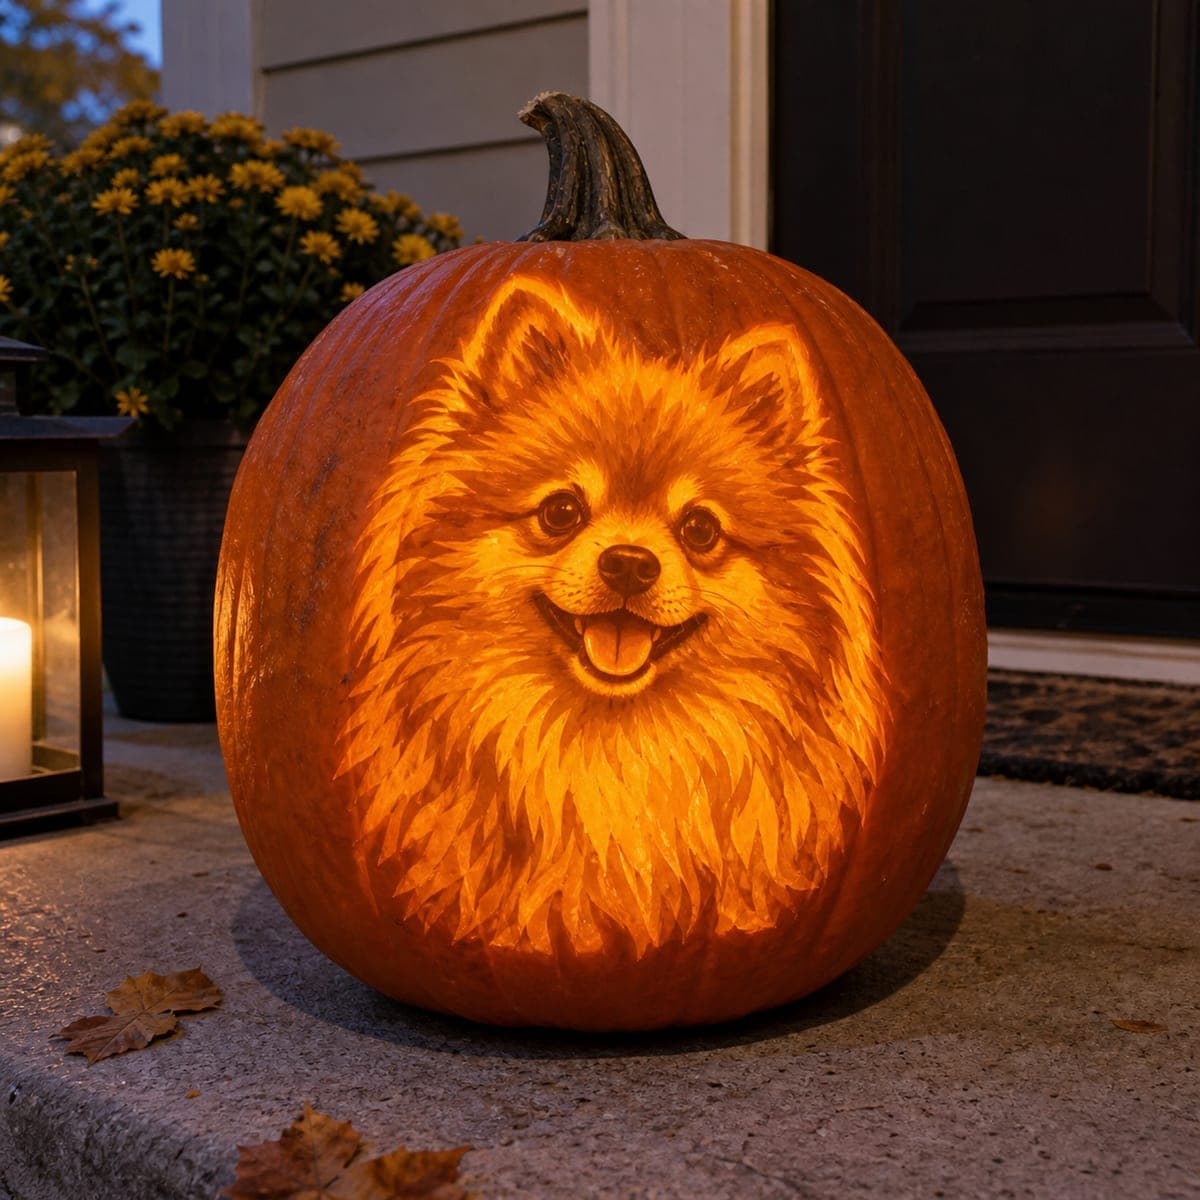
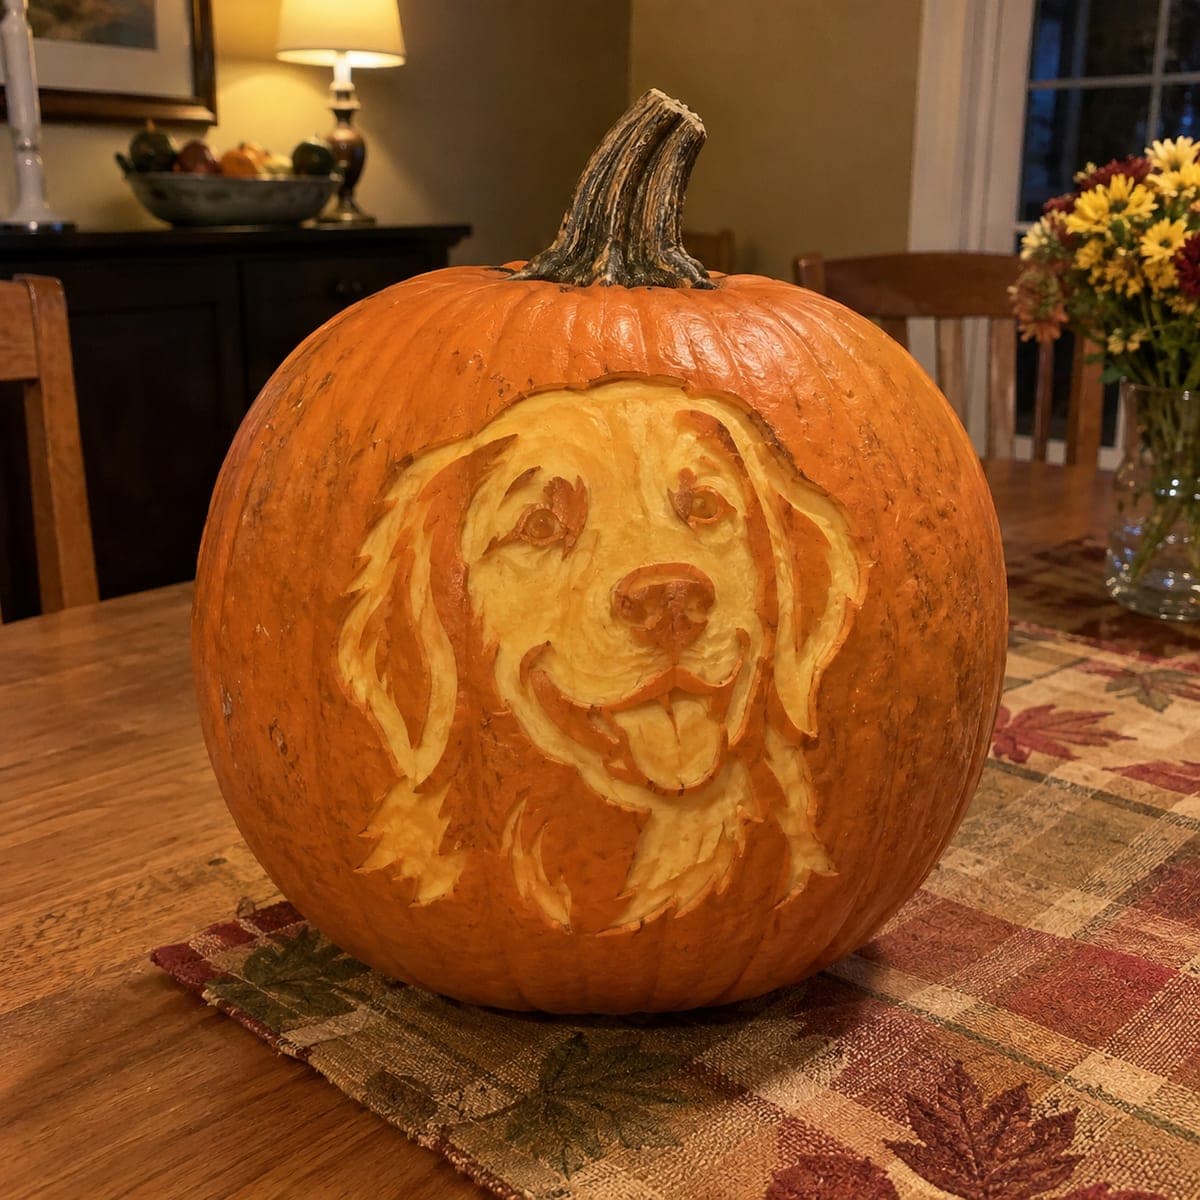
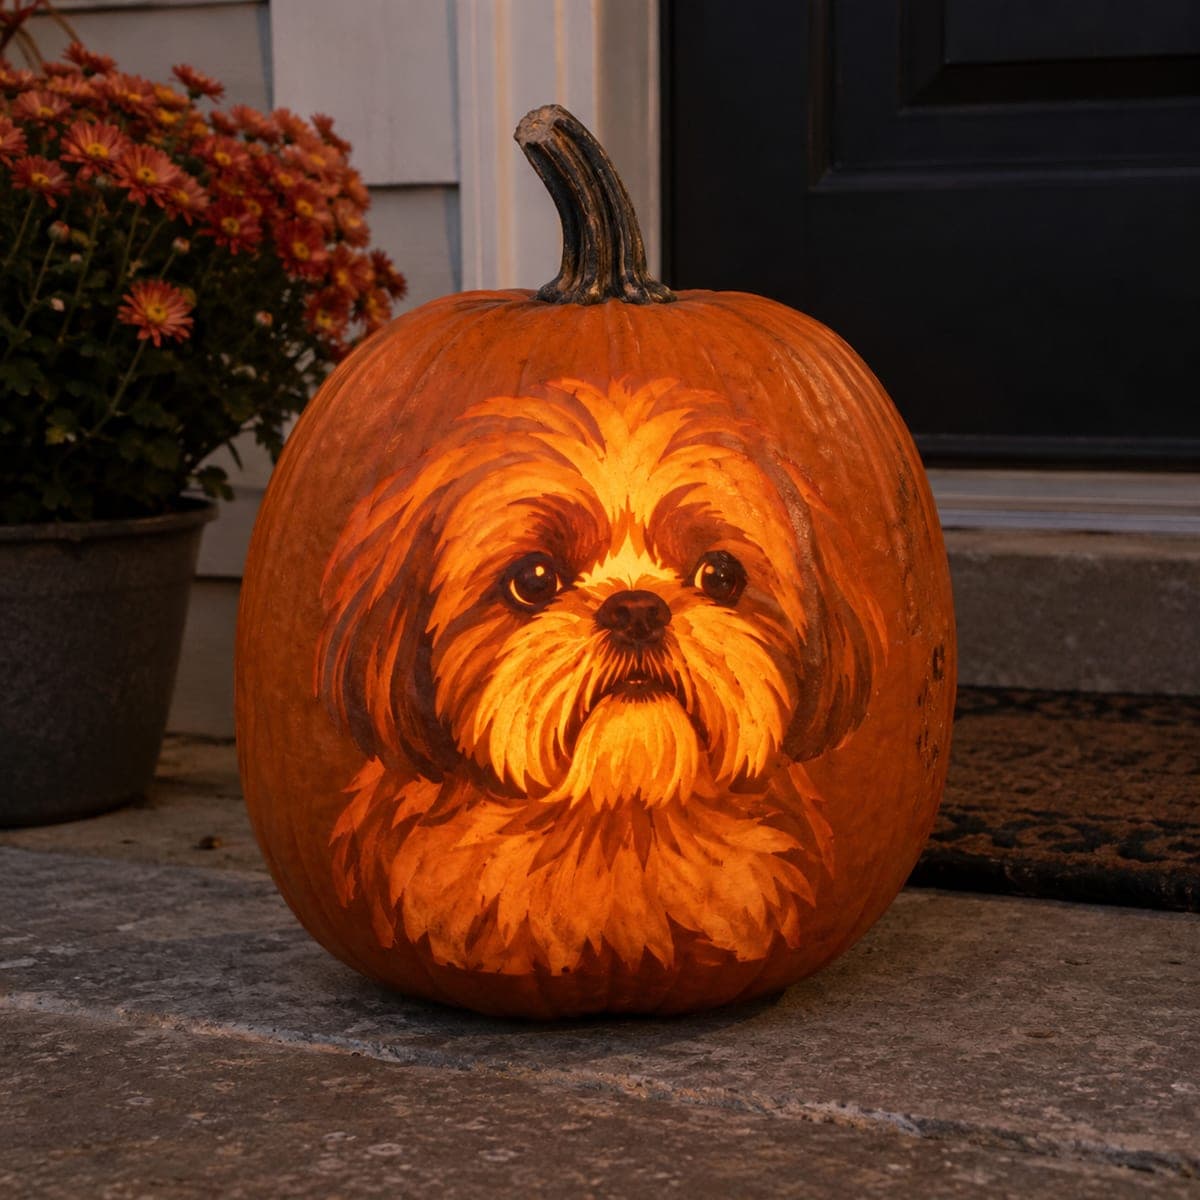
This is an AI-generated concept image: a realistic, carvable design idea rather than a photo of a finished carve. AI concepts are always labeled and sit out the leaderboard and the contest.

No ratings yet Β· Sign in to rate

Comments (0)

  • No comments yet β€” be the first.

Save without an account. Sign in to like or comment.

Our tips for carving a similar design

The whole effect rests on one trick: leaving the eyes and nose as untouched dark islands while shaving the fur around them to varying brightness. You are not cutting many holes, you are controlling how much skin you remove so light bleeds through at different levels. Plan the face as a map of dark, dim, and bright zones before any tool touches the shell.

Written by PumpkinCarvingIdeas.com, inspired by the image above. These are our suggestions, not instructions from the uploader. This approach to the AI concept has not been tested on a real pumpkin.

From pumpkin to porch

  1. Prep the pumpkin and open the back

    Choose a tall pumpkin with a broad, smooth front panel for the face. Cut a lid or a round access hole in the back, not the top, so the front surface stays intact. Scrape the inside wall behind the face down to about one inch thick with a large loop tool. A thinner, even wall shades far more predictably when you shave it later.

  2. Transfer the portrait

    Tape your golden retriever stencil flat against the front and poke through the main outlines with a pin or transfer tool. Mark the boundaries of the eyes, nose, muzzle, ears, and ruff clearly. Take a moment to shade in on the paper which areas should stay dark, which are mid glow, and which are brightest. This map keeps you oriented once the surface starts to look busy.

  3. Protect the dark islands first

    Before removing anything, outline the two eyes and the nose so you never accidentally shave into them. These stay as full-thickness untouched skin, which reads as the deepest dark and gives the face its gentle expression. Score a clean edge around each one with a detail knife held lightly. Treat these islands as no-go zones for the rest of the carve.

  4. Shave the fur in layers

    Using a ribbon or peeling tool, remove the outer skin across the fur to let dim orange light through. Vary your depth: leave more skin in shadowed areas like the ear folds and the underside of the muzzle, and shave closer for the highlights on the forehead and snout. Work in short directional strokes that follow the way the fur lies. Check often with an LED light inside the shell so you can read the glow as you go.

  5. Push the brightest highlights and thin the face last

    For the brightest catchlights near the nose bridge and the chest ruff, shave down until the wall glows strongly, but stop before you cut clean through. Save the cheeks and forehead for the very end, then thin them gradually to lift the whole face to an even warmth. Cut all the way through only for the small chest ruff accents if you want sharp bright flecks. Going slow here prevents blowing out detail you cannot get back.

  6. Light it and photograph

    Set a warm LED puck or a string of LEDs inside and settle the pumpkin on a porch bench at dusk. View it from a few feet back to judge the balance and touch up any spot that reads too dark. Mist the cut fur with water if the edges start to dry and curl. Snap your photo while the surrounding light is low so the glowing face pops.

Gather your supplies

Check things off as you get ready.

Work on a stable surface, keep your free hand out of the cutting path, and have an adult handle sharp tools.

Three levels of light

  • Leave intact

    The eyes and the nose stay as untouched dark islands for the soft, focused expression.

  • Peel & shade

    The shadowed fur in the ear folds, ruff, and under the muzzle gets a light skin peel for dim orange depth.

  • Cut through

    Only the small chest ruff flecks or brightest highlights go all the way through for sharp light.

Learn the carving basics

Before you start cutting

How do I keep the eyes looking gentle instead of blank or scary?

Leave the eyes as full-thickness dark islands and never shave into them. A tiny untouched dot or a slightly thinned crescent near each eye reads as a soft catchlight without cutting through. Keeping the surrounding fur brighter makes the dark eyes settle back naturally.

This is shown as a concept image, so can a real pumpkin actually glow this smoothly?

Yes, a portrait like this is achievable with careful shading, though no real pumpkin was carved for the picture. The key is an evenly thinned wall behind the face so the light spreads without hot spots. Work slowly and check the glow from inside often, since real pumpkin flesh varies in density.

What if I shave too deep and light blasts through where I wanted a mid tone?

Small over-shaves can be softened by dabbing a thin smear of pumpkin pulp back into the spot, though it is temporary. Better to shave conservatively and return for a second pass. Always thin the large cheek and forehead areas last so you can judge the whole face before committing.

Your take belongs here, too.

Changed a detail? Made it simpler? Share a photo of your version and tell the community what worked.

Share your pumpkin

More pumpkins like this

You've reached the end Β· 8 pumpkins
The Patch Report

Fresh pumpkins, in your inbox.

The best new carvings, ideas worth stealing, and how-tos for carving season. Short, seasonal, and gone by November.

A short email during carving season. Unsubscribe anytime. See our privacy policy.