Halloween Pumpkin Carving Contest · Starts October 1st · $500 in prizes
← Back to ideas
@ai_concepts
Aug 12, 2026
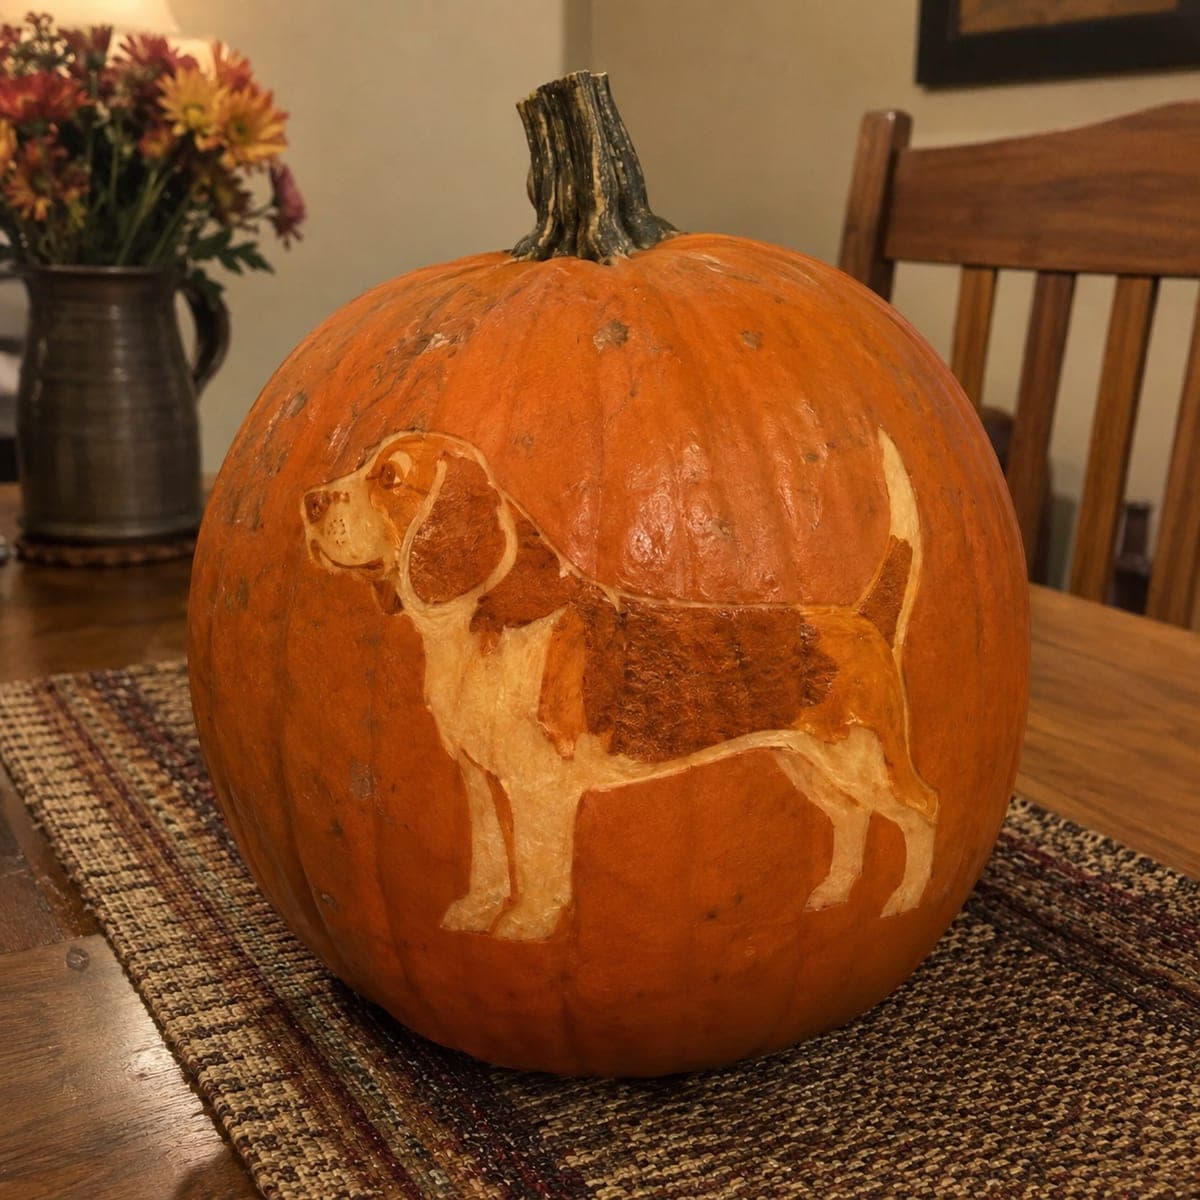
Golden Retriever Portrait Pumpkin With Carved ShadingAI
0

Golden Retriever Portrait Pumpkin With Carved Shading

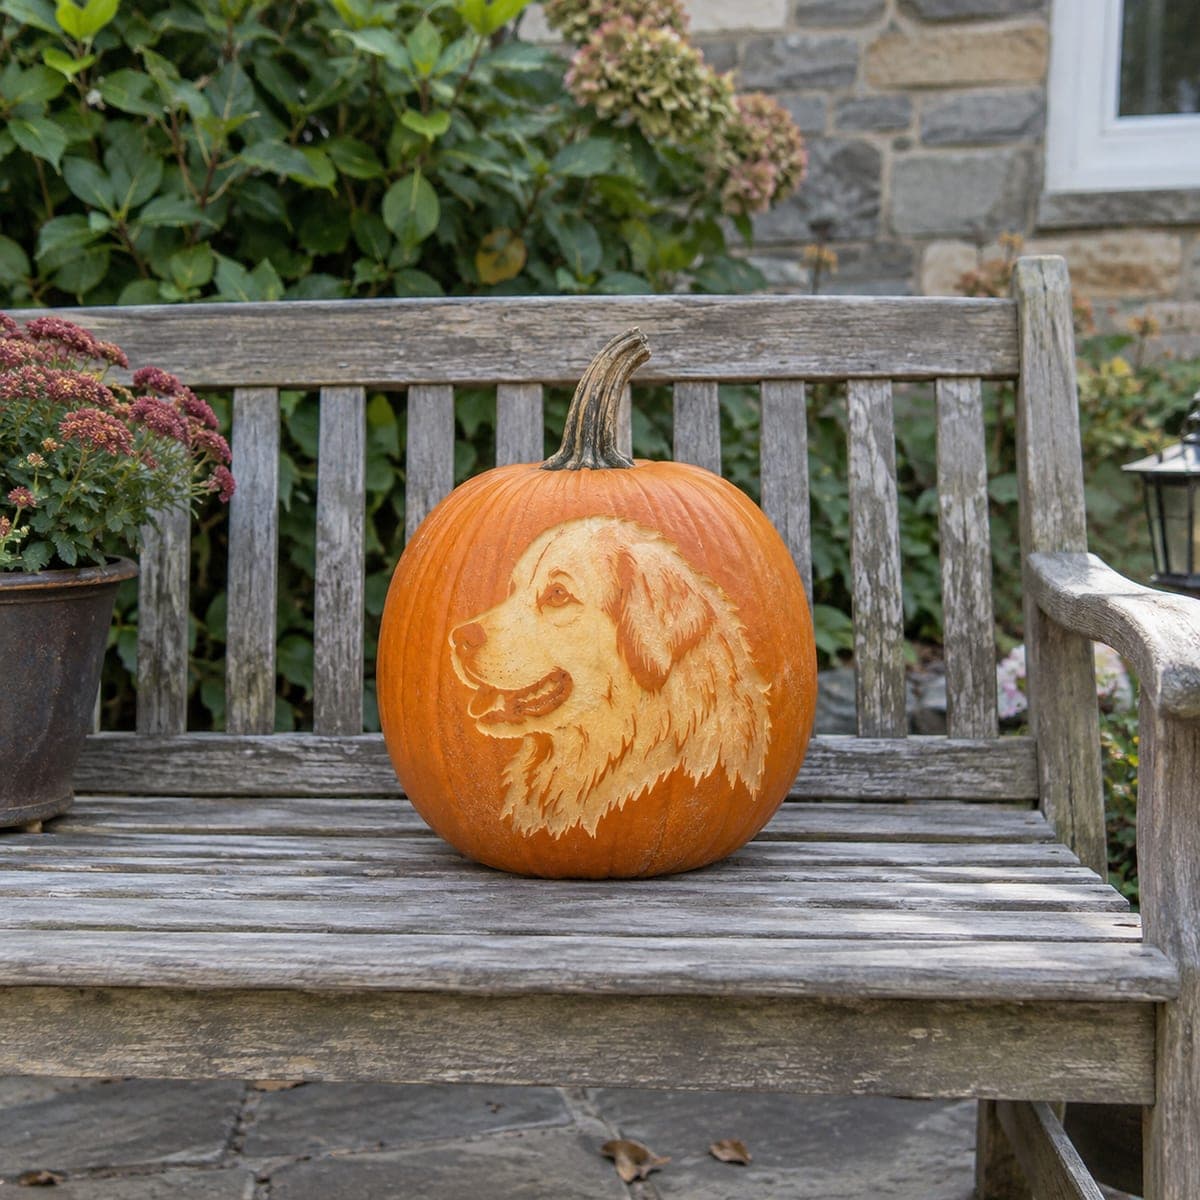
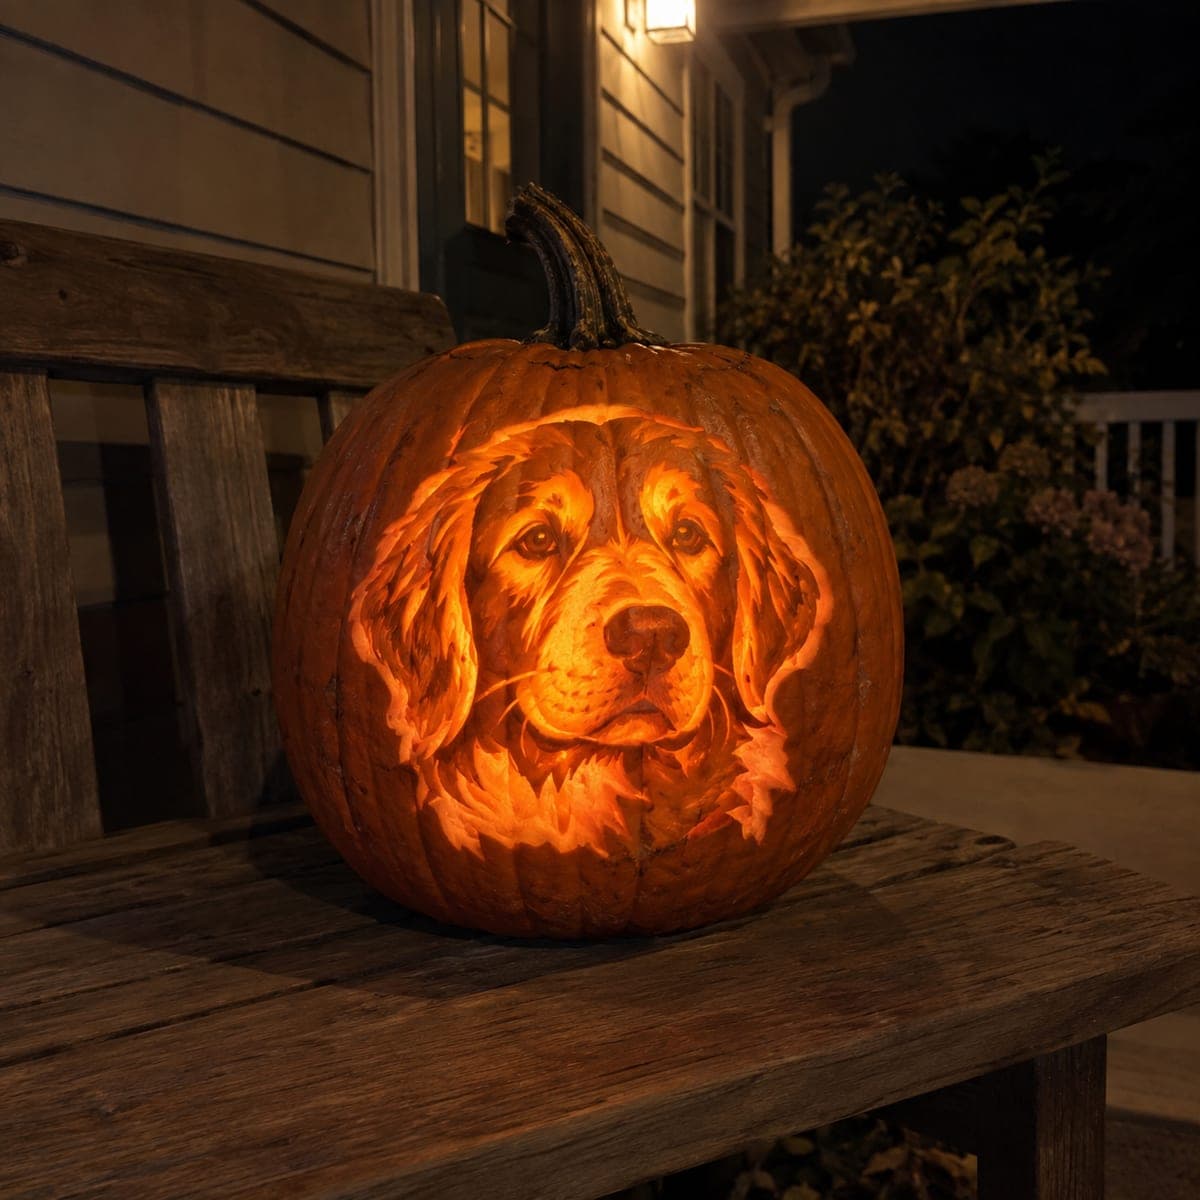
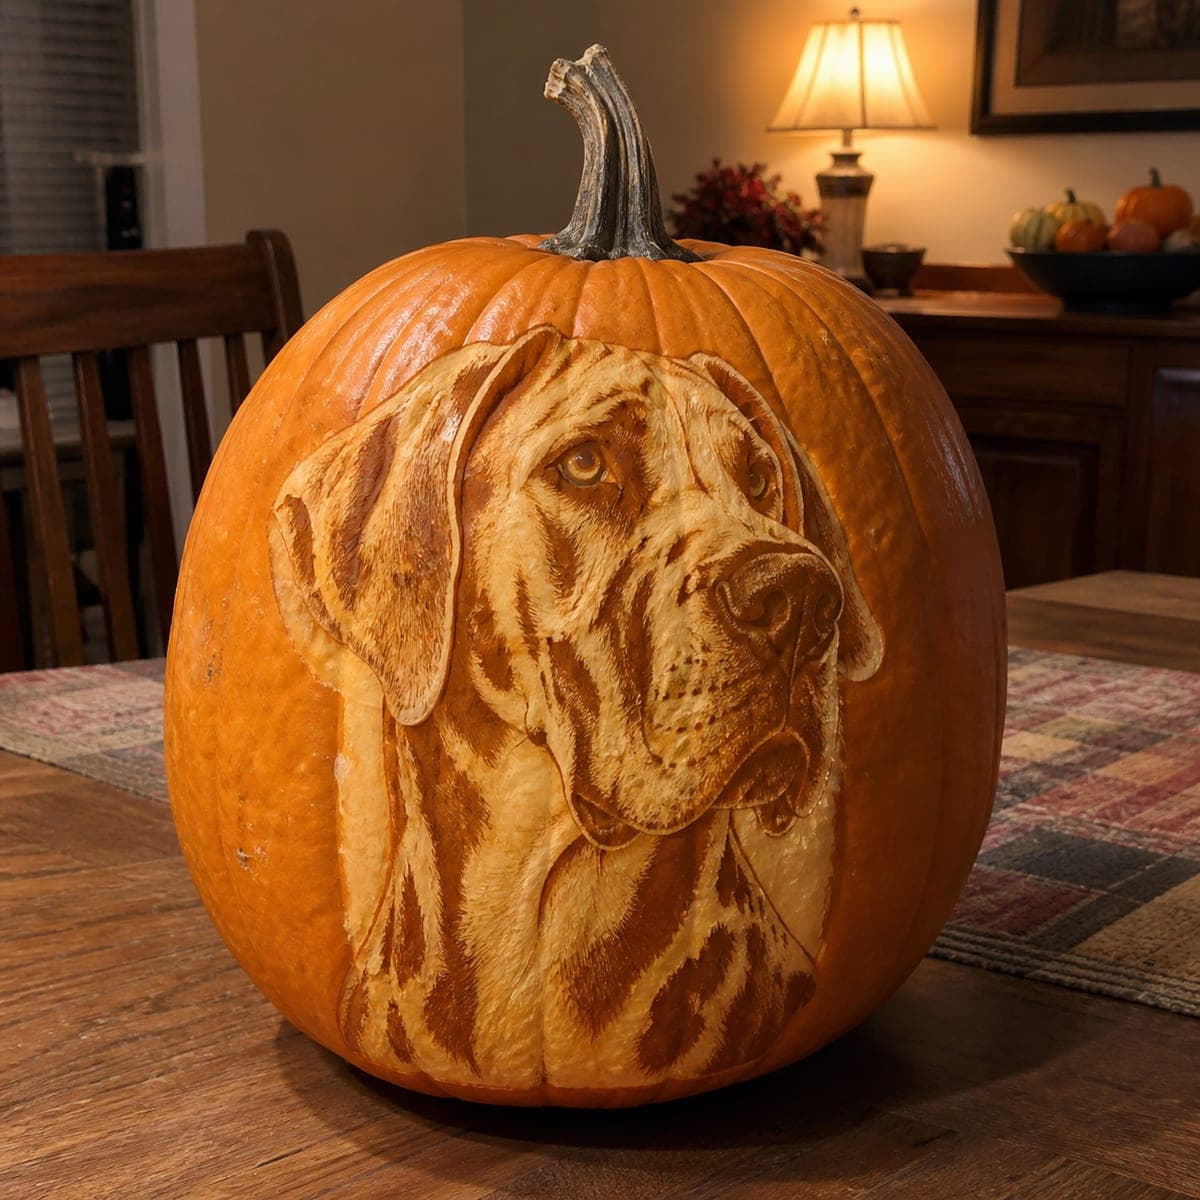
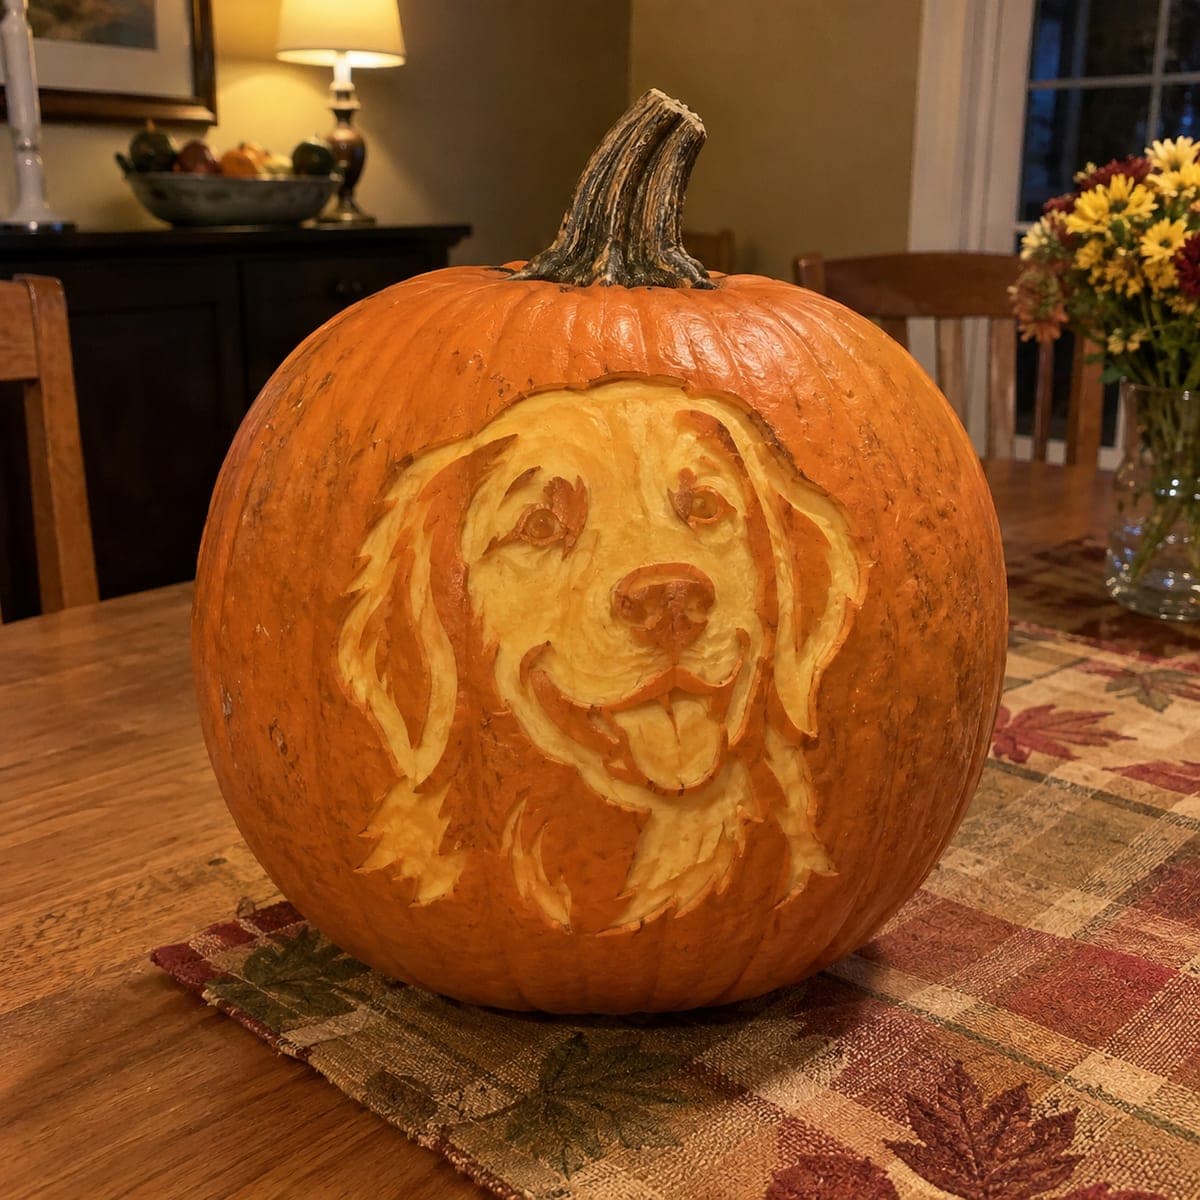
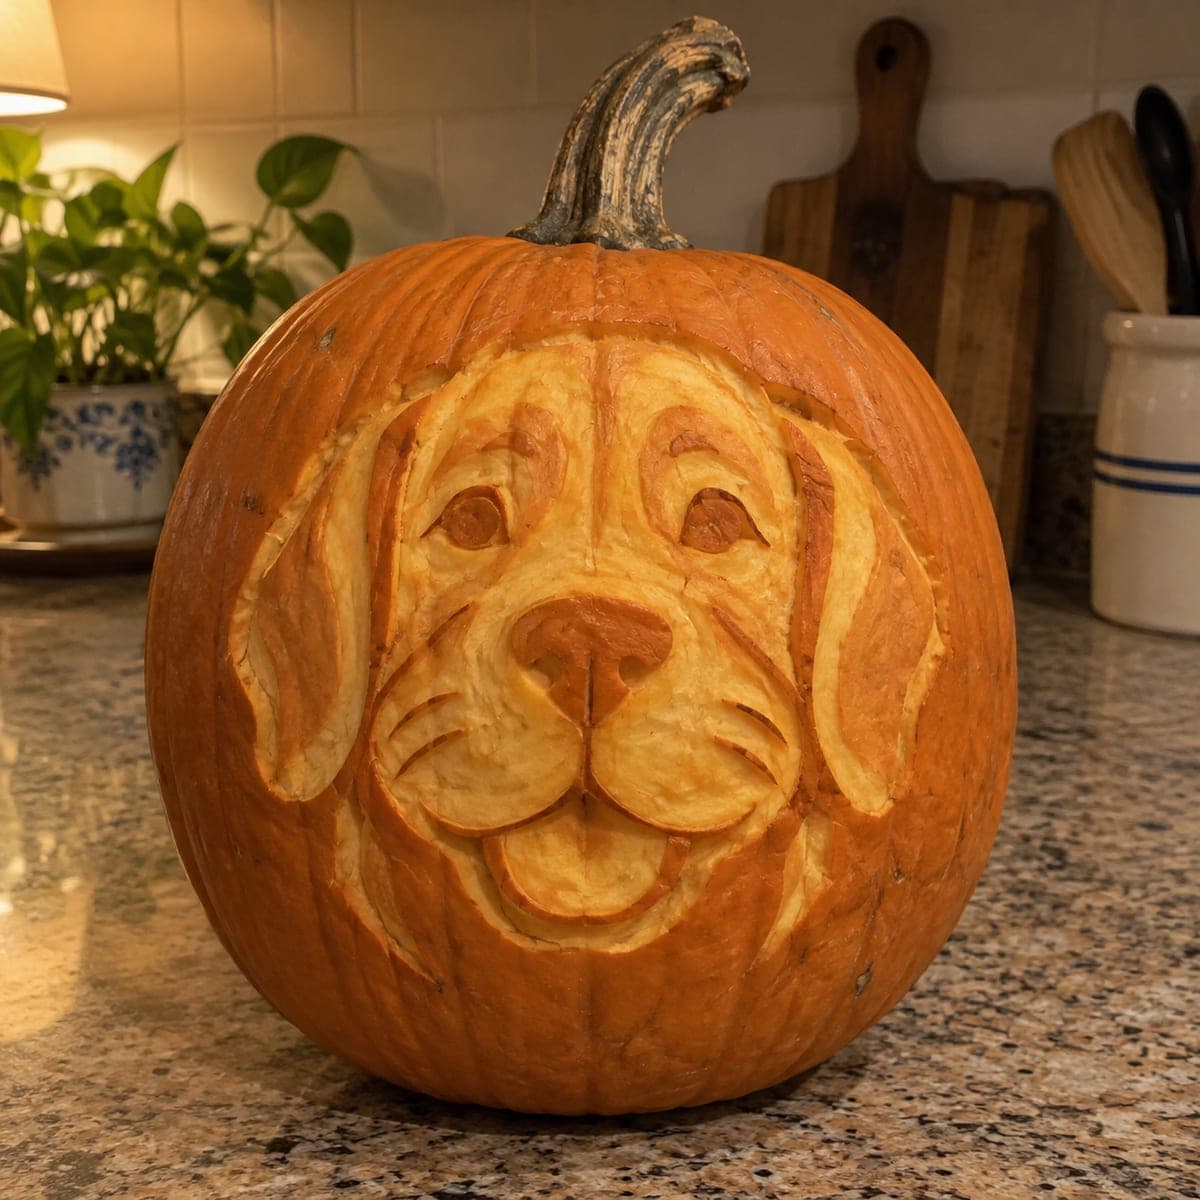
A happy golden retriever grins from this pumpkin with its tongue out, its ears, wrinkles, and cheek fur modeled in smooth carved shading. Different peel depths create the tonal range, so the portrait reads like a sepia photo in ordinary room light. Start with the eyes and nose to lock in the likeness, keep the darkest areas as untouched skin, and carve the tongue and chest deepest so they glow palest.

This is an AI-generated concept image: a realistic, carvable design idea rather than a photo of a finished carve. AI concepts are always labeled and sit out the leaderboard and the contest.

No ratings yet · Sign in to rate
Comments (0)

  • No comments yet — be the first.

Save without an account. Sign in to like or comment.

Our tips for carving a similar design

This design leans entirely on carved shading rather than cutouts, using three or four peel depths to build a soft, photo-like face. The core trick is treating the pumpkin skin like paper values, leaving the darkest wrinkles and outlines as untouched skin and shaving the tongue and chest thinnest so they read palest. Lock in the eyes and nose first, then work the fur and ears outward from there.

Written by PumpkinCarvingIdeas.com, inspired by the image above. These are our suggestions, not instructions from the uploader. This approach to the AI concept has not been tested on a real pumpkin.

From pumpkin to porch

  1. Prep the pumpkin and transfer the face

    Pick a large pumpkin with a smooth, pale front and wipe it clean and dry. Since this is a shading portrait, you do not need to open the top yet; you will hollow through the back instead. Tape your dog stencil flat over the front and poke closely spaced dots along every line, then lift the paper and connect the dots with a washable marker. Take your time here because the eye and nose placement is what makes it look like a real golden retriever.

  2. Hollow through the back and thin the front wall

    Cut a lid or a round access hole on the back of the pumpkin, not the top, so the front face stays uninterrupted. Scoop the insides fully and scrape the inside of the front wall down to about one inch thick and even. A thinner, uniform wall lets light glow through the peeled areas predictably. An adult should handle all the sharp scooping tools.

  3. Set the eyes and nose first

    Using a small detail loop or gouge, carve the eyes and nose before anything else, since these anchor the likeness. Keep the dark rims and pupils as untouched skin and peel a shallow highlight where light should catch. Shape the nose with a soft peel on top and leave the nostrils dark. Step back often to check the expression before you commit deeper.

  4. Model the fur, ears, and wrinkles in shading

    Work outward from the face using different peel depths to suggest fur and folds. Leave the deepest creases and the outlines between the ears and cheeks as untouched skin so they stay dark and separate the shapes. Peel the cheek fur and forehead to a medium depth for a mid tone. Use short, curved strokes that follow the direction of the fur so the coat looks soft rather than scratchy.

  5. Carve the tongue and chest the palest

    Shave the tongue and the chest area the thinnest of all so they glow brightest when lit. These are your lightest values, so remove the most skin here without cutting all the way through. Keep a thin line of untouched skin around the tongue and along the mouth so those shapes stay crisp. Blend the edges of each depth change with a light scrape so the tones fade smoothly instead of stepping abruptly.

  6. Light it and photograph

    Drop a battery LED puck inside and use no candles, since an open flame can scorch the thin front wall. Try warm white for a sepia photo look and dim the room to see the tonal range appear. If any area looks muddy, scrape it a little thinner to brighten it. Mist the carved face with water and store it cold between viewings to keep the shading fresh for photos.

Gather your supplies

Check things off as you get ready.

Work on a stable surface, keep your free hand out of the cutting path, and have an adult handle sharp tools.

Three levels of light

  • Leave intact

    The eye rims, pupils, nostrils, deep wrinkles, and the outlines between ears and cheeks stay as untouched dark skin.

  • Peel & shade

    The cheek fur, forehead, and ears get a medium peel for the warm mid tones.

  • Cut through

    Nothing is cut fully through; the tongue and chest are shaved thinnest so they glow the palest.

Learn the carving basics

Before you start cutting

Do I need to cut any holes through the front for this dog face?

No, this is a shading portrait, so the whole effect comes from peeling the skin to different depths rather than cutting openings. Keep the front wall intact and let light glow through the thinned areas. Save cutting for the back access hole only.

How do I keep the face looking like a golden retriever and not a generic dog?

Get the eyes and nose exactly right before you touch anything else, since spacing and shape carry the likeness. Keep the eyes soft and slightly rounded and give the nose a broad, gentle top. The floppy ears and the grinning tongue are what sell the breed, so keep those shapes generous.

This is shown as a concept image, so how do I make the real thing hold up?

Because no actual pumpkin was carved for the picture, plan for real skin thickness as you go. Keep every peeled area backed by at least a little skin so nothing tears, and leave thin skin bridges around the tongue and mouth to hold their edges. A one inch front wall gives you room to shade without breaking through.

Your take belongs here, too.

Changed a detail? Made it simpler? Share a photo of your version and tell the community what worked.

Share your pumpkin

More pumpkins like this

You've reached the end · 8 pumpkins
The Patch Report

Fresh pumpkins, in your inbox.

The best new carvings, ideas worth stealing, and how-tos for carving season. Short, seasonal, and gone by November.

A short email during carving season. Unsubscribe anytime. See our privacy policy.