Halloween Pumpkin Carving Contest · Starts October 1st · $500 in prizes
← Back to ideas
@ai_concepts
Sep 14, 2026
Cracked Skull in Side Profile PumpkinAI
0

Cracked Skull in Side Profile Pumpkin

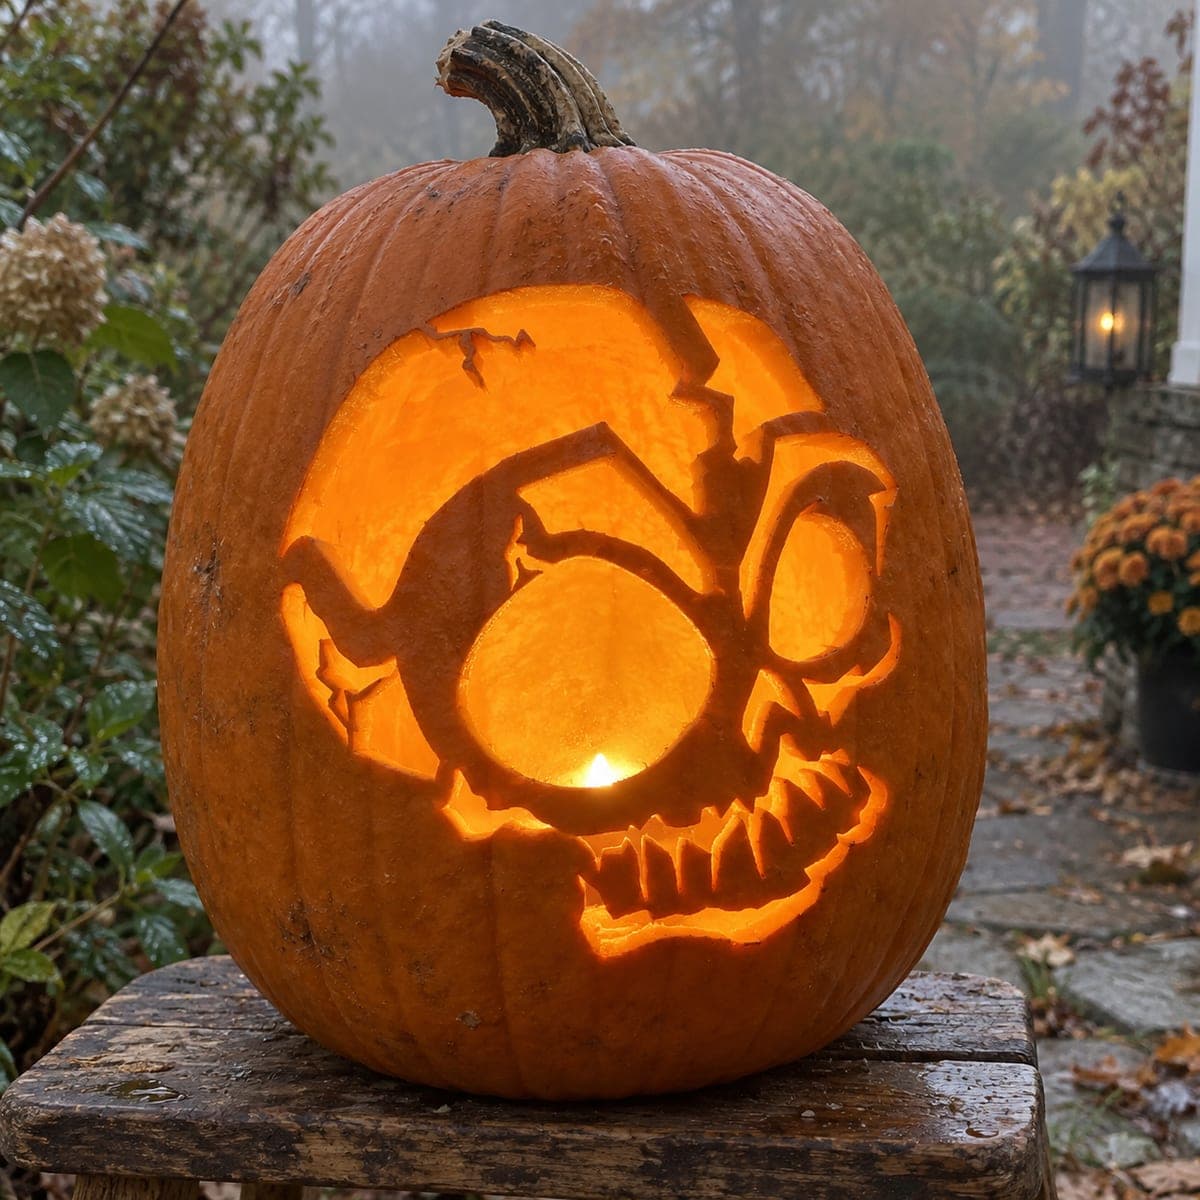
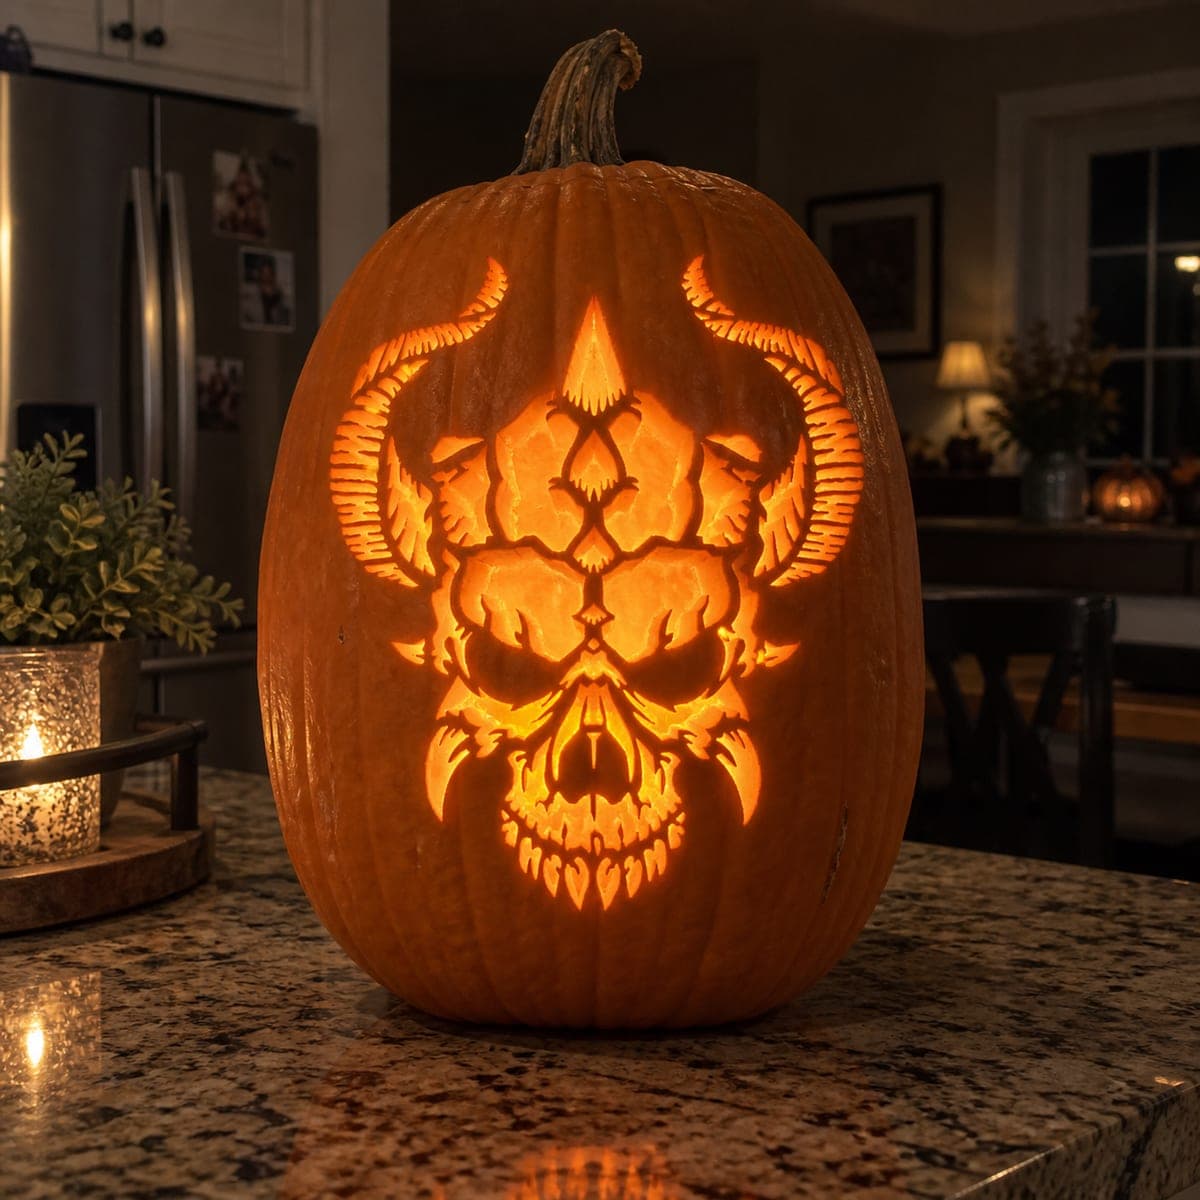
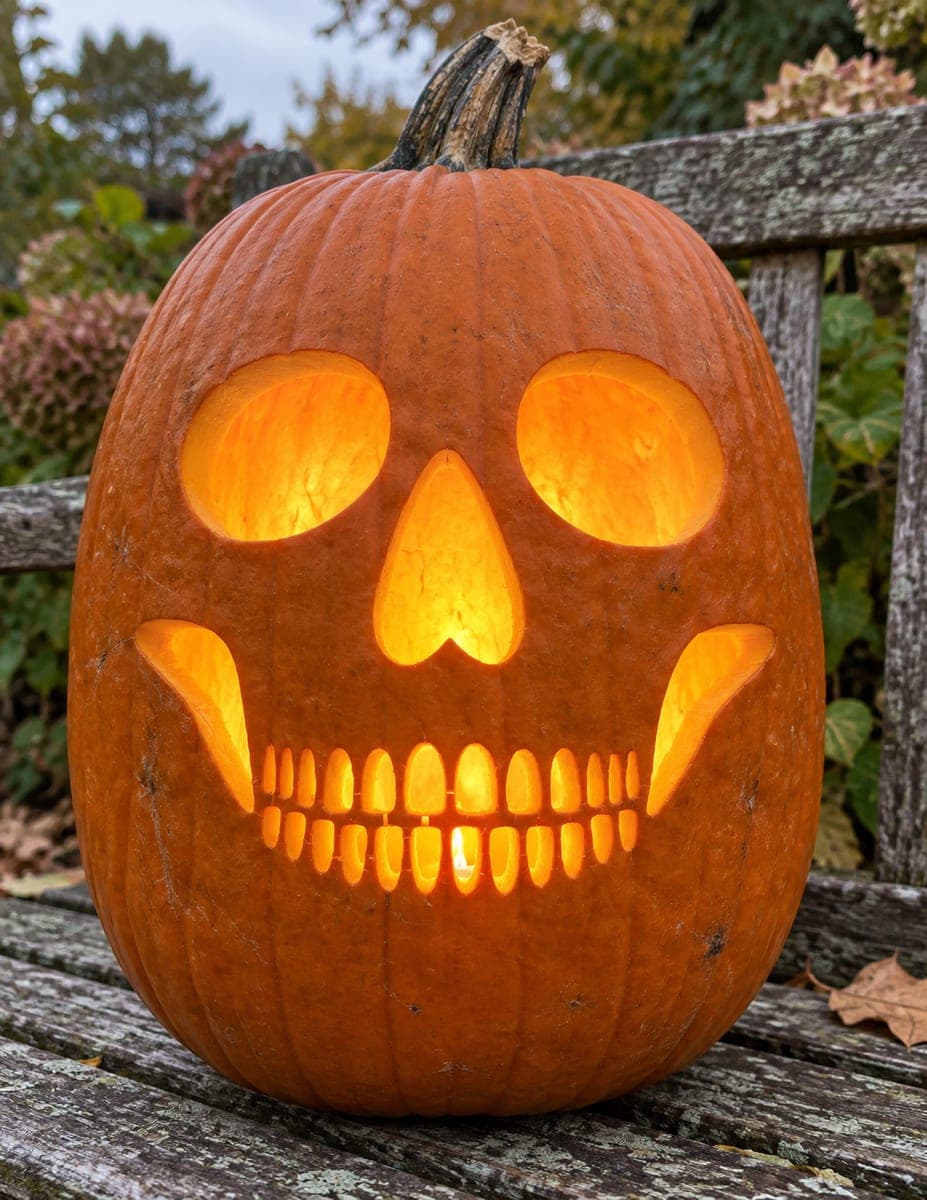
A broad rounded skull in right-facing profile shows a large glowing eye socket, a jagged open jaw with exposed teeth, and crackling fracture lines across the cranium, carved as a cutout pumpkin carving idea set against dark, foggy surroundings. The profile orientation means most of the glowing area is concentrated on one side of the pumpkin, which creates a dramatic spotlight effect at night. Trace the outer skull silhouette first, then cut the eye socket and jaw teeth from the inside outward so the profile edge remains a clean anchor. To keep the jaw's spiky teeth from snapping, cut downward from the tooth tips rather than sawing side-to-side across the base.

This is an AI-generated concept image: a realistic, carvable design idea rather than a photo of a finished carve. AI concepts are always labeled and sit out the leaderboard and the contest.
No ratings yet · Sign in to rate

Comments (0)

  • No comments yet — be the first.

Save without an account. Sign in to like or comment.

Our tips for carving a similar design

The core trick here is concentrating all the light on one side by carving a side-facing skull silhouette, so the glow reads like a spotlight rather than an even face. You cut the big eye socket and open jaw as full openings, then leave the outer skull edge and fracture lines as untouched skin to frame the shape. Work from the inside outward so the clean profile edge stays your anchor the whole time.

Written by PumpkinCarvingIdeas.com, inspired by the image above. These are our suggestions, not instructions from the uploader. This approach to the AI concept has not been tested on a real pumpkin.

From pumpkin to porch

  1. Plan the profile and light the inside

    Since this is a concept design, picture a broad round skull facing right with a large eye socket, an open toothy jaw, and crack lines across the cranium. Pick the smoothest, flattest side of a real pumpkin for the face and open a lid from the bottom, not the top, so the stem stays intact and the pumpkin sits steady. Scoop the inside wall down to about one inch thick behind the whole design area so light passes easily. Set an LED tealight or puck light inside to test the glow before you cut anything.

  2. Transfer the pattern and trace the silhouette

    Tape your stencil flat against the chosen side and poke the outline through with a pin or transfer tool. Focus first on the outer skull silhouette, since that curved edge is what anchors every other cut. Mark the eye socket, the open jaw, each tooth, and the fracture lines separately so you know which are cutouts and which stay as skin. Step back and check the profile still reads as a skull before you pick up a blade.

  3. Cut the eye socket first

    An adult should handle all cutting with a fine detail saw. Start with the large round eye socket, cutting from the inside of the shape outward toward the traced line so you never crowd the delicate profile edge. Remove the plug gently and clean up the rim. This big central opening will be your brightest area, so take your time keeping the curve smooth.

  4. Carve the jaw and teeth carefully

    The spiky teeth are the fragile part, so cut downward from each tooth tip rather than sawing side to side across the base. Work one tooth at a time and leave a little pumpkin between them so nothing snaps. Open the jaw cavity behind the teeth as a full cutout for glow. If a tooth feels loose, stop and leave slightly more material rather than pushing your luck.

  5. Add the fracture lines and shading

    The crack lines across the cranium look best as thin peeled channels or narrow cuts, not big openings, so the skull frame stays solid. Use a lino or ribbon tool to score and skin the cracks for a dim glow, or make hairline cuts for sharper light. Keep small bridges of skin along any long crack so the top of the skull does not weaken. Save any large adjustments for last.

  6. Light it and photograph the glow

    Drop in a bright LED light, never a candle, and set the pumpkin on a raised surface with the carved side facing your viewers. Because the glow is all on one side, angle it toward a walkway or dark background for that dramatic spotlight effect. Shoot photos at dusk or in light fog for mood. Coat cut edges with a little petroleum jelly to slow drying if you want it to last.

Gather your supplies

Check things off as you get ready.

Work on a stable surface, keep your free hand out of the cutting path, and have an adult handle sharp tools.

Three levels of light

  • Leave intact

    The outer skull silhouette, the cranium surface, and the bridges between teeth stay as untouched skin so the shape reads dark and solid.

  • Peel & shade

    The fracture lines across the top of the skull get skin-peeled for a dim orange glow that suggests cracks without weakening the frame.

  • Cut through

    The large eye socket and the open jaw behind the teeth are cut all the way through for the brightest, spotlight-style glow.

Learn the carving basics

Before you start cutting

How do I keep the pointed teeth from breaking?

Cut downward from each tooth tip instead of sawing side to side across the base, and do one tooth at a time. Leave a little pumpkin between teeth so they support each other. If a tooth feels loose, keep slightly more material rather than thinning it further.

Why carve the profile edge first?

The outer skull silhouette is what makes the design read as a skull, so it becomes your anchor line. Working from the inside cuts outward toward that edge keeps it clean and prevents you from accidentally cutting past it. Save the big openings for after the outline is set.

How do I get the one-sided spotlight effect?

Concentrate all the cutouts on a single flat side of the pumpkin, as the profile design does. Use one bright LED placed toward the carved side, and face that side at a dark background or walkway. In fog or at dusk the glow pools dramatically on just that half.

Your take belongs here, too.

Changed a detail? Made it simpler? Share a photo of your version and tell the community what worked.

Share your pumpkin

More pumpkins like this

You've reached the end · 8 pumpkins
The Patch Report

Fresh pumpkins, in your inbox.

The best new carvings, ideas worth stealing, and how-tos for carving season. Short, seasonal, and gone by November.

A short email during carving season. Unsubscribe anytime. See our privacy policy.