Halloween Pumpkin Carving Contest · Starts October 1st · $500 in prizes
← Back to ideas
@ai_concepts
Jul 15, 2026
Curious Ferret Surface Carved PumpkinAI
0

Curious Ferret Surface Carved Pumpkin

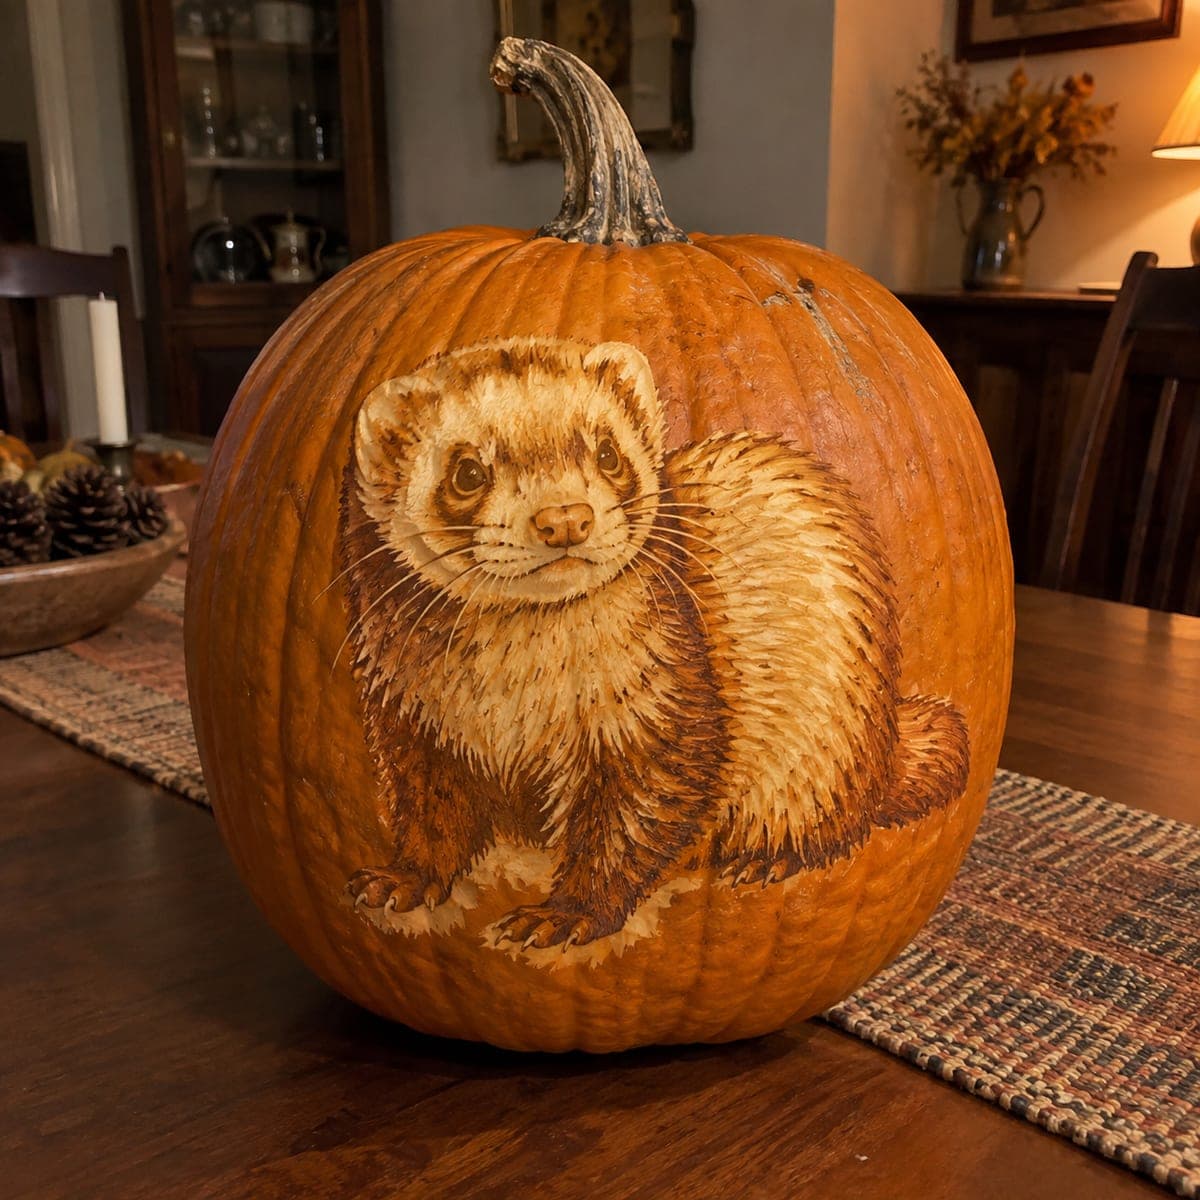
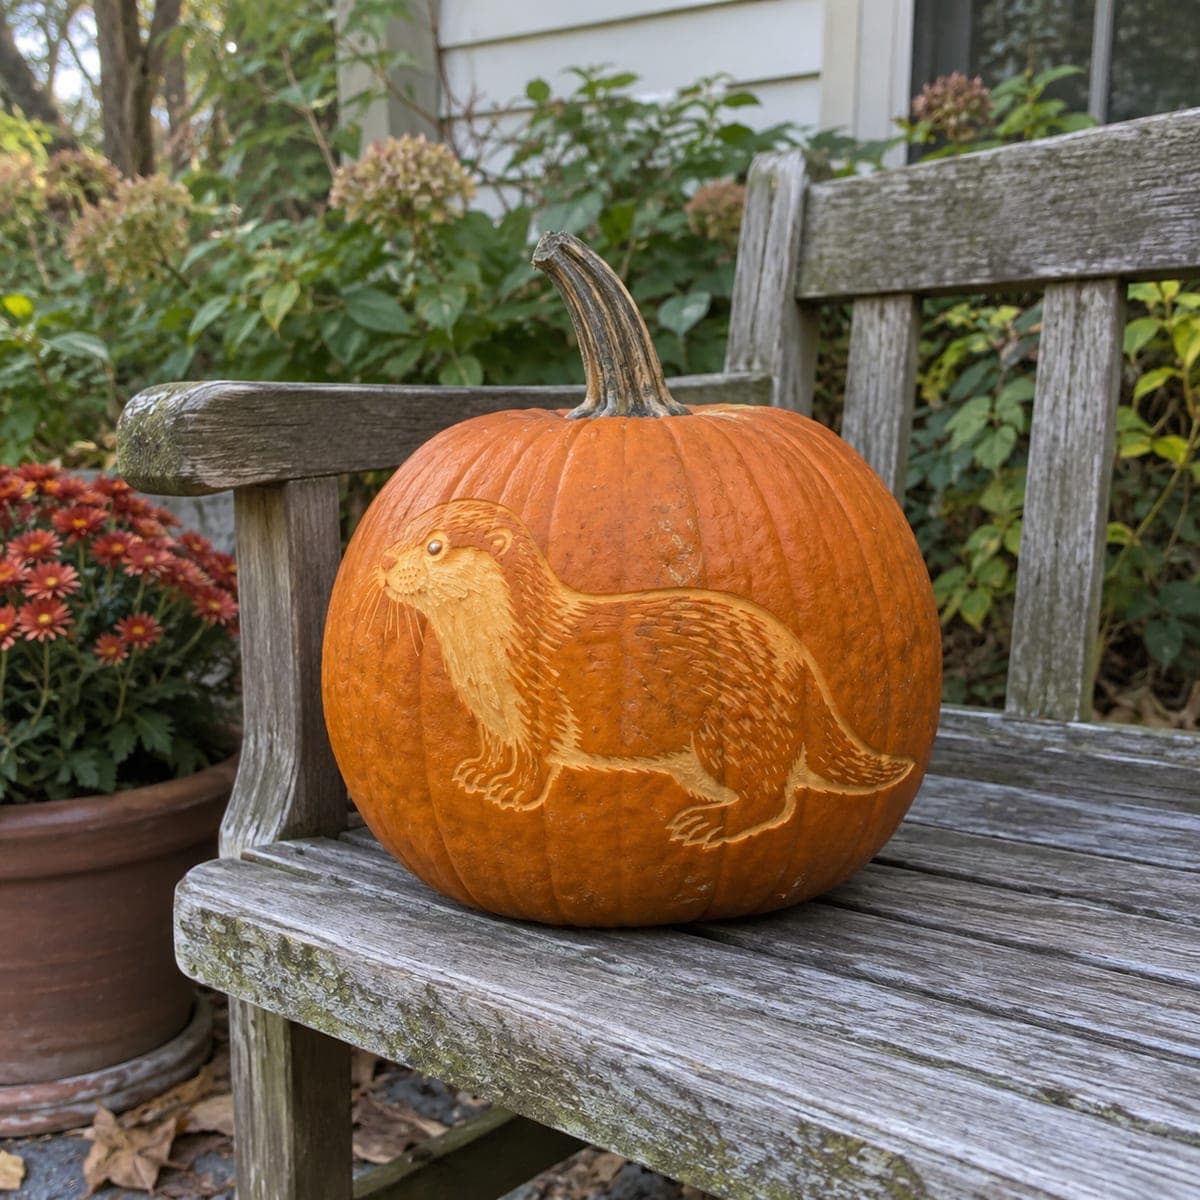
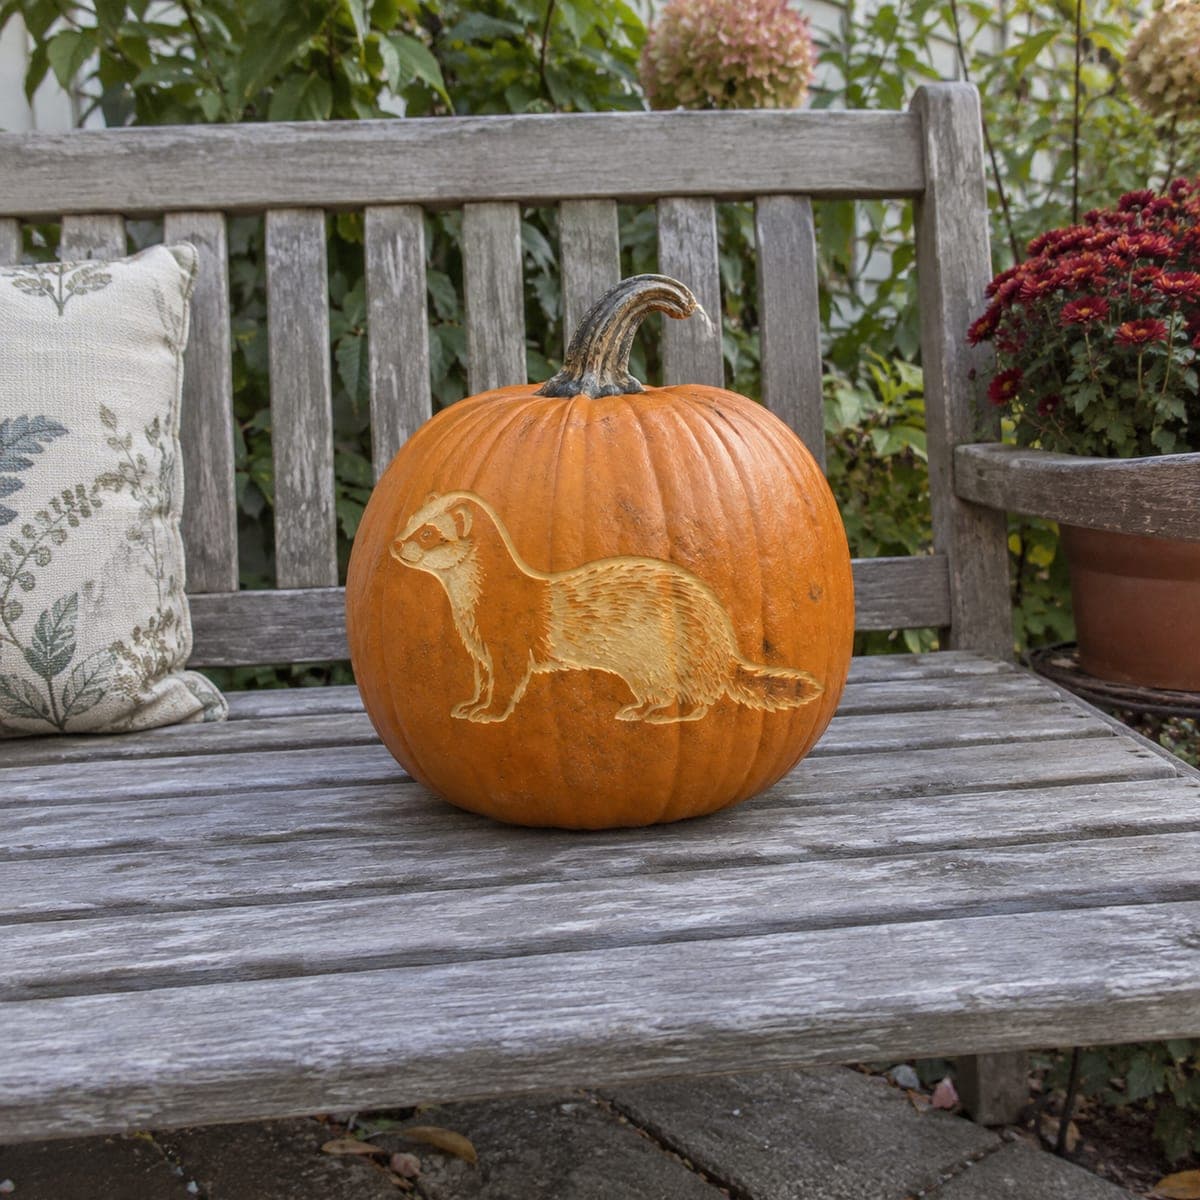
A ferret pauses mid-step across this pumpkin, its long body and bottle-brush tail rendered in fine peeled linework. The design relies on hatched strokes for fur, which you can build up gradually with a V-tool, always cutting away from the outline. Since the wall is never pierced, this pumpkin idea is durable enough for a full week outdoors on a garden bench. A coat of petroleum jelly on the cuts slows browning.

This is an AI-generated concept image: a realistic, carvable design idea rather than a photo of a finished carve. AI concepts are always labeled and sit out the leaderboard and the contest.

No ratings yet · Sign in to rate
Comments (0)

  • No comments yet — be the first.

Save without an account. Sign in to like or comment.

Our tips for carving a similar design

The core trick here is surface shading, never a single cutout, so the whole ferret is built from peeled skin and hatched fur strokes over an untouched background. You establish a clean outline first, then peel the body to a dim glow and add directional V-tool strokes for the bottle-brush tail and coat. Because the wall stays intact, the design is sturdy and holds detail for days.

Written by PumpkinCarvingIdeas.com, inspired by the image above. These are our suggestions, not instructions from the uploader. This approach to the AI concept has not been tested on a real pumpkin.

From pumpkin to porch

  1. Transfer the ferret outline

    Pick a smooth, flat area on the front of the pumpkin and tape your printed stencil in place. Poke the outline and the main body lines with a pin or transfer tool, spacing dots close together on curves like the arched back and pointed face. Peel the paper away and connect the dots lightly with a washable marker so you can see the full shape. This map keeps your peeling from wandering past the silhouette.

  2. Score the silhouette

    With a small detail saw or a fine V-tool, lightly trace just inside the outline to define the edge. Do not cut deep and do not go through the wall, since this design relies on an intact surface. Keep the tool moving away from the body so any slip lands in the background, not the ferret. A crisp scored border gives your shading a clean place to stop.

  3. Peel the body to a mid glow

    Switch to a ribbon or gouge tool and remove only the orange skin inside the outline, exposing the pale flesh underneath. Work in shallow, even passes so the whole ferret reaches a consistent dim orange glow. Leave the eye and the very tip of the nose slightly less peeled so they read as darker points. Take your time; shallow and uniform beats deep and patchy here.

  4. Add fur with hatched strokes

    Use a fine V-tool to carve short directional strokes that follow the way the fur lies, sweeping back along the body and fanning out on the bottle-brush tail. Build the texture gradually in layers rather than digging deep, and always pull the tool away from the outline. Cluster strokes tighter on the shaded belly and tail for contrast against the lighter back. Step back often to check the fur flows in one believable direction.

  5. Deepen accents and clean up

    Go slightly deeper on a few key strokes near the face, front legs, and tail tip to suggest shadow and dimension. Brush out all the loose bits with a dry paintbrush or toothbrush so no flesh clogs the fine lines. Rub a thin coat of petroleum jelly over every cut to slow browning and keep the linework sharp. Wipe away any leftover marker lines from the background.

  6. Light it and stage the photo

    Set a battery LED puck or string behind or beside the pumpkin, or open a small lid hole in the back bottom if you want interior light. Because this is a surface carving, side lighting or a bright ambient lamp actually shows the fur texture best. Place it on a garden bench at golden hour and shoot slightly to the side so the hatching casts tiny shadows. Keep a real candle far away and stick with LEDs.

Gather your supplies

Check things off as you get ready.

Work on a stable surface, keep your free hand out of the cutting path, and have an adult handle sharp tools.

Three levels of light

  • Leave intact

    The background around the ferret and the dark eye and nose tip stay as untouched skin.

  • Peel & shade

    The whole ferret body, legs, and tail are skin-peeled to a soft mid glow.

  • Cut through

    No full cutouts on this design; the wall stays intact for durability.

Learn the carving basics

Before you start cutting

Do I need to cut all the way through anywhere?

No, this design is entirely surface carved, so the wall is never pierced. That is what makes it last a full week outdoors. If you want interior glow, cut a small access hole in the back near the bottom, well away from the ferret.

How do I keep the fur strokes looking natural?

Follow the direction the coat would actually lie, sweeping from the head back toward the tail and fanning the strokes out on the bottle-brush tip. Build the texture in light layers rather than one deep pass. Step back frequently to make sure all the strokes flow together instead of crossing at odd angles.

Since this is a concept image, will a real pumpkin look the same?

The pictured pumpkin is an AI concept, so no real one exists, but the technique is completely doable. Choose a pumpkin with a smooth, flat front so the fine linework does not distort over ridges. Expect real flesh to glow a warm pale orange rather than the bright tone in the render.

Your take belongs here, too.

Changed a detail? Made it simpler? Share a photo of your version and tell the community what worked.

Share your pumpkin

More pumpkins like this

You've reached the end · 8 pumpkins
The Patch Report

Fresh pumpkins, in your inbox.

The best new carvings, ideas worth stealing, and how-tos for carving season. Short, seasonal, and gone by November.

A short email during carving season. Unsubscribe anytime. See our privacy policy.