Halloween Pumpkin Carving Contest · Starts October 1st · $500 in prizes
← Back to ideas
@ai_concepts
Aug 7, 2026
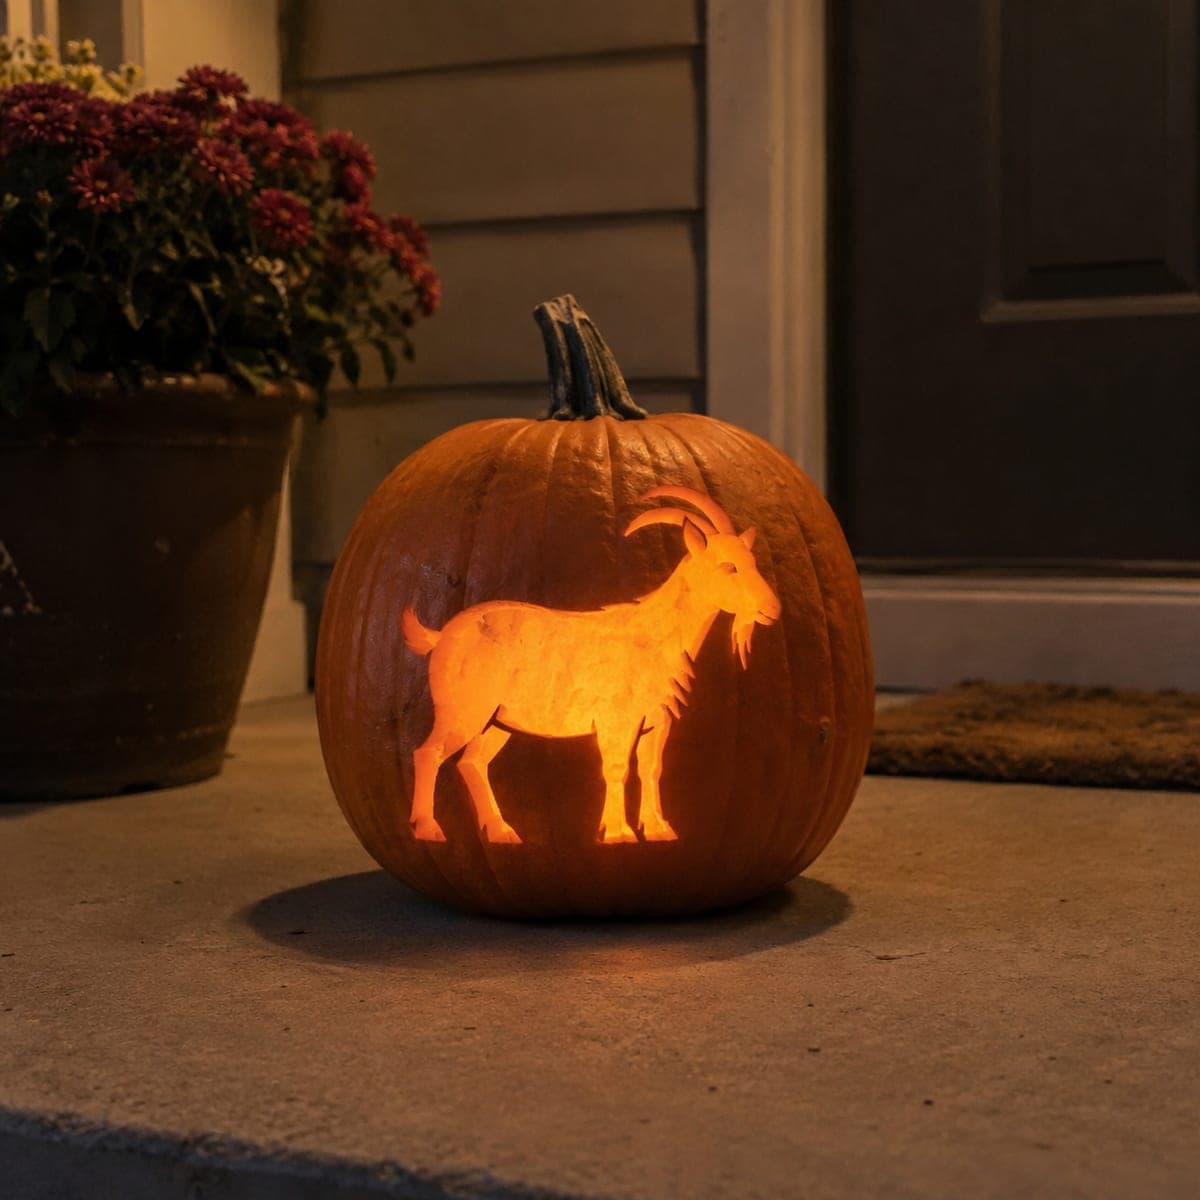
Curled Horn Goat Portrait Pumpkin CarvingAI
0

Curled Horn Goat Portrait Pumpkin Carving

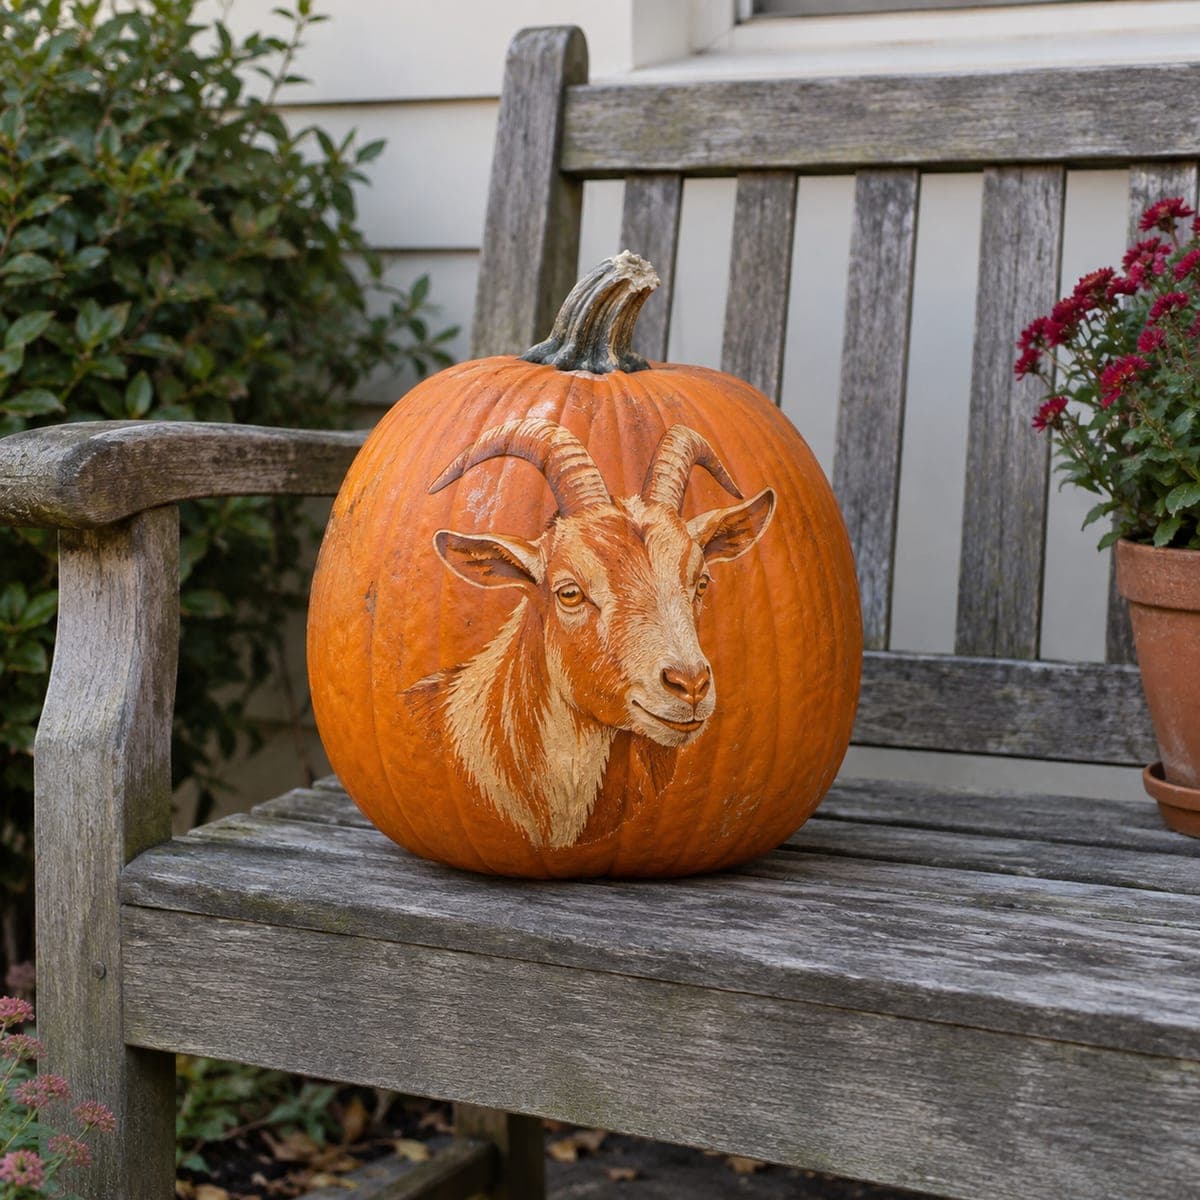
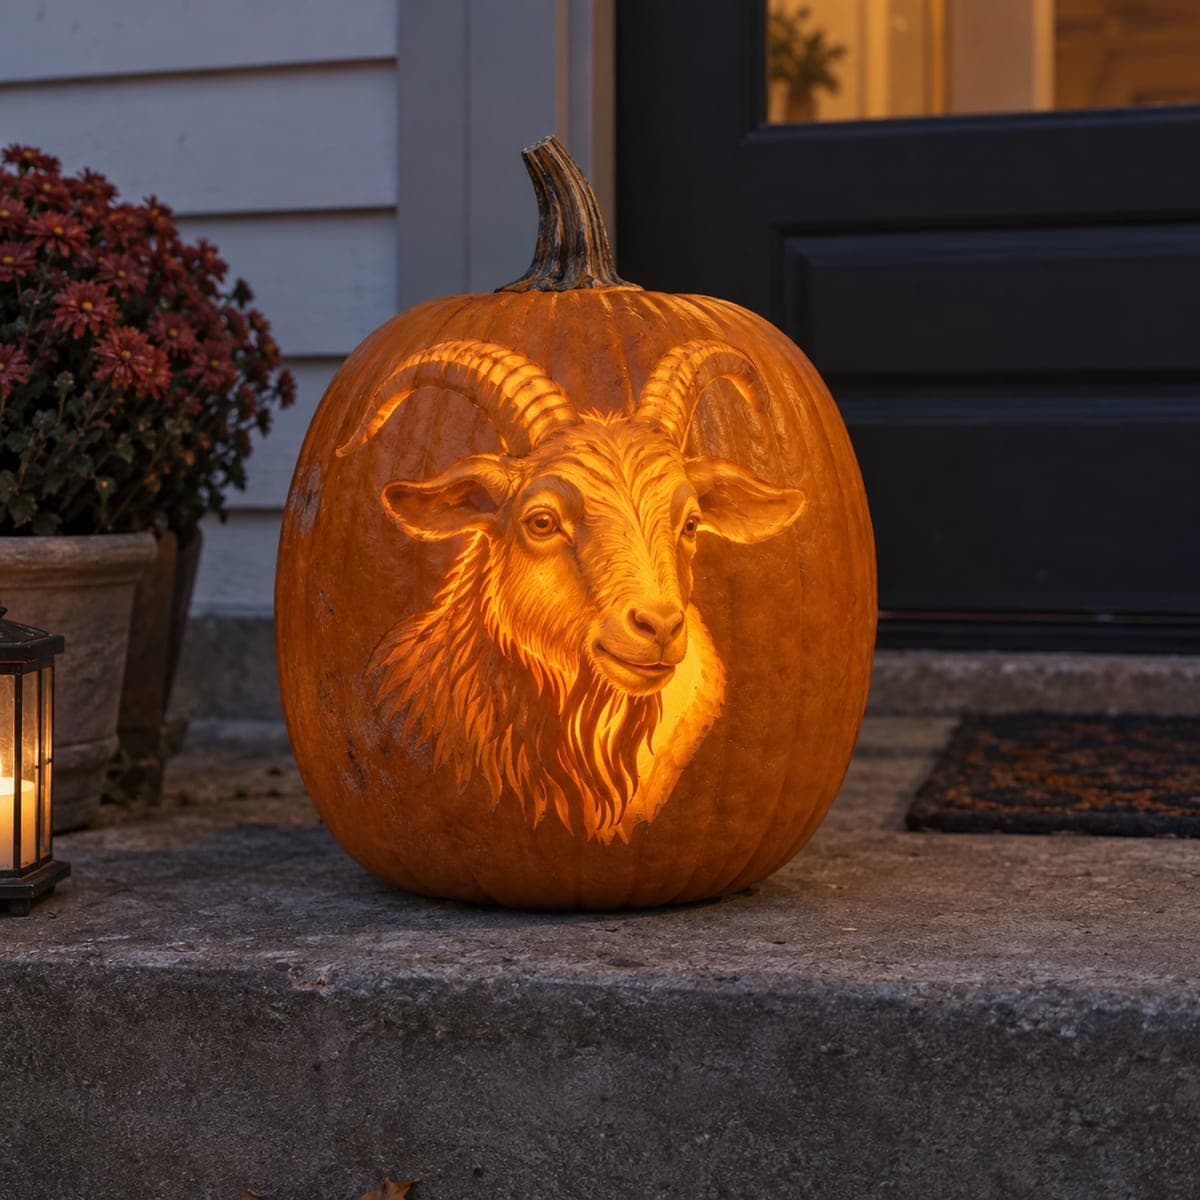
A bearded goat with sweeping ridged horns glows in remarkable detail on this expert-level pumpkin carving. The horns carry the design, so etch their curved growth rings first while the shell is strongest, then feather the long chin beard with a v-tool. Shave the face in graduated depths, brightest along the nose bridge, and light it with a steady LED so the fine hair strokes stay crisp.

This is an AI-generated concept image: a realistic, carvable design idea rather than a photo of a finished carve. AI concepts are always labeled and sit out the leaderboard and the contest.

No ratings yet · Sign in to rate
Comments (0)

  • No comments yet — be the first.

Save without an account. Sign in to like or comment.

Our tips for carving a similar design

The core trick here is depth carving, where you shave the pumpkin skin to different thicknesses so light passes through as bright highlights and dim shadows. The ridged horns and the long feathered beard carry the whole design, so plan them as the strongest and most detailed shapes. Everything else is a matter of controlling how much flesh you leave behind, brightest along the nose bridge and darkest in the deep fur shadows.

Written by PumpkinCarvingIdeas.com, inspired by the image above. These are our suggestions, not instructions from the uploader. This approach to the AI concept has not been tested on a real pumpkin.

From pumpkin to porch

  1. Prep the pumpkin and transfer the pattern

    Pick a tall pumpkin with a smooth, flat front face and a sturdy wall. Since this is a shaded portrait rather than a lid design, cut a small access hole in the back instead of the top so the front stays intact. Clean and thin the inside wall of the carving area to about one inch. Tape your goat stencil to the front and poke closely spaced transfer dots along every horn ridge, ear, eye, and beard strand.

  2. Etch the horns first

    The horns are the backbone of the piece, so work them while the shell is fresh and strong. Use a small gouge or lino tool to score the curved growth rings across each horn, keeping the ridges parallel and evenly spaced. Vary the pressure so the ring grooves read as raised bands. Do not cut all the way through here, since these are shaded etch lines, not openings.

  3. Shave the face in graduated depths

    Switch to a ribbon or loop tool and start removing skin across the face in layers. Peel the lightest, thinnest areas along the nose bridge, brow, and cheekbones so they will glow brightest. Leave more flesh in the eye sockets, under the jaw, and behind the ears to hold shadow. Work slowly and check the depth often against a backlight so the face reads as a rounded form.

  4. Feather the beard and ear fur

    Use a v-tool to pull long, flowing strokes down the chin beard and along the cheek fur. Follow the direction the hair grows and let strokes overlap and taper for a natural, layered look. Keep the deepest grooves for the shadow gaps between clumps. These fine lines are what sell the realism, so take your time and keep the tool sharp.

  5. Refine the eyes and light it

    Define the eyes last with careful shallow cuts, leaving a thin raised bump for the highlight so the goat looks alert. Clean up any ragged edges and brush away loose pulp. Drop in a bright, steady LED light and view it in a dark room. Adjust any spot that looks too dark by shaving a touch more flesh until the whole face balances.

Gather your supplies

Check things off as you get ready.

Work on a stable surface, keep your free hand out of the cutting path, and have an adult handle sharp tools.

Three levels of light

  • Leave intact

    The untouched outer skin around the portrait and the deep grooves between beard strands stay dark for contrast.

  • Peel & shade

    The horns, cheeks, ears, and most of the face are peeled to a thin layer for a soft mid glow that shows the etched ridges.

  • Cut through

    No large openings are needed, but the very thinnest shaved spots along the nose bridge and lower jaw read as the brightest highlights.

Learn the carving basics

Before you start cutting

Do I need to cut all the way through anywhere?

No, this is a shaded portrait, so almost everything is surface etching and depth shaving rather than open cutouts. Light glows through the thinned skin instead of empty holes. That keeps the delicate horns and beard strands structurally attached and strong.

How do I keep the horn ridges from looking flat?

Score the growth rings while the shell is still full thickness and fresh, since it holds a crisp edge better then. Vary the depth slightly from ring to ring so the light catches raised bands. Shading a hair deeper on one side of each horn also gives it a rounded, three dimensional turn.

Why light it from the back access hole?

Cutting the access in the back lets the front face stay solid and unbroken, which is important for a detailed shaded design. A back opening also hides the LED and its shadow. Use a bright, steady battery light rather than a candle so the fine hair strokes stay crisp and the flame heat does not warp your thin walls.

Your take belongs here, too.

Changed a detail? Made it simpler? Share a photo of your version and tell the community what worked.

Share your pumpkin

More pumpkins like this

You've reached the end · 8 pumpkins
The Patch Report

Fresh pumpkins, in your inbox.

The best new carvings, ideas worth stealing, and how-tos for carving season. Short, seasonal, and gone by November.

A short email during carving season. Unsubscribe anytime. See our privacy policy.