Halloween Pumpkin Carving Contest · Starts October 1st · $500 in prizes
← Back to ideas
@ai_concepts
Sep 25, 2026
Detailed Spiral Galaxy Pumpkin With Segmented Arms on StoneAI
0

Report this carving

Tell us what is wrong. Reports are private.

Detailed Spiral Galaxy Pumpkin With Segmented Arms on Stone

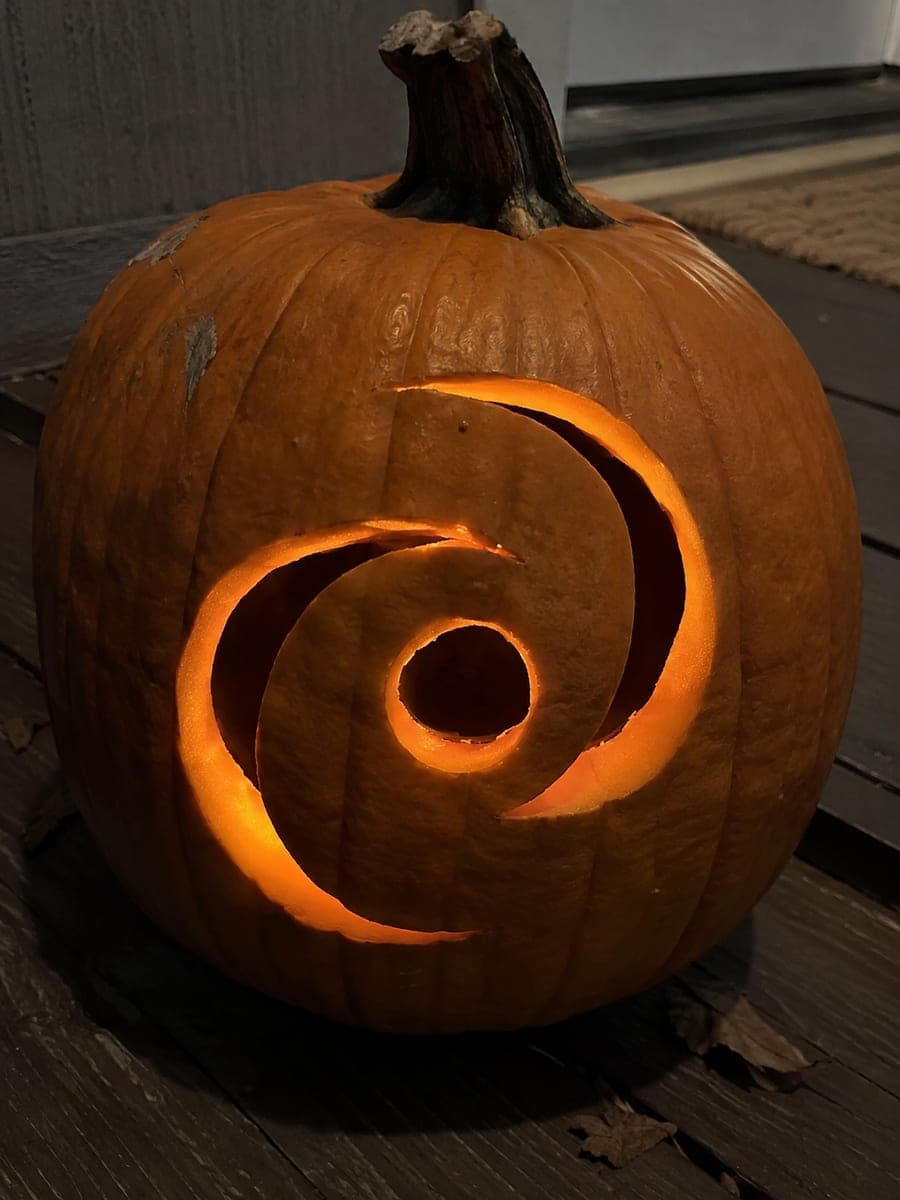
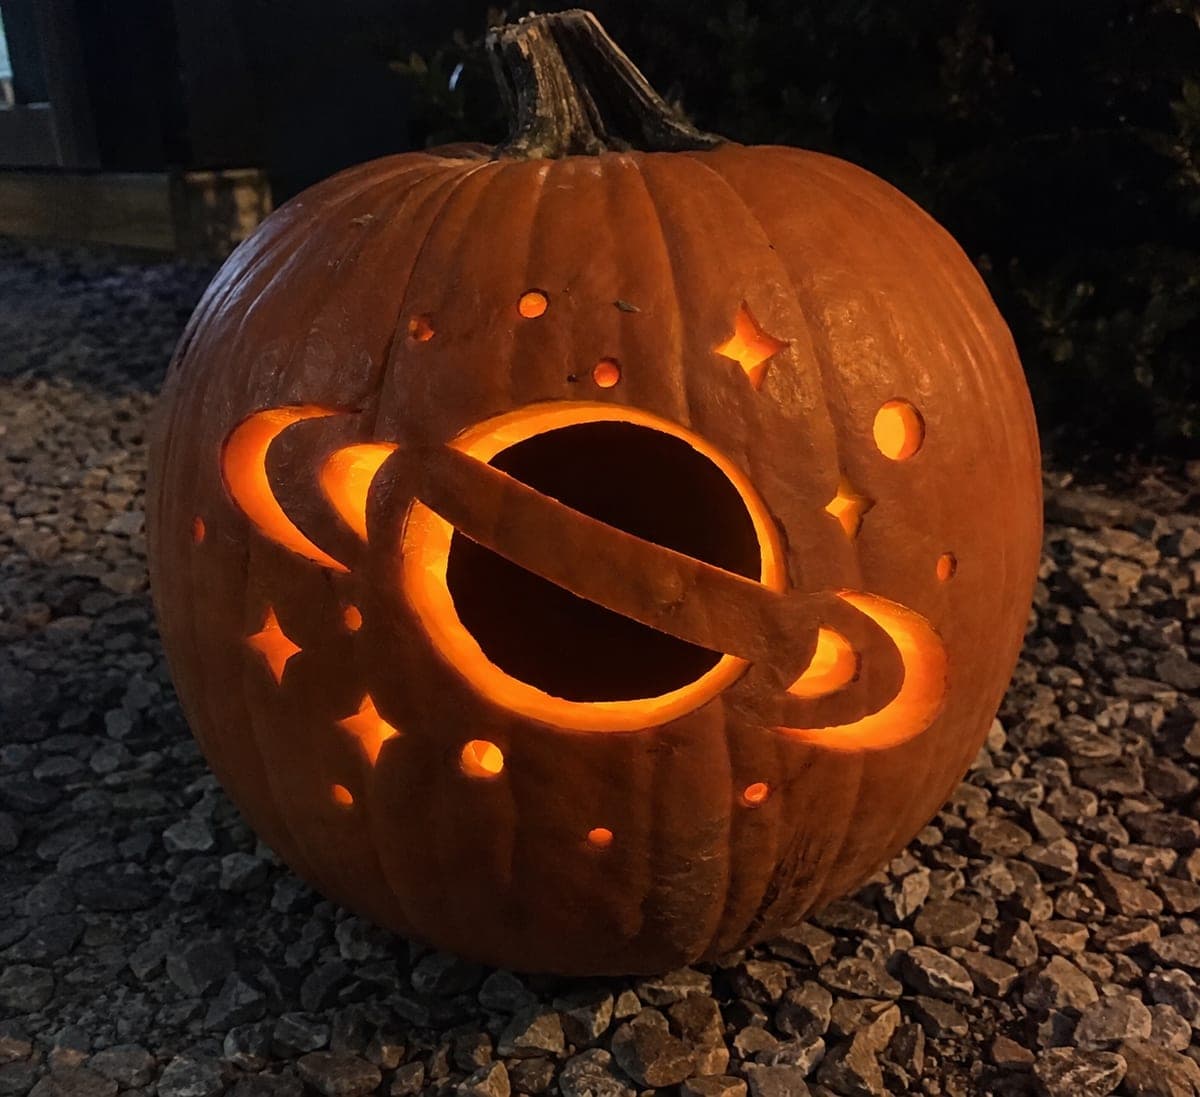
Six curved spiral arm apertures radiate from a central round opening on this expert galaxy pumpkin idea, separated by broad continuous rind that keeps the entire design structurally sound. Tiny surrounding stars are executed as shallow backed accents rather than through-cuts, preserving the shell while adding a field of glowing detail. Lay out all six arm apertures with a pencil before cutting to confirm the spiral reads correctly, then cut alternating arms first and fill in the remaining three after confirming structural stability. Stone steps at night provide the ideal dark backdrop for the full galaxy effect.

No ratings yet · Sign in to rate
Comments (0)

  • No comments yet — be the first.

Save without an account. Sign in to like or comment.

Our tips for carving a similar design

Six curved spiral arm apertures separated by broad continuous rind create a full, symmetrical galaxy. The surrounding tiny stars as shallow backed accents, rather than through-cuts, preserve shell integrity while covering the background with a faint starfield glow. Laying out all six arm positions in pencil before cutting and confirming the spiral reads correctly is the essential planning step that separates a successful carving from a structural failure.

From pumpkin to porch

  1. Layout all six arms before cutting

    On the pumpkin face or a paper template, draw all six curved arm apertures with a soft pencil and confirm the spiral reads convincingly. Number each arm in cutting order: cut arms 1, 3, and 5 first (alternating), then 2, 4, and 6. This alternating sequence keeps the shell balanced throughout the cutting process.

  2. Prepare and perforate

    Scoop the interior to a firm, even inch-thick wall and chill for an hour. Perforate all six arm boundaries and the central circle. Mark the tiny star positions for back-carving with a contrasting pencil color. Confirm the broad continuous rind between each arm is at least half an inch wide before cutting.

  3. Cut the central circle

    Begin at the galactic core circle with a jab saw. Clean the opening and confirm it is centered. This hole provides immediate visual feedback on how the arms will radiate when lit, and lets you catch any template alignment issues before cutting the more complex arm shapes.

  4. Cut alternating arms (1, 3, and 5)

    Follow the perforated arc of each arm in a single smooth pass, starting from the inner end near the central circle and drawing the blade outward to the arm tip. Complete arms 1, 3, and 5, confirming the broad continuous rind between each pair of adjacent apertures is intact before proceeding.

  5. Cut the remaining arms (2, 4, and 6)

    With structural stability confirmed, cut the three remaining arm apertures using the same single-pass arc technique. The shell is now considerably more open, so handle the pumpkin carefully on a non-slip surface. Trim any rough arc edges with a detail knife.

  6. Back-carve the star accents and display on stone steps

    Use a detail gouge to carve the tiny surrounding star accents as shallow backed marks, removing only the outer skin. Work from the outer rim inward toward the arm apertures, keeping all backed marks well away from the arm edges. Place an LED inside and display on dark stone steps for the full galaxy effect.

Written with AI to match this design

Gather your supplies

Check things off as you get ready.

Work on a stable surface, keep your free hand out of the cutting path, and have an adult handle sharp tools.

Three levels of light

  • Leave intact

    The broad continuous rind bands between arms and the outer shell edge remain solid and dark.

  • Peel & shade

    The shallow back-carved tiny star accents glow with a soft, diffused starfield light across the outer shell.

  • Cut through

    The central circle and all six curved spiral arm apertures glow at full brightness.

Learn the carving basics

Before you start cutting

How do I confirm the spiral reads correctly before cutting?

Look at the rind bands between the arm apertures, not the arm apertures themselves. Those bands should trace a clear spiral ribbon from the outer edge inward when viewed as a connected path. If the bands form a spiral, the apertures will read as spiral arms when lit. If the bands form spokes or an irregular pattern, adjust the arm widths or positions before cutting.

What should I do if one of the arc cuts wanders off the perforated line?

Stop the cut immediately and assess whether the deviation narrows any rind band below half an inch. If so, do not continue in that direction. Instead, return to the correct perforated line from the other end of the arm and cut inward until the two cuts meet. The slight kink at the junction is barely visible once the pumpkin is lit.

How deep should the backed star accents be to produce the best glow?

Remove about a third of the wall thickness with each backed star accent for the best glow-without-cut-through balance. At this depth on a one-inch wall, the remaining rind is thin enough to transmit a soft amber glow while staying structurally intact. Test one star accent first and hold it up to the lit interior to check the glow before committing to the rest.

Your take belongs here, too.

Changed a detail? Made it simpler? Share a photo of your version and tell the community what worked.

Share your pumpkin

More pumpkins like this

You've reached the end · 8 pumpkins
The Patch Report

Fresh pumpkins, in your inbox.

The best new carvings, ideas worth stealing, and how-tos for carving season. Short, seasonal, and gone by November.

A short email during carving season. Unsubscribe anytime. See our privacy policy.