Halloween Pumpkin Carving Contest · Starts October 1st · $500 in prizes
← Back to ideas
@ai_concepts
Sep 25, 2026
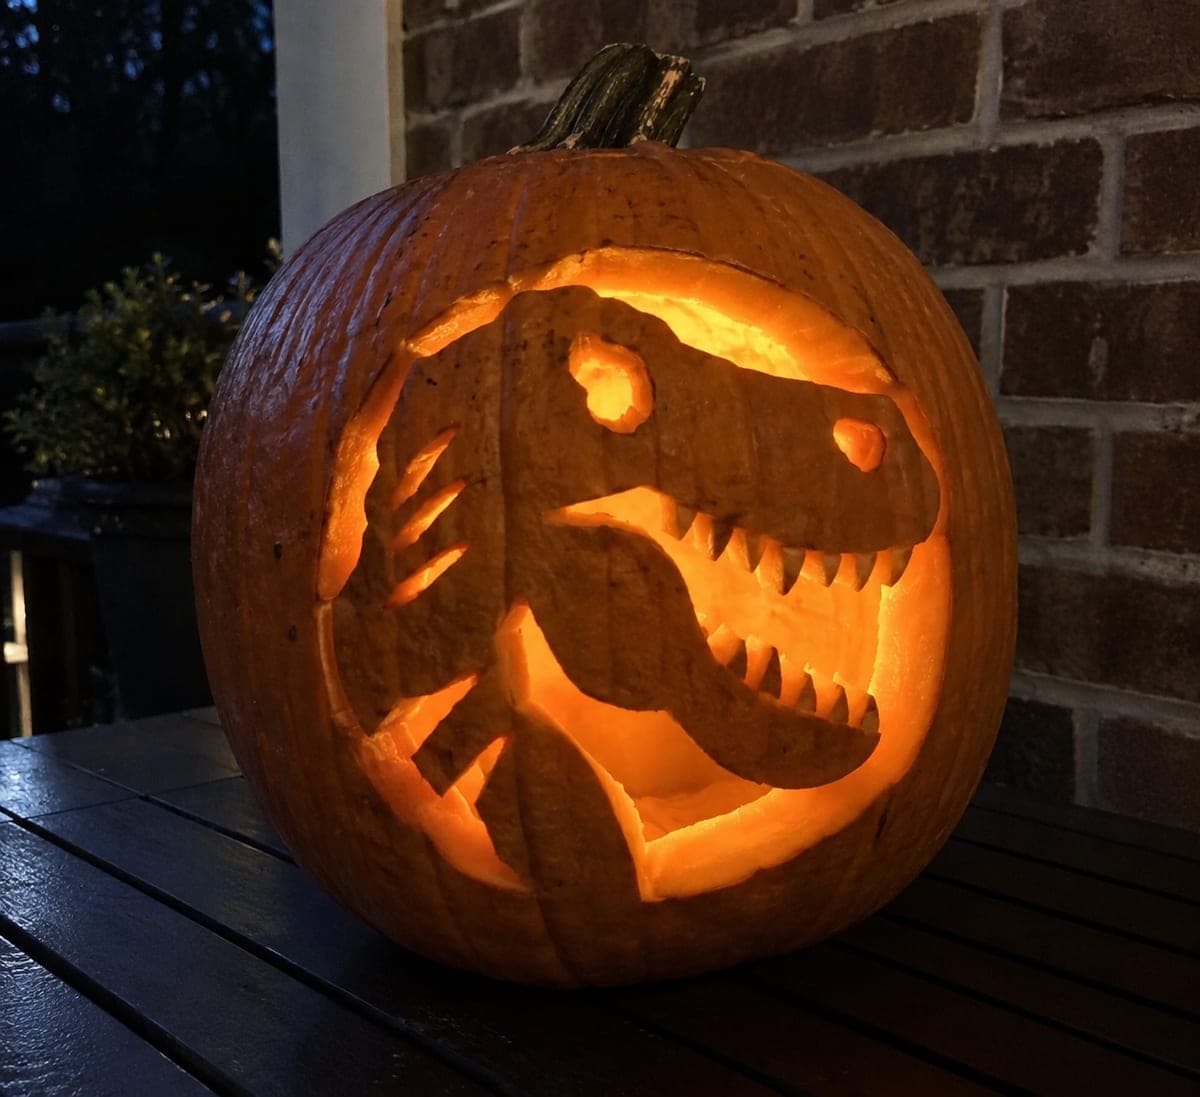
Detailed T. Rex Head Pumpkin in a Round FrameAI
0

Report this carving

Tell us what is wrong. Reports are private.

Detailed T. Rex Head Pumpkin in a Round Frame

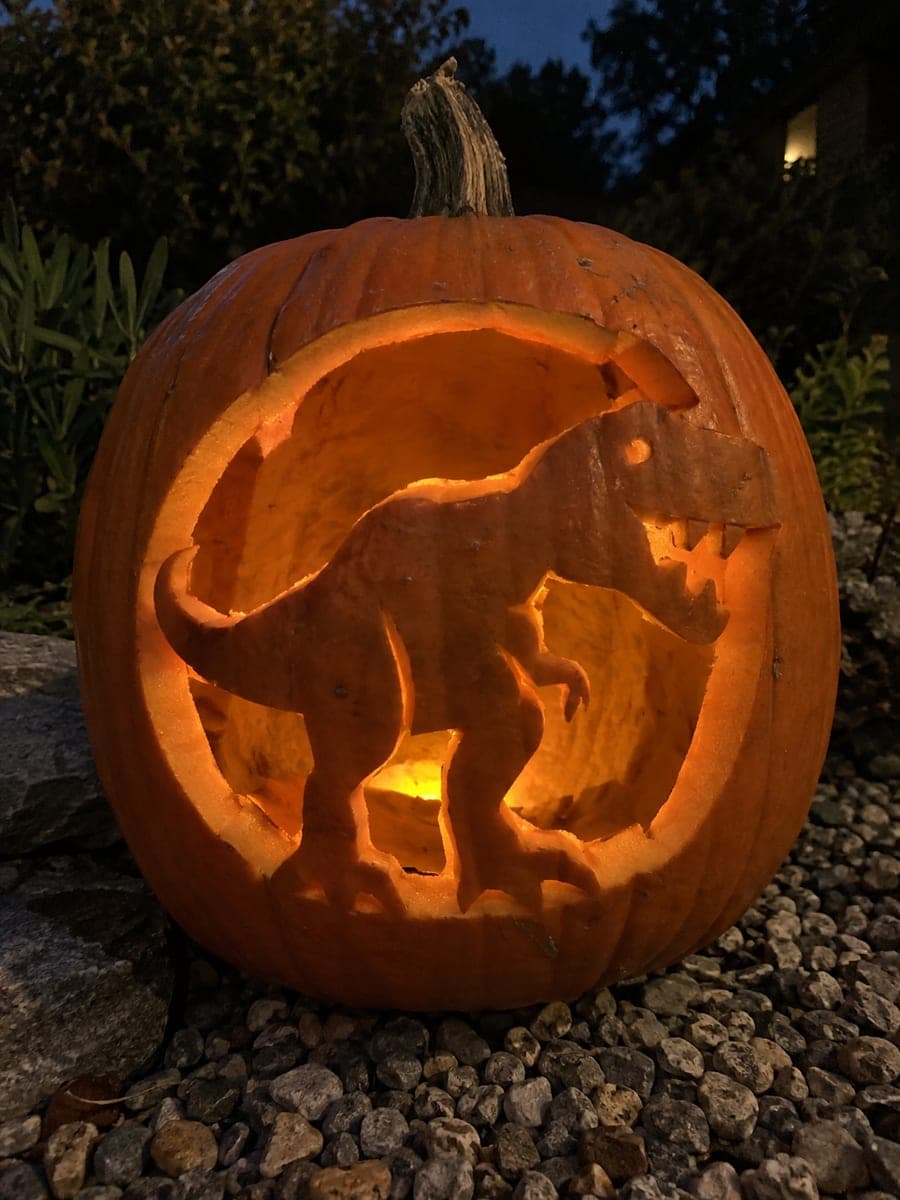
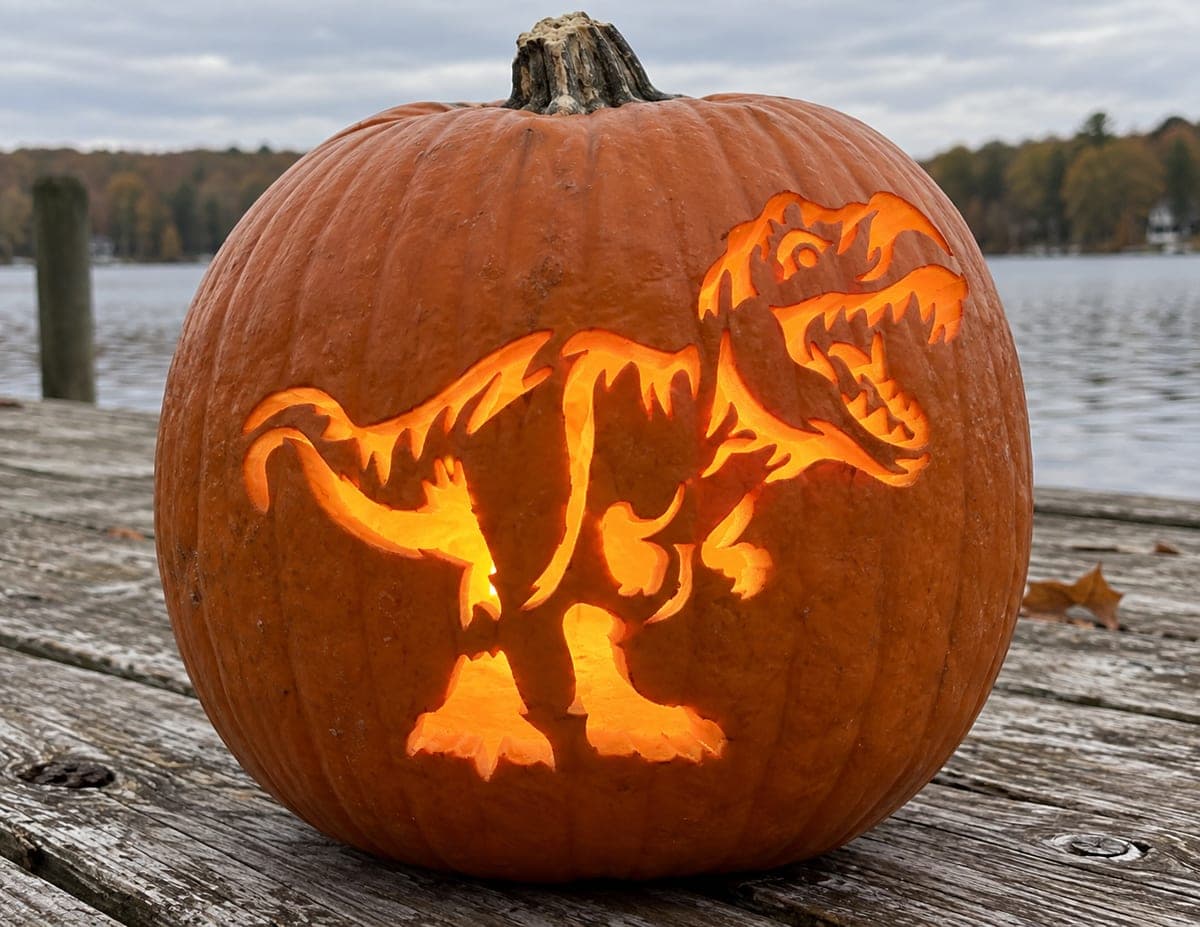
A retained T. rex head fills a circular window on this expert T. rex pumpkin carving, the wide neck rooted at the bottom and the back of the skull touching the left frame while the snout contacts the right. Open cheek slots, neck slots, one eye hole, and a nostril cut add multiple light sources, while teeth remain integral to the jaw so nothing floats free. Work the narrow slots with a detail blade after establishing the larger frame and head shape. Shooting from a slight side angle at night shows off the depth created by the layered interior cuts.

No ratings yet · Sign in to rate

Comments (0)

  • No comments yet — be the first.

Save without an account. Sign in to like or comment.

Our tips for carving a similar design

A retained T. rex head fills a circular window, the wide neck rooted at the bottom and the back of the skull touching the left frame while the snout contacts the right. Separated cheek slots, neck slots, one eye hole, and a nostril create multiple independent light sources, while teeth remain integral to the jaw and never float free. Narrow slot cuts are made with a detail blade after the larger frame and head shape are established.

From pumpkin to porch

  1. Select and prepare a large pumpkin

    Walls must be at least one and a quarter inches thick for the narrow slot work. Scoop carefully and let the outer surface dry completely. The round window needs to be large enough to accommodate a detailed head with all its slot work without any features being squeezed.

  2. Pin-transfer the complete stencil

    Transfer every element: the round window boundary, the head outline, skull-left and snout-right connections, the eye hole, nostril, open mouth with tooth positions, cheek slot positions, neck slot positions, and the thick neck base. Two-color markers are essential here.

  3. Cut the round outer frame

    Saw the circular boundary and remove the outer waste in sections, checking the arc frequently to keep it smooth. Adults must handle all cutting on this expert design.

  4. Remove the background inside the window

    Cut the background waste around the T. rex head, leaving all connection points intact: neck base at bottom, skull at left frame, snout at right frame. Work in sections and leave a margin for final refining.

  5. Cut the jaw opening and eye and nostril holes

    Refine the head silhouette, then cut the open mouth with the teeth integral to the upper and lower jaw edges. Use a detail blade for the small eye hole and nostril hole. Confirm no tooth is a free-floating piece before proceeding.

  6. Cut the cheek and neck slots last

    Using a thin detail blade, cut the three short cheek slots and two neck slots, each separated by thick ribs. Work from the slot ends inward to maintain control. Apply petroleum jelly to every cut surface, then light with a bright LED and display on a dark porch table beside a brick wall.

Written with AI to match this design

Gather your supplies

Check things off as you get ready.

Work on a stable surface, keep your free hand out of the cutting path, and have an adult handle sharp tools.

Three levels of light

  • Leave intact

    The retained T. rex head, the thick ribs between slots, and the round frame border stay fully dark

  • Peel & shade

    None on this design

  • Cut through

    The round background window, the jaw opening, the eye hole, the nostril, the cheek slots, and the neck slots all glow at full brightness

Learn the carving basics

Before you start cutting

How narrow can each slot be before it becomes a structural risk?

Keep each slot at least a quarter inch wide to avoid the rind crumbling during the cut. The ribs between slots should be at least half an inch wide. If a slot feels too tight to cut cleanly, widen it slightly. The visual effect of layered light is more important than exact slot width.

How do I keep the teeth connected while still creating an open mouth?

The teeth should be shaped as blunt nubs rooted in the jaw edges, not as free projections. Cut the mouth opening between the upper and lower jaws without crossing the tooth roots. Think of the teeth as bumps along the jaw rim rather than separate attached pieces.

The cheek slots are very close together. How do I prevent the blade from drifting between them?

Score each slot outline with a craft knife before sawing to give the blade a channel to follow. Cut each slot to full depth in two or three careful passes rather than one aggressive push. Pausing between slots to check alignment prevents cumulative drift.

Your take belongs here, too.

Changed a detail? Made it simpler? Share a photo of your version and tell the community what worked.

Share your pumpkin

More pumpkins like this

You've reached the end · 8 pumpkins
The Patch Report

Fresh pumpkins, in your inbox.

The best new carvings, ideas worth stealing, and how-tos for carving season. Short, seasonal, and gone by November.

A short email during carving season. Unsubscribe anytime. See our privacy policy.